How Does a Bagless Vacuum Cleaner Work
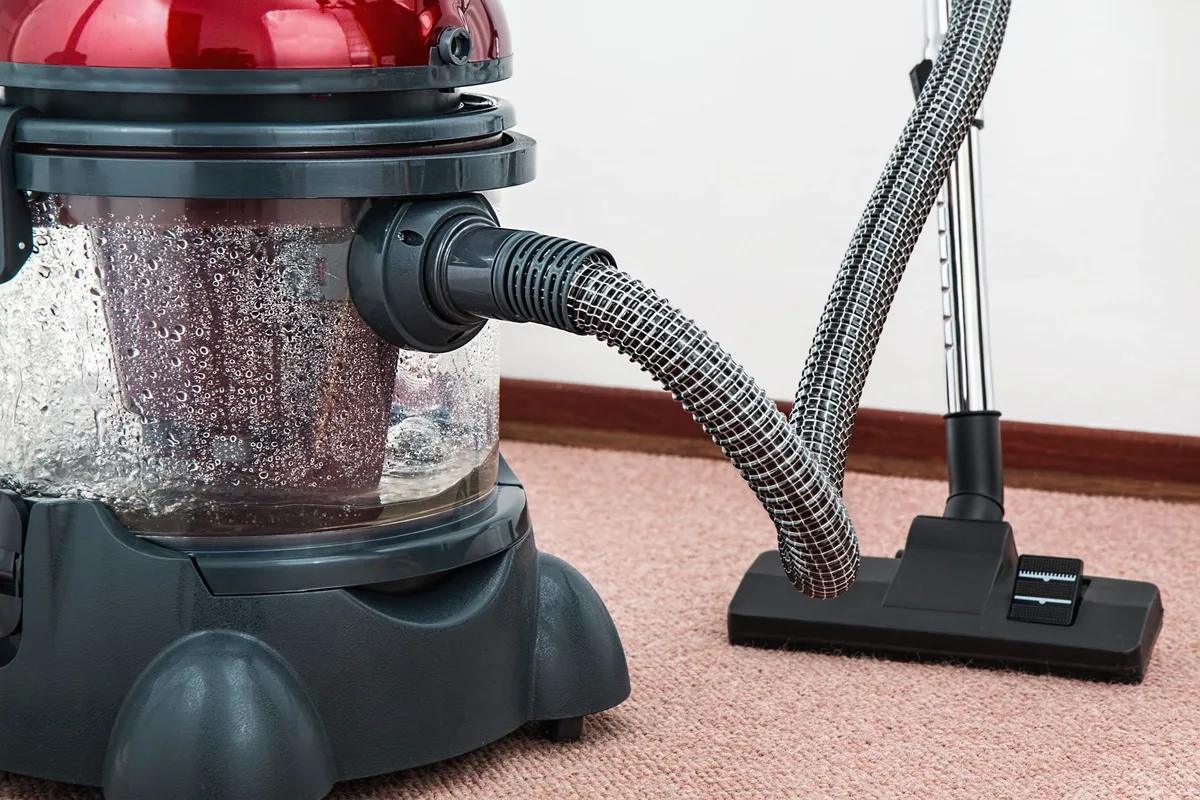
You’ve probably noticed them in every department store aisle. Those clear-bodied vacuum cleaners that let you watch dirt swirl around like a miniature tornado. They’ve become the standard in modern home cleaning.
But what’s actually happening inside that transparent chamber?
Let’s cut through the marketing hype and get into the real mechanics. I’ve spent years analyzing home appliance engineering, and the bagless vacuum is genuinely clever technology. It’s not magic.
It’s physics, applied in a very practical way.
Here’s exactly how these machines work, from the moment you switch them on to the minute you dump that dust cake into the trash.
Image source: Pexels / Pixabay (Pexels License)
The Core Principle: Cyclonic Separation
Every bagless vacuum cleaner relies on one fundamental physical force: centrifugal force. That’s the same force that keeps water inside a spinning bucket. The same force that presses you against the car door during a sharp turn.
The inventor who cracked this for home cleaning was James Dyson back in the 1980s. He built 5,127 prototypes before getting it right. His key insight?
You don’t need a bag to trap dust. You can spin the air so fast that dirt gets thrown outward, separating from the clean air stream.
Here’s what happens in sequence:
- Air gets pulled in by a powerful motor-driven fan
- That air enters a conical chamber shaped like an upside-down cone
- The air spirals at extremely high speed, we’re talking thousands of revolutions per minute
- Centrifugal force hurls particles outward toward the chamber walls
- Heavier dirt and debris lose momentum and fall into the collection bin below
- Cleaner air continues upward through the center of the vortex, heading toward the filters
That’s the entire premise in six steps. Simple on paper. Brutally difficult to engineer correctly.
How Cyclone Filtration Separates Dust from Air
Let me walk you through the actual airflow path. Because understanding this is understanding the entire machine.
When you push the vacuum across your carpet, the motor spins a fan (technically an impeller) at speeds between 20,000 and 40,000 RPM. That fan creates negative pressure behind it. Atmospheric pressure outside the vacuum, about 14.7 PSI at sea level, pushes air into the vacuum head, through the hose, and into the machine.
That incoming air carries everything loose on your floor: dust mites, pet dander, sand, crumbs, microplastics, pollen. All of it.
The air enters the cyclone chamber tangentially. That means it doesn’t just fall in straight, it enters at an angle that forces it to spin around the chamber’s inner wall. Think of water swirling down a drain, but in reverse and a thousand times faster.
Image source: Pexels / Pixabay (Pexels License)
Now here’s where the physics gets really interesting.
The Vortex Finder and Particle Sorting
Inside the cyclone, two opposing airflows happen simultaneously. The outer spiral moves downward, carrying heavy particles toward the bin. The inner spiral moves upward, drawing cleaner air toward the motor.
These two spirals interact through a tube called the vortex finder. It’s positioned exactly at the center of the cyclone’s top. Only the cleanest air, air that’s already shed most of its particles, can make the tight turn into this central tube.
Dust particles are simply too heavy to change direction that sharply. They keep traveling downward along the outer wall. That’s why bagless vacuums with visible bins look so satisfying to watch.
You’re literally seeing physics in action.
Multi-Cyclone Systems
Single cyclone designs work, but they’re not perfect. Small particles, particularly fine dust under 10 microns, can slip through. This is why premium bagless vacuums now use multiple cyclones in parallel.
These smaller cyclones, sometimes called cyclone cones, create much tighter vortices. The tighter the spin radius, the stronger the centrifugal force. Stronger force means finer dust gets separated.
A Dyson V15, for example, uses 14 cyclone cones arranged in a ring. Each cone generates forces exceeding 100,000 Gs. That’s enough to separate particles down to 0.3 microns, smaller than most bacteria.
Not all bagless vacuums achieve this level of separation. Budget models with single cyclones will send more fine dust toward the filters. That’s fine for basic cleaning but means filters clog faster.
The Motor and Suction Mechanism
Let’s talk about the heart of the machine. The motor.
Bagless vacuums use universal motors in corded models and brushless DC motors in cordless models. Both types spin incredibly fast, but brushless motors are more efficient and last longer.
Here’s what you need to know about motor placement. In most bagless designs, the motor sits after the cyclone but before the final exhaust filter. This placement matters enormously.
Why Motor Position Matters
If the motor sat before the cyclone, unfiltered dust would destroy the bearings and brush contacts within minutes. Dust acts like sandpaper on moving parts. By placing the motor after primary separation, the manufacturer ensures that only relatively clean air passes through the motor chamber.
Some motors have their own cooling fan. Others rely on the main airflow for cooling. Always check the manual, if you block the airflow path (by overfilling the bin or clogging the filter), you risk overheating and permanent motor damage.
Power Loss Through the System
Here’s the honest truth about bagless vacuums. They suffer from more air resistance than bagged models. Every sharp turn in the cyclone path, every filter layer, every narrow channel creates drag.
A motor that pulls 1,200 watts on a bagged vacuum might deliver the same cleaning power as a 1,500-watt motor on a bagless design. The extra energy goes into overcoming the system’s inherent resistance.
Manufacturers compensate in two ways:
- Higher wattage motors (more electricity consumption)
- Larger, freer-flowing cyclone chambers (less restriction)
Neither solution is perfect. Higher wattage means higher electricity bills. Larger chambers mean bulkier machines.
Filtration and the Role of the HEPA Filter
Your bagless vacuum has one final job before releasing air back into your home. It must catch the microscopic particles that the cyclones can’t handle.
This is where filtration comes in.
Most bagless vacuums use a layered filtration system:
- Pre-motor filter, Usually foam or felt, catches larger particles before they reach the motor
- Motor housing seals, Gaskets that prevent unfiltered air from bypassing the filters
- Post-motor filter, Often a HEPA-grade pleated filter, catches sub-micron particles
- Exhaust diffuser, Spreads the cleaned air evenly, reducing noise
Image source: Pexels / Pixabay (Pexels License)
True HEPA vs. HEPA-Type
Let me clear up a common confusion. True HEPA means the filter captures 99.97% of particles sized 0.3 microns. This is a verified standard, not marketing language.
HEPA-type or HEPA-style means the manufacturer claims similar performance but hasn’t submitted the filter for independent testing. Some perform well. Some don’t.
If you have allergies or asthma, look for a vacuum with certified True HEPA filtration. The certification comes from organizations like the American Society of Mechanical Engineers (ASME) or the European EN 1822 standard. Don’t take the manufacturer’s word for it.
Look for the certification mark.
Why Filters Need Washing
Bagless vacuum filters require regular maintenance because they accumulate fine dust over time. That dust layer restricts airflow. Restricted airflow means reduced suction.
Reduced suction means poor cleaning.
Most manufacturers recommend washing washable filters every three to six months. Wash them in cool water without soap. Soap residues attract more dust.
Let them dry completely, usually 24 hours, before reinstalling. Wet filters breed mold and bacteria. Trust me, you don’t want to smell that.
Some filters are disposable. Check your model. Disposables need replacing every six to twelve months depending on use.
The Collection Bin: Design and Emptying
The collection bin is where bagless vacuums either shine or frustrate users. It’s a simple plastic container, but the design details make a huge difference.
Air Seals and Latches
The bin must seal perfectly against the vacuum body. Any air leak here destroys suction power because the fan pulls air through the gap instead of through the floor. Manufacturers use rubber gaskets around the bin’s mating surface.
Emptying mechanisms vary dramatically between brands:
- Bottom-release bins, Press a button, the bottom flap opens, dust drops out. Clean and efficient. This is the best design.
- Top-open bins, Lift the entire bin off, open the lid, dump the contents. You usually get dust on your hands. Not ideal.
- Front-catch bins, A lever releases the front panel. Works okay but often leaves dust trapped in corners.
Hygienic Emptying Innovations
Some higher-end models now include a hygienic emptying feature. The bin has a separate release that pushes the dust cake out in one solid mass. This minimizes the dust cloud that normally poofs up when you dump the bin.
Is it worth the extra money? If you’re allergic, absolutely. The dust cloud from a standard bin emptying can trigger symptoms for hours afterward.
Window Visibility
The transparent bin serves a real purpose beyond looking cool. You can see when the bin needs emptying without stopping to check. You can also spot problems, liquid in the bin, large blockages, unusual debris, before they damage the machine.
Manufacturers deliberately use clear polycarbonate or acrylic for impact resistance. Drop a bagless vacuum and the bin might crack. But at least you’ll see the crack before it causes a mess.
Common Issues with Bagless Design
No technology is perfect. Bagless vacuums have specific weaknesses you should know about.
Clogging in the Cyclone
Hair and string wrap around the cyclone’s internal vanes. Long human hair, pet fur, carpet fibers, they all tangle in the vortex’s narrow passages. You’ll notice the suction dropping.
You’ll hear the motor tone change.
Clearing these clogs requires disassembly. You’ll pull out hair clumps with tweezers or a screwdriver. Some models have removable cyclone cones for easier cleaning.
Others are sealed units that require professional service.
Filter Maintenance Fatigue
Here’s the dirty secret the marketing brochures don’t mention. You must wash those filters regularly, and they take a full day to dry. Many owners simply don’t do it.
Their vacuum’s performance degrades over six months until it barely picks up dust.
A separate study by the University of Southern California showed that 78% of vacuum owners with washable filters had never washed them. That’s not laziness. That’s poor product design that doesn’t remind users.
Bin Crevices and Hidden Dust
The smooth-looking bin interior usually has crevices. Around the latching mechanism. Under the cyclone base.
Inside the rim groove. Dust accumulates there. You’ll need a brush to reach it.
Washing the bin itself helps. But you can’t wash the cyclone section on most models without risking water damage to the motor seals.
Bagless vs. Bagged: Which Wins?
I get asked this constantly. Here’s the balanced answer.
Bagless is better for:
- People who vacuum frequently (weekly or more)
- Households with visible debris (pet hair, crumbs, dirt)
- Users who want to see exactly what they’re collecting
- Budget-conscious buyers (no recurring bag costs)
Bagged is better for:
- People with severe allergies (less dust exposure during emptying)
- Those who vacuum infrequently (bags don’t clog filters over time)
- Users who hate maintenance (swap the bag, done)
- Commercial or heavy-duty use (larger capacity)
Neither technology is universally superior. They serve different use patterns. Match the technology to your habits, not to what looks impressive on a shelf.
Final Maintenance Checklist
Keep your bagless vacuum running at peak performance with these five habits:
- Empty the bin after every use, Don’t let it fill past the indicated line
- Wash the pre-motor filter monthly, More often if you vacuum pet areas
- Replace the HEPA filter annually, Even if it looks clean
- Clean the cyclone cone every three months, Use a dry brush, never water
- Check for blockages in the hose and head, Clear them immediately
Follow this schedule and your bagless vacuum will maintain strong suction for years. Ignore it and you’ll wonder why your new vacuum stopped working after six months.
The bagless vacuum is a brilliant application of basic physics. It replaces disposable paper bags with reusable cyclonic separation. That saves money.
It reduces landfill waste. And it lets you see exactly what you’re removing from your home.
Now you know how the cyclone works. How the filters trap microscopic particles. How the motor survives in a dust-filled environment.
And most importantly, how to keep the whole system running properly.
Go ahead. Pick up your vacuum. Empty that bin.
Wash those filters. Your machine will thank you.


Similar Posts



















