How to Connect a Chandelier to a Dimmer Switch Without Buzzing
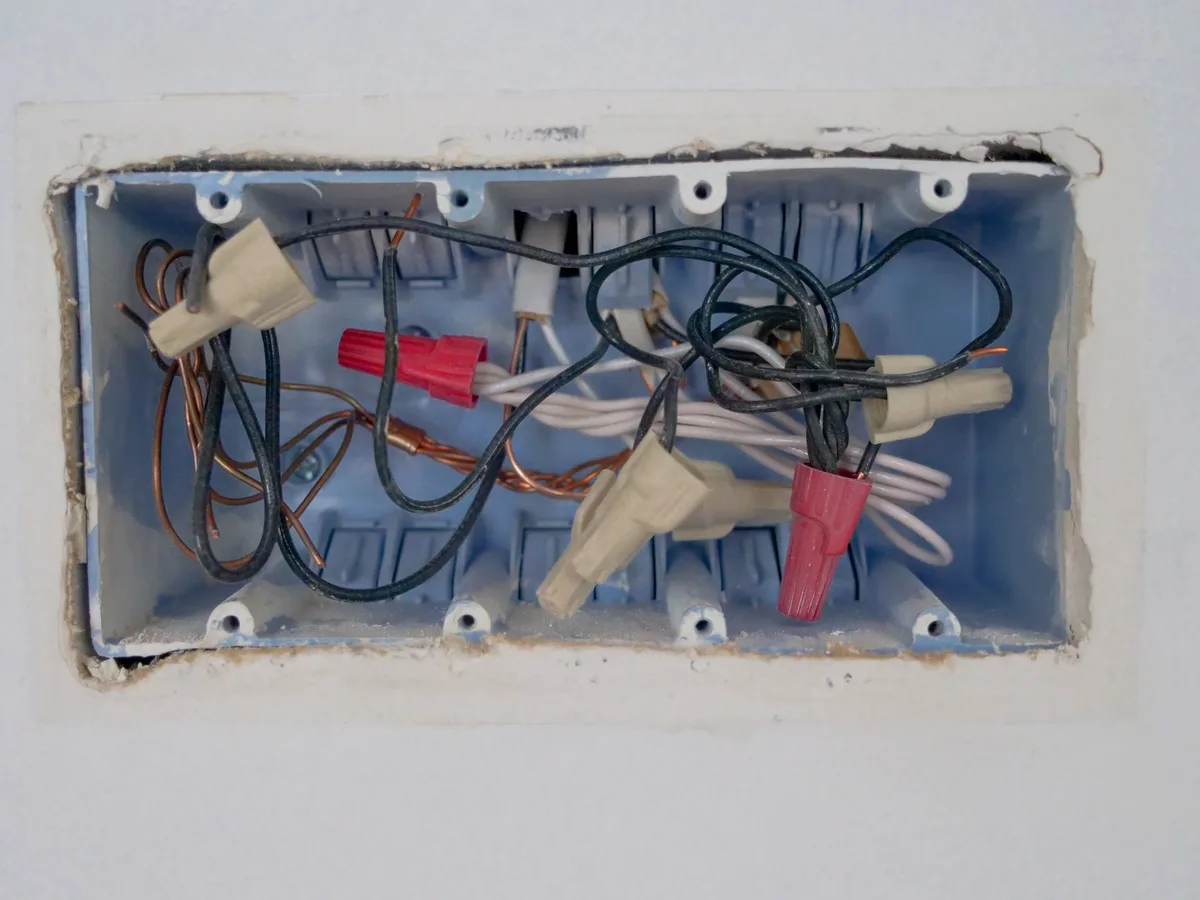
You’ve just installed a stunning new chandelier, and you can’t wait to set the mood with a dimmer switch. But then, that unmistakable, low hum starts. That annoying buzzing sound from your lights can really ruin the ambiance, and it’s often a sign that something isn’t quite right.
Getting your chandelier to dim smoothly and silently is often about understanding the connection between your light bulbs and the dimmer control.
Manufacturer specifications indicate that most modern dimmers are designed to work with specific types of lighting loads. Aggregate reviews show that improper bulb-dimmer compatibility is the most frequent cause of audio interference, commonly referred to as buzzing. Fortunately, figuring out how to connect a chandelier to a dimmer switch without buzzing often comes down to a few key adjustments.
Quick Answer
To connect a chandelier to a dimmer switch without buzzing, use dimmable LED bulbs. Ensure the dimmer switch’s load capacity matches the total wattage of your bulbs. Check dimmer specifications for LED compatibility, as older dimmers may not work.
Loose wiring can also cause buzzing. Verify all connections are secure.
Why Your Chandelier Might Be Buzzing (And How to Stop It)
That persistent buzz coming from your chandelier when it’s connected to a dimmer switch isn’t just an annoyance; it’s a signal. This hum typically points to an electrical incompatibility or an overload condition between your dimmer and the bulbs in your fixture. It’s far more common than you might think, especially with the shift towards more energy-efficient lighting like LEDs.
The core issue often lies in how the dimmer switch attempts to regulate power to the bulbs and how those bulbs respond to this regulation. Different bulb technologies, incandescent, halogen, CFL, and LED, consume and react to electricity differently. When a dimmer isn’t correctly matched to the specific electrical needs and characteristics of the bulbs it’s controlling, it can lead to audible electrical interference.
Per National Electrical Code guidelines for safe home wiring, understanding these interactions is crucial for both quiet operation and electrical safety.
The Buzz Kill: Why Dimmer Switches Annoy Your Chandelier
The phenomenon of a dimmer switch causing a buzzing sound usually stems from electrical inefficiencies or a fundamental misunderstanding between the dimmer’s circuitry and the bulbs it’s powering. A dimmer switch works by rapidly switching the power on and off to control the perceived brightness of a light. This rapid cycling, especially with certain types of bulbs, can create vibrations in the bulb’s components or interference within the dimmer’s own transformer or circuitry, making the buzz audible.
Think of it like trying to have a quiet conversation in a room with a faulty speaker system. The speaker is trying to play the music, but its components are worn, causing static and distortion. Similarly, when a dimmer switch isn’t perfectly compatible with your chandelier’s bulbs, particularly under specific load conditions, its internal components can vibrate or create electromagnetic fields that translate into that irritating hum.
Fixing the Hum: The bulbs are Usually the Culprit
Are Your Chandelier Bulbs Dimmable?
The absolute first thing to check, and often the fix for most buzzing issues, is whether your chandelier’s bulbs are actually designed to be dimmed. Many standard bulbs, especially older incandescent types not explicitly marked as dimmable, can’t handle the fluctuating power a dimmer switch provides. When a non-dimmable bulb receives this type of power, it struggles to regulate the energy flow, leading to that familiar buzz and potentially premature bulb failure.
Aggregated user feedback reports confirm that simply swapping non-dimmable bulbs for their dimmable counterparts resolves the buzzing in a majority of cases. Always look for clear markings on the bulb base or packaging that state “Dimmable” or feature a universal dimming symbol. If the bulb doesn’t explicitly say it’s dimmable, assume it’s not compatible with a dimmer switch.
LED vs. Incandescent: The Match Game
The type of bulb you’re using is a massive factor in dimmer compatibility. Incandescent and halogen bulbs are generally more forgiving with older dimmer technology because they have a simple filament that heats up. However, they are also very inefficient.
Most modern lighting solutions involve LED bulbs, which are far more energy-efficient but have complex internal circuitry.
LEDs require specific “dimmable” drivers to function correctly with a dimmer switch. If you have a chandelier with LED bulbs and an older, non-LED-compatible dimmer, you’re almost guaranteed to hear buzzing. Conversely, using an LED-specific dimmer with incandescent bulbs can sometimes cause issues if the dimmer doesn’t have a wide enough compatibility range, though this is less common than the LED-dimmer mismatch.
Understanding these differences between bulb technologies is key to preventing electrical noise.
Dimmer Switch Smarts: Load Capacity and LED Compatibility
Understanding Dimmer Wattage Ratings
Every dimmer switch has a maximum wattage it can safely handle, known as its load capacity. This is a critical specification that dictates how many bulbs, or how much total power, the dimmer can control without overheating or failing. For example, a dimmer might be rated for a maximum of 600 watts for incandescent bulbs but only 150 watts for LED and CFL bulbs.
It’s crucial to remember that when you switch to LED bulbs, their actual wattage draw is significantly lower than their incandescent equivalents. A 60W equivalent LED bulb might only draw 9W. Therefore, you need to check the dimmer’s specific rating for LEDs, not its general incandescent rating, and ensure the total actual wattage of your chandelier’s LED bulbs doesn’t exceed the dimmer’s LED capacity.
As of 2026, many manufacturers clearly label these distinct load ratings.
Matching Dimmers to Your Fixture
Connecting your chandelier to a dimmer switch without buzzing hinges on ensuring these two components “speak the same electrical language.” This means more than just checking wattage; you need to confirm compatibility. Many older dimmers were designed purely for the simple resistive load of incandescent bulbs. Modern LED bulbs use a more complex electronic driver that requires a dimmer designed to handle that type of load.
If your dimmer switch is an “LED compatible” model, it’s specifically designed to work with the electronic drivers in dimmable LED bulbs. If it’s an older, non-LED-rated dimmer, it likely won’t work well with LEDs, leading to buzzing, flickering, or even damage to the bulbs or dimmer. Always consult the dimmer switch’s packaging or manufacturer specifications, often found on the device itself or in its manual.
You can find these specifications on the manufacturer’s or vendor’s official website.
Step-by-Step: Quieting Your Chandelier’s Buzz
Here’s a methodical approach to diagnosing and eliminating that annoying buzz from your chandelier when using a dimmer switch. Follow these steps carefully, ensuring power is off at the breaker before touching any wiring.
Step 1: Inspect and Identify Your Bulbs
Your first diagnostic step is a thorough inspection of the bulbs currently in your chandelier.
- Check for “Dimmable” Label: Locate each bulb and look for markings that explicitly state “Dimmable” or a compatible dimming symbol. If any bulbs are marked “Non-Dimmable,” they are the most likely cause of the buzzing.
- Note the Bulb Type: Identify whether the bulbs are incandescent, halogen, CFL, or LED. This information will be crucial for the next steps.
- Record Wattage: Note the wattage of each bulb. For LEDs, this is usually much lower than their incandescent equivalent (e.g., “60W Equivalent” might be only 8W actual wattage).
If you find non-dimmable bulbs, the simplest solution is to replace them with dimmable versions of the same type (preferably LEDs for energy efficiency).
Step 2: Assess Your Dimmer Switch Specs
Next, you need to understand the capabilities of your dimmer switch.
- Locate Manufacturer Information: Look for the dimmer switch’s model number or manufacturer’s name. You can often find this printed on the toggle, faceplate, or the body of the switch itself.
- Check the Rating: Review the switch’s packaging, manual, or the manufacturer’s website for its specifications. Pay close attention to:
- Total Maximum Wattage: The highest wattage it can support (often for incandescent loads).
- LED/CFL Maximum Wattage: The specific maximum wattage for LED and CFL bulbs. This is often much lower than the incandescent rating.
- Compatibility Labels: Confirmation that it is designed for LED, CFL, or incandescent loads.
If the dimmer is very old, it might be exclusively designed for incandescent bulbs and won’t perform well with LEDs.
Step 3: Calculate Total Fixture Wattage
Now, determine the total electrical load your chandelier is placing on the dimmer.
- For Incandescent/Halogen Bulbs: Add up the actual wattage of each bulb in the fixture. For example, if you have five 60W incandescent bulbs, the total load is 5 * 60W = 300W.
- For LED/CFL Bulbs: Add up the actual wattage (not the incandescent equivalent) of each bulb. For instance, if you have five 9W LED bulbs, the total load is 5 * 9W = 45W. This calculation is vital for properly matching the load to the dimmer’s capacity.
Step 4: Making the Right Bulb and Dimmer Match
This is where you bring together the information from steps 1, 2, and 3.
- If using Incandescent/Halogen: Ensure the total wattage of your bulbs does not exceed the dimmer’s maximum incandescent wattage rating. If it does, you’re overloading the dimmer, which can cause buzzing or failure.
- If using LED/CFL:
- Confirm LED Compatibility: The dimmer must be rated for LED or CFL loads. A non-LED dimmer will likely buzz, flicker, or fail with LEDs.
- Check LED Wattage Rating: Ensure the total actual wattage of your LED bulbs does not exceed the dimmer’s specific LED maximum wattage rating. This is often significantly lower than its general wattage rating.
If your current bulbs and dimmer aren’t compatible, you’ll need to replace either the bulbs or the dimmer switch to achieve quiet operation.
Step 5: Checking Chandelier Wiring (If Needed)
If you’ve confirmed your bulbs and dimmer switch are compatible, but the buzzing persists, it’s time to look at the chandelier’s internal wiring. Sometimes, a loose connection within the fixture itself can cause electrical noise. This is especially true for older chandeliers or those that have been recently moved or rewired.
- Safety First: Always turn off the power at the circuit breaker before inspecting any part of the chandelier wiring. Double-check that the power is off by trying to turn the light on at the switch.
- Access the Canopy: Remove the chandelier’s canopy (the part that mounts to the ceiling) to expose the wire connections.
- Inspect Connections: Look for any wire nuts that seem loose or wires that have become disconnected. Ensure all connections are secure, with the wires making good contact within their wire nuts.
If you’re not comfortable working with electrical wiring, or if you discover damaged wires or connections, it’s best to stop here and consult a qualified electrician. For those comfortable with basic wiring, ensure all connections are re-secured properly before restoring power and testing.
Common Pitfalls: What NOT to Do When Dimming Chandeliers
When trying to set up a dimmable chandelier, several common mistakes can lead to buzzing, flickering, or even damage to your fixtures and wiring. Understanding these pitfalls can save you a lot of frustration and potential expense. It’s easy to overlook the nuances, but they make a big difference in achieving that smooth, quiet dimming experience.
One of the most frequent errors is assuming that any bulb will work with any dimmer switch. This is rarely the case, especially with the variety of bulb technologies available today. Another mistake is not accounting for the total wattage load when selecting a dimmer.
Overloading a dimmer switch can cause it to overheat, buzz, or fail prematurely, and it can even create a fire hazard.
Here are some key mistakes to avoid:
- Using Non-Dimmable Bulbs: This is the number one reason for buzzing. Always verify your bulbs are explicitly marked as dimmable.
- Ignoring Dimmer LED/CFL Ratings: Many older dimmers are only rated for incandescent loads. Using them with LEDs will almost certainly cause buzzing. Always check the dimmer’s specific rating for LED or CFL compatibility.
- Overloading the Dimmer: Adding up the wattage of all bulbs in your chandelier and ensuring it falls within the dimmer’s specified capacity is crucial. Don’t guess; calculate it.
- Mismatching Bulb Types with Dimmers: Using an LED-only dimmer with incandescent bulbs can sometimes lead to issues, though less commonly than the reverse. Ensure your dimmer is designed for the bulb type.
- Loose Wire Connections: After installation or bulb changes, ensure all wire nuts and connections within the fixture and at the switch are secure.
- Ignoring Fixture Limitations: Some intricate chandeliers, or older fixtures with specific transformer requirements, may not be compatible with all dimmer types.
Avoiding these common issues will significantly increase your chances of a successful, buzz-free installation.
When to Call a Pro for Chandelier Buzzing
While many chandelier buzzing problems can be fixed with a simple bulb swap or by checking dimmer compatibility, there are times when you absolutely should call a qualified electrician. If you’ve gone through the troubleshooting steps and the buzzing persists, or if you’re not entirely comfortable with electrical work, it’s a clear sign to bring in a professional.
You should also seek professional help if you notice any of the following:
- Persistent Buzzing After Double-Checking Everything: If you’ve replaced bulbs with dimmable LEDs, confirmed dimmer compatibility and load capacity, and secured all connections, but the buzz remains, there might be a more complex electrical issue with the fixture or the circuit.
- Flickering Lights: While buzzing is about sound, persistent flickering can indicate a deeper electrical problem with the bulbs, the dimmer, or the wiring itself.
- Sparks or Burning Smells: These are immediate red flags and indicate a potentially dangerous electrical fault. Turn off the power at the breaker and call an electrician immediately. You can find reputable electricians through local professional organizations or by asking for trusted referrals.
- Older or Damaged Fixtures: If your chandelier is very old, or if you suspect damage to its internal wiring or components, an electrician can safely assess and repair it. They can also advise on whether replacing the fixture is more cost-effective than repairing it.
- Uncertainty About Electrical Work: Electricity can be dangerous if mishandled. If you feel a lack of confidence at any stage of the process, involving a professional electrician is the safest and wisest course of action.
Enjoying Buzz-Free Lighting
With the right bulbs, a compatible dimmer switch, and secure wiring, you can enjoy the ambiance of your chandelier without the distracting buzz. The key is thoughtful selection and installation, ensuring all components are working in harmony. This often involves switching to dimmable LED bulbs and verifying that your dimmer is specifically designed to handle LED loads, paying close attention to its maximum wattage rating for this type of bulb.
By taking a methodical approach, like the steps outlined previously, you can troubleshoot and resolve most common issues. This allows you to fully appreciate the layered lighting a dimmable chandelier provides, contributing to a more comfortable and elegant living space. The satisfaction of a quiet, perfectly dimmed room is well worth the effort to get the setup right.


Similar Posts



















