How to Fix a Leaking Shower Head
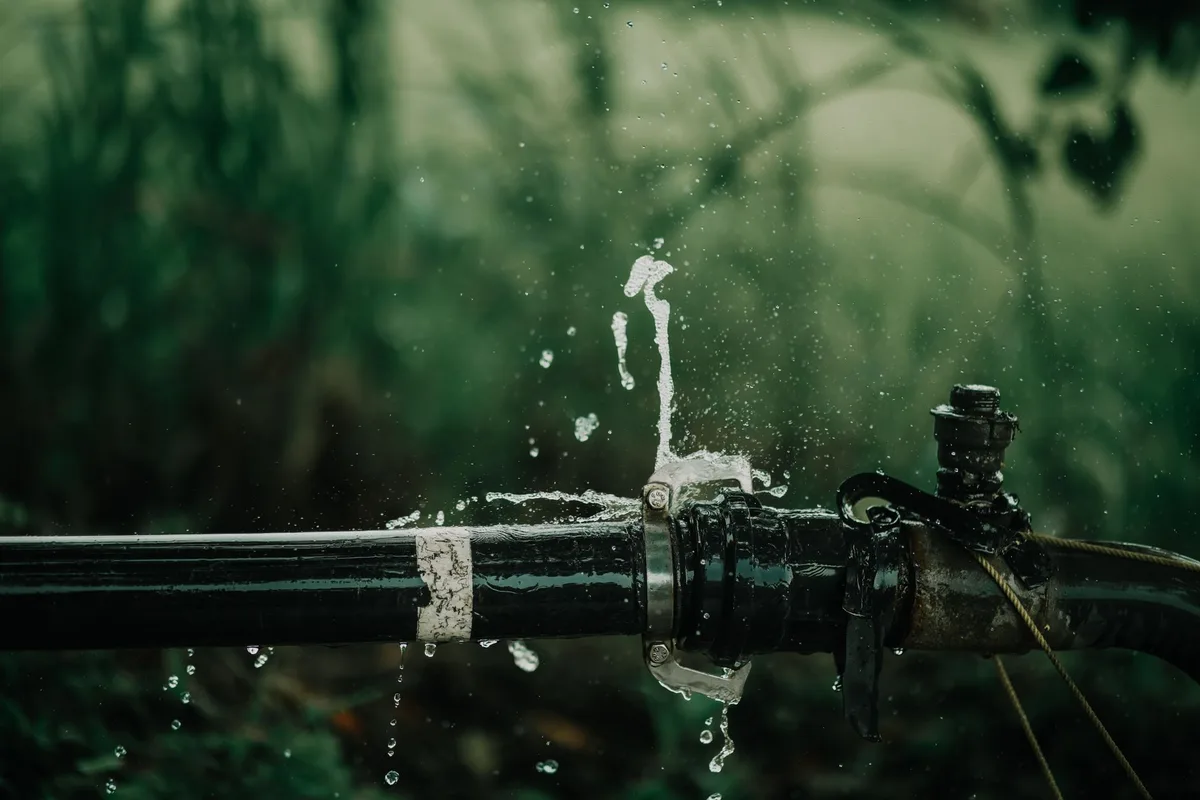
A dripping shower head isn’t just annoying; it wastes water and can lead to higher utility bills and potential water damage. Fortunately, most common shower head leaks are simple to fix yourself with basic tools and a little know-how. This guide will walk you through identifying the source of the leak and implementing the right solution.
We’ll cover everything from a simple washer replacement to tightening loose connections. Let’s get your shower back to silence and efficiency.
Why is My Shower Head Dripping?
Before grabbing your toolbox, understanding why your shower head is leaking is key. The most frequent culprits are:
- Worn-out washer or O-ring: These small rubber or silicone components seal connections and prevent water from escaping. Over time, they can harden, crack, or compress, losing their sealing ability.
- Loose connections: Sometimes, the shower arm (the pipe that connects the shower head to the wall) or the shower head itself simply isn’t screwed on tightly enough.
- Cracked shower head or arm: While less common, physical damage to the shower head or arm can create a leak.
- Sediment buildup: Mineral deposits from hard water can accumulate, hindering proper sealing and causing leaks.
Identifying the specific leak point will dictate the repair method.
Tools You’ll Need
Gathering the right tools beforehand makes the job smoother. For most shower head leak fixes, you’ll likely need:
- Adjustable wrench or pliers
- Teflon tape (plumber’s tape)
- Old rags or towels
- A small bucket or bowl
- Distilled white vinegar (for cleaning mineral deposits)
- A toothbrush or small scrub brush
- Replacement washers or O-rings (if needed, match the size of the old ones)
- Screwdriver (sometimes needed for shower arm escutcheon plates)
Step 1: Turn Off the Water Supply
This is crucial. You don’t want any surprises while you’re working.
- Locate your main water shut-off valve. This is often in your basement, crawl space, garage, or near your water meter.
- Turn the valve clockwise to shut off the water supply to your entire house.
- Test: Turn on a faucet elsewhere in your house to confirm the water is off.
If you have separate shut-off valves for your bathroom or shower, you can use those. However, shutting off the main supply is the safest bet.
Step 2: Identify the Leak Source
Observing where the water is coming from is your next step.
- Leaking from the shower head connection: If water drips from where the shower head screws onto the shower arm, the issue is likely a loose connection or a faulty washer/O-ring.
- Leaking from the shower arm itself: If the shower arm itself is cracked or leaking from its connection to the wall, you might need to replace the entire arm.
- Leaking from the shower head body: This could indicate a crack in the head or significant internal sediment buildup.
Step 3: Tighten the Shower Head
Often, a leak is simply due to a loose connection.
- Grip the shower arm with one hand to keep it from turning in the wall.
- Use your adjustable wrench or pliers to gently tighten the shower head onto the shower arm. Turn it clockwise.
- Don’t overtighten. You want a snug fit, not one that could damage the threads.
- Turn the water back on to test.
If the leak persists, it’s time to investigate further.
Step 4: Replace the Washer or O-Ring
This is the most common fix for leaks at the shower head connection.
- Unscrew the shower head. Use your wrench or pliers if it’s tight, but use a rag to protect the finish. Turn counter-clockwise.
- Inspect the old washer/O-ring. It’s usually located inside the threaded end of the shower head. Look for signs of wear, cracking, or compression.
- Remove the old washer/O-ring. You might be able to pry it out with a small flathead screwdriver or needle-nose pliers.
- Clean the threads. Use a rag to wipe away any old Teflon tape or debris from both the shower head and the shower arm.
- Install the new washer/O-ring. Make sure it sits flush within its groove.
- Apply new Teflon tape. Wrap the threads of the shower arm (where the shower head screws on) with Teflon tape. Wrap it 3-5 times in a clockwise direction. This helps create a waterproof seal.
- Screw the shower head back onto the shower arm. Hand-tighten first, then use your wrench for a final snug turn.
- Turn the water back on and check for leaks.
Step 5: Addressing Leaks from the Shower Arm
If the leak isn’t at the shower head connection but from the shower arm itself, or where the arm enters the wall, here’s how to tackle it.
Replacing the Shower Arm
- Remove the shower head. As described in Step 4.
- Remove the shower arm. You’ll need to unscrew it from the fitting inside the wall. Use an adjustable wrench to grip the shower arm (near the wall, but be careful not to damage the tile or wall finish). Turn counter-clockwise.
- Clean the wall fitting. Wipe away any old tape or debris from the fitting inside the wall.
- Apply Teflon tape to the new shower arm threads. Wrap it clockwise, 3-5 times.
- Screw the new shower arm into the wall fitting. Hand-tighten, then use your wrench for a snug fit. Ensure the arm is positioned correctly for your shower head.
- Reinstall the shower head (with a new washer if needed).
- Turn on the water and test.
Dealing with the Escutcheon Plate
The escutcheon plate is the decorative plate that covers the hole where the shower arm enters the wall. Sometimes, leaks can appear to be from the arm but are actually coming from behind this plate.
- Remove the shower arm as described above.
- Gently pull the escutcheon plate away from the wall. Some plates are just friction-fit, while others may have small screws.
- Inspect the seal behind the plate. If it’s a putty or caulk seal, you may need to reapply it. If it’s an O-ring, check for damage.
- Clean the area thoroughly.
- Reapply sealant or replace the O-ring.
- Slide the escutcheon plate back into place.
- Reinstall the shower arm and shower head.
- Turn on the water to test.
This is a good time to consider your plumbing maintenance, much like ensuring filter maintenance is up-to-date on appliances.
Step 6: Cleaning Mineral Buildup (Descaling)
Hard water can cause mineral deposits to clog parts of your shower head, leading to drips and reduced water pressure.
- Remove the shower head from the shower arm.
- Submerge the shower head in white vinegar. You can do this by placing it in a bowl or bag filled with white vinegar. For heavily clogged heads, soaking overnight is often effective.
- Scrub with a toothbrush. After soaking, use a toothbrush or small scrub brush to gently dislodge any remaining mineral deposits from the nozzles and internal crevices.
- Rinse thoroughly. Run hot water through the shower head to flush out any loosened debris.
- Reinstall the shower head. If you removed a washer, reseat it properly.
- Test for leaks and improved spray.
If your shower head is heavily corroded or the spray pattern is permanently distorted, it might be time for a new one. This is a simple DIY replacement, similar to other basic home repairs you might tackle. For instance, understanding seasonal prep for outdoor equipment can translate to similar maintenance thinking for your home fixtures.
Step 7: When to Consider a New Shower Head
If you’ve tried all the above steps and your shower head is still leaking, or if it’s old and showing significant wear and tear, it’s likely time for a replacement. This is a straightforward DIY project that can dramatically improve your shower experience and resolve persistent leaks.
When choosing a new shower head, consider:
- Spray patterns: Look for adjustable settings that suit your needs (e.g., massage, rainfall).
- Water efficiency: Many modern shower heads are designed to conserve water without sacrificing performance. For example, some EPA WaterSense-certified models use at least 20% less water than standard models. You can find more information on efficient fixture standards from the Environmental Protection Agency.
- Finish: Match the finish to your existing bathroom hardware.
- Ease of installation: Most shower heads are designed for simple screw-on installation.
Troubleshooting Persistent Leaks
- The leak is intermittent: This often points to a failing washer or O-ring that momentarily seals, then leaks again. Sometimes, sediment can temporarily block a leak.
- The leak is from the connection to the wall: This is less common but could indicate a problem with the fitting inside the wall. You might need to call a plumber if you’re not comfortable with more extensive wall plumbing work.
- You replaced parts, but it still leaks: Double-check that you used the correct size washer or O-ring, applied Teflon tape correctly, and that all connections are snug. Inspect the shower arm and head for any hairline cracks that might not be immediately obvious. A professional might be needed for more complex internal issues within the shower valve itself, which isn’t typically part of shower head repair.
Fixing a leaking shower head is a common home maintenance task that often saves you money and prevents water waste. By following these steps, you can tackle most leaks with confidence. Remember, proper maintenance, like checking your vacuum filter replacement schedule, is key to preventing bigger issues down the line.
- DIY Home Repairs
- Plumbing
- Home Maintenance
Image source: Pexels / aamir dukanwala (Pexels License)


Similar Posts



















