How to Install a Toilet Flush Valve
How to Install a Toilet Flush Valve: A Step-by-Step Guide
A leaky or inefficient toilet can be a real nuisance, sending your water bill soaring and creating an unwelcome smell. Often, the culprit is a worn-out flush valve. Replacing this component is a surprisingly straightforward DIY task that can save you money and restore your toilet's performance.
This guide will walk you through everything you need to know to install a new toilet flush valve with confidence.
We’ll cover identifying the right valve, gathering your tools, and executing the installation process step-by-step. Whether you're tackling this for the first time or need a refresher, you'll be flushing like a pro again in no time.
The flush valve is the main component responsible for releasing water from your tank into the bowl. It sits at the bottom of the tank, sealed by a flap that opens when you flush. Over time, this flap can degrade or the valve seat can become damaged, leading to leaks.
A faulty flush valve is often characterized by the toilet running continuously, or a slow leak that causes the "phantom flush" where the tank refills periodically without anyone using the toilet.
Understanding Your Toilet Flush Valve
Before you can install a new one, it's crucial to understand what you're dealing with. The flush valve assembly typically consists of a few key parts:
- The Valve Body: This is the main cylindrical piece that threads into the bottom of the toilet tank.
- The Flapper: A rubber or plastic piece that seals the opening at the bottom of the valve body. It's connected to the flush lever via a chain.
- The Overflow Tube: This is a tall tube that runs up from the valve body. Its purpose is to prevent the tank from overflowing if the flapper fails to seal properly.
- The Valve Seat: The surface at the bottom of the valve body where the flapper creates a seal.
Most modern toilets use a "4-inch" flush valve, but older toilets might have a smaller "2-inch" valve. It's essential to get the correct size and type for your specific toilet model. If you're unsure, taking a picture of your current valve or bringing the old one to the hardware store is a good bet.
Many universal flush valve kits are available and will fit most standard toilets.
Types of Toilet Flush Valves
While the basic function is the same, there are a few variations to be aware of:
- Standard Flapper Valves: These are the most common type, featuring a hinged rubber or plastic flapper that lifts to allow water to flow.
- Seal Valves (or Cup Valves): Less common in residential settings, these use a rubber cup that lifts away from a seat.
- Dual-Flush Valves: These allow you to choose between a full flush and a reduced flush, saving water. If your toilet has dual buttons on the tank lid, you likely have this type. Replacing these can be a bit more complex, so ensure you get the exact replacement designed for your dual-flush system.
For most homeowners, a direct replacement of a standard flapper valve is the most likely scenario.
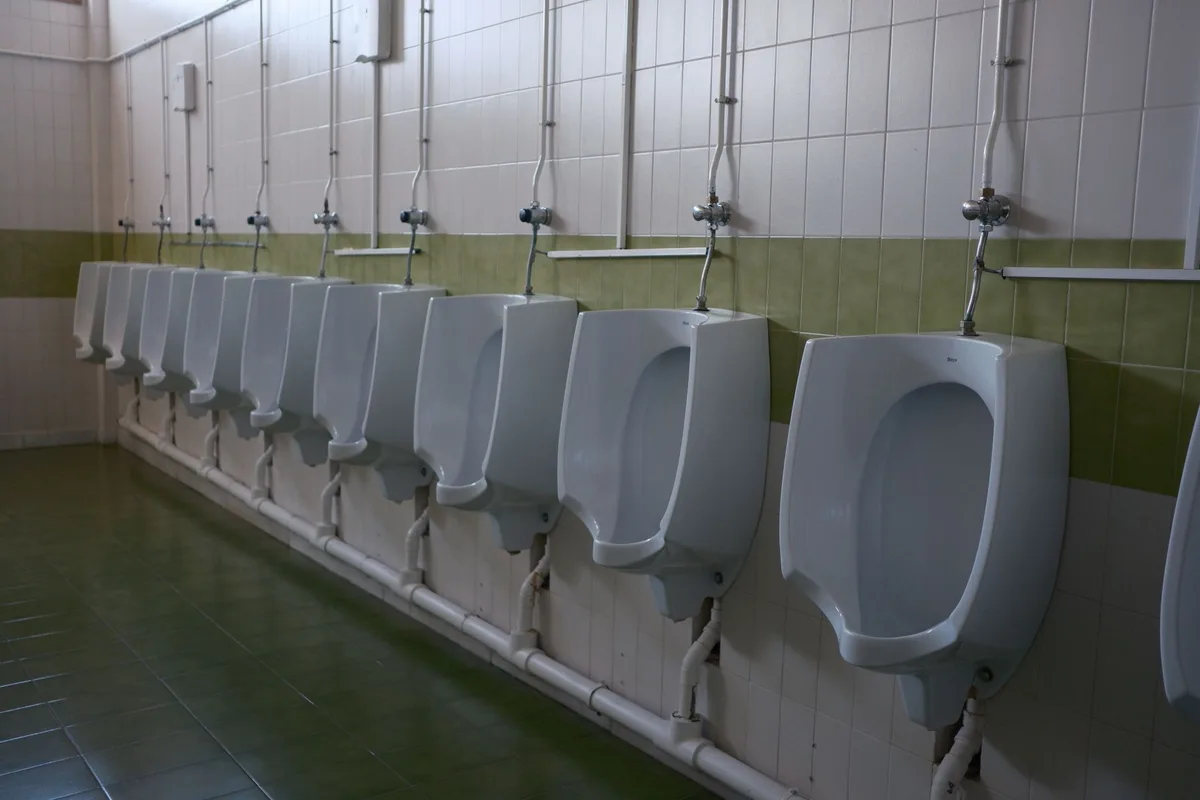
Image source: Pexels / Ramon Karolan
Tools and Materials You'll Need
Gathering your supplies before you start will make the process smooth and efficient. You won't need a lot of specialized tools, and most of them are probably already in your toolbox.
Here's what you should have on hand:
- New Toilet Flush Valve Kit: Make sure it's compatible with your toilet.
- Adjustable Wrench or Pliers: For loosening and tightening the locknut that secures the valve.
- Sponge and Towels: For soaking up residual water.
- Bucket: To catch any remaining water.
- Gloves: To keep your hands clean.
- Screwdriver (Phillips or Flathead): Sometimes needed to remove trim pieces or adjust parts.
- Scrub Brush (Optional): To clean the tank bottom before installing the new valve.
- Plumber's Putty or Silicone Sealant (Optional, check valve instructions): Some valves may recommend this for an extra seal, though most modern ones have built-in gaskets.
Step-by-Step Installation Guide
Now for the hands-on part. Follow these steps carefully to ensure a successful flush valve replacement.
Step 1: Turn Off the Water Supply and Empty the Tank
This is the absolute first step. You don't want to be dealing with a gushing water supply while trying to work on the toilet tank.
- Locate the Shut-Off Valve: Look for a small valve on the wall behind or beside the toilet, usually connected to the water supply line.
- Turn Off the Water: Turn the handle clockwise until it's snug. Don't overtighten.
- Flush the Toilet: Flush the toilet to drain most of the water from the tank.
- Clean Up Residual Water: Use your sponge to soak up any remaining water from the bottom of the tank. Place towels on the floor around the base of the toilet to catch drips. You can also use a bucket to scoop out as much water as possible.
Step 2: Disconnect the Water Supply Line
With the tank empty, you can now disconnect the water line from the tank.
- Loosen the Coupling Nut: The water supply line connects to the fill valve assembly on the underside of the tank. Use your adjustable wrench or pliers to loosen the coupling nut where the supply line meets the tank.
- Have Towels Ready: Be prepared for a little water to spill out.
Step 3: Remove the Old Flush Valve Assembly
This is where you'll start seeing the old flush valve come out.
- Locate the Locknut: Underneath the toilet tank, you'll see a large plastic or metal locknut that secures the flush valve assembly to the tank.
- Loosen and Remove the Locknut: Use your adjustable wrench or pliers to turn the locknut counter-clockwise. It might be a bit tight, so apply steady pressure.
- Lift Out the Old Valve: Once the locknut is completely removed, you should be able to lift the old flush valve assembly straight up and out of the tank. Be mindful of any remaining water inside the valve.
Step 4: Clean the Tank Bottom
Before installing the new valve, take a moment to clean the area where it sits.
- Scrub Away Debris: Any sediment or mineral deposits can compromise the seal of your new valve. Use a scrub brush and some water to clean the surface at the bottom of the tank where the flush valve mounts.
Step 5: Install the New Flush Valve
Now it's time to put in the new component. Most universal flush valve kits come with clear instructions, but the general process is as follows:
- Position the New Valve: Insert the new flush valve assembly into the hole at the bottom of the tank. Ensure it's seated correctly. The overflow tube should be on the inside of the tank.
- Secure with the Locknut: From underneath the tank, thread the new locknut onto the flush valve. Tighten it hand-tight first, then use your wrench or pliers to snug it up. Don't overtighten, as this can crack the tank or the valve. The rubber gasket should be creating a good seal.
Step 6: Reconnect the Water Supply Line
Connect the water supply line back to the new fill valve assembly.
- Thread the Coupling Nut: Hand-thread the coupling nut of the supply line onto the fill valve.
- Tighten Gently: Use your wrench or pliers to tighten it, but again, don't overtighten. A snug fit is all that's needed.
Step 7: Test the New Flush Valve
This is the moment of truth!
- Turn On the Water Supply: Slowly turn the water shut-off valve counter-clockwise to restore water flow to the toilet tank.
- Check for Leaks: Listen for any hissing sounds and visually inspect the area around the new flush valve and the water supply line connection for any drips.
- Let the Tank Fill: Allow the tank to fill completely.
- Flush the Toilet: Flush the toilet several times. Listen for any continuous running sounds or signs of leaks. The flush should be strong and the tank should fill and shut off properly.
- Adjustments: If you notice a slight leak, you might need to slightly tighten the locknut on the flush valve. If the water level in the tank is too high or too low, you may need to adjust the fill valve float.
Tips for a Smooth Installation
- Read the Valve Instructions: Always refer to the specific instructions that come with your new flush valve kit. Manufacturers may have slight variations in their assembly.
- Don't Force Anything: If a part feels stuck, don't force it. Re-evaluate your steps or check for obstructions.
- Take Pictures: If you're unsure about how something comes apart or goes back together, take a few pictures with your phone before you start disassembling.
- Consider Replacing Other Parts: While you're in the tank, it's a good time to inspect other components like the flapper chain, flush lever, and fill valve. Worn-out parts in these areas can also affect flushing performance. A consistent need to adjust the float on your fill valve might indicate it's time for replacing vacuum filter components, ensuring your toilet operates at peak efficiency.
Common Toilet Flush Valve Problems and Solutions
Even with a new flush valve, you might encounter a few issues. Here's how to troubleshoot:
Toilet Runs Continuously
- Cause: The flapper isn't creating a proper seal, or the water level is set too high.
- Solution:
- Check the flapper for debris or damage. Clean it or replace it if necessary.
- Ensure the flapper chain isn't too tight, preventing the flapper from seating fully.
- Adjust the fill valve float to lower the water level, so it stops filling before it reaches the overflow tube.
Slow or Weak Flush
- Cause: The flapper is opening too slowly, or the water level is too low.
- Solution:
- Adjust the flapper chain so it has a little slack, allowing the flapper to lift fully.
- Check the fill valve float and adjust it to raise the water level in the tank.
Water Leaking Around the Base of the Flush Valve
- Cause: The locknut isn't tight enough, or the gasket is damaged.
- Solution:
- Gently tighten the locknut under the tank.
- If tightening doesn't resolve the leak, the gasket on the flush valve may be faulty. You might need to replace the entire flush valve assembly.
When to Call a Professional
While replacing a toilet flush valve is a common DIY project, there are times when seeking professional help is the best course of action.
- Unsure About the Type of Toilet/Valve: If you have a high-efficiency toilet, a pressure-assist toilet, or a complex dual-flush system and aren't comfortable with the process, call a plumber.
- Persistent Leaks: If you've followed all the steps and are still experiencing leaks, there might be a more significant issue with the tank or the toilet base.
- Cracked Tank: If you notice any cracks in the ceramic tank, it's time to replace the entire toilet.
- Lack of Confidence: If you're feeling overwhelmed or unsure at any point, it's always better to let a professional handle it to avoid potential damage.
Replacing a toilet flush valve is a rewarding DIY project that directly impacts your home's plumbing efficiency and your water bill. By following these steps, you can confidently tackle this repair and enjoy a properly functioning toilet. Remember to work methodically, gather your tools, and always turn off the water supply before you begin.
If you find yourself needing to choose a vacuum for your home, consider how well it handles different floor types.


Similar Posts



















