How to Install Bathtub Doors on Existing Tub
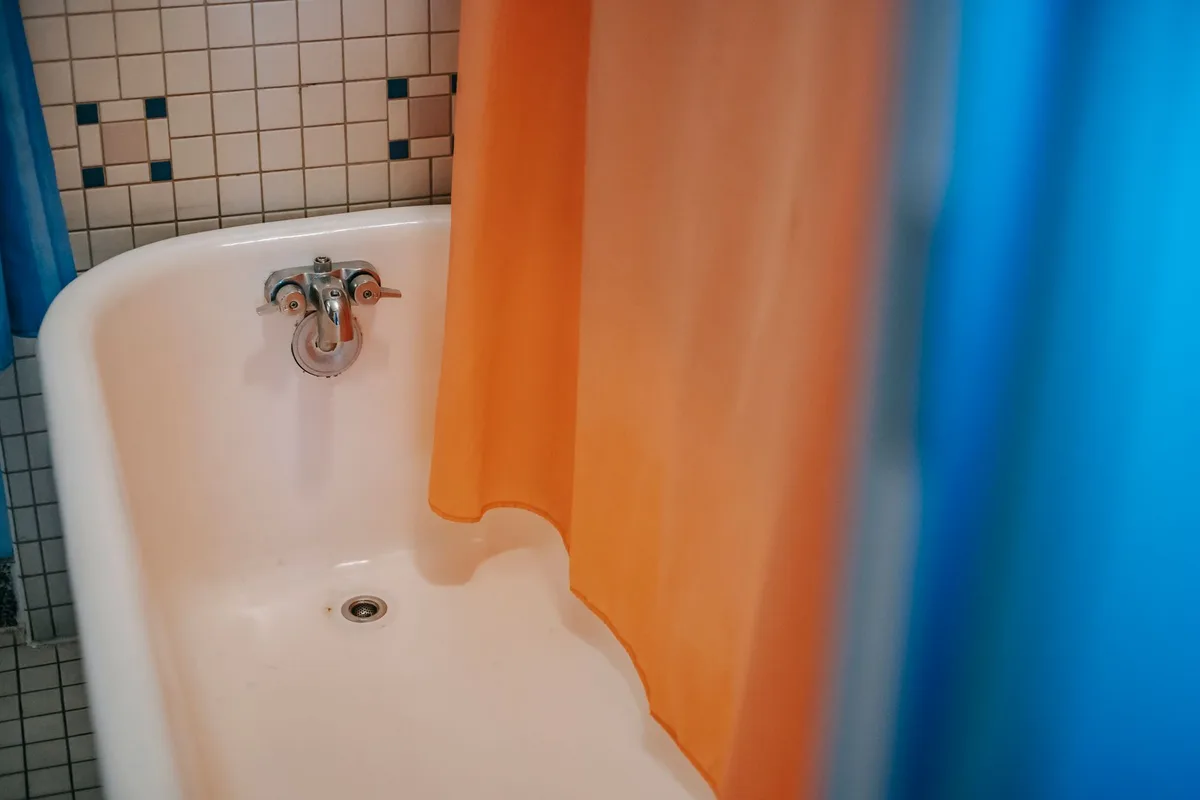
Tired of water splashing everywhere after a shower? Or are you looking to add a touch of modern elegance to your bathroom? Installing bathtub doors on your existing tub is a fantastic way to upgrade functionality and aesthetics.
It’s a project that’s often more accessible than you might think. We’ll walk you through the entire process, from choosing the right doors to the final sealing. Get ready to say goodbye to shower curtains and hello to a sleek, modern bathing space.
Why Install Bathtub Doors?
Before we dive into the “how,” let’s touch on the “why.” Bathtub doors offer a significant upgrade over traditional shower curtains. They create a more contained showering space, preventing water from escaping onto your bathroom floor. This means less cleanup and a drier, safer bathroom.
Beyond practicality, they add a polished, sophisticated look. Framed or frameless, glass doors instantly elevate the perceived value and style of your bathroom. They can make a small bathroom feel more open and airy by reflecting light and eliminating visual clutter.
Plus, they’re generally easier to clean than constantly washing or replacing shower curtains.
Types of Bathtub Doors
There are several types of bathtub doors to consider. Understanding these will help you choose the best fit for your tub and style.
Sliding Doors
These are perhaps the most common type. They consist of two or more panels that slide horizontally along a track. One panel typically remains stationary while the other slides in front of it.
Sliding doors are excellent for standard tubs where space for the doors to swing outwards might be limited. They offer a good balance of functionality and ease of use.
Bi-Fold Doors
Bi-fold doors have panels that fold in on themselves. This design allows for a wider opening when stepped out of the tub but takes up less space than swinging doors. They can be a great option for tubs where you want full access but have constraints on the width of the opening.
Pivot Doors (Hinged Doors)
Pivot doors swing outwards from a fixed point, much like a traditional door. They offer a clean, streamlined look. This type requires more clearance in front of the tub for the door to swing open fully.
They can feel more luxurious and provide effortless entry.
By-Pass Doors
Similar to sliding doors, by-pass doors have multiple panels that slide past each other. This means you can open up a larger portion of the tub opening. They are very practical for most standard tub sizes and offer easy access.
Framed vs. Frameless
- Framed doors have aluminum or metal frames around the glass panels. These frames add strength and can be simpler to install. They often come in a variety of finishes to match bathroom hardware.
- Frameless doors offer a minimalist, high-end look. They use thicker glass and specialized hardware for support. While they can be more expensive, they provide a sleek, modern aesthetic and are often easier to clean as there are fewer crevices for soap scum to build up.
Planning Your Installation
Proper planning is key to a smooth installation. Don’t underestimate this step!
Measure Your Tub Accurately
This is the most critical step. You need precise measurements to ensure your new doors fit perfectly.
- Width: Measure the width of your tub opening from the finished wall surface on one side to the finished wall surface on the other. Measure at the top, middle, and bottom.
- Height: Measure from the top edge of the tub to the showerhead or the desired height for the top of the door. Measure in at least two different spots across the width.
- Depth: Measure the depth of the tub’s rim where the door track will sit.
Always double-check your measurements. It’s better to measure twice, cut (or order) once.
Choose the Right Door Kit
Once you have your measurements, you can select a bathtub door kit. Many kits come with adjustable components to accommodate slight variations. Always compare your measurements to the dimensions specified on the product packaging or in the installation manual.
Gather Your Tools and Materials
Having everything ready before you start will save you time and frustration. You’ll likely need:
- Your bathtub door kit: Ensure all parts are present and undamaged.
- Measuring tape: A sturdy, retractable metal tape is best.
- Level: A 2-foot or 4-foot level will be crucial for ensuring straight lines.
- Drill and drill bits: You’ll need bits appropriate for drilling into tile or drywall.
- Screwdriver set: Phillips head and flathead.
- Caulking gun: For applying sealant.
- Utility knife or sharp blade: For trimming caulk and packaging.
- Pencil or marker: For marking drill points.
- Safety glasses: Essential for protecting your eyes.
- Work gloves: To protect your hands.
- Drop cloths or old towels: To protect your tub and floor from scratches and debris.
- Rubbing alcohol or cleaner: For preparing surfaces.
- Silicone caulk: Specifically designed for bathrooms and kitchens, often mildew-resistant.
- Stud finder: If you need to secure tracks to wall studs.
Read the Manufacturer’s Instructions
Every bathtub door kit is slightly different. The manufacturer’s installation manual is your primary guide. Read it thoroughly before you begin.
Familiarize yourself with the specific steps for your chosen model. If there are any discrepancies between the manual and general advice, always lean towards the manufacturer’s instructions.
Step-by-Step Installation: A General Guide
This guide provides a general overview. Always refer to your specific product’s manual for precise details.
Step 1: Prepare the Tub and Surrounding Area
Cleanliness is paramount. Any dust, soap scum, or old caulk will prevent a good seal and proper adhesion.
- Remove any existing shower doors or curtains.
- Clean the tub rim and the wall surfaces where the door tracks will be installed. Use a bathroom cleaner and a scraper if necessary to remove old caulk or adhesive.
- Dry the area thoroughly. Moisture can interfere with caulk adhesion.
- Lay down drop cloths to protect your tub and floor from tools and debris.
Step 2: Install the Vertical Wall Channels (if applicable)
Many door systems have vertical channels that attach to the side walls.
- Position the first vertical channel. Align it with the edge of the tub wall, ensuring it’s perfectly plumb using your level. The edge of the channel should be flush with the wall surface where the door will meet.
- Mark the drill holes. Use a pencil to mark where you’ll drill.
- Pre-drill the holes. Use a drill bit slightly smaller than your screws. If drilling into drywall, consider using wall anchors for a secure fit. If you hit a stud, consider it a bonus for extra stability.
- Screw the channel into place. Don’t overtighten, as this can strip the holes or crack the channel.
Repeat this process for the other side wall.
Step 3: Install the Top and Bottom Tracks
The tracks are the foundation for your sliding or pivoting doors. Accuracy here is vital for smooth operation.
- Position the top track. Place the top track along the top edge of your tub wall, ensuring it is centered and perfectly level. It should line up with the vertical channels you just installed. If your track has a lip that sits inside the tub, make sure it’s positioned correctly.
- Mark the drill holes. Carefully mark where you need to drill.
- Pre-drill as you did for the vertical channels.
- Secure the top track. Use screws to attach the track firmly.
Image source: Pexels / Charlotte May (Pexels License)
- Position the bottom track. The bottom track usually sits on the tub rim. Ensure it’s positioned to allow the doors to slide or swing smoothly without hitting the tub edge. It must be parallel to the top track.
- Mark and drill holes. This step might involve drilling into the tub rim itself, depending on the design. Be cautious and ensure you’re using the correct drill bits for the material. Some kits might have adhesive strips, but most will require screws for security.
- Secure the bottom track.
Pro Tip: For stubborn tracks or to ensure a perfect fit, you might temporarily place the doors into the tracks to check alignment before permanently screwing everything down.
Step 4: Install the Tub Doors
This is where your tub starts to look like it has a shower door!
- For sliding or by-pass doors:
- Install the rollers. Most sliding doors have rollers at the top and sometimes at the bottom. They often snap or slide into place on the door panel.
- Hang the doors. Carefully lift each door and place its rollers into the top track. You might need to tilt the door to get it in. Some systems have a release mechanism on the rollers to help with installation.
- Engage the bottom guides. Ensure the bottom edge of the door is properly seated in the bottom track or guide.
- For pivot doors:
- Attach the pivot hardware. This typically involves attaching a hinge plate to the door and a corresponding pivot point to the track or wall channel.
- Hang the door. Align the pivot hardware and carefully hang the door. You may need assistance to keep the door stable.
- Adjust as needed. Pivot doors often have adjustment screws to ensure they swing smoothly and seal properly.
Step 5: Make Adjustments for Smooth Operation
Once the doors are in place, test their movement.
- Slide or swing them open and closed. They should move smoothly without scraping or binding.
- Check for alignment. Ensure the doors meet squarely in the middle (if applicable) and seal against the side walls.
- Adjust rollers or hinges. Most systems have adjustment screws that allow you to fine-tune the door’s position and ensure a tight seal. Refer to your manual for specific adjustment procedures.
Step 6: Caulk and Seal
This is a crucial step for preventing leaks.
- Apply a bead of silicone caulk. Run a continuous bead of bathroom-grade silicone caulk along the entire length of the vertical wall channels where they meet the wall, and along the bottom track where it meets the tub rim. Also, caulk around any exposed screw heads for added protection.
- Smooth the caulk. Use a wet finger or a caulk-smoothing tool to create a clean, professional-looking bead. This forces the caulk into any gaps and forms a watertight seal.
- Allow the caulk to cure. Check the caulk manufacturer’s instructions for drying and curing times. This can take 24 hours or more. Avoid using the shower until the caulk has fully cured.
Maintaining Your New Bathtub Doors
Proper maintenance will keep your new doors looking great and functioning for years to come.
- Regular Cleaning: Wipe down the glass and tracks after each use to prevent soap scum buildup. Use a mild bathroom cleaner and a microfiber cloth.
- Deep Cleaning: Periodically, you’ll want to do a more thorough cleaning. Use a cleaner specifically designed for glass shower doors. For stubborn hard water spots, a solution of equal parts white vinegar and water can work wonders. Avoid abrasive cleaners that can scratch the glass.
- Check Seals: Inspect the caulk and any seals periodically. If you notice any signs of wear, cracking, or mold growth, it’s time to re-caulk. A good seal is key to preventing water damage to your walls and floors.
- Lubricate Tracks: For sliding doors, the tracks can sometimes become sticky. Apply a silicone-based lubricant to the tracks occasionally to ensure smooth operation. Avoid oil-based lubricants, as they can attract dirt and grime.
- Tighten Hardware: Over time, screws and other hardware might loosen slightly. Periodically check and tighten them as needed, being careful not to overtighten.
When to Call a Professional
While many people can successfully install bathtub doors themselves, there are times when it’s best to call a professional.
- Complex Door Systems: If you’ve chosen a high-end, custom, or particularly intricate door system, a professional installer will have the expertise and tools to handle it correctly.
- Wall or Tub Issues: If your existing walls are uneven, damaged, or if your tub has an unusual shape, a professional can assess and address these issues before installation.
- Lack of Confidence or Time: If you’re not comfortable with DIY projects or simply don’t have the time, hiring a professional is a worthwhile investment for peace of mind and a perfect finish.
- Tiled Walls: While not impossible for DIYers, installing on tile can be trickier. Professionals have specialized bits and techniques to drill into tile without cracking it.
Conclusion
Installing bathtub doors on your existing tub is a rewarding project that can significantly enhance your bathroom’s look and functionality. By carefully planning, measuring, and following the steps in your manufacturer’s guide, you can achieve professional-looking results. Remember to prioritize safety, gather all your tools, and don’t rush the process.
A well-installed set of bathtub doors will provide years of enjoyable, splash-free showering and add lasting value to your home. Enjoy your refreshed bathing experience!


Similar Posts



















