How to Make a Bathtub Non Slip for Seniors
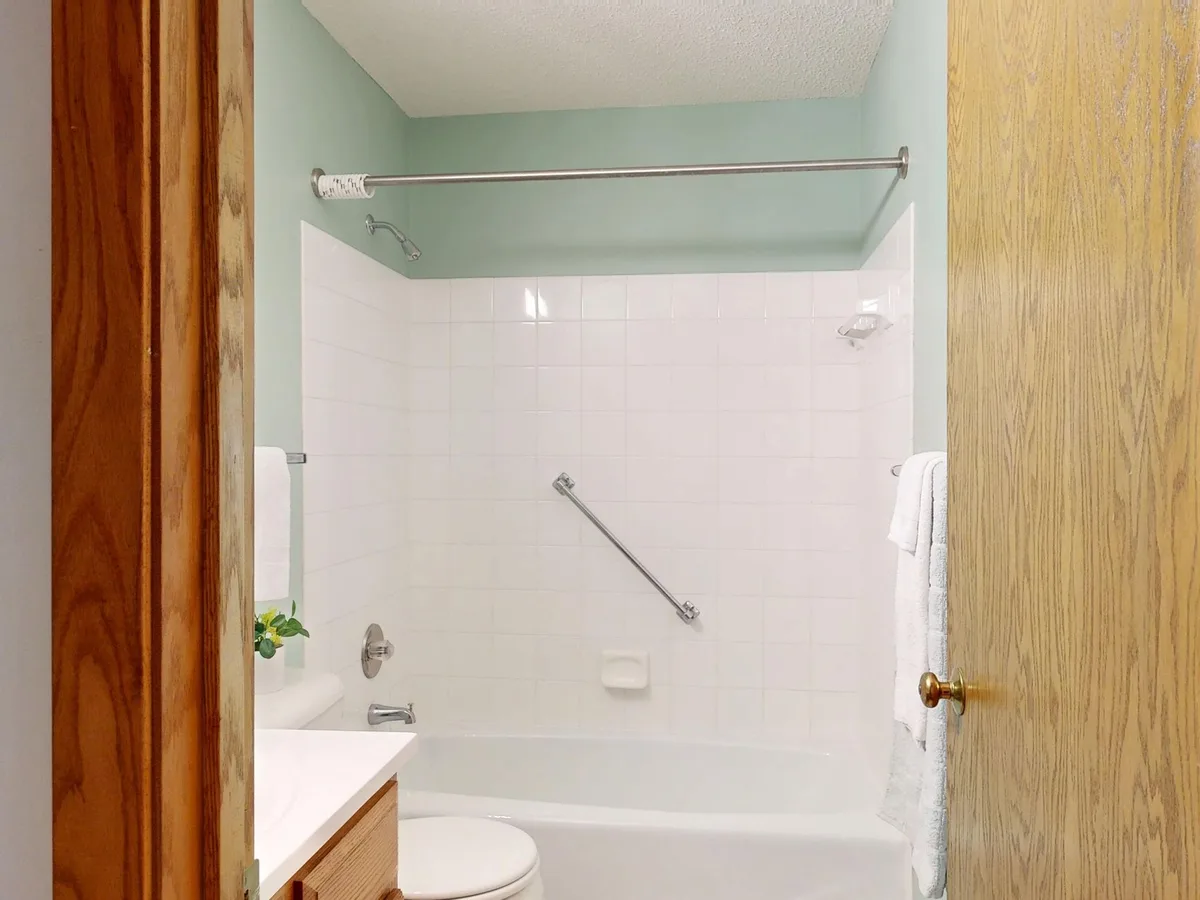
Stepping into a bathtub should be a moment of relaxation and rejuvenation, not a source of anxiety. For seniors, however, the slippery surfaces of a bathtub can pose a significant fall risk, leading to injuries that impact independence and quality of life. Falls in the bathroom are all too common, and simple preventative measures can make a world of difference.
This article dives deep into effective, practical ways to make a bathtub non-slip for seniors, ensuring safety and confidence with every bath or shower. We’ll explore a range of solutions, from easy DIY fixes to more permanent installations, all designed to provide a secure footing.
Understanding the Slip Risk in Bathtubs
Bathtubs, by their very nature, are water-rich environments. Soap, shampoo, and the smooth, often enameled surface of the tub itself create a slick canvas. For seniors, this risk is amplified due to potential changes in balance, mobility, vision, and muscle strength that can come with age.
A loss of grip or a misstep can quickly turn into a serious fall. Identifying the specific hazards within the bathing area is the first step toward mitigating them. This includes not only the tub floor but also the surrounding areas where water might spill.
Easy and Affordable Non-Slip Solutions
You don’t need a major renovation to boost tub safety. Many simple, budget-friendly options can offer immediate improvements.
Non-Slip Bath Mats
Perhaps the most popular and accessible solution is the non-slip bath mat. These mats are designed with textured surfaces and suction cups on the underside to grip the tub floor securely.
- Material Matters: Look for mats made from durable rubber or PVC. These materials offer good grip and are generally resistant to mold and mildew, though regular cleaning is still recommended.
- Size and Coverage: Ensure the mat is large enough to cover the primary standing area of the tub where you’ll be showering or bathing. A mat that’s too small might not provide adequate coverage.
- Placement: Place the mat inside the tub, ensuring all suction cups are pressed firmly against the surface. For extra security, some users opt for a mat for the inside of the tub and a separate absorbent mat for just outside the tub to catch drips.
- Maintenance: Wash the mat regularly in the washing machine or by hand to remove soap scum and prevent mildew growth. Letting it air dry completely after each use also helps.
Adhesive Non-Slip Strips and Decals
For a more integrated look, adhesive non-slip strips or decals are a great choice. These are typically small, self-adhesive pieces that you stick directly onto the tub floor.
- Application: Clean and dry the tub surface thoroughly before applying. Peel off the backing and press each strip or decal firmly into place, smoothing out any air bubbles.
- Design: These come in various shapes and sizes, from simple strips to decorative patterns. They offer a discreet yet effective way to add traction.
- Durability: Good quality adhesive strips can last for a considerable time, but they may eventually peel up, especially with frequent use or harsh cleaning. Replacing them is straightforward.
- Variety: Some products are made from a textured, sandpaper-like material, while others are made of a gel or rubberized substance. The sandpaper-like options tend to provide superior grip.
Non-Slip Bath Tapes
Similar to strips, bath tapes offer a continuous line of grip. These are often wider than individual strips and can be cut to size, allowing for customized coverage of the tub floor.
- Customization: You can create a pattern or cover the entire designated standing area with tape for maximum slip resistance.
- Application: The application process is similar to strips, clean the tub, peel, and stick. Ensure a firm press for adhesion.
- Longevity: Like adhesive strips, the longevity of the tape depends on quality and usage. Look for products specifically designed for wet environments and high traffic.
More Permanent Safety Enhancements
If you’re looking for solutions that offer long-term, robust safety, consider these more involved options.
Installing Grab Bars
While not directly making the tub surface non-slip, grab bars provide crucial support for seniors entering, exiting, and maneuvering within the tub. They offer a stable point of contact to prevent falls if a slip does occur.
- Placement is Key: Position grab bars where they are most needed, near the entry point of the tub, along the sides, and potentially behind where the user typically stands.
- Types of Grab Bars:
- Screw-in Grab Bars: These are permanently installed and offer the most secure support. They require drilling through the tub wall or surrounding tiles. This is the gold standard for safety if feasible.
- Suction Cup Grab Bars: These are temporary and attach via suction. While convenient, they are NOT recommended for primary fall prevention as they can disengage unexpectedly. They are best used as a minor aid rather than a primary safety feature.
- Professional Installation: For screw-in grab bars, it’s highly recommended to have them professionally installed to ensure they are anchored into wall studs for maximum strength. This is a critical safety measure. We’ve seen many instances where improper installation leads to failure during use.
Image source: Pexels / Peter Vang (Pexels License)
Installing a Shower Seat or Bench
A shower seat or bench can significantly enhance safety by allowing seniors to sit while bathing, eliminating the need to stand for extended periods.
- Types:
- Wall-Mounted Seats: These fold up when not in use and offer very sturdy support, but require professional installation into wall studs.
- Freestanding Shower Chairs/Stools: These sit inside the tub and don’t require installation. They often have adjustable legs and non-slip feet. Ensure they are stable and fit well within the tub space.
- Benefits: Reduces fatigue, improves stability, and makes bathing a less strenuous activity.
Textured Tub Coatings
There are specialized non-slip coatings that can be applied directly to the bathtub surface. These create a more permanent textured finish, similar to fine-grit sandpaper, that dramatically reduces slipperiness.
- Application: These kits usually involve cleaning the tub thoroughly, mixing chemicals, and applying the coating with a roller or brush. They often require several hours of curing time.
- DIY vs. Professional: While DIY kits are available, achieving an even and durable finish can be challenging. Professional application may be a worthwhile investment for a consistent, long-lasting result.
- Durability: A well-applied coating can last for years. However, it can be difficult to remove if you decide to change your mind later and may require specialized cleaning methods.
Safety Beyond the Tub Surface
Creating a non-slip environment extends beyond the immediate confines of the bathtub.
Non-Slip Mats Outside the Tub
Water can drip from the body after a bath or shower, creating slick areas on the bathroom floor. A sturdy, absorbent mat placed immediately outside the tub or shower can catch this moisture.
- Absorption: Choose mats made from absorbent materials like cotton or microfiber that can dry quickly.
- Grip: Ensure the underside of these mats has a non-slip backing to prevent them from sliding on the floor.
- Regular Cleaning: Like bath mats, these should be cleaned regularly to prevent mildew and maintain their absorbency.
Lighting in the Bathroom
Good lighting is crucial for seniors to see where they are stepping, both inside and outside the tub.
- Bright and Even: Ensure the bathroom is well-lit with bright, even lighting. Consider adding a light directly over the shower area if possible.
- Night Lights: Motion-activated night lights can be very helpful for navigating the bathroom safely during the night, reducing the risk of falls in the dark.
Water Temperature Control
While not a “non-slip” measure directly, ensuring water temperature is regulated prevents scalds, which can also lead to a loss of balance and falls. Thermostatic mixing valves are a good investment for showers and bath faucets.
Maintaining Your Non-Slip Solutions
No non-slip solution is maintenance-free. Regular upkeep is essential to ensure they continue to provide safety.
- Cleaning: Soap scum, mildew, and dirt can build up on any non-slip surface, making it less effective and potentially more slippery. Clean your mats, strips, and coated surfaces regularly with a mild cleaner and a scrub brush.
- Inspection: Periodically check all non-slip features for signs of wear and tear, peeling adhesive, or loose suction cups. Replace any components that are no longer adhering securely or showing damage.
- Drying: Allow mats and other accessories to dry completely between uses whenever possible to prevent mildew and prolong their lifespan.
When to Seek Professional Help
For seniors with significant mobility challenges or concerns about fall risk, it’s always wise to consult with an occupational therapist or a home safety specialist. They can provide personalized recommendations for bathroom modifications, including grab bar placement, shower modifications, and other assistive devices.
Implementing these strategies can transform a potentially hazardous bathroom into a safe haven. The key is to choose solutions that fit the individual’s needs, mobility level, and the specific layout of the bathroom. By taking proactive steps, we can help seniors maintain their independence and enjoy their bathing routine with peace of mind.
The right combination of non-slip surfaces, supportive fixtures, and good lighting creates a secure bathing environment for everyone.


Similar Posts



















