How to Paint a Bathtub Yourself Step by Step
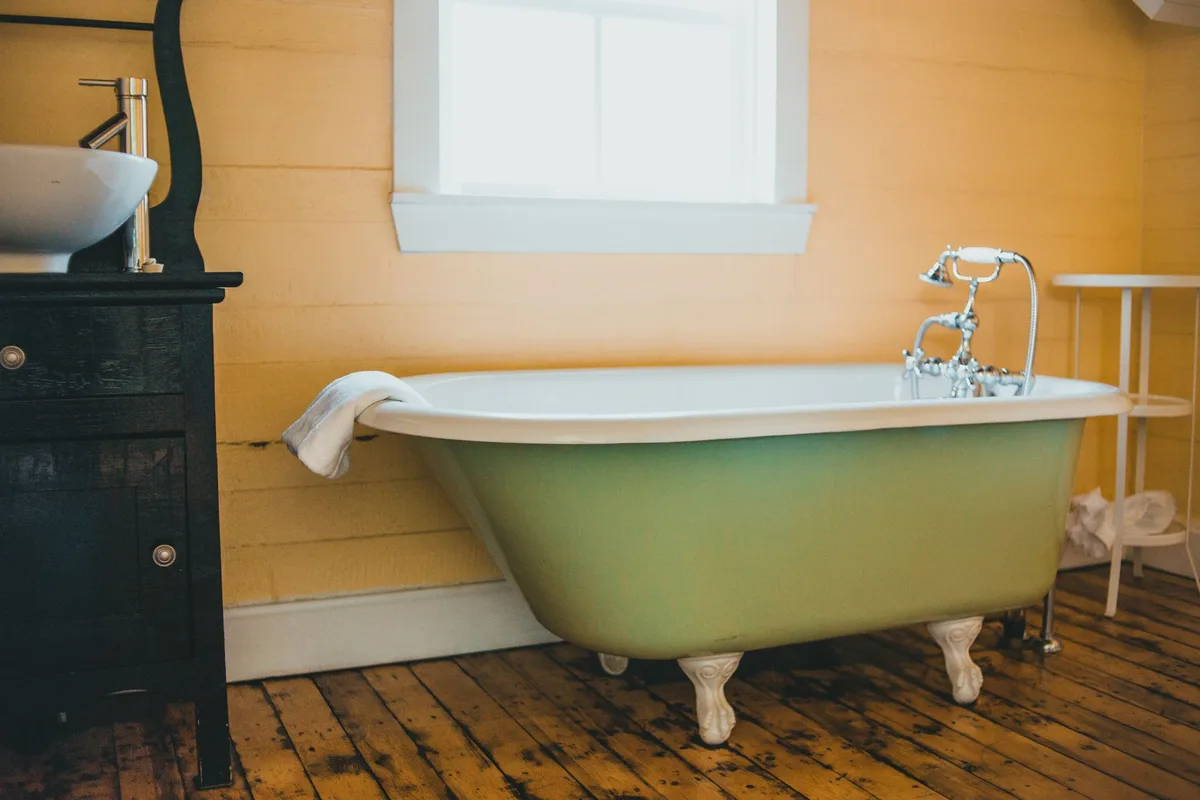
A dingy, stained, or chipped bathtub can really bring down the look of your bathroom. Replacing a tub is a major undertaking, both in terms of cost and labor. But what if I told you there’s a way to give your old tub a stunning facelift without breaking the bank or calling in the pros?
That’s right, painting your bathtub yourself is totally achievable.
With the right preparation, the right materials, and a bit of patience, you can transform your worn-out tub into a sparkling centerpiece. This isn’t just a quick cover-up; a properly painted bathtub can look fantastic and last for years. I’ve walked through this process countless times, and I’m here to share exactly how you can do it, step by step, to achieve professional-looking results.
Image source: Pexels / Erik Mclean (Pexels License)
This guide will cover everything you need to know, from choosing the best paint to the final coat. We’ll break down the entire process, making it easy to follow and execute.
Why Paint Your Bathtub?
Before we dive into the how, let’s talk about the why. Painting a bathtub is a fantastic DIY project for several reasons:
- Cost-Effective: It’s significantly cheaper than buying and installing a new tub.
- Time-Saving: You can often complete the project in a weekend, much faster than a full replacement.
- Customization: You can choose any color you like to match your bathroom’s decor.
- Revitalizes Old Tubs: Gives new life to tubs that are chipped, stained, or simply outdated.
- Eco-Friendly: Repurposing your existing tub reduces waste.
Choosing the Right Bathtub Paint
This is where we lay the foundation for success. Not just any paint will do for a bathtub. You need a specialized coating designed for high-moisture environments and the constant wear and tear a tub endures.
Types of Bathtub Paint
There are a few primary options you’ll encounter:
- Epoxy Paint Kits: These are typically two-part systems (a resin and a hardener) that, when mixed, create a durable, waterproof finish. They offer excellent adhesion and resistance to water and chemicals. This is often considered the gold standard for DIY bathtub refinishing.
- Urethane-Based Paints: These offer good durability and are often a bit more flexible than epoxy, which can be beneficial. They provide a strong, water-resistant coating.
- Specialty Bathtub & Tile Paints: Many brands offer single-component paints specifically formulated for bathtubs and tiles. While convenient, they might not offer the same longevity as a two-part epoxy system. Always check the product’s specifications for tub use.
What to Look For
When selecting your paint or kit, keep these factors in mind:
- Durability: It needs to withstand water, soap, and cleaning products without peeling or chipping.
- Waterproofing: Essential for a fixture constantly exposed to water.
- Adhesion: The paint must bond firmly to the tub surface.
- Sheen: Most people opt for a semi-gloss or gloss finish, as these are easier to clean and resist mildew.
- VOCs (Volatile Organic Compounds): Consider paints with low VOCs for better indoor air quality during application.
- Color Options: Do you want a classic white, a bold accent, or something more subtle?
Pro Tip: Always buy more paint than you think you’ll need. It’s better to have a little left over than to run out mid-project.
Preparing Your Workspace and Yourself
Safety and proper preparation are paramount. A clean, well-ventilated space and the right protective gear will make the process smoother and safer.
Ventilation is Key
Bathtub paints, especially epoxies and urethanes, contain strong chemicals. You absolutely need to ensure good ventilation.
- Open Windows: Open all bathroom windows and doors.
- Use Fans: Place box fans in windows, facing outwards, to pull air out of the room. Continue running fans during and after application until the fumes dissipate.
Personal Protective Equipment (PPE)
Don’t skimp on safety gear.
- Respirator Mask: A respirator specifically designed for organic vapors is crucial. A simple dust mask won’t cut it.
- Gloves: Chemical-resistant gloves (like nitrile) will protect your hands.
- Eye Protection: Safety goggles are a must to prevent paint from splashing into your eyes.
- Protective Clothing: Old clothes and perhaps an apron will prevent paint stains on your good garments.
Masking and Protection
You need to protect everything that isn’t the bathtub.
- Painter’s Tape: Use high-quality painter’s tape to mask off fixtures like faucets, showerheads, drain covers, and overflow plates. Also, tape around the edges where the tub meets the walls and floor. This ensures clean lines and prevents paint from getting where you don’t want it.
- Drop Cloths: Lay down tarps or plastic sheeting on the bathroom floor to catch any drips or spills.
Step-by-Step: How to Paint a Bathtub
Now, let’s get down to business. This is a detailed process, so take your time and follow each step carefully.
Step 1: Thoroughly Clean the Bathtub
This is arguably the most important step. Any residual soap scum, body oils, mineral deposits, or old caulk will prevent the new paint from adhering properly.
- Begin with a Degreaser: Use a strong bathroom cleaner, a degreaser, or even a solution of ammonia and water (ensure good ventilation!). Scrub every inch of the tub surface. Pay close attention to the waterline and grout lines (if applicable).
- Tackle Stains: For stubborn stains, you might need a specialized cleaner or a paste made from baking soda and water applied and left to sit.
- Rinse Extensively: Rinse the tub thoroughly with clean water. You want absolutely no residue from your cleaning agents.
- Dry Completely: Use clean cloths and allow the tub to air dry completely. You can speed this up with a fan. Any moisture trapped under the paint can cause problems down the line.
Step 2: Repair Any Imperfections
Before you paint, you need a smooth surface. Small chips, cracks, or holes need to be addressed.
- Identify Flaws: Inspect the entire tub for any damage.
- Fill and Repair: Use a waterproof epoxy putty or a porcelain repair kit designed for bathtubs. Follow the product’s instructions carefully for filling chips or cracks.
- Sand Smooth: Once the repair material has dried and cured completely, gently sand the repaired areas smooth. Use fine-grit sandpaper (around 220-grit) to create a seamless transition.
- Clean Again: After sanding, wipe down the entire tub with a damp cloth to remove any dust, then dry it thoroughly.
Step 3: Lightly Sand the Entire Surface
This isn’t about removing material; it’s about creating a “tooth” for the new paint to grip onto.
- Use Fine-Grit Sandpaper: Grab some 320-grit or 400-grit sandpaper. You can sand by hand or use a sanding sponge.
- Gentle Abrasion: Lightly sand the entire interior surface of the bathtub. You’re not trying to strip the original finish, just to dull it and create microscopic scratches.
- Focus on Areas: Pay extra attention to where there might be very smooth or glossy patches.
- Wipe Down: After sanding, use a tack cloth or a damp (not wet) cloth to wipe away all the dust. Then, dry the tub thoroughly. Repeat this dust removal process two to three times to ensure no sanding particles remain. A clean surface is vital.
Step 4: Apply the Primer (If Recommended by Paint Manufacturer)
Some bathtub paint systems, especially older or lower-quality ones, might recommend a primer. Newer, high-quality epoxy paints often do not require it if the surface is properly prepped. Always follow the instructions on your chosen paint product.
- Check Your Product’s Guidelines: If your kit says “no primer needed,” skip this. If it does, use a primer specifically designed for porcelain, fiberglass, or the material of your tub.
- Apply Thinly and Evenly: If priming, apply a thin, even coat. Avoid drips. Use a high-quality foam roller and a brush for the edges.
- Allow to Cure: Let the primer dry and cure completely according to the manufacturer’s instructions before proceeding. This might take several hours or even overnight.
Step 5: Mix and Apply the First Coat of Paint
This is where your bathtub starts to transform. If you’re using a two-part epoxy, mixing is critical.
- Read the Paint Instructions: Every paint is different. You must read and understand the manufacturer’s instructions for mixing, application, and recoating times.
- Mixing Two-Part Epoxies: Carefully measure and mix the resin and hardener. Mix for the exact time specified, usually 3-5 minutes. Be thorough but avoid whipping air into the mixture. Once mixed, epoxy often has a limited “pot life”, the time you have to use it before it starts to harden. Work efficiently.
- Application Tools: Use a high-quality foam roller designed for smooth finishes. For tight corners and edges, use an angled paintbrush.
- Apply Thin, Even Coats: Don’t try to get full coverage in the first coat. Apply thin, even coats. Overloading the roller or brush can lead to drips and an uneven finish.
- Work Systematically: Start at the bottom and work your way up, or vice-versa, maintaining a consistent rhythm. Roll from one ‘wet’ edge to the next to avoid lap marks.
- Avoid Overworking: Once you’ve made a pass with the roller, try not to go back over it repeatedly. This can create texture or peel the paint.
- Let it Dry: Allow the first coat to dry to the touch but not fully cure before applying the second coat. Check your paint’s recoat window. This is crucial; applying the next coat too soon or too late can compromise the finish.
Step 6: Apply Subsequent Coats
Most bathtub projects will require at least two coats, and sometimes three, to achieve a uniform, opaque finish.
- Follow the Recoat Window: As mentioned, this timing is vital. If you miss the window, you might need to lightly sand between coats (check manufacturer’s advice).
- Maintain Evenness: Continue applying thin, even coats, just as you did with the first. Focus on coverage and smooth application.
- Check for Coverage: As you apply each coat, look for any thin spots or areas where the original tub color is still showing through. These are where you’ll focus your attention.
Step 7: Final Coat and Curing
The last coat is the one everyone will see, so take extra care.
- Final Inspection: Before applying the final coat, do a thorough inspection. Look for any dust nibs, drips, or imperfections. If any minor issues are present, you might be able to gently sand them smooth after the paint has cured enough to not peel, then touch up. Some products allow for light sanding between coats.
- Apply the Final Coat: Apply the final layer with extreme care. Aim for perfect, even coverage without any drips.
- Curing Time: This is where patience really pays off. Bathtub paints, especially epoxies, require a significant curing time before they can be exposed to water. This can range from 3 days to 7 days, sometimes even longer. Do not rush this. Using the tub too early will ruin your hard work. Check the product specifications for the exact curing time.
Step 8: Reinstall Fixtures and Clean Up
Once the paint is fully cured, you can begin reassembly and cleanup.
- Remove Painter’s Tape: Carefully peel off all the painter’s tape. Do this slowly to avoid peeling any paint. If the paint is a bit sticky or tries to lift with the tape, you might have removed the tape too soon or the paint hasn’t fully cured.
- Reinstall Hardware: Reattach your drain cover, overflow plate, and any other fixtures you removed.
- Clean Tools: Clean your rollers, brushes, and any other tools immediately according to the paint manufacturer’s instructions. Many epoxy systems require special cleaners.
- Disposal: Dispose of used materials and leftover paint responsibly.
Tips for Keeping Your Painted Bathtub Looking Great
You’ve done the hard work; now you want to protect your investment.
- Gentle Cleaning: Avoid abrasive cleaners, scrub brushes, or steel wool. Stick to mild dish soap or a specialized bathroom cleaner designed for painted surfaces.
- Rinse Thoroughly: Always rinse the tub well after cleaning to remove any soap residue.
- Dry After Use: Wiping the tub dry after each use can help prevent water spots and mildew, especially in humid climates.
- Address Stains Quickly: Don’t let stains sit. The sooner you address them, the easier they are to remove.
- Be Mindful of Sharp Objects: Avoid dropping sharp or heavy objects into the tub, as they can chip or scratch the new finish.
Frequently Asked Questions About Painting a Bathtub
How long does a painted bathtub last?
With proper preparation, application, and care, a professionally painted bathtub can last anywhere from 5 to 15 years. A two-part epoxy system will generally offer the longest lifespan.
Can I paint a fiberglass tub?
Yes, you can paint a fiberglass tub. The preparation steps are similar, but you’ll want to ensure you use a paint system compatible with fiberglass. Often, a specific fiberglass primer is recommended.
What if I mess up and get drips?
Minor drips can sometimes be carefully sanded down once the paint is fully cured and then touched up. Major mistakes or numerous drips might mean you need to strip the paint and start over. This is why thin coats and careful application are so important.
Can I paint over old paint?
It’s generally not recommended to paint over old, peeling, or failing paint unless you completely strip it back to the original surface. If the old paint is adhered well, you might be able to lightly sand it to create a surface for the new paint to adhere to, but a complete strip is always the best way to ensure longevity.
How do I paint the drain and overflow plate?
It’s usually best to remove the drain and overflow plate before painting. You can then paint these separately (if they are metal and suitable for painting) or simply reassemble them once the tub paint is fully cured. For the drain opening itself, once the tub is painted, you can typically reinsert the drain assembly.
Conclusion
Painting your bathtub is a rewarding DIY project that can dramatically improve the aesthetics of your bathroom without the expense of a full replacement. By following these detailed steps, focusing on preparation, choosing the right materials, and exercising patience, you can achieve a durable, beautiful finish that you’ll be proud of for years to come. Remember, ventilation, safety, and meticulous preparation are your best friends in this project.
Happy painting!


Similar Posts



















