How to Remove Yellow Stains From Toilet Seat: Simple Steps
That persistent yellowing on your toilet seat, it’s a common sight, but it doesn’t have to be your reality. These stubborn marks can make even the cleanest bathroom feel less than sparkling. But don’t worry, getting rid of them is totally achievable.
We’ll walk you through effective, safe, and easy methods to restore your toilet seat to its pristine, white glory.
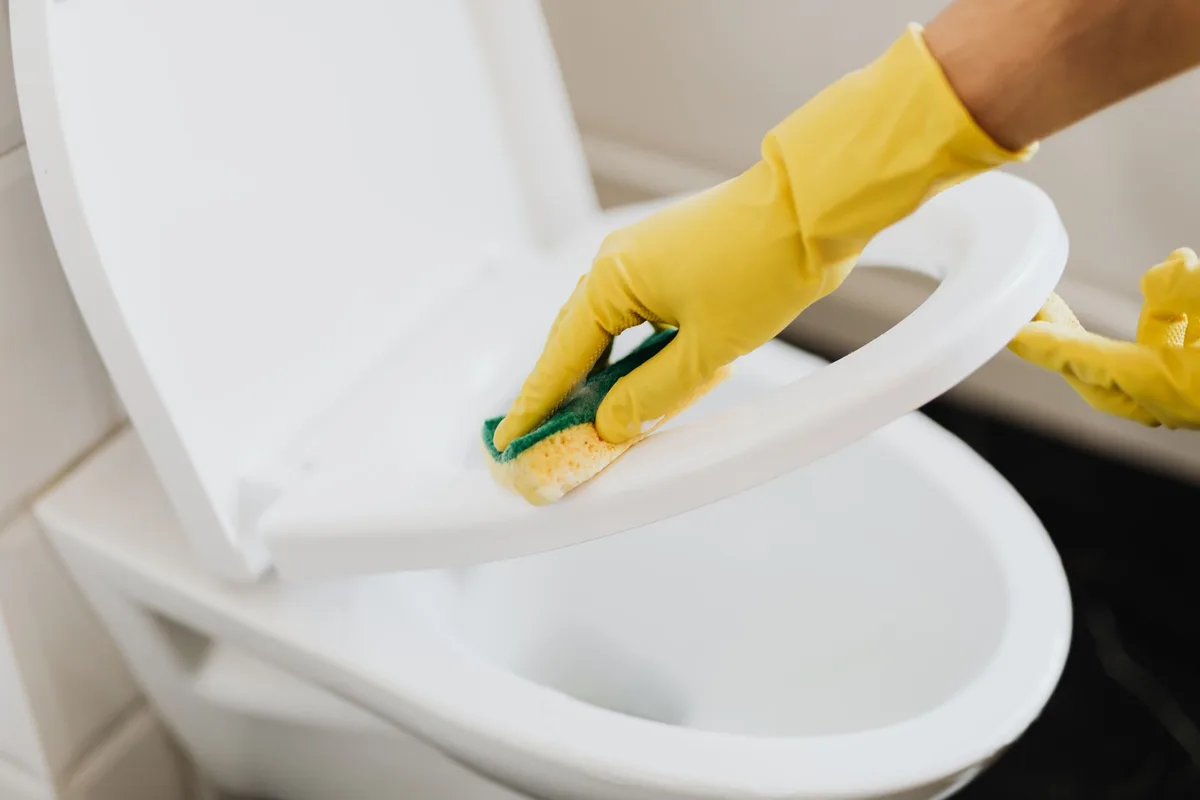
Image source: Pexels / www.kaboompics.com (Pexels License)
Yellow stains on toilet seats aren’t just unsightly; they can be a bit of an embarrassment. They often pop up unexpectedly, and figuring out what caused them can be a mystery. Is it the water?
The cleaning products? Age? The truth is, it can be a combination of factors, but the good news is, the solutions are usually straightforward.
Let’s dive into how you can tackle these yellow offenders and keep your toilet seat looking fresh and clean.
Understanding the Culprits: Why Toilet Seats Turn Yellow
Before we grab our cleaning supplies, it helps to understand why those yellow hues appear in the first place. Knowing the cause can help you prevent future staining and choose the most effective cleaning method.
Common Causes of Yellow Toilet Seat Stains
- Urine and Body Oils: This is, by far, the most frequent culprit. Tiny amounts of urine, especially when mixed with body oils and moisture, can dry and react with the toilet seat material, leading to a yellow or even brownish tint over time. This is particularly noticeable on porous materials.
- Hard Water Deposits: If you have hard water, mineral deposits (like iron or manganese) can build up on surfaces. These minerals can oxidize and create a yellowish or reddish-brown discoloration.
- Harsh Cleaning Chemicals: Believe it or not, some cleaning products, especially those with bleach or strong acids, can sometimes react with certain toilet seat materials (like older plastic or certain finishes) and cause them to yellow or degrade. Always check product labels and test in an inconspicuous area first.
- Sunlight Exposure: Prolonged exposure to UV rays from sunlight can degrade plastic over time, causing it to become brittle and discolored, often leading to a yellowing effect.
- Age and Material Degradation: Simply put, plastics and other materials used in toilet seats can age. Over many years, the chemical structure can break down, leading to yellowing, even with regular cleaning. Older, cheaper plastics are more prone to this.
- Mold and Mildew: In damp, poorly ventilated bathrooms, mold and mildew can thrive. While often appearing black or green, they can sometimes have a yellowish undertone or leave yellow residue when cleaned.
Your Arsenal: Essential Cleaning Supplies
You don’t need a hazmat suit or a professional cleaning crew to banish these stains. Most of what you need is probably already under your sink or in your cleaning cupboard.
What You’ll Need
- Rubber Gloves: To protect your hands.
- Soft Cloths or Sponges: Microfiber cloths are excellent for cleaning without scratching.
- Paper Towels: For drying and wiping.
- A Mild All-Purpose Bathroom Cleaner: Your go-to for general cleaning.
- Baking Soda: A fantastic, mild abrasive and deodorizer.
- White Vinegar: A natural disinfectant and degreaser that helps break down mineral deposits.
- Liquid Dish Soap: Good for cutting through grease and body oils.
- Hydrogen Peroxide (3% solution): A mild bleach alternative effective for lifting stains.
- Optional (for tougher stains):
- Magic Eraser (melamine foam sponge): Be cautious as these can be abrasive on some finishes.
- Soft Scrub or similar gentle abrasive cleaner: Use sparingly.
- Oxygen Bleach (like OxiClean): A powerful stain remover.
Step-by-Step Guide: Tackling Those Yellow Stains
We’ll start with the gentlest methods and move to stronger solutions if needed. Always work in a well-ventilated area.
Method 1: The Gentle Approach (Baking Soda Paste)
This is usually your first line of defense. It’s safe for most toilet seat materials and surprisingly effective.
- Prepare Your Workspace: Put on your gloves. Make sure the toilet seat is free of any loose debris.
- Create a Paste: In a small bowl, mix baking soda with just enough water to form a thick paste. Aim for a consistency similar to toothpaste.
- Apply the Paste: Spread the baking soda paste generously over the yellow stains. Don’t be shy; cover them completely.
- Let It Sit: Allow the paste to sit on the stains for at least 15-30 minutes. For tougher stains, you can leave it on for up to an hour. The baking soda works by gently abrading the stain and absorbing any odors.
- Scrub Gently: Using a damp, soft cloth or sponge, gently scrub the stained areas in a circular motion. You should start to see the yellowing lift.
- Rinse and Wipe: Wipe away the paste with a damp cloth, rinsing the cloth frequently. Then, dry the toilet seat thoroughly with a clean, dry cloth.
- Inspect: Check if the stains are gone. If they’ve faded but not disappeared, you can repeat the process or move to the next method.
Method 2: Vinegar Power (For Mineral Deposits and Mild Stains)
White vinegar is excellent for breaking down mineral buildup and is a natural disinfectant.
- Prepare: Put on your gloves.
- Soak a Cloth: Dampen a soft cloth or paper towels with undiluted white vinegar.
- Apply and Wait: Place the vinegar-soaked cloth directly over the yellow stains. For stubborn areas, you might need to use several paper towels. Let them sit for 30 minutes to an hour. The acidity of the vinegar will work on the stains.
- Scrub: Remove the cloth and gently scrub the area with a soft sponge or cloth.
- Rinse and Dry: Wipe down the seat with a clean, damp cloth to remove any vinegar residue. Then, dry completely with a clean towel.
- Repeat if Necessary: If the stains persist, you can try applying the vinegar again for a longer period or combine it with the baking soda method.
Method 3: Hydrogen Peroxide (A Mild Bleaching Action)
Hydrogen peroxide is a gentler alternative to traditional bleach and is effective for lifting discoloration.
- Safety First: Wear gloves and ensure good ventilation. Hydrogen peroxide can lighten colored fabrics, so be mindful of your clothing.
- Apply Directly: Pour a small amount of 3% hydrogen peroxide directly onto a clean cloth or cotton ball.
- Dab and Soak: Gently dab the peroxide onto the yellow stains. For a more intensive treatment, you can soak paper towels in hydrogen peroxide and place them directly on the stains.
- Let It Work: Allow the hydrogen peroxide to sit on the stains for about 30 minutes.
- Scrub and Rinse: Gently scrub the area with a soft cloth or sponge. Wipe clean with a damp cloth, then dry thoroughly.
- Caution: Do not mix hydrogen peroxide with vinegar, as it can create peracetic acid, which is corrosive.
Method 4: Dish Soap and Warm Water (For Greasy Buildup)
Sometimes, the yellowing is just a buildup of oils and residue.
- Mix Solution: In a sink or bucket, mix a few drops of liquid dish soap with warm water.
- Wipe Down: Dip a soft cloth into the soapy water, wring it out, and wipe down the entire toilet seat. Pay extra attention to the stained areas.
- Scrub (if needed): If the yellowing is still present, you can use a soft sponge with a little more soap to gently scrub.
- Rinse and Dry: Wipe clean with a fresh, damp cloth and dry thoroughly.
Tackling Stubborn Stains: When Gentle Isn’t Enough
If the above methods haven’t completely banished the yellowing, don’t despair. We have a few more powerful options.
Using Melamine Foam Sponges (Magic Erasers)
These sponges are excellent for removing scuff marks and stains without harsh chemicals. However, they are abrasive and can dull the finish of some toilet seat materials if used too vigorously.
- Dampen the Sponge: Wet a melamine foam sponge (like a Magic Eraser) with water and squeeze out the excess.
- Gentle Rubbing: Gently rub the yellow stains with the damp sponge. Apply even pressure.
- Wipe and Inspect: Wipe the area with a damp cloth to remove any residue and inspect the results.
- Use Sparingly: If successful, rinse the area and dry. If the finish appears to be dulling, stop immediately. Never use these on wood or high-gloss finishes without testing first.
Gentle Abrasive Cleaners
Products like Soft Scrub (when used with a soft cloth and not too much pressure) can help lift stubborn stains.
- Apply a Small Amount: Apply a small amount of the cleaner to a damp, soft cloth.
- Gentle Scrubbing: Gently scrub the stained areas. Avoid harsh scrubbing.
- Rinse Thoroughly: Make sure to rinse the seat very well with a damp cloth to remove all cleaner residue, as this can cause further discoloration if left behind.
- Dry: Dry the seat completely.
Oxygen Bleach Solutions
Oxygen bleach is a powerful stain remover that’s generally safer for surfaces than chlorine bleach.
- Prepare a Solution: Follow the instructions on your oxygen bleach product (e.g., OxiClean) to create a cleaning solution. Typically, this involves mixing powder with warm water.
- Apply the Solution: Use a cloth or sponge to apply the solution to the yellow stains.
- Let It Soak: Allow the solution to sit for at least 30 minutes, or longer for very stubborn stains.
- Scrub and Rinse: Gently scrub the area with a soft cloth or sponge. Rinse the toilet seat thoroughly with a damp cloth to remove all traces of the cleaner.
- Dry: Dry the seat completely.
What NOT to Do: Avoiding Further Damage
It’s just as important to know what not to do. Some cleaning methods can actually make the problem worse or damage your toilet seat.
- Avoid Harsh Abrasives: Steel wool, scouring pads, or abrasive powders can scratch the surface of your toilet seat, making it more susceptible to future staining.
- Be Cautious with Chlorine Bleach: While bleach can remove stains, it can also react with certain plastics, causing them to yellow or become brittle. If you must use it, dilute it heavily and rinse extremely well. Never mix bleach with vinegar or ammonia.
- Don’t Forget to Rinse: Any cleaner left on the seat can degrade the material over time and cause yellowing. Always rinse thoroughly.
- Avoid Over-Scrubbing: Aggressive scrubbing, especially with abrasive tools, can damage the material and make it look worse.
Keeping Your Toilet Seat Sparkling: Prevention is Key
Once you’ve successfully removed the yellow stains, you’ll want to keep them from coming back. A little regular maintenance goes a long way.
Daily and Weekly Cleaning Habits
- Wipe Down Regularly: Get into the habit of wiping down your toilet seat with a mild bathroom cleaner and a soft cloth a few times a week. This prevents buildup from forming.
- Address Spills Immediately: If any liquids spill on the seat, wipe them up straight away.
- Use the Right Cleaners: Stick to mild, non-abrasive bathroom cleaners. For a quick refresh, a diluted vinegar spray or a mild soap and water solution is usually sufficient.
- Ventilate Your Bathroom: Proper ventilation helps reduce moisture and humidity, which can encourage mold and mildew growth.
- Consider the Seat Material: Some materials are more prone to staining than others. If you’re buying a new seat, look for materials that are known for their stain resistance.
Are Some Toilet Seats More Prone to Stains?
Yes, absolutely. Older plastic seats, especially those made from lower-quality polymers, are more likely to yellow over time due to material degradation. Toilet seats with porous surfaces or certain finishes can also be more susceptible to absorbing stains.
Modern toilet seats made from high-quality plastics or resins are generally more resistant.
When to Replace Your Toilet Seat
Sometimes, despite your best efforts, the discoloration is so deep-set that it’s impossible to remove completely. Or, the material might be so degraded that it’s brittle or cracked. In these cases, it’s time for a replacement.
A new toilet seat is a relatively inexpensive way to refresh your bathroom’s appearance and eliminate persistent staining issues.
So there you have it, a comprehensive guide to banishing those unsightly yellow stains from your toilet seat. With a little effort and the right approach, you can restore its clean, white appearance and enjoy a brighter, more hygienic bathroom.


Similar Posts



















