How to Vent a Bathtub Drain Correctly
A properly vented bathtub drain is more than just a plumbing detail; it’s the silent guardian of your home’s sanitation system. Without adequate venting, you’re setting yourself up for a cascade of unpleasant issues, from gurgling drains and slow drainage to sewer gas odors wafting into your bathroom. This guide walks you through exactly how to vent a bathtub drain the right way, ensuring smooth operation and a healthy home environment.
Why Bathtub Drain Venting is Crucial
You might wonder why a simple drain needs a vent. It all comes down to air pressure. When water rushes down a drain, it creates a vacuum behind it.
Without an air source to break this vacuum, the water can’t flow freely. The vent pipe acts as this air source. It connects your drain system to the outside atmosphere, allowing air to equalize pressure as water flows down.
This pressure balancing is vital for several reasons:
- Prevents Siphoning: A proper vent stops the water seal in your P-trap (that U-shaped pipe under the sink or tub) from being siphoned out. This seal is your primary defense against nasty sewer gases entering your home. If it’s broken, those gases can seep back up.
- Ensures Free Flow: Air entering the drain pipe through the vent allows water to move unimpeded. Without it, you’ll notice water draining much slower, and you might even hear those annoying gurgling sounds as air struggles to escape past the rushing water.
- Protects Fixtures: In severe cases of negative pressure, the siphoning effect can even pull water from other fixtures, like your toilet or sink, causing them to back up.
Understanding these principles highlights why correctly venting your bathtub drain isn’t an optional step, it’s a fundamental requirement for functional plumbing.
Understanding Bathtub Drain Venting Systems
Modern plumbing systems use a network of pipes to carry wastewater away and a connected network of vent pipes to let air in. For a bathtub, its drain assembly typically connects to a trap arm, which then connects to a larger waste pipe. The vent pipe usually branches off this waste pipe or directly from the trap arm, depending on local codes and the overall system design.
There are a few common ways venting is achieved:
- Individual Vents: Each fixture has its own dedicated vent pipe that extends through the roof. This is the most robust system but less common in older homes.
- Group Vents: Several fixtures on the same floor can share a single vent pipe, provided they are close enough and properly connected.
- Common Vents: A waste pipe serves two or more fixtures, and the vent pipe for the highest fixture also serves the lower ones.
- Wet Vents: Under specific conditions, a drain pipe can also serve as a vent. This is a more advanced technique and requires careful design to avoid issues.
For a bathtub specifically, it’s most often served by a vent that’s either dedicated to it or shared with other nearby bathroom fixtures like a sink or toilet. The key is that this vent line must eventually connect to the building’s main vent stack, which is the vertical pipe that goes all the way up through your roof.
The Anatomy of a Bathtub Drain Vent
When we talk about venting a bathtub, we’re really talking about integrating its drain line into the building’s overall vent system. Here’s a breakdown of the components involved:
- The Bathtub Drain Assembly: This includes the drain shoe inside the tub, the tailpiece connecting the shoe to the trap, and the P-trap itself. The P-trap is crucial; it holds water to block sewer gases.
- The Trap Arm: This is the horizontal pipe section connecting the P-trap to the main waste line.
- The Vent Pipe: This is the pipe that provides the air source. It typically connects to the waste system after the P-trap but before it enters the main drain stack. The vent pipe then rises, usually running horizontally above the flood level of the fixtures it serves, before connecting to a vertical vent stack or rising independently through the roof.
- The Main Vent Stack: This is the primary vertical vent pipe that serves the entire plumbing system, extending above the roofline to exhaust sewer gases and allow air intake.
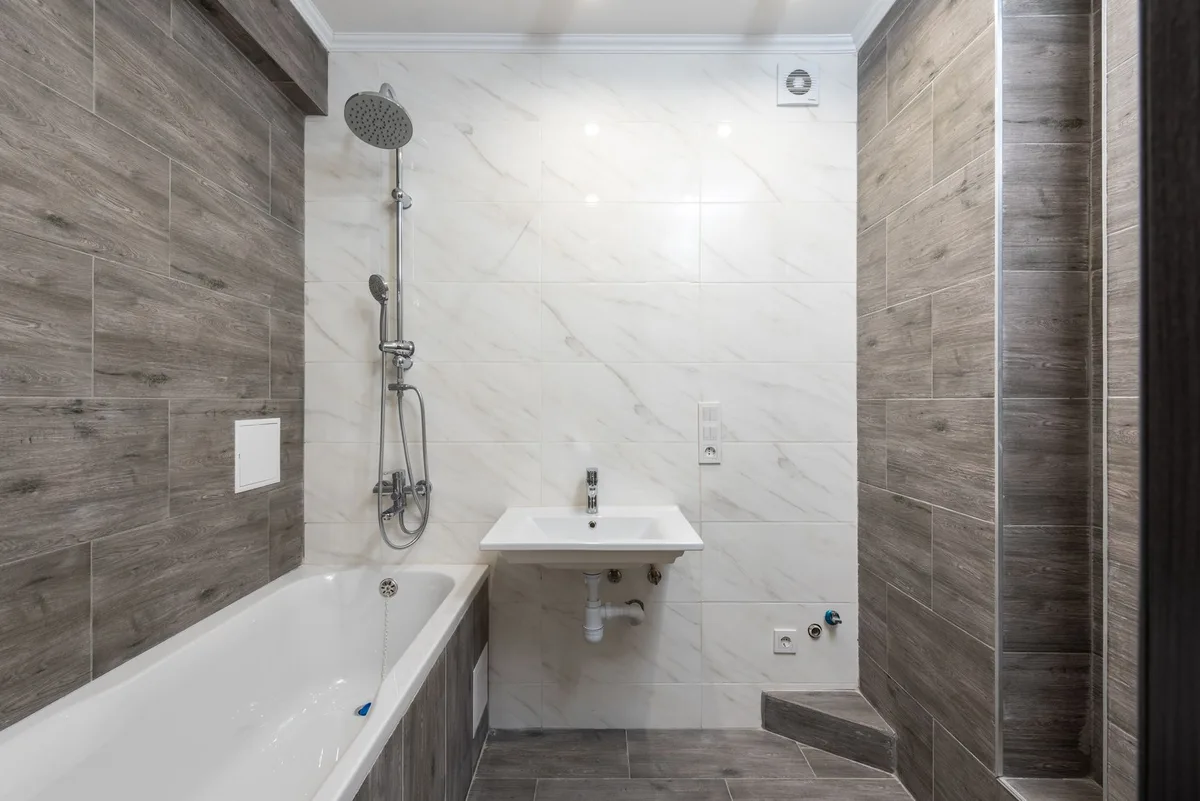
Image source: Pexels / Max Vakhtbovych (Pexels License)
Steps for Correctly Venting a Bathtub Drain
Venting a bathtub drain correctly involves connecting its waste line to the building’s vent system. This usually means extending a vent pipe from the trap arm or the drain pipe just beyond the trap. Here’s a step-by-step approach, assuming you’re working within an existing plumbing system or a new installation where the main vent stack is already in place.
1. Familiarize Yourself with Local Plumbing Codes
This is non-negotiable. Plumbing codes dictate pipe sizing, vent terminal height above the roof, maximum distances for unvented trap arms, and how vents must connect. Ignoring codes can lead to failed inspections and major plumbing headaches down the line.
Your local building department or a qualified plumber can provide specific code requirements.
2. Plan Your Vent Pipe Routing
- Connection Point: The vent pipe should connect to the drain line downstream of the P-trap. This ensures the trap seal isn’t compromised. Ideally, it connects to the trap arm.
- Slope: The vent pipe should slope away from the fixture, towards the drain, at a minimum of ¼ inch per foot. This prevents condensation or residual water from pooling in the vent pipe and blocking airflow.
- Horizontal Runs: Horizontal vent pipes must remain above the flood level rim of the highest fixture they serve. This is critical to prevent waste from backing up into the vent pipe. For a bathtub, this means the horizontal vent run must be higher than the top edge of the tub.
- Vertical Riser: The vent pipe will then rise to connect to the main vent stack or to terminate through the roof.
3. Install the Vent Pipe
- Materials: Use appropriate piping material as specified by your local codes (typically PVC, ABS, or cast iron for drain-waste-vent systems).
- Cutting and Joining: Cut pipes to length using appropriate tools. Clean and prime (if required for your pipe type) all surfaces before cementing or joining sections. Ensure all joints are secure and leak-free, as a leaking vent can cause water damage.
- Support: Securely support all vent pipes with appropriate hangers or straps to prevent sagging and ensure they maintain their intended slope.
4. Connect to the Main Vent System
- Tie-in Point: The vent pipe you’ve run for the bathtub needs to connect to the building’s main vent stack. This is typically done by joining your vent pipe to another vent pipe or directly to the main stack at a point that allows for proper upward routing.
- Wye Fittings: Use sanitary drainage fittings (like a long-sweep quarter bend or a wye fitting for horizontal connections, and a vent wye for connecting into a vertical vent stack) to ensure smooth flow and prevent obstructions.
5. Terminating the Vent (If Necessary)
If your new vent line does not tie into an existing vent that already terminates above the roof, you will need to run a new vent pipe through the roof.
- Roof Penetration: This involves carefully cutting a hole through the roof and installing a specific roof flashing boot (like a Venturi flashing). Ensure the flashing is properly sealed to prevent water leaks.
- Vent Terminal Height: The top of the vent pipe must extend a minimum height above the roof (commonly 6 inches, but check local codes) and be located a specified distance away from any air intake or operable windows to prevent sewer gases from entering the house.
Common Issues and How to Avoid Them
Even with careful planning, a few common pitfalls can trip you up when venting a bathtub drain.
1. Insufficient Venting (Vent Pipe Too Small or Too Far)
- Problem: If the vent pipe is too small for the volume of water it needs to serve, or if it’s too far from the fixture, it won’t provide enough air to equalize pressure. This leads to slow drains and siphoning.
- Solution: Always adhere to code requirements for vent pipe sizing based on the fixture’s drain size and the length of the trap arm. Ensure the vent connection point is within the maximum allowable distance from the P-trap as per code.
2. Vent Pipe Improperly Sloped or Sagging
- Problem: A vent pipe that slopes down towards the fixture or has low spots will collect condensation. This trapped moisture can freeze in cold climates, blocking the vent, or contribute to foul odors.
- Solution: Maintain a consistent upward slope (at least ¼ inch per foot) from the fixture connection to the termination point. Use proper hangers and straps to keep the pipe straight and prevent sagging.
3. Vent Terminating Too Low or Near Air Intakes
- Problem: If the vent pipe doesn’t extend high enough above the roof, or if it’s too close to a window, a fresh air intake, or a chimney, sewer gases can be drawn back into the building.
- Solution: Strictly follow code requirements for vent terminal height and setback distances from air intakes and windows.
4. Blocked Vents
- Problem: Leaves, debris, bird nests, or ice can build up in vent pipes, especially those terminating through the roof, blocking airflow.
- Solution: Regularly inspect roof vents for obstructions. Consider installing a vent cap or guard, especially in areas prone to debris or birds.
5. Incorrect Fitting Usage
- Problem: Using standard 90-degree elbows in vent lines where a long-sweep fitting is required can impede airflow and potential wastewater backup.
- Solution: Always use DWV (Drain-Waste-Vent) specific fittings. These are designed for smoother flow. For horizontal vent connections to vertical stacks, use a dedicated vent wye fitting.
When to Call a Professional Plumber
While this guide provides a comprehensive overview, some situations warrant calling a professional plumber:
- New Construction: If you’re building a new home or adding a bathroom, a plumber can ensure the entire drain-waste-vent system is designed and installed to code from the ground up.
- Major Renovations: If your bathtub renovation involves moving plumbing lines or significantly altering the drain system, a professional can assess the best venting solutions.
- Persistent Problems: If you’re experiencing ongoing drainage or odor issues and suspect a vent problem, a plumber has the tools and expertise to diagnose and fix it.
- Uncertainty with Codes: Plumbing codes can be complex and vary by location. If you’re unsure about any aspect of installation or code compliance, it’s safer to consult an expert.
A qualified plumber can also advise on less common venting solutions like the circuit vent or yoke vent, if your specific plumbing layout requires them. For instance, if you’re rerouting a drain line significantly, understanding how to implement simple DIY repairs for minor adjustments might be useful, but the overall vent system integration is best left to a pro.
Alternative Venting Methods (What If a Traditional Vent Isn’t Possible?)
Sometimes, running a traditional vent pipe through the roof or up to the main stack is impractical. In these cases, alternative venting methods can be used. However, these are often subject to strict code interpretations and may not be allowed in all situations.
Air Admittance Valves (AAVs)
Also known as Studor Vents or Cheater Vents, Air Admittance Valves are one-way valves that open to allow air into the drain system when negative pressure occurs, but seal shut to prevent sewer gases from escaping.
- How They Work: When water drains, it creates a vacuum. The AAV senses this pressure drop and its internal diaphragm lifts, allowing room air to enter the pipe. Once the pressure equalizes, the diaphragm closes.
- When to Use: AAVs are often used in situations where running a traditional vent is difficult, such as island sinks or additions where extending a vent is challenging. They can also be a solution for adding a single fixture to an existing drain line without extensive re-piping.
- Installation: An AAV is typically installed vertically on a vent pipe stub-out located above the flood level of the fixture it serves. It must be installed in a location that’s accessible for inspection and maintenance, and not subject to freezing or flooding.
- Code Compliance: It’s crucial to check your local plumbing codes to ensure AAVs are permitted for your specific application. Some jurisdictions have strict limitations on their use, often requiring them only as a secondary vent or in specific scenarios.
Looping Vents
This method involves running a vent pipe from the fixture’s drain line up and over, forming a loop, before connecting it to another vent or stack.
- Purpose: Looping vents are primarily designed to prevent trap siphoning in situations where a fixture might be located a significant distance from the main vent stack. The loop ensures that the vent pipe remains above the flood rim of the fixture.
- Implementation: The vent line rises from the drain, turns horizontally above the fixture’s flood level, and then drops back down to tie into a main vent line. The entire loop must stay above the flood level of the fixture.
- Considerations: Careful attention to slope and fitting selection is necessary to prevent water from accumulating in the loop itself.
Maintaining Your Vent System
A well-vented drain system typically requires little maintenance. However, a few proactive steps can ensure its longevity.
- Regular Inspections: Periodically check your roof vents for any obvious obstructions like nests or debris. If you have AAVs, ensure they are accessible and free from dust or debris that might impede their function.
- Address Slow Drains Promptly: If you notice your bathtub or other fixtures draining slowly or gurgling, it could indicate a venting issue. Don’t let it fester; investigate the cause. This could be anything from minor debris buildup to a more significant ventilation problem.
- Proper Waste Disposal: Avoid pouring grease, hair, or other debris down your drains. These can accumulate over time and not only cause clogs but can also contribute to blockages in the vent system, especially in older, rougher pipes. Understanding how often you should replace vacuum filter helps illustrate how regular maintenance of filtration systems prevents clogs, and a similar principle applies to keeping your drain and vent lines clear.
By understanding the importance of venting and following these guidelines, you can ensure your bathtub drain works efficiently and keeps your home free of unpleasant plumbing issues. If you’re ever in doubt, remember that consulting a professional plumber is always the best course of action for ensuring safe and effective results.


Similar Posts



















