How to Air Dry Clothes Without Drying Rack
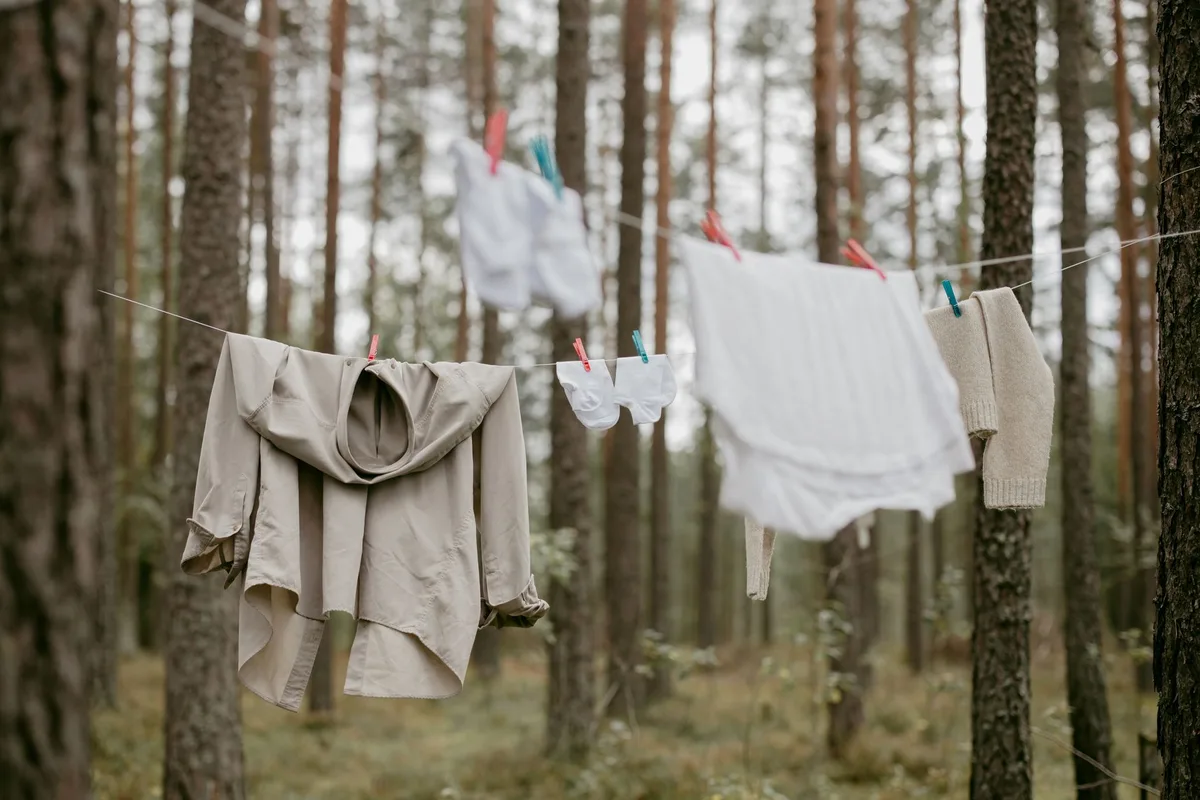
You just washed a load of laundry, and your drying rack is either broken, missing, or never existed in the first place. I’ve been there. Standing in the middle of my apartment with wet clothes and nowhere to hang them felt like a puzzle I didn’t ask for.
But here’s the thing, you absolutely can air dry clothes without a drying rack. In fact, some of the best methods don’t require any specialized equipment at all.
I’ve spent years refining these techniques across different living situations: tiny apartments, shared houses, and homes with zero outdoor space. Every single method below works. You just need to look at what you already own differently.
Why Bother Air Drying in the First Place?
Let’s get this out of the way quickly. Air drying isn’t just for people who lost their rack. It’s genuinely better for your clothes.
Tumble dryers beat the hell out of fabrics over time. Heat weakens fibers, shrinks natural materials, and wrecks elastic in waistbands and socks. Air drying preserves your wardrobe.
You also save money. Dryers are energy hogs. According to the U.S.
Department of Energy, electric dryers account for roughly 6% of residential electricity use in America. That’s not nothing. Skip the dryer for a year, and you’ll notice the difference in your utility bills.
But we’re here for the how, not the why. Let’s get into the actual techniques.
Using Existing Fixtures: Shower Rods, Doorknobs, and Hooks
Your home is full of hanging opportunities you’ve never considered as drying spots. Walk through each room and look up. Look at doors.
Look at the bathroom. You’ll find at least three places to hang wet clothes right now.
The Shower Curtain Rod Method
This is the most obvious and effective option for most people. Your shower curtain rod is already designed to hold weight. It can absolutely handle a few wet shirts and pants.
The trick is spacing. Don’t bunch everything together. Air needs to flow between garments.
Hang shirts by the shoulder seams, not the collar. Drape pants over the rod at the waistband. Leave at least two inches between each item.
If you have a tension rod that doesn’t screw into the wall, keep the load light. Three to four heavy items like jeans or hoodies might pull it down. Stick to lighter fabrics for tension rods.
One pro tip I swear by: run the bathroom fan while clothes are hanging. It pulls moisture out of the air and speeds drying time by hours. If you don’t have a fan, crack the window.
Air movement is everything.
Doorknobs and Door Hangers
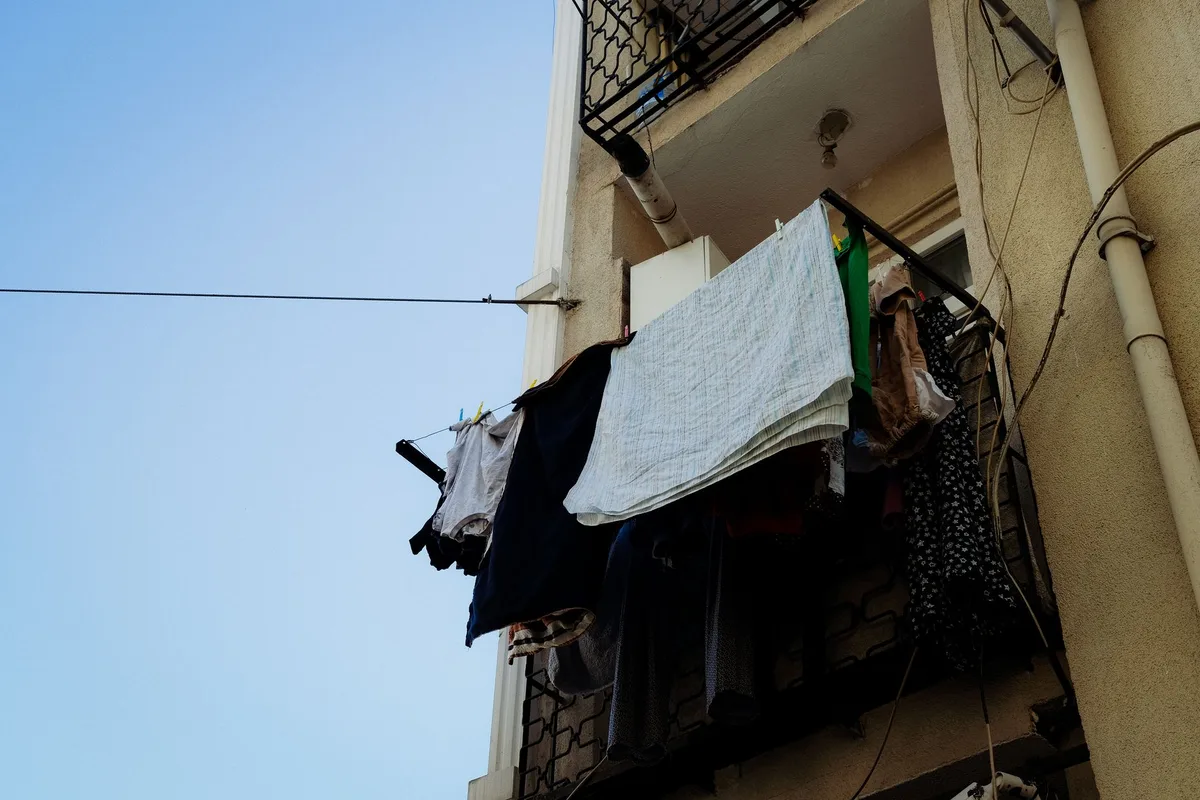
Every door in your house has knobs. That’s free hanging real estate. You can drape a shirt over a doorknob and let it dry overnight.
But here’s the upgrade: use the top of the door itself.
Open a closet or bedroom door. Drape a towel or thin blanket over the top edge. The friction holds it in place.
Now you’ve created a drying line without drilling holes.
For lighter items like underwear, socks, or handkerchiefs, you can hang them directly on doorknobs. Just group them so the airflow isn’t blocked. Three socks per knob max.
Otherwise, the inner layers stay damp for days.
Cabinet Handles and Drawer Pulls
Kitchen cabinets and dresser drawers have handles. These work perfectly for smaller items. Drape dish towels, washcloths, or lightweight tops over them.
The handles keep clothes elevated off surfaces, so air circulates underneath.
The catch here is that you’re limited to small quantities. A kitchen with ten cabinet handles can hold about twenty lightweight items. That’s enough for a partial load but probably not a full one.
Use this method as a supplement to other techniques.
Furniture-Based Drying: Chairs, Tables, and Sofas
Your furniture can double as drying infrastructure. This requires a bit more care because wet clothes against upholstery can cause damage. But with the right precautions, it works beautifully.
The Chair Back Method
Take a dining chair or any chair with a slatted back. Throw a clean, dry towel over the top. Now you’ve got a padded drying surface.
Lay shirts flat on the towel. Fold pants over the chair back so both legs hang evenly.
Why the towel underneath? It absorbs excess moisture from the clothes. It also protects wooden or painted chair backs from water stains.
I learned this one the hard way, left a wet indigo shirt on a white chair, and the stain never came out.
For faster drying, place chairs in a room with good air circulation. Near a window or a fan works best. Rotate the clothes halfway through drying so the side resting against the towel gets airflow.
The Tabletop Flat-Dry Surface
Some clothes should never hang. Knits, sweaters, and anything with delicate structure will stretch under their own weight when wet. These need flat drying.
You don’t need a mesh drying board for this. A clean kitchen table or countertop works. Lay a dry bath towel flat.
Place your wet sweater or knit on top. Roll the whole thing up like a jelly roll and press gently. This removes excess water without wringing.
Unroll, reshape the garment, and let it dry flat.
Replace the towel underneath if it gets too damp. A wet towel underneath just keeps your clothes wet. Swap it out after a few hours.
The Sofa or Bed Method
This one’s a bit unconventional, but it works in a pinch. If you have a leather or vinyl sofa, you can lay flat items directly on the surface. The non-porous material won’t absorb moisture.
Just wipe it down afterward.
For fabric sofas or beds, spread a clean plastic garbage bag flat first. Lay clothes on top. The plastic prevents moisture from soaking into your furniture.
Weigh down the corners with books or shoes so the bag stays put.
This isn’t a long-term solution. But for overnight drying of a single sweater or a few delicate items, it’s completely fine.
Creating DIY Drying Lines
Sometimes the best solution is the simplest one. A clothesline doesn’t need to be permanent. You can rig one up in minutes with household materials.
String Between Two Points
Find two anchor points in a room. A hook on one wall and a door hinge on the opposite side works perfectly. Or two cabinet handles across a kitchen.
Or two stair railings.
Tie a length of sturdy string, rope, or even shoelaces between them. Make sure it’s taut. Now you’ve got a drying line.
Hang clothes with clothespins, binder clips, or just drape them over.
I’ve used paracord, cotton twine, and even charging cables in emergencies. The cable method isn’t recommended, it’s bad for both the cable and the clothes, but it demonstrates that almost anything works.
The Shower Curtain Line Hack
Here’s a method I discovered by accident. Close your shower curtain. Drape clothes over the top edge so they hang down in front of the curtain.
The plastic or fabric liner protects the shower interior. The curtain rod holds the weight.
This works surprisingly well for multiple items. You can fit eight to ten shirts or four to five pairs of pants along a standard shower curtain. Just space them evenly.
Door Frame Line
Open a door. Drape a towel over the top edge on both sides. Now run a string from the doorknob to a hook or piece of furniture across the room.
You’ve created a diagonal drying line. The door gives you a solid anchor point.
This is my go-to method when traveling. Hotel rooms rarely have drying racks, but they always have doors. A quick string setup over the bathroom door handles everything from swimsuits to workout clothes.
Portable and Collapsible Drying Solutions
I know the topic is “without a drying rack.” But I want to clarify what I mean by that. You don’t need a traditional folding drying rack. However, some collapsible alternatives are worth mentioning because they occupy almost no space and solve the problem instantly.
Over-the-Door Hooks
These are cheap and incredibly useful. A single over-the-door hook with multiple prongs can hold five to seven hangers. Walk into any home goods store and grab one for under ten dollars.
Hang it on any door in your house.
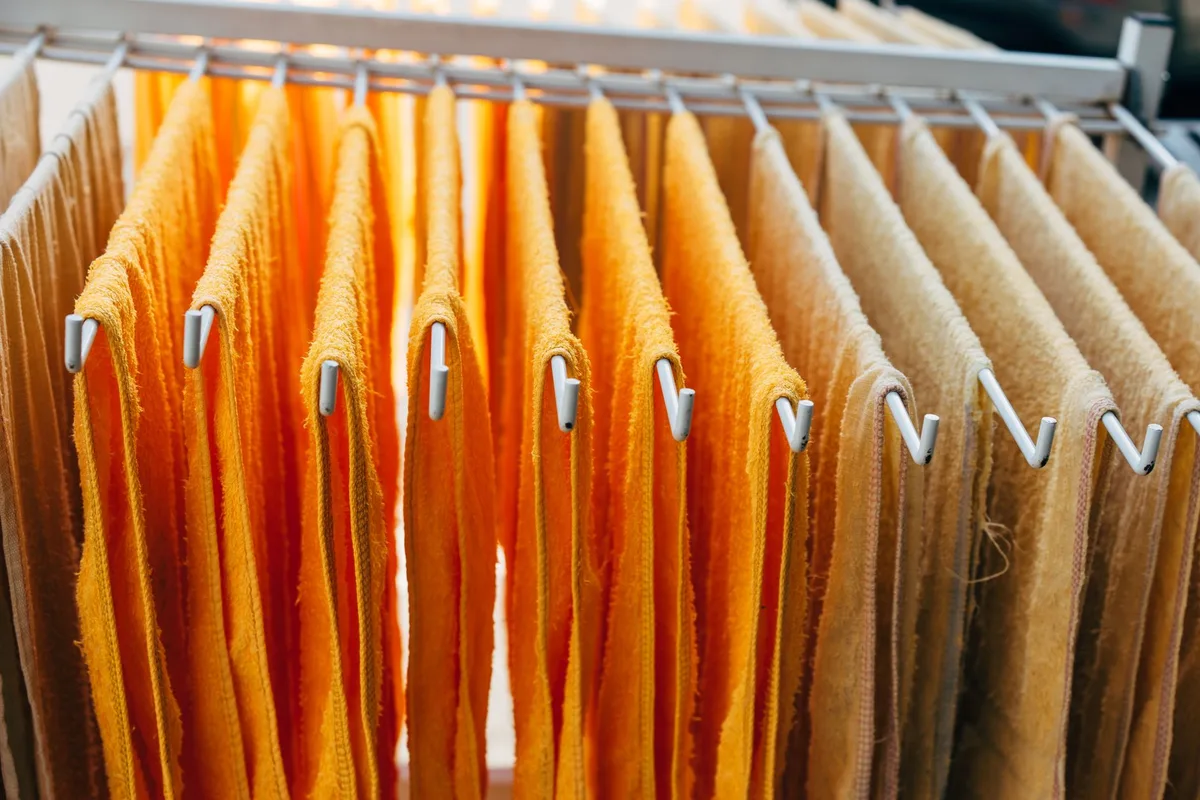
Now you’ve got instant drying capacity. Hang wet clothes on plastic or wooden hangers. Hook the hangers onto the prongs.
The clothes hang vertically, air circulates on all sides, and they dry faster than if they were bunched on a rack.
Suction Cup Hooks
If you have tile walls, glass windows, or smooth doors, suction cup hooks are your friend. Stick them to a bathroom wall or window. Run a string between two hooks.
Or just hang individual items directly on the hooks.
The key is clean surfaces. Suction cups fail on dusty or greasy tile. Wipe the area with alcohol first.
Let it dry completely before sticking the hook. Wet the suction cup slightly before pressing it on. This creates a better seal.
The Hanger Chain Method
Take five or six plastic hangers. Link them together by hooking the curved end of one through the hook of another. You’ll end up with a vertical chain of hangers.
Hang the top one on a shower rod, curtain rod, or over a door.
Now each hanger holds one item. The chain takes up almost no horizontal space. You can dry a full load of laundry in the space of one hook.
Just make sure the top anchor point can handle the weight.
Speeding Up the Process
Air drying without a rack already takes patience. But you don’t have to wait forever. A few tweaks cut drying time in half.
Spin Cycle First
Before you hang anything, run the spin cycle on your washing machine twice. Yes, twice. Most machines have a dedicated spin-only setting.
Running an extra spin cycle removes more water than the standard one does. Your clothes come out damp instead of soaked.
This single step shaves hours off drying time. It’s the most effective thing you can do.
Maximize Airflow
Still air is your enemy. Moving air is your best friend. Position your clothes near an open window.
Point a fan at them. Run your ceiling fan on high. In the bathroom, run the exhaust fan.
Air movement evaporates moisture from the fabric surface. Without it, the moisture sits there until it slowly diffuses. A fan turns a twelve-hour drying cycle into four hours.
Dehumidifier Help
If you live in a humid climate, air drying indoors can take forever. A dehumidifier pulls moisture from the air, which pulls moisture from your clothes. Run it in the same room as your drying setup.
I used this method in a basement apartment with no windows. The dehumidifier was a game-changer. Clothes that would have taken two days dried in under eight hours.
The Towel Trick
For items you need dry fast, use a dry bath towel. Lay the wet garment flat on the towel. Roll it up tight.
Press or twist the roll to push moisture from the garment into the towel. Unroll, and the garment is significantly drier.
Repeat with a fresh dry towel if needed. This works for jeans, sweaters, and even heavy hoodies. It’s essentially manual spin-drying.
What Not to Do
I’ve made every mistake in the book. Let me save you the trouble.
Don’t hang wet clothes on painted walls. The moisture will peel the paint. Don’t lay dark clothes directly on light-colored surfaces without a barrier.
The dye can transfer. Don’t crowd your drying area. Clothes that touch stay wet.
Don’t dry clothes in direct sunlight unless you want faded colors. UV light is harsh on fabric.
Don’t leave wet clothes sitting in a pile. If you can’t get to drying immediately, at least lay them flat. Wet fabric left bunched up will develop mildew smell within hours.
That smell is hard to remove and sometimes permanent.
Don’t use wire hangers for wet clothes. The metal can rust. Rust stains on fabric are nearly impossible to remove.
Plastic or wooden hangers are safe. Or just drape clothes directly over rods and strings.
Room-by-Room Strategy
Different rooms work better for different types of laundry. Here’s my breakdown.
Bathroom
Best for: all types, especially heavy items
Pros: tile floors handle drips, fan removes moisture, shower rod is ready
Cons: humidity can cause mold if you don’t ventilate
Keep the bathroom door open after the initial drying period. Otherwise, you’re trapping moisture in a small space. Mold loves that environment.
Bedroom
Best for: delicates, sweaters, items that shouldn’t stretch
Pros: out of sight, room temperature, can lay flat on bed
Cons: takes up floor or furniture space
Use an unused corner or the foot of the bed. Keep items away from direct heat sources like radiators.
Living Room
Best for: large loads, quick drying
Pros: usually has best airflow, ceiling fans, near windows
Cons: visually cluttered, can be in the way
This is my go-to for full loads. I set up multiple drying spots across the room. Everything dries fastest here because airflow is best.
Kitchen
Best for: small items, dishtowels, hand-washables
Pros: cabinet handles, table space, often has exhaust fan
Cons: food smells can transfer, grease in the air
Be careful about cooking odors. Grease and strong food smells can settle into damp fabric. Don’t dry clothes in the kitchen while frying or cooking aromatic dishes.
Conclusion
You don’t need a drying rack to air dry clothes. You need creativity and a willingness to see your home differently. Shower rods, doorknobs, chairs, tables, and string all work.
Every method I’ve shared comes from real-world use. I’ve dried thousands of loads without a proper rack.
Start with the method that fits your space. Bathroom shower rod is usually the easiest. Add a fan or open a window.
Keep clothes spaced out. Swap towels underneath flat-drying items. Run an extra spin cycle before you start.
The beauty of these methods is flexibility. When one spot gets crowded, you expand to another. When you need the bathroom back, you move clothes to the bedroom.
Your entire home becomes your drying rack.
So next time you pull wet clothes out of the washer and your rack isn’t available, don’t panic. You’ve got this. Pick a method, set it up, and let the air do its work.
Your clothes will thank you. Your electricity bill will thank you too.


Similar Posts



















