How to Close Clothes Drying Rack
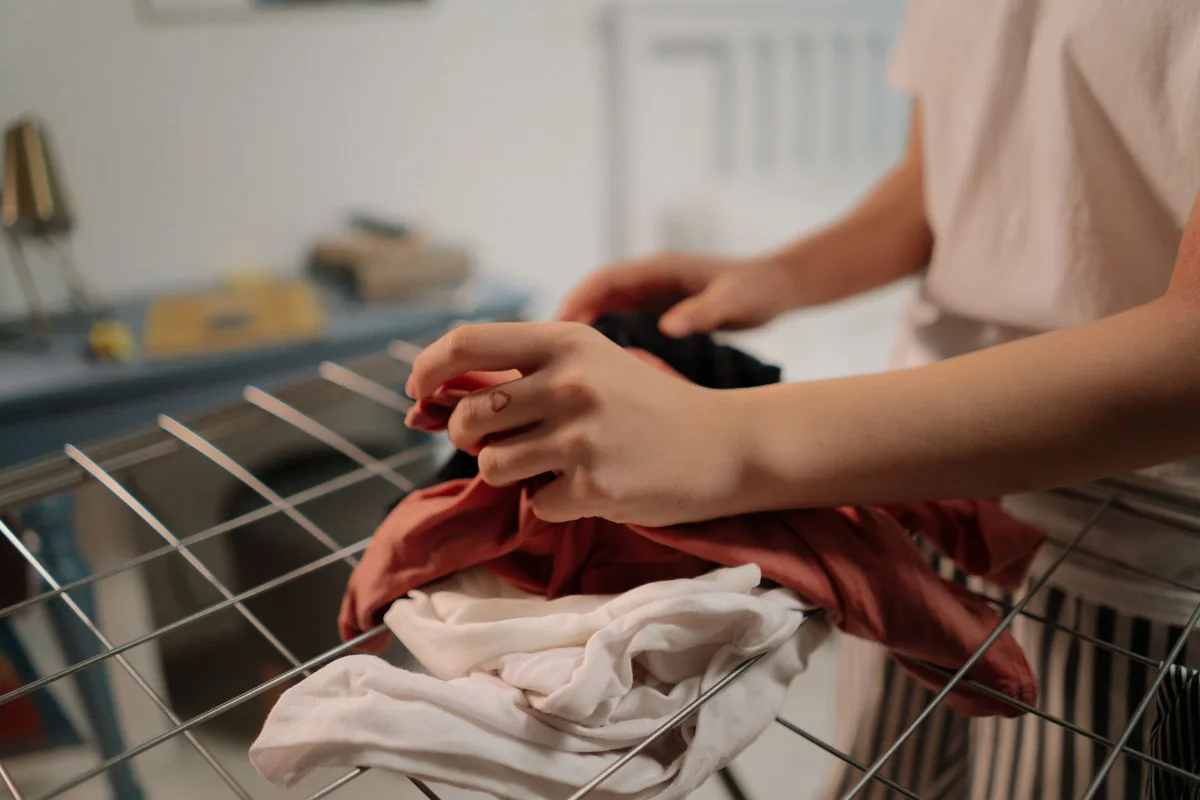
Nobody ever taught me how to close a clothes drying rack. You buy one, unfold it, use it for years, and then one day you go to fold it up and it fights you like a wet umbrella. The bars jam.
The hinge won’t budge. You end up wrestling it into the closet, crooked and annoyed, wondering why something so simple feels impossible.
It’s not impossible. You just need to know the right technique for your specific rack type. I’m going to walk you through each common style so you never have to swear at a drying rack again.
The Main Types of Clothes Drying Racks
Before you can close anything, you need to know what you’re working with. Most home drying racks fall into five categories:
- Accordion (scissor-style), parallel bars that fold together like a fan
- Wall-mounted, attached to a wall, usually hinged to fold flat
- Tripod or umbrella style, three legs with a central pole, sometimes with a crank
- Foldable tabletop, small racks that collapse into a compact rectangle
- Rolling garment racks, larger frames with wheels, often collapsible
Each one has a different closing mechanism. Force is never the answer. If you’re yanking or prying, you’re probably doing it wrong.
How to Close an Accordion-Style Drying Rack
This is the most common design, the one with dozens of parallel wooden or metal arms that expand like an accordion. I’ve owned three of these, and I’ve learned the hard way that they pinch if you rush.
Step 1: Clear the rack completely
This sounds obvious, but I’ve tried to fold a rack with a sock still hanging on it. It doesn’t work. Remove every item, including clothespins or clips.
Even one sock wedged between bars can stop the collapse and bend the frame.
Step 2: Locate the locking mechanism
Most accordion racks have a latch, clip, or pin that holds them in the open position. On wooden racks, it’s often a metal slide or a rotating lock near the center. On plastic or metal racks, it’s usually a two-piece clip at the top bar.
Release that lock first. If you skip this step, the rack won’t budge and you risk snapping plastic parts.
Step 3: Push from the center, not the ends
Here’s the trick most people miss. Don’t grab the two outer bars and try to squeeze them together. That creates uneven pressure and jams the scissor joints.
Instead, place one hand on the center bar or the lock housing and push the two halves together symmetrically from the middle. Think of it like closing a book, you press the spine, not the edges.
Step 4: Guide the legs
As the rack collapses, the legs will want to splay out. Tuck them in gently as you go. On many models, the legs have small hinges that allow them to fold inward.
If they don’t fold easily, check for a sliding latch on each leg.
Step 5: Secure the closed position
Once the rack is fully collapsed, most models have a hook or strap to keep it closed. If yours has one, use it. Otherwise, store it with the legs locked together so it doesn’t spring open.
How to Close a Wall-Mounted Drying Rack
Wall-mounted racks save floor space, but they’re also the most likely to be forced closed incorrectly. I’ve seen people bend the hinge brackets because they tried to slam it shut like a trunk.
Step 1: Release the safety catch
Most wall-mounted racks have a small clip or pin near the hinge that keeps the arms from folding while in use. That catch is often a spring-loaded button. Press it to disengage.
If you don’t see a catch, check the instructions, some require you to lift the arms slightly before folding.
Step 2: Support the bottom of the rack
Wall racks are heavy. When you release the catch, the entire weight of the rack is on the hinges. Use one hand to support the outer edge of the rack as you push it upward.
Letting it drop will strain the wall anchors.
Step 3: Push upward and inward, not straight up
The motion is a slight arc. Most wall racks hinge at the top or bottom, so you need to push the free end toward the wall while lifting. If you push straight up, the hinge binds.
Visualize closing a laptop lid, it’s more of a curving motion than a linear one.
Step 4: Check the alignment
As the rack folds flat against the wall, the arms should lie parallel to each other. If one arm catches, don’t force it. Pull the rack back out slightly, realign that arm, and try again.
Bent arms mean you’ll never get a flush fold again.
Step 5: Engage the closed latch
Most wall racks lock into a closed position with a magnetic clip or a hook. Make sure it clicks. If your rack doesn’t have a lock, at least tuck the arms so they don’t protrude into walking space.
How to Close a Tripod or Umbrella-Style Drying Rack
These are the round, umbrella-shaped racks that spin, the kind you see on apartment balconies. They’re surprisingly easy to close once you understand the center hub.
Step 1: Locate the center lock
Look under the central hub where the radiating arms meet. There’s usually a twist-lock ring or a push-button collar. Twist it counterclockwise (or press the button) to unlock the arms.
Step 2: Collect the arms inward
With the lock released, grab the outer ends of two opposite arms and pull them toward the center. Don’t try to gather all arms at once, it’s easier to work in pairs, like closing an umbrella. Fold each pair down toward the pole.
Step 3: Collapse the legs
Tripod racks have three legs that usually slide or hinge inward. Most have a spring-loaded button near the foot. Press it and slide the leg up.
Do all three legs before trying to fold the whole rack flat.
Step 4: Lower the pole
On some models, the central pole telescopes down. Release the clamp at the pole joint and slide the upper section into the lower section. Now you should have a compact bundle.
Step 5: Secure the bundle
Use the built-in strap or bungee cord (if included) to keep everything together. If your rack didn’t come with one, a velcro cable tie works perfectly.
How to Close a Foldable Tabletop Rack
Tabletop racks are the smallest and simplest, but they still have a specific sequence. Trying to fold them out of order can crack the plastic hinges.
Step 1: Remove any clips or pegs
Many tabletop racks have removable drying pegs. Pop them out and set them aside. If you fold the rack with pegs still inserted, they’ll snap off or scratch the bars.
Step 2: Flip the rack upside down
Seriously. Most tabletop racks are designed to fold from the bottom, not the top. Flip it over so you can see the hinge mechanism clearly.
You’ll usually find a release tab or a sliding lock on the underside.
Step 3: Push the two halves together
With the lock released, press the two halves of the frame together. The bars should slide into a neat stack. Some racks require you to then rotate one half 90 degrees to lock them into the closed position, check the hinge joint for a click.
Step 4: Store pegs inside the rack
Many models have a compartment or slot to store the pegs inside the folded rack. Use it. Loose pegs get lost, and then the next time you open the rack you’re short two.
Common Mistakes When Closing a Drying Rack
I’ve made every single one of these, and I’ve seen customers do them in hardware stores. Here are the top four:
Forcing it when it’s still wet. Wet wood swells. Wet metal can rust slightly at the joints. Always let the rack dry completely (even if you’re just moving it to storage) before you close it.
Otherwise the hinges bind and the finish peels.
Skipping the leg locks. Some racks have separate leg locks that you need to release before folding. If you don’t, the legs stay spread and the rack won’t collapse. You’ll just bend the frame.
Pulling from one side. Pulling one side of an accordion rack while the other side stays put torques the center pin. I’ve seen those pins shear off. Always push symmetrically.
Storing it without a strap. A loose rack in a closet or under a bed will inevitably get knocked open. Then you’ve got a half-open rack taking up space and catching on everything. The two seconds it takes to strap it shut save you a lot of annoyance later.
Tips to Keep Your Rack Working Smoothly
A well-maintained drying rack should close easily for years. Here’s what I do:
Lubricate the joints once a year. Use a dry silicone spray, not WD-40, which attracts dust. Spray a tiny amount into each hinge and work it through. On wooden racks, rub a bit of beeswax on the wooden dowels to keep them sliding.
Check the screws. Wall-mounted racks have screws that can loosen over time from vibration. Tighten them every six months. Loose screws mean the rack doesn’t fold straight.
Don’t overload the outer bars. On accordion racks, the outermost bars carry the most stress when open. If you hang heavy wet jeans on the ends, the bars bend slightly. Then when you try to close the rack, those bent bars don’t align.
Keep heavy items toward the center.
Store it in a dry place. Even “indoor” racks can rust or mildew if stored in a damp basement or garage. I keep mine in a closet with a silica gel pack.
For official assembly and care instructions from a major manufacturer, check IKEA’s drying rack guide, they include specific close-and-lock steps for their popular models. Their instructions are clear and match the design standards most rack makers follow.
When It’s Time to Replace Your Rack
No matter how carefully you close your drying rack, parts wear out. Here are the signs that it’s done:
- A hinge pin is broken. You can often see it, the bar just flops. You can’t fold the rack without that pin.
- The wood is cracked. Dried-out wooden racks develop splits that catch on the metal hinges. Closing them becomes a game of hot-and-cold that you always lose.
- The plastic locking clip is snapped. Some racks rely on a small plastic tab to hold the open position. Once that breaks, the rack collapses on its own when loaded. That’s a safety hazard.
- The wall anchors have pulled loose. Don’t try to fix a wall-mounted rack with drywall anchors that have stripped. The rack will fall, possibly on someone.
When you replace it, look for a rack with metal hinges, a positive lock, and a closure strap included. Those details make the closing process ten times easier right out of the box.
Closing a clothes drying rack isn’t rocket science, but it does need the right technique for each design. Once you know whether to push from the center, twist a collar, or release a catch first, the whole process takes three seconds. You’ll walk past that rack in your closet and not even think about it.
And that’s exactly how it should be.
If you’ve been wrestling with a stuck rack, go try the method for your type right now. I pretty much guarantee it’ll fold like a dream.


Similar Posts



















