How To Build a Compost Bins
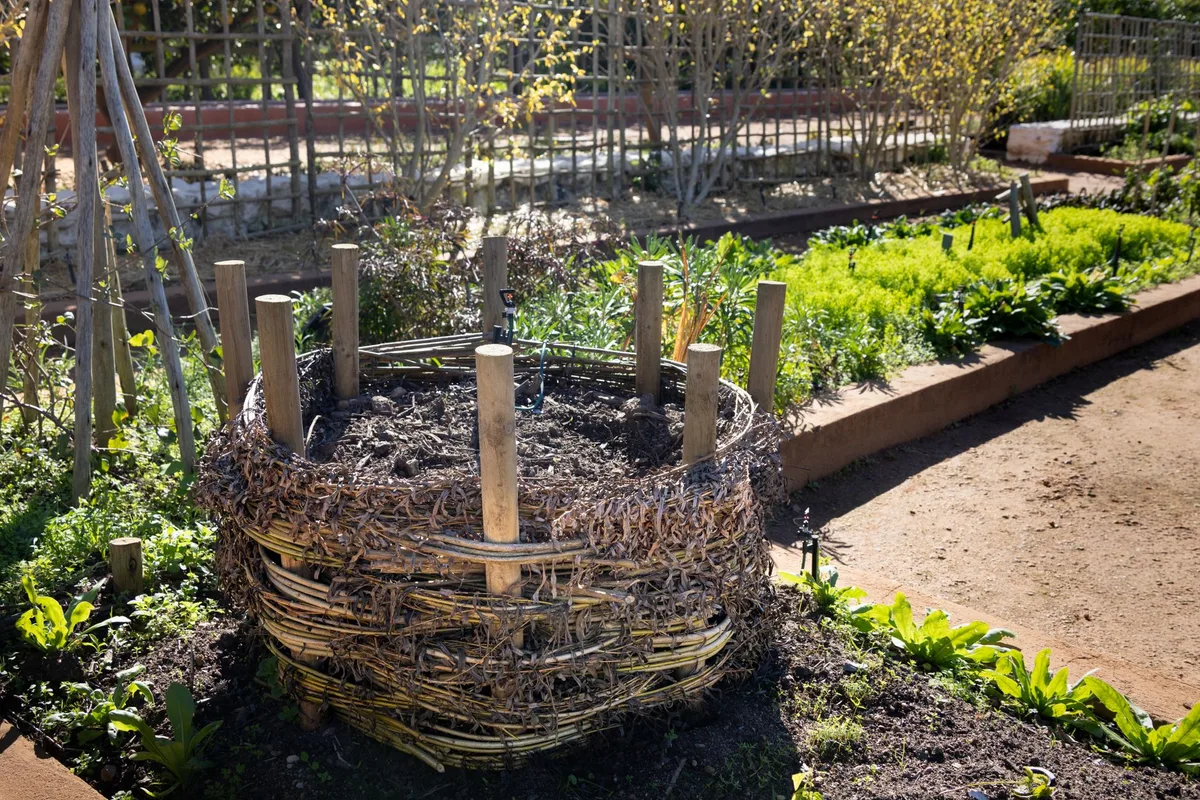
I’ve built a lot of compost bins over the years. Wooden pallet bins, wire mesh cylinders, plastic tumblers, even a three-chamber cinder block system that lasted a decade. I’ve made mistakes, learned shortcuts, and figured out what actually works for the average backyard.
If you want to turn kitchen scraps and yard waste into black gold, you don’t need a fancy kit. You need a solid plan and the right materials.
This guide walks you through exactly how to build a compost bin, from choosing the design to assembling it in an afternoon. No fluff, no theory that doesn’t matter. Let’s build something practical.
Image source: Pexels / Magda Ehlers (Pexels License)
Understanding the Science of Composting
Before you build a bin, you have to understand what happens inside. Composting is nature’s recycling system. Microorganisms, worms, and insects break down organic matter into humus.
Aerobic bacteria do most of the heavy lifting, but they need oxygen, moisture, and the right balance of “greens” and “browns.”
Greens are nitrogen-rich materials: grass clippings, vegetable scraps, coffee grounds, fresh weeds. Browns are carbon-rich: dry leaves, straw, wood chips, cardboard. The ideal ratio is roughly 2 parts browns to 1 part greens by volume.
Too much green and your pile turns into a slimy, stinky mess. Too much brown and decomposition slows to a crawl.
Heat is a sign of activity. A healthy pile can reach 130, 150°F in the center. That’s hot enough to kill weed seeds and pathogens.
But you don’t need to obsess over temperature. A cold pile works too, just slower.
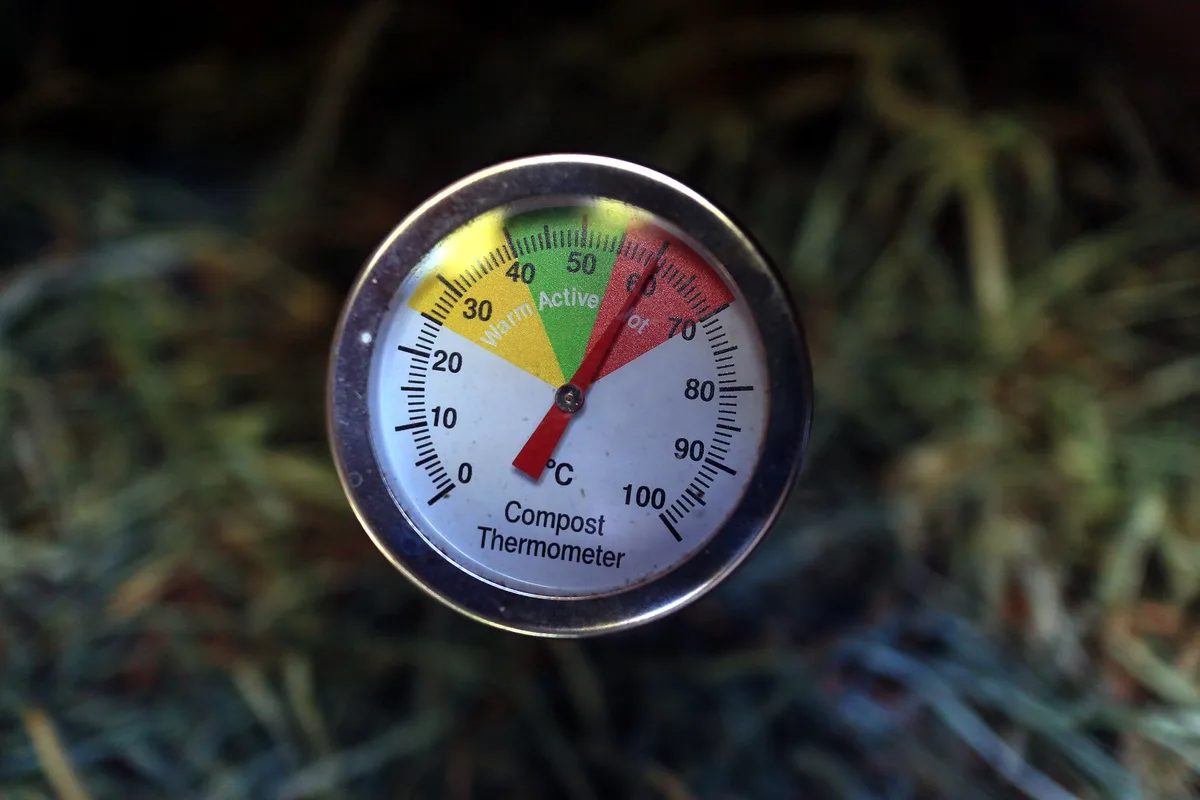
Image source: Pexels / Dino (Pexels License)
Airflow is critical. Without oxygen, the pile goes anaerobic, smells like rotten eggs or ammonia. That’s why your bin design must allow air to circulate.
And moisture matters. The pile should feel like a wrung-out sponge. Too dry, microbes go dormant.
Too wet, they drown.
The science is straightforward. Build a bin that gives microbes what they need, and they’ll do the work for you. Now let’s decide where to put that bin.
Selecting the Right Location for Your Compost Bin
Location can make or break your composting experience. Pick wrong, and you’ll deal with pests, odors, or a pile that never heats up. Pick right, and you’ll have effortless compost.
First, choose a spot with good drainage. Waterlogged ground kills airflow. If you have a slope, put the bin on the high side.
Second, find a place that’s convenient. You want it close enough to the kitchen that you’ll actually use it, but not so close that smells or flies bother you. A distance of 10, 20 feet from the back door is ideal.
Partial shade works best. Full sun dries the pile out too fast. Full shade slows decomposition.
Under a deciduous tree is perfect, sun in winter, shade in summer.
Keep the bin away from wooden fences or structures. Moisture can rot wood. Also avoid low spots where water collects.
And if you have pets, consider a location that’s not right next to a dog run. Dogs love to dig in compost.
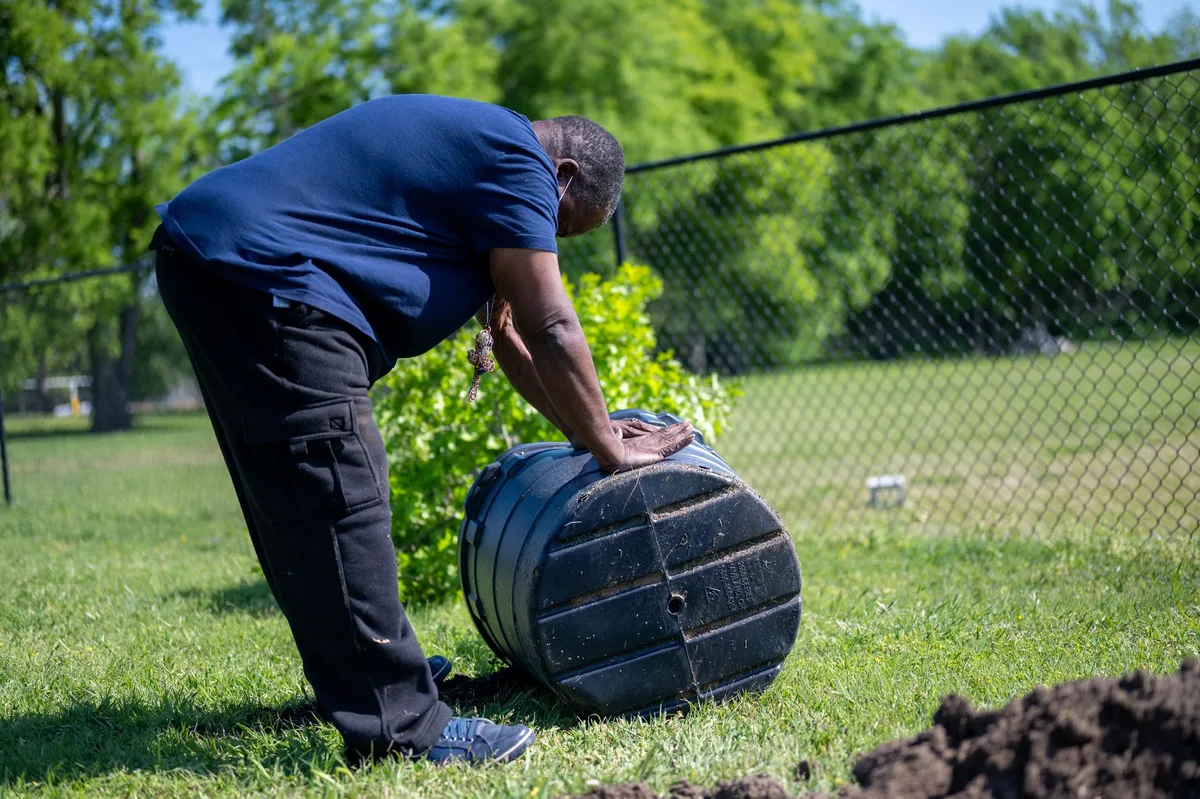
Image source: Pexels / Alfo Medeiros (Pexels License)
Accessibility matters too. You need room to turn the pile, add materials, and remove finished compost. Leave at least 3 feet of clearance on all sides.
If you’re building a three-bin system, plan for turning space between bins.
Soil contact is a bonus. Direct contact with the ground allows worms and beneficial microbes to migrate into the pile. That speeds up decomposition.
So don’t put a solid bottom on your bin. Leave it open to the earth.
Choosing the Right Compost Bin Design
You have three main options for a DIY compost bin. Each has pros and cons. I’ll break them down so you can pick the one that fits your space, budget, and effort level.
Pallet Bin (Most Popular)
Wood pallets are cheap, often free, and easy to assemble. You need four pallets for a single bin. Nail or screw them together to form a square.
Leave one side open for access, or hinge it. The slats provide natural airflow. A pallet bin holds a lot of material, about 3, 4 cubic yards.
It’s great for large yards and heavy yard waste.
Downside: Pallets can look rough. They also rot after a few years. But they’re cheap to replace.
Make sure you use untreated pallets marked “HT” (heat-treated). Avoid chemically treated ones (marked “MB” for methyl bromide), those chemicals can leach into your compost.
Wire Mesh Cylinder (Easiest)
Chicken wire or hardware cloth rolled into a cylinder. Secure the ends with zip ties or wire. This is the simplest design.
It’s portable, cheap, and takes 15 minutes to build. Airflow is excellent. But it doesn’t hold heat as well as a solid bin.
It’s best for small yards or for composting leaves and grass.
I use a wire cylinder for my “fast” pile, the one I turn often. It’s easy to lift the cylinder, move it to the side, and fork the pile back in. That’s essentially turning the pile in one motion.
Cinder Block or Brick Bin (Most Durable)
Stack cinder blocks without mortar to create a three-sided bin. The blocks are heavy and stable. They absorb heat, which helps maintain pile temperature.
A cinder block bin will last for decades. It’s also easy to expand by adding more blocks.
Downside: It’s labor-intensive to build and permanent. You can’t move it. And cinder blocks cost money.
But if you want a permanent structure, this is it.
For a beginner, I recommend the pallet bin. It’s the best balance of cost, capacity, and airflow. If you want something quick and temporary, the wire cylinder wins.
If you’re ready to commit, go with cinder blocks.
Materials You’ll Need
Here’s what you need for a standard pallet bin. I’ll give quantities for a single 4x4x4 bin.
- 4 wooden pallets (same size, 40×48 inches typical)
- 16 galvanized screws or nails (3 inches long)
- Drill with screwdriver bit or hammer
- Level (optional but helpful)
- Heavy-duty gloves (splinters are real)
- Wire cutters (if you need to trim pallet slats)
Optional: hinges for the front door, landscape fabric to line the inside (keeps small materials from falling out), a latch to secure the door.
For a wire cylinder bin:
- 6, 10 feet of 1/2-inch hardware cloth (36 inches wide)
- 4, 6 zip ties or wire ties
- Wire cutters
- Gloves
For a cinder block bin:
- 80, 100 cinder blocks (depending on size)
- 1 bag of landscape fabric (to line the bottom, optional)
- Level
- Rubber mallet
Prices vary, but expect to spend $0, $100. Pallets are often free. Hardware cloth costs about $20.
Cinder blocks run $1, $2 each. The cheapest option is the wire cylinder.
Step-by-Step: How to Build a Compost Bin
I’ll walk you through the pallet bin build. It’s the method I’ve used most often, and it works for almost everyone.
Step 1: Gather and Inspect Pallets
Find four identical pallets. Check for HT stamp. Avoid pallets that are broken, rotting, or have chemical stains.
If a pallet is damaged, reinforce it with extra screws. Lay them flat on the ground. Decide which side will be the front.
You might want to leave that side open or make a removable door.
Step 2: Prepare the Ground
Clear the area of grass and weeds. Level the ground if possible. You don’t have to dig deep, but a flat surface helps the bin stand straight.
Some people put a layer of gravel or wood chips underneath for drainage. I skip that, direct soil contact is better for worm migration.
Step 3: Assemble Three Walls
Stand two pallets upright, side by side, forming a 90-degree corner. Drill two screws through the slats where they overlap. Do the same for the third pallet, creating a U-shape.
Use a level to check that the walls are vertical. Adjust if needed.
Step 4: Attach the Fourth Pallet (Back Wall)
The fourth pallet closes the back. But if you want a three-sided bin, you can leave the front open. For a four-sided bin, screw the fourth pallet to the ends of the U-shape.
Now you have a square enclosure.
Step 5: Create the Front Door
You need a removable or hinged front panel. If you have a fifth pallet, use it as a door. Attach hinges to one side of the front opening and screw the other side of the hinges to the pallet.
Add a latch or a hook-and-eye closure to keep it shut. If you don’t have a fifth pallet, you can stack loose slats across the front. That’s less convenient but works.
Step 6: Line the Inside (Optional)
Line the walls with hardware cloth or landscape fabric. This prevents small materials like coffee grounds from falling through the gaps. Staple the fabric to the pallet slats.
Don’t line the bottom, leave it open to the soil.
Step 7: Add a Lid (Optional)
A lid keeps out rain and animals. You can use a piece of plywood, a tarp, or a second pallet. If you use a tarp, secure it with bungee cords.
Rain can waterlog the pile, so a lid is worth the effort.
And that’s it. You now have a working compost bin. Fill it with a 4, 6 inch layer of coarse browns (twigs, straw) at the bottom to improve drainage.
Then start layering greens and browns.
Maintaining Your Compost Bin
Building the bin is the easy part. Maintaining it is where most people fail. Here’s how to keep the pile healthy.
Turn the pile every 1, 2 weeks. Use a garden fork or a compost aerator. Aerating adds oxygen and redistributes moisture.
If you turn it weekly, you’ll get compost in 2, 3 months. If you never turn it, expect 6, 12 months.
Monitor moisture. Grab a handful of material from the center. Squeeze it.
If water drips out, it’s too wet. Add dry browns. If it’s dusty, add water.
The pile should feel like a damp sponge.
Feed the pile regularly. Add green materials as you generate them. Bury food scraps in the center to avoid attracting flies.
Don’t add meat, dairy, oils, or diseased plants, those cause odors and pests.
Balance greens and browns. If the pile smells like ammonia, you have too many greens. Add browns.
If it’s not heating up, you might need more greens or more moisture.
Shred large materials. Chop up branches, cardboard, and corn stalks. Smaller pieces decompose faster.
Patience is a virtue. Composting is not instant. But if you maintain the pile, you’ll harvest rich, dark compost every few months.
Troubleshooting Common Issues
Even experienced composters run into problems. Here’s how to fix them.
Bad smell (rotten eggs). Anaerobic conditions. Turn the pile immediately. Add dry browns like straw or shredded paper.
Check for compaction, if the pile is too dense, add coarse materials.
Pile is dry and not heating. Add water. Turn the pile to distribute moisture. Also add fresh greens, grass clippings or vegetable scraps will boost nitrogen.
Pile is wet and slimy. Too much green or too much rain. Add dry browns. Cover the pile with a tarp if rains are heavy.
Turn to aerate.
Fruit flies or gnats. Bury kitchen scraps under a layer of browns. Don’t add too much fruit at once. Use a thin layer of soil on top.
Pile is not breaking down. Check the carbon-to-nitrogen ratio. Add more greens. Also check moisture.
If it’s cold outside, the pile will slow down, that’s normal. Insulate the bin with straw bales in winter.
Animals (rats, raccoons). Secure the bin with a lid and hardware cloth. Don’t add meat or cooked food. Bury scraps deep.
If animals persist, switch to a closed bin like a tumbler.
Frequently Asked Questions
How big should a compost bin be? The minimum efficient size is 3x3x3 feet (1 cubic yard). Smaller piles don’t hold enough heat. A 4x4x4 bin is ideal for most households.
Can I use treated lumber? No. Avoid pressure-treated wood, especially older types that contain arsenic. Stick to untreated pallets, cedar, or cinder blocks.
Do I need to add compost starter? Not necessary. Soil already contains the microbes you need. But if you want to speed things up, a handful of finished compost or garden soil works.
How do I know when compost is ready? It looks dark, crumbly, and smells like earth. You shouldn’t recognize any original materials. It takes anywhere from 2 months to a year.
Can I compost weeds? Yes, but only if your pile gets hot enough (130°F+) to kill weed seeds. If you have a cold pile, avoid weeds that have gone to seed. Or compost them separately.
Where can I learn more about composting science? The USDA’s Natural Resources Conservation Service has excellent resources on composting principles. Also check your local extension office, many offer free guides tailored to your climate.
Final Thoughts
Building a compost bin is one of the most satisfying weekend projects you can do. It reduces waste, saves you money on fertilizer, and gives you a direct connection to the soil. The design I shared, the pallet bin, is proven, cheap, and easy to modify.
You can scale it up, add a second bin, or turn it into a three-bin system for continuous composting.
Don’t overthink it. Start with a simple build. If you find you love composting (and you will), you can always upgrade later.
The most important step is the first one: get a bin, start adding scraps, and let nature do its thing.
Ready to build? Grab your gloves, find some pallets, and get to work. Your garden will thank you.


Similar Posts



















