How to Build a Storage Bin Shelving Unit
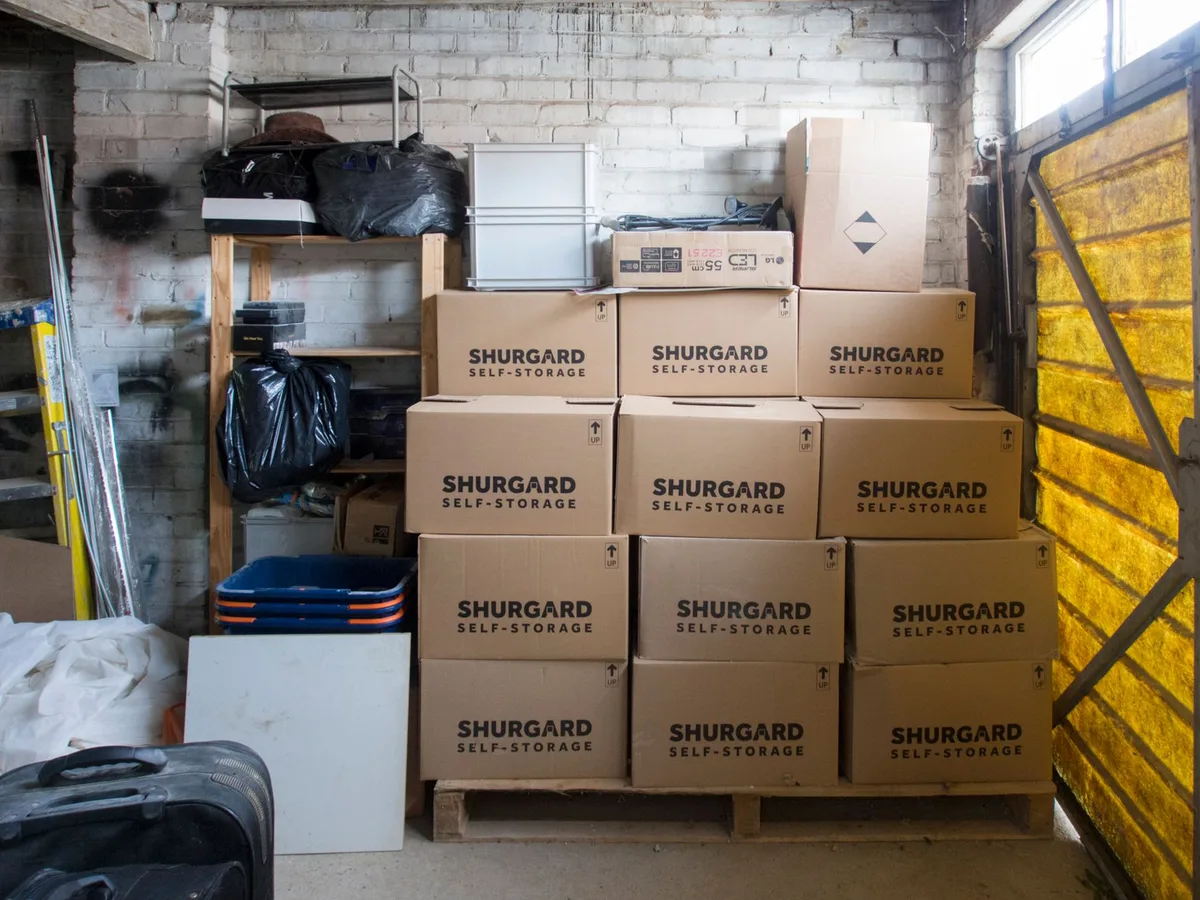
Got clutter? We all do. Piles of plastic bins, boxes, and bags taking over your garage, workshop, or spare room?
A well-built storage bin shelving unit is your secret weapon against chaos. It’s more than just shelves; it’s a system designed for easy access and maximum space utilization. Forget flimsy, off-the-shelf options.
Building your own gives you custom dimensions, rock-solid construction, and a satisfaction that’s hard to beat.
This guide walks you through building a sturdy, practical shelving unit perfectly suited for your storage bins. We’ll cover everything from choosing materials to the final screw. Let’s get this organized!
Why Build Your Own Storage Bin Shelving Unit?
Before we grab our tools, let’s talk about why DIY is the way to go.
- Customization is Key: Your bins aren’t standard sizes. Neither are your storage needs. A custom unit fits your exact bins and your available space. No wasted inches, no awkward gaps.
- Strength and Durability: Those cheap plastic shelves sag and break. Building your own means using materials rated for heavy loads. Think solid wood or strong metal. Your unit will last for decades.
- Cost-Effectiveness: While you’re investing in materials, building it yourself is often cheaper than buying a comparable heavy-duty unit. You’re paying for quality materials, not brand markup.
- Smarter Organization: A good unit makes life easier. Bins are accessible, labeled, and stored efficiently. This isn’t just storage; it’s intelligent organization.
Planning Your Storage Bin Shelving Unit
This is the crucial first step. Get this right, and the build will be smooth sailing.
Measuring Your Space and Bins
First, where is this unit going? Measure the available footprint.
- Height: How tall can it be? Consider ceiling height and any obstructions like pipes or light fixtures.
- Width: How wide can it be? Allow for walkway space.
- Depth: How deep can it be? Make sure it accommodates your largest bins without sticking out too far.
Next, measure your storage bins.
- Width: How wide is each bin?
- Depth: How deep is each bin?
- Height: How tall is each bin?
Consider how you want to store them. Will bins sit side-by-side or front-to-back? This impacts shelf width and depth.
Designing the Unit: Key Considerations
Based on your measurements, sketch out a design.
- Shelf Spacing: This is critical. Measure the height of your tallest bins. Add a couple of inches for clearance. This is your minimum shelf height. If you use bins of varying heights, you might need adjustable shelves or design fixed shelves for your most common bin sizes.
- Shelf Load Capacity: How much weight will each shelf hold? Large bins filled with tools or supplies can get heavy. Factor this into your material choices.
- Bin Access: Do bins slide in and out easily? If you’re storing bins front-to-back, ensure you can reach the ones in the back. Consider pull-out shelves or making the unit shallow enough to access all bins from the front.
- Structural Stability: The unit needs to be stable, especially if it’s tall. It must resist tipping. Factor in bracing and how it will be secured.
A simple design might have two vertical uprights with horizontal shelves connecting them. More complex designs could include a solid back panel or angled shelves for easier bin access.
Material Selection
The materials you choose directly impact the strength, durability, and look of your shelving unit.
Wood: The Classic Choice
Wood offers strength, is easy to work with, and looks great.
- Plywood: ¾-inch thick plywood is excellent for shelves and side panels. It’s strong, stable, and comes in large sheets, reducing seams. Birch or pine plywood are common, affordable choices.
- Dimensional Lumber: For the vertical supports (uprights) and any horizontal framing, 2x4s or 2x6s are ideal. They provide robust support.
- Screws: Use good quality wood screws, at least 2-2.5 inches long for joining ¾-inch plywood to 2x lumber.
Metal: The Industrial Option
Metal is incredibly strong but requires different tools and skills.
- Steel Angle Iron/U-Channel: This is a common choice for commercial shelving. You can cut and bolt or weld it together. It’s very strong and durable.
- Metal Shelving Kits: While we’re building our own, some kits provide the framework, and you can add custom shelves.
For most DIYers, wood is the more accessible and forgiving material. We’ll focus on a wood build.
Tools and Supplies
Gather your tools before you start.
- Measuring Tape: For accurate measurements.
- Pencil: To mark cuts and drill points.
- Safety Glasses: Always protect your eyes.
- Ear Protection: If using power tools.
- Circular Saw or Miter Saw: For cutting wood. A miter saw gives cleaner, more accurate cuts for ends.
- Drill/Driver: For pre-drilling holes and driving screws.
- Level: To ensure shelves are perfectly horizontal.
- Square (Speed Square or Framing Square): To ensure cuts and joints are at 90-degree angles.
- Clamps: To hold pieces together while you screw them.
- Sandpaper or Sander: For smoothing edges.
- Wood Screws: Appropriate length and type for your wood.
- Wood Glue (Optional but recommended): Adds strength to joints.
Building Your Storage Bin Shelving Unit: Step-by-Step
Let’s get building. We’ll assume a basic, sturdy unit made from plywood and 2×4 lumber.
Step 1: Cut Your Lumber
Accuracy here is key. Double-check your measurements before cutting.
- Uprights (Sides): Cut two identical pieces of 2×4 (or 2×6 if you need extra depth/strength) to your desired unit height.
- Shelves: Cut your ¾-inch plywood into shelves. The length will be your desired unit width minus the thickness of your two uprights (e.g., if unit is 48 inches wide and uprights are 1.5 inches thick each, shelves are 48, 3 = 45 inches long). The depth will be your desired shelf depth. You’ll need multiple shelves.
- Optional Back Panel: Cut a ¾-inch plywood panel to the full height and width of your unit. This adds significant stability.
- Optional Bracing: Cut 2×4 pieces for any diagonal or horizontal bracing you plan to add.
A good way to visualize this is to build a rectangular frame for the front and back of each shelf level, then attach the plywood onto that.
Step 2: Mark Shelf Positions on Uprights
Lay your two uprights parallel on a flat surface. Decide on your shelf heights carefully.
- Use your measuring tape and pencil to mark the bottom edge of each shelf position on the inside face of both uprights.
- Ensure these marks are perfectly aligned. Use your speed square to draw a perfectly horizontal line at each mark. These lines indicate where the top of your shelf supports (or the bottom of your shelf itself) will align.
Step 3: Add Shelf Supports (Cleats)
Cleats provide a solid surface for your shelves to rest on and connect to.
- Cut 2×4 pieces to act as cleats. Their length should be the desired depth of your shelves.
- For each shelf position marked on the uprights, attach a cleat to the inside face of each upright.
- Position the top of the cleat flush with the line you drew for the bottom of the shelf.
- Apply wood glue to the end of the cleat that will attach to the upright (optional but recommended).
- Pre-drill through the upright into the cleat.
- Secure the cleat with 2, 3 screws per end. Ensure the cleat is level. Repeat for all shelf positions on both uprights.
Step 4: Assemble the Frame
Now, we connect the uprights.
- Stand one upright up, or lay it flat on its back.
- Place your first shelf (or the bottom cleat assembly) onto the corresponding marks/cleats.
- Apply wood glue to the ends of the cleat where they meet the upright.
- Use clamps to hold it in place.
- Pre-drill through the upright into the ends of the cleat.
- Drive screws to secure. For extra strength, you can also screw directly through the plywood shelf into the cleat from the top once the shelf is in place.
Repeat for all shelf levels, working your way up. A second person is helpful here to hold things steady.
Step 5: Install Shelves
Once the frame is stable, install the plywood shelves.
- Place a plywood shelf onto the cleats.
- Ensure it’s flush with the front and back of the uprights and perfectly level.
- Apply wood glue to the top of the cleats before placing the shelf (optional).
- Pre-drill through the plywood shelf into the cleats below. Be careful not to drill too deep.
- Use plenty of screws (every 6, 8 inches) to secure the shelf to the cleats. This prevents lifting and adds rigidity.
Repeat for all shelves.
Step 6: Add the Back Panel (Optional but Recommended)
A back panel dramatically increases stability and prevents the unit from racking (leaning side-to-side).
- Carefully position your cut plywood back panel against the rear of the assembled frame.
- Ensure it’s square with the frame.
- Pre-drill through the back panel into the uprights and any horizontal supports.
- Screw it securely along all edges. You can also screw into the back edge of your shelves for extra support.
Step 7: Add Bracing (Optional)
If you haven’t used a full back panel or if your unit is particularly tall or narrow, consider adding bracing.
- Diagonal Braces: Cut 2x4s to fit diagonally across the back of the unit, connecting uprights to shelves. Screw them securely at both ends.
- Horizontal Braces: Add 2x4s across the back, horizontally between the uprights at the top and bottom.
Step 8: Finishing Touches
- Sanding: Sand down any rough edges or splintered areas.
- Finishing (Optional): You can paint, stain, or seal your shelving unit. This protects the wood and makes it look finished. A good polyurethane or exterior paint is recommended if it’s in a garage or damp area.
- Securing to Wall: For safety, especially with tall units, screw the unit to the wall studs using L-brackets or cleats. This prevents tipping.
Variations and Enhancements
Once you’ve mastered the basic build, here are some ideas to customize your unit further.
Adjustable Shelves
Want more flexibility? Instead of fixed cleats, use shelf pins.
- Drill a series of holes (e.g., every 2 inches) on the inside faces of your uprights.
- Use adjustable shelf pins that fit into these holes.
- Cut plywood shelves to fit these adjustable supports.
This allows you to change shelf heights as your storage needs evolve.
Pull-Out Shelves
For deep bins or items you need easy access to, pull-out shelves are a game-changer.
- Build a sturdy plywood shelf that fits within your unit’s dimensions.
- Install heavy-duty drawer slides (rated for the weight of your bins) on the underside of the shelf and on a sturdy support within the unit.
- Ensure the slides operate smoothly.
Integrated Bins
Instead of just shelves, build compartments specifically for your bins.
- Design the shelf spacing to be a snug fit for your bins.
- You could even build a frame with vertical dividers and a horizontal base for each bin.
This looks very tidy and keeps bins from shifting.
Heavy-Duty Metal Shelf Supports
For ultimate strength, you can adapt commercial metal shelving systems.
- Purchase metal uprights and beam systems.
- Cut and install your own heavy plywood or melamine shelves to fit into the metal frame. This combines the strength of metal with the ease of DIY shelving. For more information on structural loads and materials, consult engineering specifications from organizations like the American Society of Mechanical Engineers (ASME).
Maintenance and Care
A well-built shelving unit requires minimal maintenance.
- Regular Dusting: Keep shelves clean. Dust can accumulate.
- Check Screws Periodically: Over time, vibrations can loosen screws. Give them a quick check every year or so, especially if the unit holds very heavy items.
- Address Moisture: If the unit is in a damp environment, watch for any signs of rot or rust. Seal any exposed wood or metal regularly.
Conclusion
Building a storage bin shelving unit is a rewarding project. It tackles clutter head-on and provides a robust, customized solution for your home or workshop. By planning carefully, selecting good materials, and following these steps, you’ll create a functional, durable piece of furniture that tames your mess and brings order to your space.
So, grab your tools, measure twice, cut once, and get ready to enjoy a beautifully organized storage area.


Similar Posts



















