How to Build Closets
Image source: Pexels / Max Vakhtbovych (Pexels License)
how to build closets
I’ve built closets in every kind of house, from cramped 1920s bungalows to modern open-plan homes. And I’ll tell you this: the process is the same. You measure, you frame, you finish.
The difference between a closet that works and one that’s just a hole in the wall is planning. Let’s walk through it.
First, some good news. You don’t need to be a master carpenter. You don’t need a workshop full of expensive tools.
What you do need is a clear head, a tape measure, and a willingness to spend a weekend getting it right. This guide covers everything from rough framing to installing shelves and doors. I’ll show you the tricks that save time and prevent headaches.
Why Build Your Own Closet?
You could buy a prefab kit. You could hire a contractor. But building your own closet gives you total control over the size, layout, and materials.
You can match the trim to the rest of the room. You can add custom drawers, shoe racks, or pull-out bars. And you’ll save a serious chunk of money.
More importantly, you learn the bones of your house. Once you’ve framed a closet, you’ll understand how walls go together. That knowledge pays off on every future project.
Planning Your Closet Build
Before you touch a saw, you need a plan. And that plan starts with a tape measure and a pencil.
Measure Twice, Draw Once
Measure the width, height, and depth of the space where the closet will go. Write down the rough opening dimensions. Then subtract 1.5 inches from the width for the framing, standard 2×4 studs take up that space.
For a typical reach-in closet, you need at least 24 inches of depth. For a walk-in, aim for 60 inches minimum so you can move around.
Decide on the Layout
Think about what you’ll store. Hanging clothes need 24 inches of clear depth for the rod. Folded items need shelves 12 to 16 inches deep.
Shoes need a slanted shelf or a rack. Draw a simple sketch showing where each section goes. Mark the location of any light switches, electrical outlets, or HVAC vents inside the existing wall.
You’ll work around those.
Check Local Building Codes
In most areas, a closet doesn’t require a permit unless you’re moving plumbing or electrical. But you should still check. The [U.S.
Department of Housing and Urban Development offers guidelines on home improvement projects that help you stay code-compliant. For example, closets must have a clearance of at least 24 inches in front of the hanging rod. And you can’t place a heat source (like a furnace register) inside the closet without a code-approved barrier.
Materials and Tools You’ll Need
Here’s the list I use on every job. Buy quality lumber, warped studs cause more headaches than anything else.
Lumber
- 2×4 studs for the frame (enough to space at 16 inches on center)
- 2×4 top and bottom plates
- 1×12 or 1×16 boards for shelves (or plywood if you want a seamless look)
- 1×2 or 1×3 furring strips for cleats
Hardware
- 3-inch deck screws for framing
- 1.5-inch screws for shelves and cleats
- 2.5-inch finish nails for trim (if you’re using a nail gun)
- Corner brackets and shelf standards (if you’re installing adjustable shelves)
- Closet rod flanges and a wooden or metal rod
Tools
- Circular saw or miter saw
- Drill/driver with bits
- Tape measure, level, stud finder
- Speed square, chalk line, pencil
- Hammer (for stubborn nails)
- Safety glasses and ear protection
Optional but nice to have
- Framing nailer (saves a ton of time)
- Kreg jig for pocket holes (if you want to hide screws)
- Oscillating multi-tool (for cutting through drywall if you’re tying into existing walls)
Building the Frame
This is where the closet starts to look real. The frame is the skeleton. Get it square and plumb, and everything else follows.
Image source: Pexels / Peter Vang (Pexels License)
Mark the Layout
Snap a chalk line on the floor where the closet walls will sit. Use a level to transfer that line to the ceiling. Then mark the stud positions on the bottom plate, 16 inches on center from the end of the wall.
This spacing is standard and works with 4×8 sheets of drywall later.
Cut the Top and Bottom Plates
Cut two 2x4s to the length of the closet wall. Lay them side by side. Transfer the stud marks from the bottom plate to the top plate.
Then cut the studs to the height of the closet minus 3 inches (for the two plates). In a room with 8-foot ceilings, your studs will be 92.5 inches.
Assemble the Frame
Nail the bottom plate to the floor through the subfloor or concrete slab. Use concrete screws if you’re on a slab. Then nail the top plate into the ceiling joists.
Make sure the plates are aligned. Next, install the studs one by one. Start with the king studs at the ends, then the jack studs on each side of the door opening (if you’re adding a door).
Finally, fill in the regular studs. Check for plumb every few studs.
Frame the Door Opening
If your closet has a door, you need a rough opening. Standard width for a single door is 32 inches. For double doors, 60 inches.
Build a header across the top of the opening using two 2x4s sandwiched with a piece of ½-inch plywood. Support the header with jack studs on each side.
Tie Into Existing Walls
If your closet is going into a corner, you’ll need to attach the new frame to the existing wall. Find the studs in the old wall and screw the new end stud directly into them. Use a level to keep everything plumb.
Installing Shelves
Once the frame is up, it’s time to add the storage. Shelves are the heart of a closet. Get them level and they’ll hold everything you throw at them.
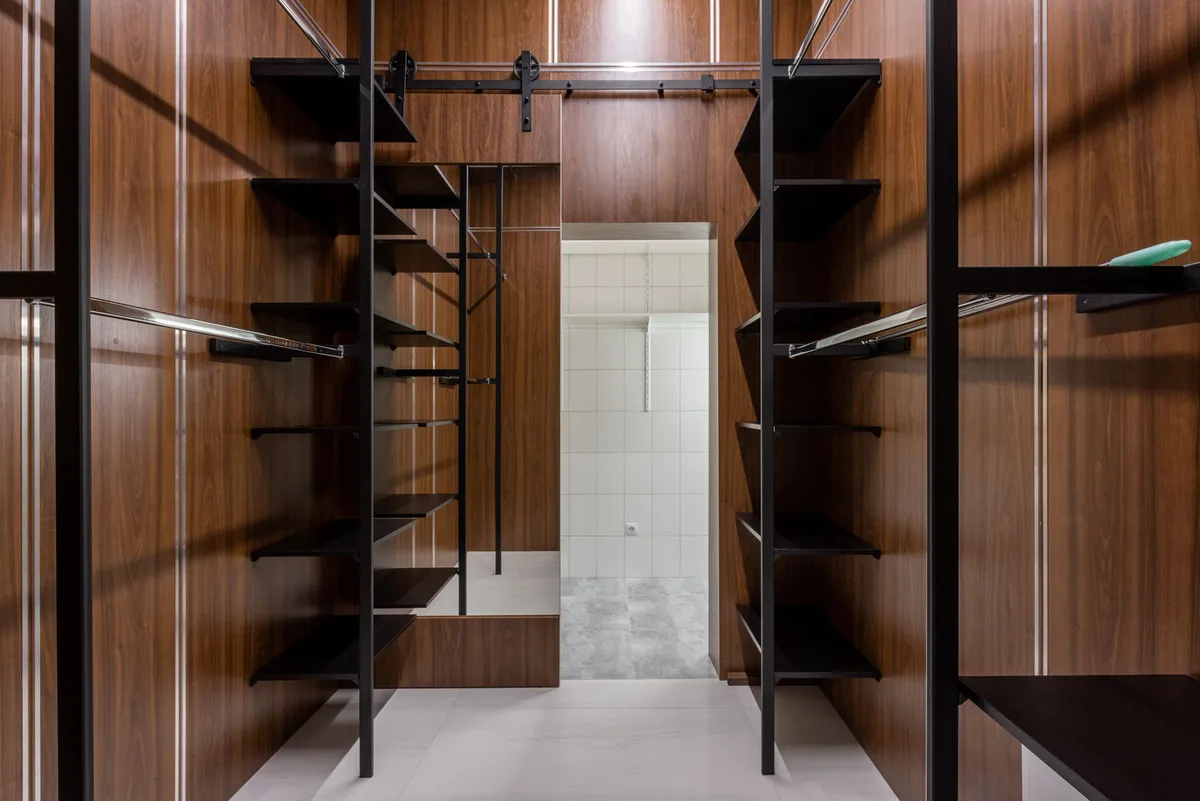
Image source: Pexels / Max Vakhtbovych (Pexels License)
Measure for Shelf Depth and Height
Standard closet shelves are 12 to 16 inches deep. For a walk-in, you can go deeper. Height depends on what you’re storing.
Upper shelves for out-of-season items can be as high as 72 inches. Lower shelves for folded clothes should be between 36 and 48 inches.
Install Cleats or Standards
I prefer cleats, they’re simple and strong. Cut a 1×2 or 1×3 board to the length of the shelf. Screw it into the wall studs at the desired height.
Make sure it’s level. Then place the shelf on top of the cleat and screw it down from above. If you want adjustable shelves, install metal standards and brackets.
Screw the standards into the studs, then snap the brackets in at any height.
Build the Shelf Itself
Use ¾-inch plywood or 1×12 solid lumber. If you’re using plywood, edge-band the front for a finished look. Cut the shelf to length and width, then sand the edges.
For a fine-furniture look, you can add a 1×2 face frame to the front edge.
Add a Closet Rod
The rod should be at 60 inches from the floor for shirts and jackets, 42 inches for pants and skirts. Use a wooden rod (1⅛-inch diameter) or a metal one. Install flanges on the wall at each end, then slide the rod in.
For long runs, add a center support bracket.
Adding Doors and Hardware
Doors are the part everyone sees. They also need to be perfectly square. If your frame is out of plumb, the doors will bind.
Choose the Door Type
You have three main options: bifold, sliding, or swinging. Bifold doors are great for tight spaces because they fold in half. Sliding doors save floor space but can be heavy.
Swinging doors are classic and easy to install, but they need clearance.
Measure the Rough Opening
Measure the width and height of the opening. Then subtract ¼ inch from each dimension for clearance. Most bifold doors come in standard widths like 24, 30, 32, and 36 inches.
If your opening is off, adjust the frame with shims.
Install the Door Frame
If you’re adding a prehung door, just slide it into the opening. Shim the frame at the hinge side, the lock side, and the top. Check for plumb with a level.
Screw through the frame into the studs. For bifold doors, follow the manufacturer’s instructions, they usually include a track and pivot brackets.
Hang the Doors
For swinging doors, screw the hinges into the door frame first, then lift the door into place and attach the hinges to the door. Adjust the shims if the door rubs. For bifold doors, snap the pivot pins into the brackets and adjust the tension wheels.
Install Knobs and Catches
Drill a hole for the knob at 34 inches from the floor. Install a magnetic catch or a roller catch on the top of the door. Test the swing, it should be smooth and silent.
Finishing Touches: Trim, Paint, and Lighting
The closet is fully functional now. But a few finishing touches make it feel like a permanent part of the house.
Trim the Door Opening
Install casing around the door jamb. Use a miter saw to cut 45-degree angles at the corners. Nail the casing to the frame, leaving a ⅛-inch reveal.
Caulk the gaps and paint the trim to match the baseboards.
Paint or Stain the Shelves
I always paint the inside of the closet a light color, white, cream, or light gray. It reflects light and makes the space feel bigger. Use a semi-gloss or satin finish so it’s easy to wipe clean.
For shelves, I prefer to stain them if they’re solid wood. If you used plywood, paint them.
Add Lighting
A dark closet is useless. Install a surface-mount LED fixture or a motion-sensor light. The easiest option is a battery-operated puck light that sticks to the ceiling.
For a hardwired light, run a new circuit from the nearest switch. That’s a job for a licensed electrician if you’re not comfortable with wiring.
Install a Shoe Rack or Pull-Out Baskets
You can add these after the shelves are in. A simple shoe rack is just a tilted shelf with a lip. Pull-out baskets need drawer slides.
Measure the space and buy hardware that fits.
Common Mistakes to Avoid
I’ve seen builders make these same errors over and over. Don’t be that guy.
- Skipping the layout line. You can’t build a straight wall by eye. Always snap a chalk line.
- Using drywall screws for framing. Drywall screws are brittle. Use 3-inch deck screws or framing nails.
- Not leveling the shelves. One crooked shelf and everything slides off.
- Forgetting the door swing. If the door opens into the closet, you lose storage depth. Plan for it.
- Ignoring the ceiling height. Standard 8-foot ceiling works, but if you have 9-foot ceilings, you can build taller shelves.
How Long Does It Take?
A straightforward reach-in closet (4 feet wide, 2 feet deep) takes about 6 to 8 hours for a first-time builder. That includes framing, shelves, and a door. A walk-in closet can take a full weekend.
The trick is to work in stages: frame one day, shelves and finish the next.
Tools That Make the Job Easier
If you’re going to build more than one closet, invest in a few pro-level tools.
- Framing nailer. A pneumatic nailer drives 3-inch nails instantly. It’s faster than screws and just as strong.
- Laser level. A self-leveling laser saves you from the back-and-forth of a bubble level.
- Circular saw with a guide rail. Cuts perfect straight lines in plywood without a table saw.
- Kreg pocket hole jig. If you want to build drawer boxes or face frames, pocket holes are the way to go.
When to Call a Pro
Some jobs are better left to a contractor. If you’re moving a load-bearing wall, cutting into the ceiling for lighting, or dealing with mold or asbestos, stop and call someone. Also, if your closet is a walk-in with a complex layout, a pro can design and build it faster than you can.
But for most homeowners, a simple reach-in or small walk-in is totally doable. I’ve taught dozens of people to frame their first closet. They all went into it nervous and came out proud.
Final Thoughts (No, Really — Just One)
Building a closet is not a weekend hobby. It’s a real construction project. But it’s also one of the most satisfying things you can do in your own home.
You measure, you cut, you screw, and suddenly you have a space that’s perfectly yours. No more crammed clothes on the floor. No more bending over to find shoes.
Just a clean, organized closet that you built with your own hands.
Now go measure your space. I’ll be here if you get stuck.


Similar Posts



















