How to Add a Closet to a Room
I’ve built and remodeled enough houses to know that a room without a closet feels like a ship without a cabin. You can’t store clothes, linens, or even a vacuum cleaner without it looking chaotic. Adding a closet to a room isn’t just about storage, it’s about reclaiming your living space.
The good news? You don’t need to be a master carpenter. With some planning, basic framing skills, and the right materials, you can add a closet that looks like it was always there.
Let’s walk through every step, from measuring your floor plan to hanging the last shelf. I’ll share the exact methods I use on job sites, plus a few tricks to save time and money.
Planning Your Closet Addition
Before you swing a hammer, you need a solid plan. This isn’t the place to wing it. A closet that’s too shallow won’t hold hangers.
One that’s too deep eats up valuable floor space. Here’s how I approach the planning phase.
Measure the Room and Determine the Closet Size
Grab a tape measure and a notebook. Measure the length and width of the room. Mark where windows, doors, and any electrical outlets sit.
Now decide where the closet should go. The most common spot is along an existing wall, but you can also build a freestanding unit in a corner.
For a reach-in closet, aim for a minimum depth of 24 inches. That lets you hang clothes without them brushing the back wall. If you want to store folded items or shoes, go 30 inches deep.
A walk-in closet needs at least 4 feet of depth so you can step inside and turn around.
Standard width for a single rod is 4 to 6 feet. Double rods (one for shirts, one for pants) work well in a 6-foot-wide closet. Measure your existing clothes to see how much hanging space you really need.
I always add 10 percent extra for future purchases, trust me, you’ll need it.
Choose the Closet Type
Reach-in closets are the most straightforward to build. They’re basically a shallow box with a door. Walk-ins offer more storage but require more floor space and framing.
For a bedroom, a reach-in closet is often the best trade-off.
You also need to decide on the door style. Swinging doors need clearance in front of the closet. Sliding doors save space but limit access to one side at a time.
Bifold doors are a good middle ground, they fold inward and don’t swing into the room. I prefer bifold doors for standard reach-in closets because they’re easy to install and look clean.
Check the Ceiling Height
Standard ceiling height in most homes is 8 feet. That’s perfect for a closet rod at 60 to 66 inches from the floor, with room for a shelf above. If you have 9-foot ceilings, consider adding a second rod for short-hanging items or a high shelf for bins.
Choosing the Right Location
Where you put the closet matters more than you think. You want it to feel natural, not like an afterthought. Here’s what I consider before cutting into any wall.
Avoid Load-Bearing Walls
Never cut a load-bearing wall without consulting a structural engineer or contractor. Removing a stud that holds up your roof can cause sagging floors or worse. If you’re not sure whether a wall is load-bearing, check the attic.
Look for beams that run perpendicular to the wall. If beams are there, that wall is load-bearing. In that case, you’ll need to install a header and temporary supports.
It’s doable but requires extra work.
Consider the Room’s Traffic Flow
A closet door should not block the main walkway. If the room is small, place the closet in a corner near the entrance. That way, you can access it without stepping into the center of the room.
For larger rooms, you have more flexibility.
Also think about natural light. A closet with a window is unusual but possible, you’d just need to build the closet around the window or skip that wall. Most people prefer the closet on an interior wall, away from windows.
Check for Electrical and Plumbing
Scan the wall for any electrical wires or plumbing pipes. Use a stud finder with a live-wire detector. If you find wires, you can either reroute them or build the closet around them.
Moving plumbing is expensive and usually not worth it. Save yourself the headache and pick a wall with no plumbing.
Types of Closets: Which One Is Right for You?
I’ve installed every kind of closet you can imagine. Here’s a quick breakdown so you can match the design to your space.
- Reach-in closet: The most common. It’s a simple enclosure, usually 4 to 8 feet wide and 2 to 2.5 feet deep. Great for bedrooms and hallways.
- Walk-in closet: Needs at least 4 feet of depth. You can step inside and have rods on two or three walls. Perfect for master suites.
- Corner closet: Uses dead space in a room corner. Often built with angled doors. Works in awkward rooms.
- Closet under stairs: If you have a staircase with wasted space underneath, frame a closet there. It’s a clever storage hack.
For most homeowners, a reach-in closet is the easiest and most cost-effective option. I’ll focus on that for the rest of this guide.
Framing the Closet
Framing is where the closet starts to become real. This step involves building the walls that define the space. It’s also the most critical part for structural integrity.
Gather Your Materials and Tools
You’ll need:
- 2×4 lumber (studs)
- 2×4 top and bottom plates
- Hammer or framing nailer
- Level
- Tape measure
- Circular saw or handsaw
- Stud finder
- Safety glasses and gloves
For a typical 6-foot-wide reach-in closet, buy about 12 studs. That gives you extra for headers and cripples.
Mark the Layout on the Floor
Snap a chalk line on the floor to show the front face of the closet wall. Measure from that line backward to mark the back wall. The distance between the two should equal your closet depth (minimum 24 inches).
Also mark the side walls if the closet is enclosed on both ends.
Build the Walls
Start with the bottom plate. Cut a 2×4 to the length of the closet wall (e.g., 6 feet). Lay it flat on the floor along your chalk line.
Then cut the top plate to the same length. Use a level to plumb the top plate to the ceiling. If the ceiling isn’t perfectly level, you’ll need to shim the top plate.
Now cut your studs. Measure the distance from the top of the bottom plate to the bottom of the top plate. Subtract 1.5 inches for the thickness of the plates.
For an 8-foot ceiling, the studs will be about 92.5 inches. Place them every 16 inches on center. Nail the studs into the bottom and top plates.
If you’re building a wall with a door opening, frame the rough opening. For a standard 30-inch door, make the rough opening 32 inches wide and 80.5 inches tall. Install a header (two 2x4s nailed together) above the door opening.
Add jack studs on each side.
Attach the Wall to the Existing Structure
Nail the new wall into the ceiling joists and floor. Use a stud finder to locate joists above. Toe-nail the top plate into the joists.
For the side walls, nail them into existing studs of adjacent walls.
For a freestanding closet (not against an existing wall), you’ll build all four walls. This is more work but gives you total freedom of placement.
Add the Header and Supports
If you’re cutting into an existing wall for a pass-through closet, you need a header to support the load above. The header size depends on the span. For a 4-foot opening, a double 2×4 header is usually fine.
For larger spans, use a double 2×6 or consult a pro. I always check the local building code for header requirements.
Installing Drywall and Finishing
Once the framing is up, it’s time to make it look like a room. Drywall is the fastest way to cover the studs.
Cut and Hang Drywall
Measure each section of the closet walls. Cut drywall panels with a utility knife, score the paper, snap the board, then cut the back paper. Screw the panels into the studs, using drywall screws spaced about 12 inches apart.
For the ceiling, you’ll need a lift or a helper to hold the panel in place.
Tape and Mud the Joints
Apply drywall tape over the seams. Then cover the tape with joint compound (mud) using a wide knife. Let it dry, then sand smooth.
Repeat for a second coat on the seams and a third coat over the screw heads. For a smooth finish, sand the whole surface lightly.
Prime and Paint
Use a latex primer to seal the drywall. Then paint the closet interior with a finish paint. I recommend a light color, white or off-white, to make the space feel bigger and brighter.
Dark colors make a small closet feel like a cave.
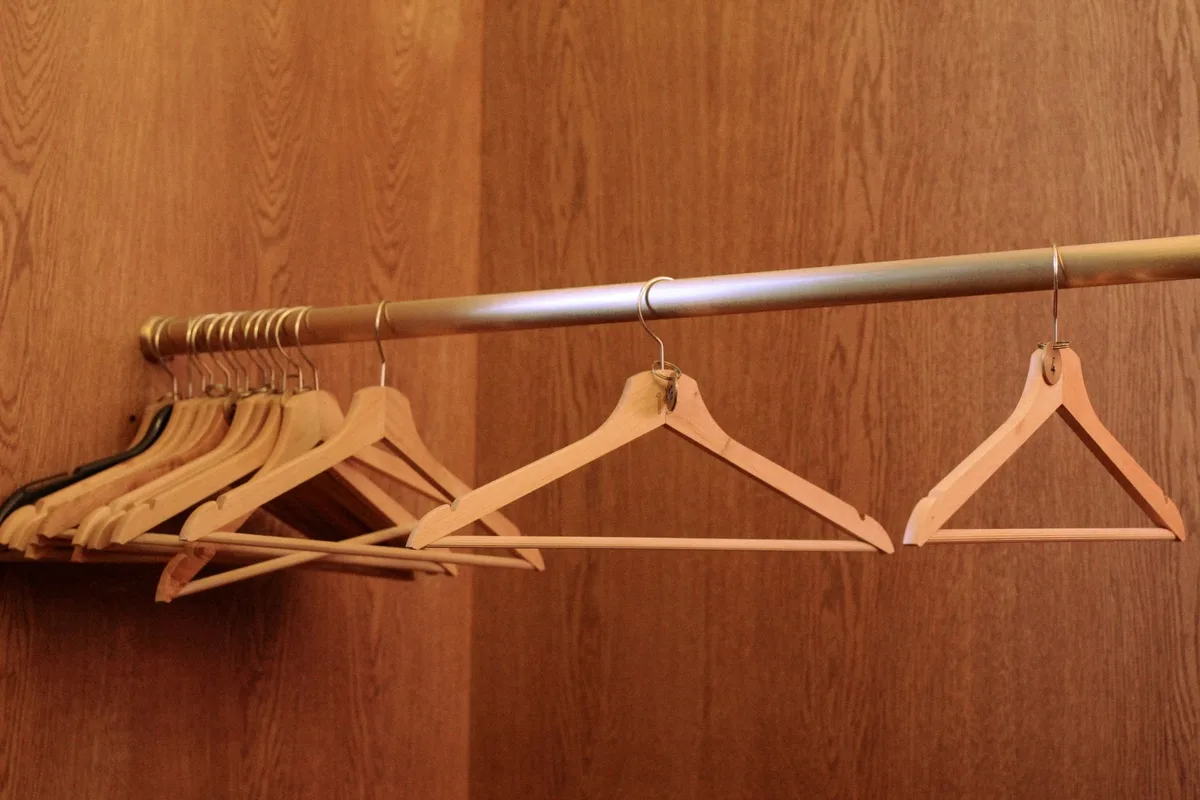
How to Install a Closet Rod
Image source: Pexels / Esra Korkmaz (Pexels License)
The closet rod is the heart of the closet. Without it, your clothes end up on the floor. Installing one is simple if you measure right.
Choose the Rod Height
Standard height for a closet rod is 60 inches from the floor. That works for most shirts and jackets. If you’re hanging long dresses or coats, set the rod at 42 inches.
For double rods, put the top rod at 84 inches and the lower rod at 42 inches. Leave at least 42 inches of space below the top rod for long items.
Install the Brackets
Mark the rod height on both side walls. Use a level to ensure the marks are even. Then screw the rod brackets into the studs.
If the studs don’t line up perfectly with your marks, use toggle bolts or drywall anchors rated for the weight. I prefer to locate studs and adjust the bracket placement as needed.
Cut the Rod
Measure the distance between the two brackets. Subtract a 1/4 inch to allow for easy insertion. Cut the rod with a hacksaw.
For wooden rods, sand the ends smooth. For metal rods, deburr the cut edges.
Mount the Rod
Slide the rod into one bracket, then the other. Some brackets have a set screw to lock the rod in place. Tighten it gently, don’t strip the screw.
Test the rod by hanging a few heavy items. It should feel solid, not wobble.
Adding Shelving and Storage Solutions
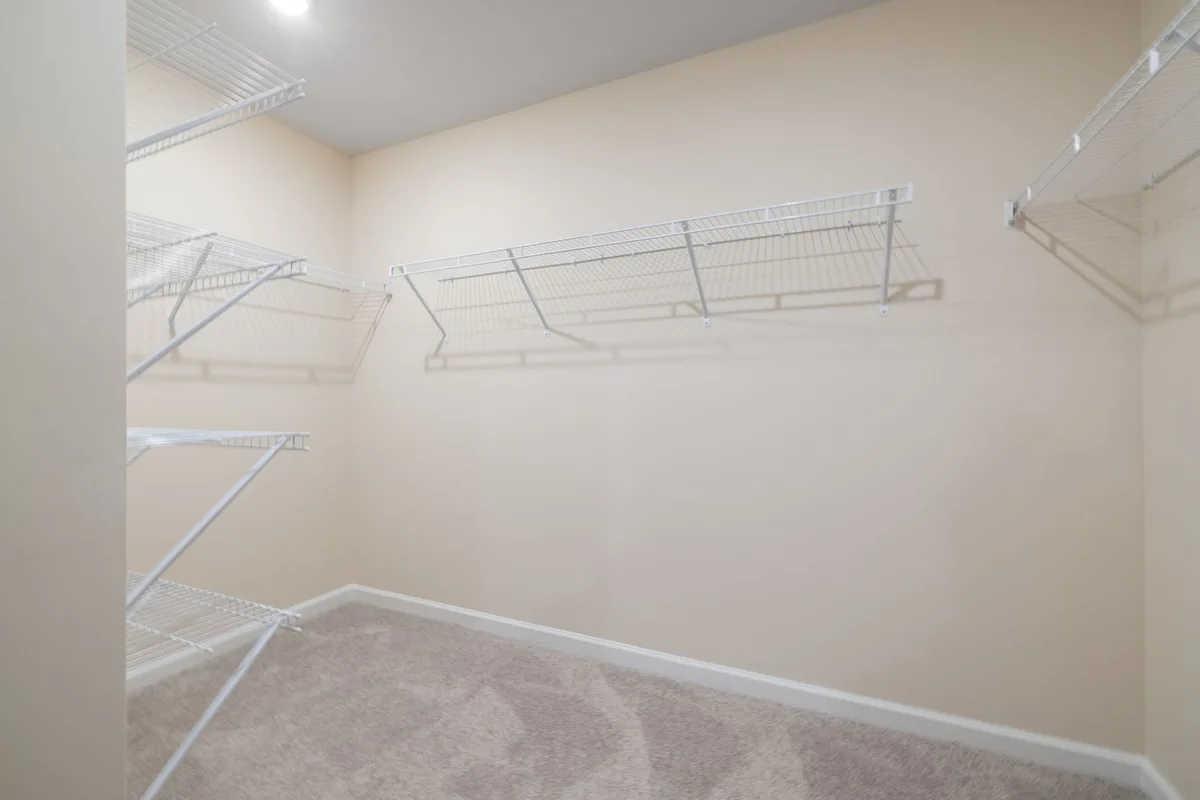
Image source: Pexels / Curtis Adams (Pexels License)
A closet with only a rod is wasted potential. Add shelves to maximize every inch. Here’s how I set up storage that actually works.
Install a Shelf Above the Rod
Cut a 1×12 or 3/4-inch plywood shelf to the width of the closet. Place it directly above the rod, leaving 2 to 3 inches of clearance for hanger hooks. Secure the shelf to the wall studs with shelf brackets or a cleat (a 1×2 rail screwed into the studs).
For heavy loads, use steel brackets spaced every 24 inches.
Add Side Shelves
If your closet is wider than 6 feet, install side shelves on one wall. These are great for folded clothes, hats, and bins. Measure from the floor up to the rod height.
For a shoe rack, place a shelf at 12 inches off the floor. Add another at 24 inches. You can stack three or four shelves in a reach-in closet.
Use Modular Systems
For a quick upgrade, buy a wire shelving kit from a home center. Most kits include brackets, shelves, and mounting hardware. They’re easy to adjust later.
I’ve used wire shelving in rental apartments and it works fine. But if you want a custom look, built-in wood shelves are better.
Add Drawers or Bins
Drawers are a game-changer for small items like socks and underwear. You can install a small drawer unit inside the closet, or use pull-out wire baskets. For a budget option, use plastic bins on the lower shelves.
Adding Lighting and Electrical
A dark closet is a useless closet. You can’t find anything if you can’t see it. Adding a light fixture is one of the best upgrades.
Wire a Ceiling Light
If the closet is near an existing switch, you can run a wire from that switch to the new light. This is a job for a licensed electrician unless you’re comfortable with electrical work. Always turn off the breaker before touching wires.
Use a surface-mount LED fixture or a simple porcelain socket with a bulb. For a small reach-in closet, a single 60-watt equivalent LED is plenty. For larger closets, consider a strip light that runs the length of the rod.
Install a Motion Sensor
Motion-sensor lights are super convenient. No fumbling for a switch. You can buy a battery-operated stick-on light or hardwired version.
I use motion-sensor lights in my own closets and love them.
Check Local Codes
Some jurisdictions require a dedicated closet light with a door-activated switch. Others allow a pull chain. Check your local building code before buying fixtures.
You can find code requirements online or at your permit office.
Permits and Building Codes
Don’t skip this part. Building a closet without a permit can lead to fines and headaches when you sell the house. Most municipalities require a permit for any new wall construction, especially if you’re altering a load-bearing wall.
When Is a Permit Required?
Any time you add a new wall, you need a permit. If you’re just adding a closet rod and shelves without building walls, you usually don’t. But if you frame walls, install drywall, or add electrical, get the permit.
The cost is small compared to the risk.
How to Get a Permit
Visit your city or county building department. Fill out a permit application. You’ll need a simple floor plan showing the closet dimensions and location.
The plan doesn’t need to be professional, hand-drawn with measurements is fine in many places. The inspector will check the framing, headers, and electrical work. They want to see that the closet is safe and up to code.
I’ve had homeowners skip permits and later struggle to sell their house because an unpermitted addition showed up during inspection. Don’t be that person.
Final Touches
You’re almost done. Now it’s time to make the closet functional and polished.
Install the Doors
If you chose bifold doors, follow the manufacturer’s instructions. They usually slide onto a top track and pivot at the bottom. Adjust the hinges so the doors hang straight.
For sliding doors, mount the top track first, then the bottom guide.
Swinging doors need hinges attached to the door frame (the door jamb you built earlier). Mortise the hinges for a flush fit. Then attach the door and adjust the strike plate for the latch.
Add a Closet Organizer
You can buy a closet organizer kit at any home improvement store. These include shelves, rods, and drawer units that fit inside the existing closet. Or you can build your own from plywood.
Either way, organize by frequency of use: everyday items at eye level, seasonal stuff on top shelves.
Paint or Stain the Interior
If you used wood shelves, paint or stain them to match the trim. A clear coat works for natural wood. For wire shelving, no finish needed.
Clean and Organize
Finally, move your clothes in. Use matching hangers for a tidy look. Group by type (shirts, pants, dresses).
Fold sweaters on shelves. Use bins for small accessories. A well-organized closet feels twice as big.
Adding a closet to a room is a straightforward project that adds real value to your home. Whether you do it yourself or hire a contractor, the principles are the same: plan carefully, frame solidly, finish neatly. And always follow safety precautions, especially when cutting into walls or working with electricity.
For more details on safe construction practices, check out OSHA’s construction safety guidelines. If you need building code references, visit the International Code Council’s website.
Now go grab your tape measure. Your new closet is waiting.


Similar Posts



















