How to Fix a Bathtub That Won’t Drain
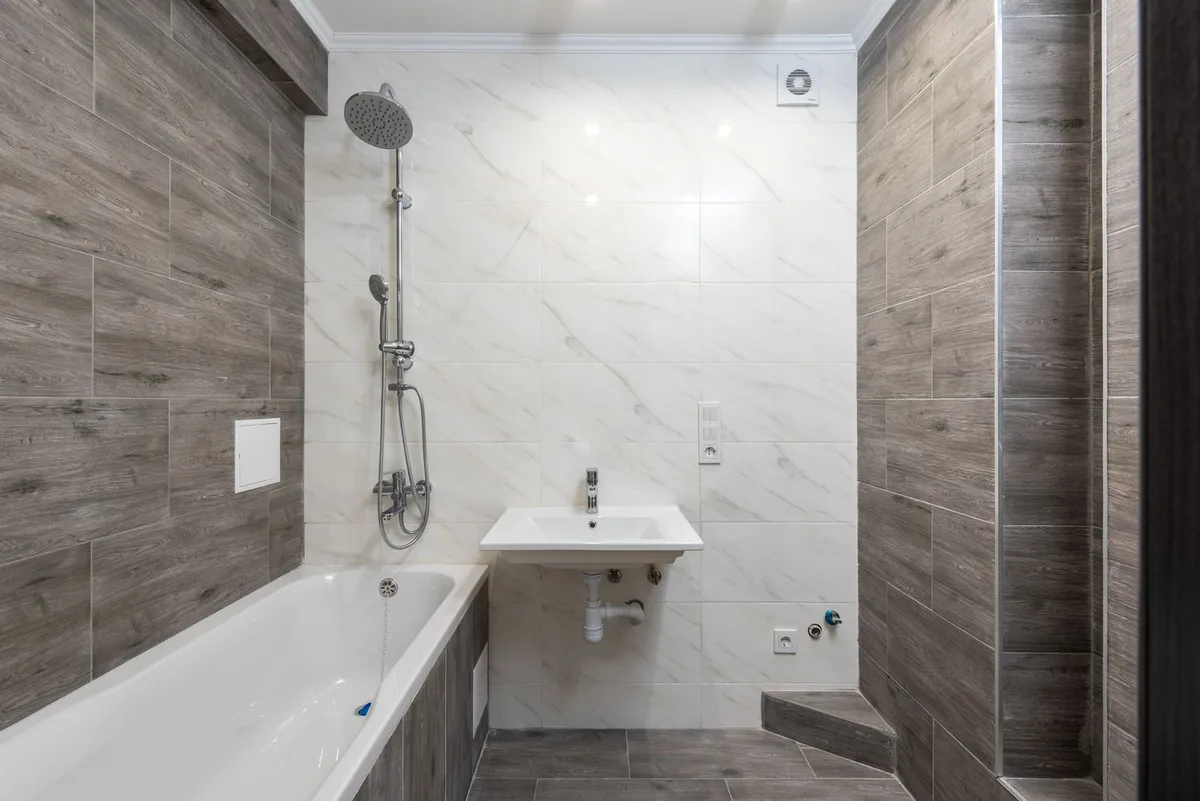
A bathtub that won’t drain is a real nuisance. Water backing up is gross. It’s also a clear sign something’s wrong.
But don’t panic. Most bathtub clogs aren’t serious. You can often fix them yourself.
We’re going to walk through how to fix a bathtub that won’t drain.
You won’t need to be a plumbing pro. Simple tools and a bit of elbow grease usually do the trick. We’ll cover common causes.
We’ll also walk through step-by-step solutions. You’ll get your drain working freely again. Let’s get started.
Understanding Why Your Bathtub Isn’t Draining
A slow or completely clogged bathtub drain is frustrating. The most common culprit is a buildup of hair. Soaps and shampoo also contribute.
They combine with hair to form a sticky mass. This mass lodged in your drainpipe.
Other things can cause a clog too. Small objects can fall down the drain. Think of little toys or jewelry.
These can block the pipe. Mineral deposits from hard water can also build up over time. This narrows the pipe’s diameter, slowing drainage.
Sometimes, the issue isn’t just the trap. It could be further down the main drain line. This might affect other fixtures too.
If multiple drains are slow, that’s a bigger problem. But for just the tub, it’s usually closer to the drain opening. Knowing this helps us to identify the right fix.
When to Call a Professional Plumber
Before we dive into DIY fixes, let’s be clear. Some plumbing problems are beyond a typical homeowner’s repair skills.
- Persistent Clogs: If you’ve tried a few methods and the drain is still sluggish, it’s time to call in the experts.
- Multiple Fixtures Affected: If your toilet and sink are also backing up, the clog is likely in your main sewer line. This requires professional equipment.
- Gurgling Sounds: Strange gurgling noises from your drains can indicate a serious ventilation problem or a deep clog.
- Water Leaks: Any sign of water leaks around your tub or pipes means you should stop and call a plumber immediately.
For most common bathtub clogs, though, you can likely handle it yourself.
Step 1: Remove the Drain Stopper
Your first step is always to remove the drain stopper. This piece is the gateway to your drainpipe. Stoppers vary in design.
Some lift straight out. Others twist or have a small screw at the top.
- Pop-Up Stoppers: These are common. They have a lever on the overflow plate. You push this lever to open and close the drain. To remove, you’ll likely need to unscrew the overflow plate. Once the plate is off, you can usually pull the stopper assembly out. Sometimes, a bit of wiggling is needed.
- Lift-and-Turn Stoppers: These have a knob on top. You lift and turn it to open the drain. Often, you can unscrew the knob. Then, a sleeve or shaft becomes visible. You might need to unscrew this shaft to free the stopper.
- Push-and-Pull (Toe-Dip) Stoppers: These are activated by pushing down on the stopper itself. They usually have a threaded post underneath. You might be able to unscrew the entire stopper assembly from the top.
Once the stopper is out, give it a good clean. Hair and gunk often collect around the stopper itself. This might solve a slow drain issue on its own.
Image source: Pexels / Max Vakhtbovych (Pexels License)
Step 2: Manually Remove Visible Blockages
With the stopper removed, look directly into the drain opening. You’ll probably see hair. This is the most frequent cause of bathtub clogs.
Use a pair of pliers or tweezers to pull out as much hair as you can. A coat hanger bent into a hook can also work. Be thorough.
Work carefully to avoid pushing the blockage further down.
Sometimes, you can reach deep enough to hook onto a clump of hair and soap scum. Gently pull it out. Dispose of it immediately.
Don’t let it sit around your bathroom. Repeat this process until you can’t pull out any more debris. This step alone can often fix a slowly draining tub.
Step 3: Try a Plunger
A plunger is a simple but effective tool for clearing clogs. You’ll need a cup-style plunger, not the flange type for toilets.
- Create a Seal: Make sure there’s enough water in the tub to cover the plunger cup. This helps create a good seal. If your tub is empty, add about two inches of water.
- Block the Overflow: This is crucial for effective plunging. Place a wet rag or a piece of duct tape firmly over the overflow drain opening. This prevents air from escaping, forcing the pressure down the drainpipe.
- Plunge Vigorously: Position the plunger cup squarely over the drain opening. Press down firmly to create a tight seal. Then, pull up and push down with a series of rapid, forceful strokes. Do this for about 15-20 seconds.
- Check Drainage: Remove the plunger and see if the water drains. If it’s still slow, repeat the plunging process. You might need to do this several times.
- Flush: Once the water starts draining, fill the tub with hot water and let it run for a few minutes. This helps to flush out any remaining debris.
Plunging works by creating alternating pressure and suction. This can dislodge stubborn blockages.
Step 4: Use a Drain Snake or Auger
If plunging doesn’t work, a drain snake (also called a plumber’s snake or drain auger) is your next best bet. This is a long, flexible coil of wire that can reach much deeper into the pipe.
There are manual versions and electric ones. For a bathtub clog, a manual hand auger is usually sufficient.
- Insert the Snake: Feed the end of the snake into the drain opening.
- Push and Turn: Gently push the snake down the drainpipe. When you feel resistance, that’s likely where the clog is. Crank the handle to rotate the snake’s tip. This helps it to bore through or grab onto the obstruction.
- Retrieve Debris: Once you think you’ve broken through or hooked the clog, slowly pull the snake back out. You might pull out hair, gunk, or even a small object. Clean the snake thoroughly.
- Repeat if Necessary: You may need to repeat this process a few times. If you pull out a lot of debris, it’s a good sign.
- Flush with Hot Water: After clearing the blockage, run hot water down the drain for several minutes to flush out any remaining residue.
Using a drain snake can feel a bit messy, but it’s very effective for deeper clogs. Think of it as a more advanced way to physically remove what’s blocking your pipe.
Step 5: The Baking Soda and Vinegar Method
This is a popular, eco-friendly option for treating minor clogs and addressing odors. It creates a fizzy chemical reaction that can help break down soap scum and grease.
- Clear Standing Water: If there’s standing water, try to remove as much as possible using a cup or sponge.
- Pour Baking Soda: Pour about half a cup to a full cup of baking soda directly down the drain.
- Add Vinegar: Follow with an equal amount of white vinegar. You’ll hear a fizzing sound. This is the reaction working.
- Plug the Drain: Immediately cover the drain opening with a stopper or a wet cloth. This directs the fizzing action downwards into the pipe, where it’s needed.
- Let it Sit: Let the mixture work for at least 30 minutes, or even overnight for tougher clogs.
- Flush with Hot Water: After the standing time, pour a kettle of boiling water (or very hot tap water) down the drain to flush everything away.
While this method is great for maintenance and minor clogs, it might not be strong enough for a major hair clog. It’s best used as a second or third attempt or as a preventative measure.
Step 6: Chemical Drain Cleaners – Use with Extreme Caution
Chemical drain cleaners are readily available. They can be effective for dissolving clogs. However, they come with significant risks.
- Corrosive Nature: These chemicals are highly corrosive. They can damage your pipes, especially older ones made of plastic or metal, if used improperly or too frequently.
- Harmful Fumes: They release strong fumes that can be harmful if inhaled. Always ensure good ventilation.
- Safety Concerns: They can cause severe burns to skin and eyes. Always wear rubber gloves and eye protection.
- Environmental Impact: Many chemical cleaners are harsh on the environment.
If you choose to use a chemical drain cleaner, follow these precautions STRICTLY:
- Read Instructions: Read and follow the product’s instructions precisely. Do not mix different drain cleaners.
- Ventilate: Open windows and turn on the bathroom fan.
- Protect Yourself: Wear rubber gloves and safety goggles.
- Apply Carefully: Pour the recommended amount directly into the drain.
- Wait: Let it sit for the time specified on the label.
- Flush: Flush with cold water (hot water can sometimes react with the chemicals and cause splashing).
- Never Plunge After Using Chemicals: If the clog doesn’t clear, do not attempt to plunge. The chemical could splash back onto you.
Chemical drain cleaners should be a last resort. Better alternatives exist that are safer for your pipes and the environment. If the clog is severe, a plumber would be a safer choice than risking damage or injury.
Step 7: Cleaning the P-Trap
If the clog is located in the bend of your drainpipe, it’s within the P-trap. This U-shaped pipe is designed to hold water, preventing sewer gases from entering your home. It’s a common place for debris to accumulate.
- Locate the P-Trap: Under your sink (if your tub has an easy-access panel), you’ll see this U-shaped pipe. If your tub doesn’t have an access panel, this step might be difficult or impossible without professional help.
- Place a Bucket: Position a bucket directly underneath the P-trap. This will catch any water and debris that spills out.
- Unscrew the Slip Nuts: The P-trap is usually held in place by two slip nuts. Use a pipe wrench or adjustable pliers to loosen and unscrew these nuts. Be gentle, as older pipes can be brittle.
- Remove and Clean: Carefully remove the P-trap. Empty its contents into the bucket. Clean out any hair, soap scum, or other gunk inside the trap using an old toothbrush or bottle brush.
- Reassemble: Reattach the P-trap, making sure the washers are in place. Hand-tighten the slip nuts, then give them a slight additional turn with the wrench.
- Test for Leaks: Run water into the drain to check for leaks at the slip nuts. Tighten them a bit more if needed.
This method is more involved but very effective if the clog is specifically in the P-trap. Some tubs have access panels that make this job much easier.
Step 8: Check the Drain Flange and Crosshairs
Sometimes, hair and debris get caught right at the drain opening, specifically around the metal crosshairs inside the drain flange.
- Remove Stopper: Ensure the stopper is removed.
- Inspect: Look closely at the drain flange, the metal fitting that surrounds the drain hole. You might see hair snagged on the crosshairs.
- Clean: Use needle-nose pliers, tweezers, or a bent coat hanger to carefully pull out any visible debris. Be patient. This area can be tricky to reach.
Many clogs are simply a buildup of hair here. This simple cleaning might be all you need.
Preventing Future Bathtub Clogs
The best way to deal with a clogged drain is to prevent it from happening in the first place. Here are some simple tips:
- Use a Drain Strainer: Place a mesh drain strainer over your drain opening. These catch hair and larger debris before they enter the pipe. They are inexpensive and easy to clean. This is one of the most effective preventative measures.
- Regular Cleaning: Regularly clean your drain using the baking soda and vinegar method. This helps break down soap scum and prevent buildup. How often should you clean your drains? Aim for once a month as a good general practice.
- Remove Hair: After each bath or shower, quickly check the drain for loose hair and remove it. This takes seconds and can make a big difference.
- Be Mindful of What Goes Down: Avoid pouring grease, oil, or food scraps down any drain. While this is less common in a bathtub, it’s good general plumbing advice.
- Hot Water Flush: After each use, run hot water for a minute or two. This helps to flush away any lingering soap residue and keeps pipes clear.
Implementing these simple habits can save you a lot of hassle down the line. Proactive maintenance is key to a smoothly running plumbing system.
Conclusion: Getting Your Bathtub Draining Again
A slow or completely clogged bathtub drain is a common household problem. Fortunately, most clogs can be fixed with simple DIY methods. We’ve covered removing the stopper, manual debris removal, plunging, using a drain snake, the baking soda and vinegar technique, and even the cautious use of chemical cleaners.
We also touched on cleaning the P-trap and preventing future issues.
Remember to start with the least invasive methods. Often, a simple removal of visible hair or a good plunging will solve the problem. If you encounter persistent issues or suspect a deeper problem, don’t hesitate to call a qualified plumber.
Keeping your drains clear ensures a comfortable and hygienic bathroom. Following preventative steps will save you time and money in the long run. Your bathtub will be draining perfectly again in no time.


Similar Posts



















