How to Clear Hair Out of Bathroom Sink Drain
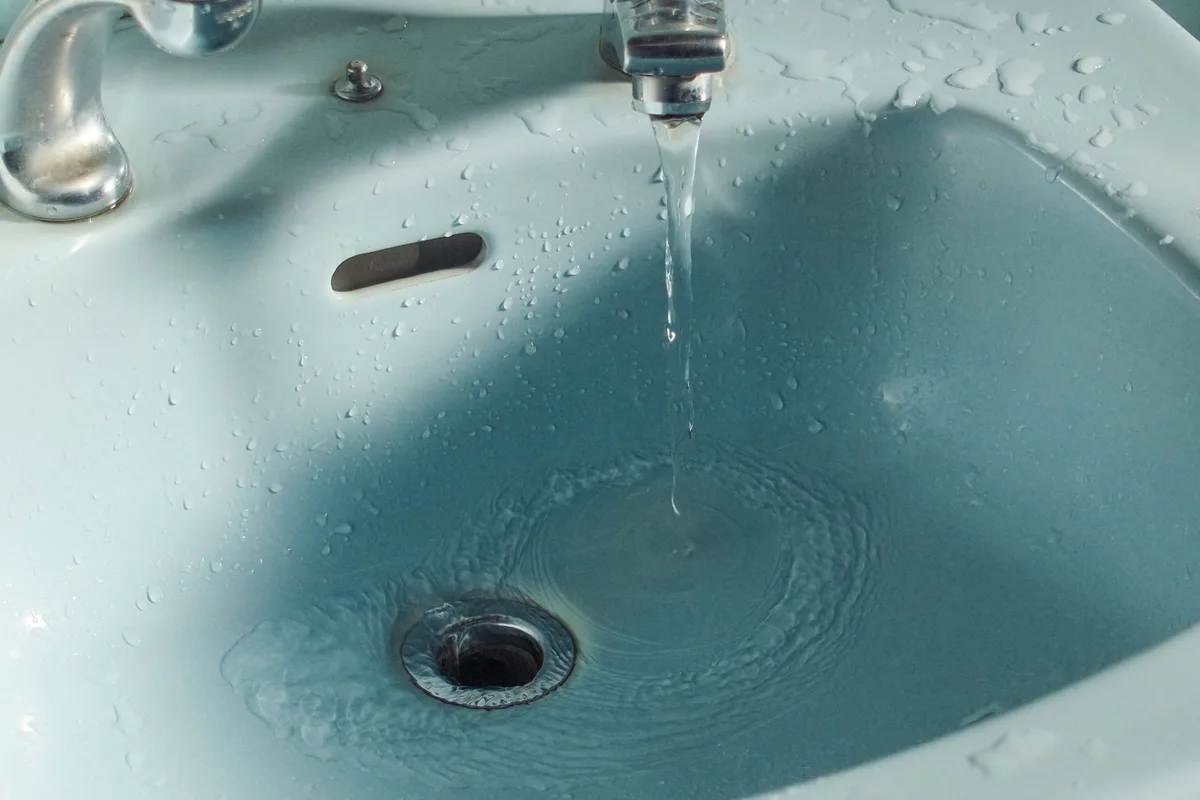
That gurgling sound from your bathroom sink isn’t just an annoyance; it’s a clear sign of trouble brewing beneath the surface. More often than not, a slow or completely blocked bathroom sink drain is caused by a notorious culprit: hair. Combined with soap scum and other gunk, it forms a stubborn clog that water can’t easily push through.
Don’t panic, though. Clearing hair from your bathroom sink drain is a task you can tackle yourself. We’ll walk you through the most effective methods, from simple DIY fixes to more involved solutions, so you can get your sink flowing freely again.
Image source: Pexels / actually_jet (Pexels License)
Getting rid of a clogged drain doesn’t always require a plumber. With a few common household items and a bit of elbow grease, you can often resolve the issue yourself. We’ll cover everything you need to know to become a drain-clearing pro.
Why Does Hair Clog Bathroom Sink Drains?
It seems simple, but understanding why hair is such a problem can help you prevent future clogs. Your drain pipes aren’t designed to handle fibrous materials like hair. As hair goes down the drain, it doesn’t dissolve.
Instead, it snags on tiny imperfections inside the pipe or wraps around the edges of the drain opening. Over time, more hair joins the fray, creating a tangled mess.
This hair then acts like a net. It catches soap scum, toothpaste residue, earring backs, and other small items that inevitably go down the drain. This sticky, matted ball of debris grows larger and larger, gradually reducing the pipe’s diameter until water can no longer pass through.
That’s when you start hearing the tell-tale gurgle or notice the water pooling in your sink.
Safety First: Preparing to Tackle the Clog
Before you start reaching for tools, a little preparation goes a long way. Safety is paramount when dealing with plumbing issues.
- Protect Yourself: Wear rubber gloves to keep your hands clean and protected from potentially grimy debris. Eye protection is also a good idea, especially if you’ll be using chemical drain cleaners or working at an awkward angle where something might splash.
- Protect Your Sink: Place an old towel or rag over the drain opening if you’re not actively working on it. This prevents accidental drops of tools or debris from falling into the drain and potentially worsening the situation. It also helps contain any mess.
- Ventilation: If you decide to use any chemical cleaners (though we’ll focus on non-chemical methods first), ensure the bathroom is well-ventilated by opening windows or turning on the exhaust fan.
Method 1: The Manual Removal (Your First Line of Defense)
Often, the hair clog is located very close to the drain opening. This means you might be able to physically pull it out. This is the most straightforward and least invasive method.
Checking the Stopper and Drain Flange
Your sink’s drain has a stopper mechanism. This is often where hair accumulates first.
- Remove the Stopper: Most bathroom sink stoppers are designed to be lifted or unscrewed.
- Pop-Up Stopper: For pop-up stoppers, you usually lift them straight up. Sometimes, they might have a small knob underneath that you can twist to release them. If it’s still stuck, check if there’s a lever mechanism connected to the stopper rod behind the sink. This rod often connects to a pivot nut. Loosening this nut will allow you to pull the stopper out.
- Strainer/Basket Stopper: These often have a small screw at the top. Remove the screw, and the basket or strainer should lift out.
- Inspect and Clean: Once the stopper is out, look down into the drain opening. You’ll likely see a clump of hair and gunk right there. Use your gloved fingers or a pair of tweezers to pull out as much of this visible clog as you can. Clean the stopper itself thoroughly, as hair can wrap around its base too.
- Pour Warm Water: After removing the visible obstruction, pour a kettle of hot (but not boiling) water down the drain. This can help loosen any remaining residue.
This manual removal is often enough for minor clogs. If the water still drains slowly, it’s time to move to the next step.
Method 2: The Wire Hanger or Drain Snake
If manual removal didn’t quite do the trick, the next step is to reach a little deeper. A simple wire coat hanger or a specialized drain snake can often snag those deeper hair clogs.
Using a Wire Coat Hanger
This is a classic DIY solution that uses a common household item.
- Straighten the Hanger: Take a wire coat hanger and straighten it out as much as possible.
- Create a Hook: Use pliers to bend the very end of the wire into a small hook. This hook will be used to snag the hair.
- Insert and Fish: Carefully insert the hooked end of the hanger into the drain. Gently push it down as far as you can, then start to pull it back up slowly, rotating it slightly. The hook should catch onto the hair mass.
- Pull Out Debris: As you pull the hanger up, you should see hair and gunk clinging to the hook. Dispose of this debris in the trash. Repeat this process several times, pushing the hanger in and pulling it out, until you stop collecting significant amounts of hair.
- Flush with Hot Water: Once you’ve removed as much as you can, pour hot water down the drain to flush any remaining loosened debris.
Using a Drain Snake (Plumber’s Snake)
A drain snake is a more specialized tool designed for this exact purpose. They are relatively inexpensive and can be found at most hardware stores or online.
- Insert the Snake: Feed the end of the drain snake into the drain opening.
- Advance the Cable: Push the cable further into the pipe, turning the handle slowly as you go. You might feel resistance when you hit the clog.
- Engage the Clog: Once you feel the clog, continue to turn the handle. The tip of the snake is designed to either break up the clog or hook onto it so you can pull it out.
- Retrieve the Clog: Slowly pull the snake back out of the drain. Hair and debris should be wrapped around the snake’s end. Dispose of it, and repeat the process if necessary.
- Flush Thoroughly: After you’ve used the snake, run hot water down the drain for several minutes to ensure everything is flushed out.
Method 3: Baking Soda and Vinegar – A Natural Powerhouse
This natural cleaning solution is a fantastic way to tackle minor clogs and deodorize your drain. It’s eco-friendly and uses common kitchen ingredients.
- Boil Water: Start by boiling a kettle of water.
- Pour Baking Soda: Pour about ½ cup to 1 cup of baking soda directly into the drain opening.
- Add Vinegar: Follow with about 1 cup of white vinegar. You’ll notice an immediate fizzing reaction. This effervescence helps loosen grime and hair.
- Cover the Drain: Quickly cover the drain opening with a stopper or a damp cloth to keep the fizzing action concentrated inside the pipe. Let it sit for at least 30 minutes, or even an hour for tougher clogs.
- Pour Hot Water: After the waiting period, remove the cover and pour the kettle of hot water down the drain to flush everything away. Repeat the process if the drain is still sluggish.
While this method is great for maintenance and minor clogs, it might not be powerful enough for severely impacted drains packed with hair.
Method 4: The Wet/Dry Vacuum
A wet/dry vacuum can be surprisingly effective at sucking out clogs. This method requires you to create a seal around the drain opening.
- Prepare the Vacuum: Ensure your wet/dry vacuum is set to the “wet” setting and that the hose is clear.
- Create a Seal: Place a damp rag or a plunger (if you have one) over any overflow openings in your sink to ensure a good seal. You want all the suction power directed at the main drain.
- Position the Hose: Place the hose of the wet/dry vacuum directly over the drain opening. You might need to hold it in place or use a towel to create a tight seal around it.
- Turn on the Vacuum: Turn on the vacuum for about 15-30 seconds. You might hear it sucking up water and debris.
- Check for Clogs: Turn off the vacuum and check the vacuum’s canister for any collected hair and gunk.
- Repeat and Flush: Repeat the process if necessary. Once you see improvement, flush the drain with hot water.
Method 5: Removing the P-Trap (For Stubborn Clogs)
If none of the above methods work, the clog might be located further down in the P-trap, the U-shaped pipe beneath your sink. This is a more involved process, but it’s often the solution for persistent blockages.
What is a P-Trap?
The P-trap is a curved section of pipe designed to hold a small amount of water. This water creates a seal that prevents sewer gases from entering your home through the drain. It’s also a common place for debris to accumulate.
Steps to Clear the P-Trap:
- Gather Materials: You’ll need a bucket, pliers or a pipe wrench, and possibly some rags.
- Place Bucket: Position the bucket directly beneath the P-trap. This will catch any water and debris that spills out.
- Loosen the Slip Nuts: The P-trap is usually connected to the wall pipe and the sink pipe with large plastic or metal nuts called slip nuts. Use your pliers or pipe wrench to loosen these nuts. Turn them counter-clockwise. They might be hand-tight, but sometimes they need a tool.
- Remove the Trap: Once the nuts are loosened, carefully pull the P-trap away from the pipes. Water and any accumulated gunk will fall into the bucket.
- Clean the Trap: Take the P-trap to another sink or outside and thoroughly clean out any hair, soap scum, or other debris. Use a brush or your fingers for this.
- Inspect the Pipes: Look up into the pipes that were connected to the P-trap. You might be able to see and remove any remaining obstructions with a rag or wire.
- Reassemble: Reattach the P-trap, making sure the seals (washers) are in place. Tighten the slip nuts firmly but don’t overtighten, as this can crack plastic pipes.
- Test for Leaks: Run water into the sink and check for any leaks around the slip nuts. Tighten them slightly if you find any drips.
What About Chemical Drain Cleaners?
We’ve deliberately focused on non-chemical methods. While chemical drain cleaners are readily available, they come with significant drawbacks:
- Safety Hazards: They are highly corrosive and can cause severe burns to your skin and eyes. Inhaling their fumes can also be dangerous.
- Pipe Damage: Many chemical cleaners can damage your plumbing pipes, especially older metal ones, leading to expensive repairs down the line.
- Environmental Impact: They release harsh chemicals into the water system.
- Effectiveness: They don’t always work on hair clogs, and sometimes they just push the clog further down, making it harder to remove. The chemical might just sit in the trap, waiting for the next time you try to use the sink.
If you absolutely must consider a chemical cleaner, choose one specifically designed for hair clogs, follow the instructions to the letter, and ensure excellent ventilation. However, we strongly recommend trying the methods above first. For more information on basic home maintenance, you might find our guide on filter maintenance useful, as regular upkeep is key to preventing many household issues.
Preventing Future Hair Clogs
Once you’ve successfully cleared your drain, the key is to prevent it from happening again. Here are some effective prevention tips:
- Use a Drain Strainer: The simplest and most effective method is to place a mesh drain strainer over your sink drain. These are inexpensive and catch hair before it can enter the pipe. They are usually easy to clean out after each use.
- Regular Flushing with Hot Water: Once a week, pour a kettle of hot water down the drain. This helps to melt away soap scum and prevent it from building up and trapping hair.
- Baking Soda and Vinegar Maintenance: Use the baking soda and vinegar method described earlier once a month as a preventative measure. This keeps your pipes clean and free of minor buildup.
- Be Mindful of What Goes Down: Avoid flushing things like cotton swabs, dental floss, or food scraps down the drain, as these can contribute to clogs.
- Regular P-Trap Check: If you consistently get clogs, a quick check of the P-trap every few months can catch issues early.
By following these preventive steps, you can significantly reduce the chances of experiencing another hair-related drain blockage. Regular maintenance is key to keeping your plumbing in good working order, much like understanding common fixes for other household items.
When to Call a Professional
While most bathroom sink clogs are manageable with DIY methods, there are times when you should call a plumber.
- Persistent Clogs: If you’ve tried multiple methods and the drain remains clogged, a professional has more powerful tools and expertise.
- Multiple Clogged Drains: If more than one drain in your house is backing up, it could indicate a larger issue in your main sewer line.
- Foul Odors: Persistent foul odors from drains could signal a serious problem with your plumbing or sewer system.
- Lack of Confidence: If you’re uncomfortable with any of the DIY steps, especially removing the P-trap, it’s always best to call a qualified plumber.
Addressing a clogged bathroom sink drain yourself can save you money and give you a sense of accomplishment. With the right tools and techniques, you can banish those hair-induced blockages and keep your bathroom running smoothly. Remember, a little regular maintenance goes a long way!


Similar Posts




















[…] Hair: After each bath or shower, quickly check the drain for loose hair and remove it. This takes seconds and can make a big […]
[…] clogged shower drain trap is a common household nuisance, but armed with the right knowledge and tools, you can tackle it […]