How to Fix a Ceiling Fan That Wobbles
You might have noticed it, that subtle, or not-so-subtle, sway of your ceiling fan. A wobbly ceiling fan isn’t just annoying; it can be a real safety hazard. Over time, that shaking can loosen components, leading to noise, reduced efficiency, and potentially serious damage or even detachment.
But don’t worry, fixing a wobbling ceiling fan is often a straightforward DIY task. You’ve come to the right place to learn exactly how to tackle this common household problem.
This guide will walk you through diagnosing the cause of your fan’s wobble and then provide step-by-step instructions on how to fix it. We’ll cover everything from simple adjustments to more involved checks, ensuring your fan is both safe and stable.
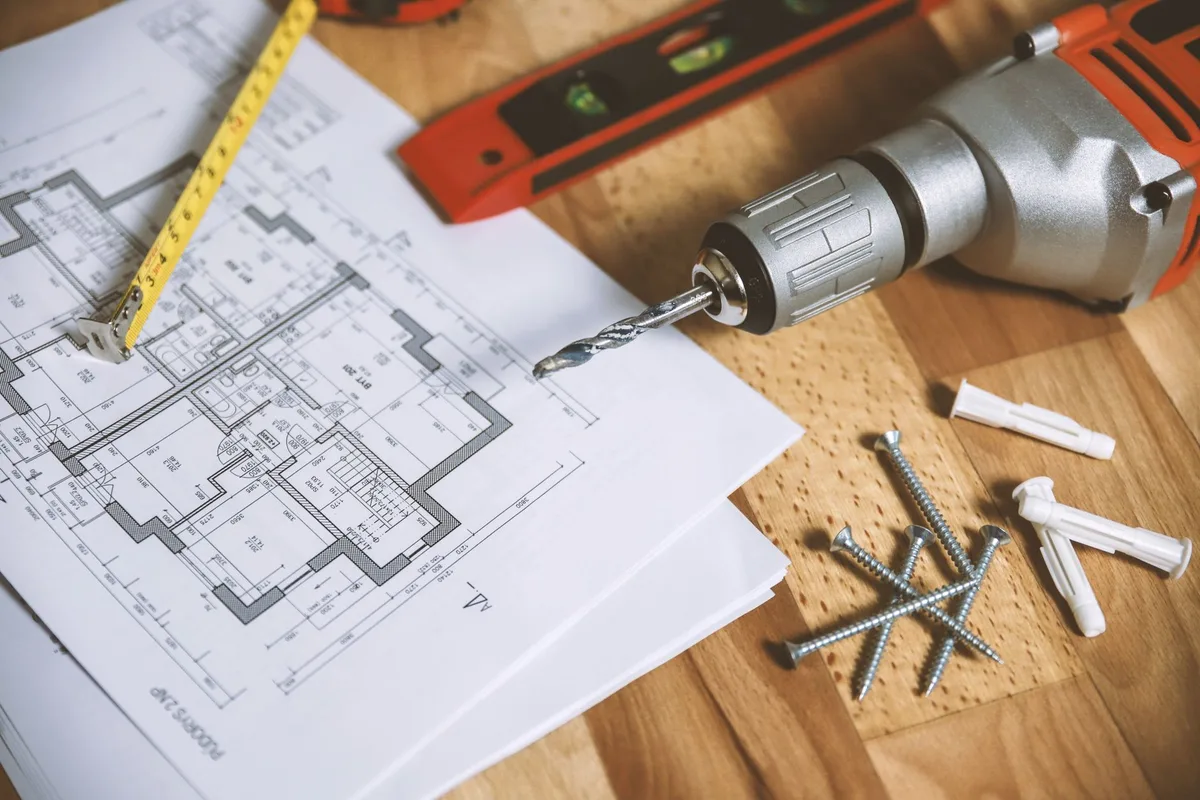
Image source: Pexels / JESHOOTS.com (Pexels License)
Understanding Why Your Ceiling Fan Wobbles
Before we can fix a wobbling ceiling fan, it’s essential to understand the root causes. Most wobbles stem from imbalances in the fan’s components. These imbalances can be due to a few key factors, and identifying the specific culprit is the first step to a successful repair.
Think of it like a washing machine with an uneven load. When things aren’t distributed evenly, the whole machine shakes. A ceiling fan operates on a similar principle, but with rotating blades and precise mechanics.
Let’s break down these common culprits.
Unevenly Weighted Blades
This is by far the most frequent reason for a wobbly ceiling fan. Over time, blades can warp due to humidity, dust buildup, or manufacturing inconsistencies. Even a slight difference in weight or shape between blades will throw the fan off balance as it spins.
Loose Blades or Blade Brackets
The components that attach the blades to the fan motor are called blade brackets, or sometimes blade irons. If these screws become loose, the blades can shift, leading to an uneven plane of rotation. Similarly, the screws holding the blades to these brackets can loosen.
Bent Blade Brackets
Sometimes, the metal brackets that hold the blades can become bent. This might happen during installation, cleaning, or if something impacts the fan. A bent bracket means that blade is no longer at the same angle or height as the others, causing a significant wobble.
Improper Fan Installation
If the fan wasn’t installed correctly from the start, it might be prone to wobbling. This could include an improperly secured mounting bracket or a fan that isn’t level within its housing.
Ceiling Mount Issues
The way the fan is attached to your ceiling is crucial. If the ceiling box itself is loose, or if the fan is mounted to something other than a fan-rated electrical box, the entire unit can move and shake, manifesting as a wobble.
Internal Motor Issues or Warped Motor Housing
While less common, internal problems with the fan motor or a warped motor housing can also contribute to excessive vibration. This is usually a more serious issue that might require professional attention or even fan replacement.
Dust and Debris Buildup
A significant amount of dust and grime accumulating unevenly on the blades can add weight and disrupt the fan’s aerodynamic balance. This is a simple fix but often overlooked.
Safety First: What You Need Before You Start
Working with ceiling fans involves electricity and working at heights, so safety is paramount. Before you even think about picking up a screwdriver, let’s ensure you’re prepared.
Turn Off the Power
This is non-negotiable. Locate the circuit breaker that controls your ceiling fan and switch it OFF. Don’t rely solely on the wall switch, as it can be accidentally flipped.
To be absolutely sure, you can also try flipping the pull chain on the fan to its “off” position, though the breaker is the definitive safety measure.
Gather Your Tools
You’ll likely need a few common household tools:
- Screwdrivers: A Phillips head and a flathead screwdriver are usually sufficient.
- Wrench or Socket Set: For various nuts and bolts.
- Level: To ensure components are straight.
- Ladder: A sturdy ladder that allows you to comfortably reach the fan. Make sure it’s placed on a stable surface.
- Dusting Tools: A brush or microfiber cloth to clean the blades.
- Balancing Kit: These can be purchased online or at hardware stores and are incredibly helpful for precisely balancing blades. They typically include weights and a clip.
- Pen or Pencil: For marking if needed.
Protective Gear
Consider wearing safety glasses to protect your eyes from any falling dust or debris.
Step-by-Step Guide to Fixing a Wobbling Ceiling Fan
Now that we’re geared up and understand the potential problems, let’s get to fixing that wobbly ceiling fan. We’ll start with the simplest solutions and move to more complex ones.
Step 1: Clean the Blades
This might sound too simple, but a heavy, uneven layer of dust can absolutely cause a wobble.
- Extend your ladder and carefully climb up.
- Using a brush or a damp microfiber cloth, clean the top and bottom surfaces of each blade thoroughly.
- Pay attention to any caked-on grime. For stubborn spots, you might need a mild all-purpose cleaner, but ensure it’s safe for your blade material.
- Once clean, turn the fan on to see if the wobble has improved. Sometimes, this is all it takes!
Step 2: Tighten Blade Screws
If cleaning didn’t solve the problem, the next logical step is to check the screws holding the blades to the brackets.
- On each blade, locate the screws that attach it to the blade bracket (also called a blade iron). There are usually two or three of these per blade.
- Using your screwdriver, tighten each of these screws. Don’t overtighten, as you could strip the threads or crack the blade, but ensure they are snug.
- Work your way around to all the blades, making sure each screw is secure.
- Test the fan again.
Step 3: Tighten Blade Bracket Screws
If the blade screws are tight, the next potential issue is loose screws connecting the blade brackets to the motor housing.
- Inspect where the blade bracket attaches to the motor assembly. You’ll typically find one or two screws holding each bracket in place.
- Use your screwdriver or wrench to tighten these screws. Again, snug is good; don’t overtighten.
- You’ll need to do this for every blade bracket.
- Test the fan.
Step 4: Check for Bent Blade Brackets
This step requires a bit more careful observation.
- With the fan OFF and the power disconnected at the breaker, stand directly under the fan.
- Look at the blades from the side. Try to assess if all the blades are at the same height and angle.
- You can use a yardstick or tape measure to measure the distance from the tip of each blade to the ceiling. They should be very close in measurement.
- If you notice a blade that seems significantly higher or lower, its bracket may be bent.
- If a bracket appears bent, you can try to gently bend it back into place. However, be very careful, as metal fatigue can cause it to break. If it’s severely bent or you’re uncomfortable applying force, it’s better to replace the bracket. You can often find replacement brackets at hardware stores or directly from the fan manufacturer.
Step 5: Ensure the Fan is Level
A fan that isn’t hanging plumb can also wobble.
- The downrod assembly, the piece connecting the motor housing to the ceiling mount, should be as vertical as possible.
- Check the canopy, the decorative cover at the ceiling. It should be flush against the ceiling.
- If the fan body itself seems tilted, it might indicate an issue with the mounting bracket or how the downrod is seated in the motor housing. Loosen the set screws on the downrod collar, ensure it’s seated correctly, and re-tighten.
Step 6: Secure the Mounting Bracket and Ceiling Box
This is a critical safety check. The entire fan assembly relies on a securely mounted bracket.
- Examine the canopy from the ceiling. You may need to loosen or remove screws to slide it down, exposing the mounting bracket.
- The mounting bracket should be firmly attached to a fan-rated electrical box in the ceiling. This box is specifically designed to support the weight and vibration of a ceiling fan. Standard junction boxes are NOT sufficient.
- Gently try to shake the mounting bracket. If it moves or feels loose, tighten the screws that secure it to the electrical box.
- If the electrical box itself is loose in the ceiling, that’s a more significant problem that may require professional repair.
Step 7: Use a Ceiling Fan Balancing Kit
If you’ve gone through the above steps and the wobble persists, it’s time to use a balancing kit. This is the most precise way to correct minor blade imbalances.
- Identify the Wobble: Turn the fan on at a medium speed. Observe which blade seems to be moving the most or causing the most significant wobble. You might need to stand back and watch carefully.
- Attach the Balancing Clip: Most kits come with a plastic clip and several small weights. Take the plastic clip and attach it to the trailing edge of the blade you suspect is the issue. Position it about midway along the blade.
- Test: Turn the fan on again. Does the wobble decrease?
- If it decreases significantly: The imbalance is likely in that blade.
- If it gets worse: The imbalance might be in another blade, or you might be putting the weight on the wrong spot.
- If there’s no change: Try moving the clip to a different position on the same blade (closer to the tip, closer to the motor) and test again. You can also try the clip on other blades if no improvement is seen.
- Add Weights: Once you’ve identified the blade and the approximate position where the clip helps, you’ll use the small weights. Remove the clip and stick one of the weights onto the top of the blade, in the same position where the clip was most effective. Start with one weight.
- Test Again: Turn the fan on. If the wobble is reduced but still present, add another weight next to the first one, or reposition the existing weight. If adding weights makes it worse, you might need to remove one or try a different position.
- Fine-Tuning: You may need to experiment with the placement and number of weights to achieve a perfectly balanced fan. Take your time with this step; small adjustments can make a big difference. Most balancing kits come with instructions specific to their design.
When to Call a Professional
While most ceiling fan wobbles can be fixed with these DIY steps, there are times when you should call in an expert.
- Persistent Wobble: If you’ve tried all these steps and the fan still wobbles significantly, there might be an internal motor issue or a problem with the ceiling structure that’s beyond a simple fix.
- Electrical Concerns: If you’re uncomfortable working with electrical components or notice any frayed wires, loose connections, or flickering lights that aren’t related to the wobble, shut off the power and call an electrician.
- Damage or Severe Bending: If you find that a blade bracket is severely bent or a blade is cracked, and you can’t find a suitable replacement or are hesitant to replace it yourself, it’s best to get professional help.
- Loose Ceiling Box: As mentioned, if the electrical box the fan is mounted to is loose in the ceiling, this is a structural issue that requires a qualified person to address.
Frequently Asked Questions About Wobbling Ceiling Fans
Q: How do I know if my ceiling fan needs a balancing kit?
A: If you’ve tightened all the screws, checked for bent brackets, cleaned the blades, and the fan still wobbles, a balancing kit is the next step. It’s designed to fix minor imbalances that aren’t visible to the naked eye.
Q: Can a wobbling fan cause a fire?
A: While a wobble itself isn’t a direct fire hazard, the excessive vibration can loosen electrical connections over time. Loose electrical connections can generate heat and potentially lead to a fire. That’s why addressing a wobble promptly is important for safety.
Q: My fan wobbles only at high speed. Is that normal?
A: Some minor oscillation might be more noticeable at higher speeds, but a significant wobble should not be considered normal at any speed. It indicates an imbalance that needs correction.
Q: I think my fan blades are warped. Can I replace just the blades?
A: Yes, in many cases, you can purchase replacement blades or sets for your specific fan model. Check the fan’s manufacturer website or consult a hardware store.
Q: Is it safe to use a fan that wobbles?
A: It’s generally not safe to regularly operate a fan that wobbles significantly. The stress on the motor and mounting hardware can cause damage and, in extreme cases, lead to the fan falling. Getting the wobbling ceiling fan fixed should be a priority.
Enhancing Fan Longevity and Performance
Beyond just fixing the wobble, proper maintenance can ensure your ceiling fan runs smoothly and efficiently for years. Regular cleaning, as we’ve touched upon, is key. Think about how often you might check other appliances; performing similar gentle upkeep on your fan can prevent many common issues.
For example, while not directly related to wobbles, understanding how often you should replace a vacuum filter can give you a good sense of regular maintenance cycles for home appliances generally, highlighting the importance of periodic checks and replacements for optimal function.
Proper installation, ensuring the correct power source and secure mounting, sets the foundation for a wobble-free existence. If you’re ever installing a new fan, it’s worth reviewing the manufacturer’s instructions meticulously. For those who have older fans, a periodic check of all screws, both on the blades and the mounting bracket, is a good preventative measure.
This proactive approach to your fan’s well-being can save you from dealing with an annoying wobble down the line.
Conclusion
A wobbling ceiling fan is a common problem that, fortunately, has straightforward solutions. By systematically checking for loose screws, bent components, dust buildup, and ensuring proper installation and mounting, you can often restore your fan to quiet, stable operation. Remember always to prioritize safety by turning off the power at the breaker before doing any hands-on work.
If you’ve tried the basic steps and the wobble persists, a balancing kit is your next best bet. For more complex issues or if you’re ever unsure, don’t hesitate to consult a qualified professional. Fixing a wobbling ceiling fan yourself can be a rewarding task, improving both the comfort and safety of your home.


Similar Posts



















