How to Fix a Chipped Acrylic Bathtub
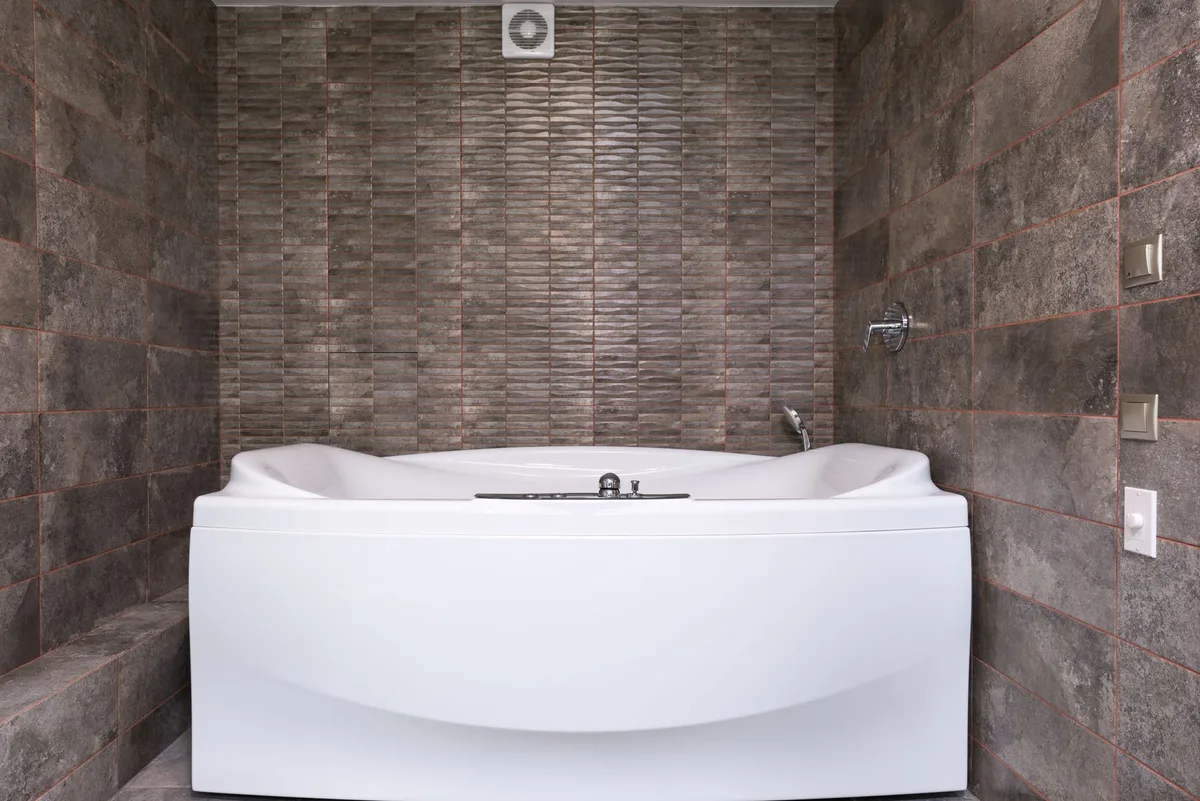
That unwelcome chip or scratch on your acrylic bathtub can really harshen the mellow of your bathroom sanctuary. It’s not just an eyesore; it can also be a place where dirt and grime collect, making cleaning a chore. But don’t fret!
You don’t need to call in a costly professional or face a full tub replacement. With a little patience and the right approach, you can easily fix a chipped acrylic bathtub yourself.
This guide will walk you through everything you need to know to restore that smooth, pristine finish. We’ll cover the tools you’ll need, the preparation steps, the actual repair process, and how to make it look seamless. So let’s get your bathtub looking as good as new.
Image source: Pexels / Max Vakhtbovych (Pexels License)
Understanding Acrylic Tubs and Damage
Acrylic bathtubs are popular for good reason. They’re lightweight, warm to the touch, and relatively easy to clean compared to older materials like cast iron or fiberglass. They’re formed from sheets of acrylic that are heated, then vacuum-molded into shape.
This material is durable, but it’s not indestructible.
Common Types of Acrylic Tub Damage:
- Chips: These are noticeable breaks in the acrylic surface. They can range from tiny nicks to larger gouges.
- Scratches: Surface-level abrasions that dull the shine.
- Cracks: Deeper fissures that can compromise the structural integrity if left untreated.
- Discoloration: Yellowing or staining, which is a different issue than physical damage.
For this guide, we’re focusing squarely on chips. A chip means a piece of the acrylic has been removed, leaving an indentation. Addressing chips promptly prevents them from worsening and becoming more difficult to repair.
Gathering Your Repair Toolkit
Before you start, gather everything you need. Having all your supplies ready makes the process smoother and prevents mid-repair dashes to the store.
Essential Tools and Materials for Chip Repair:
- Acrylic Bathtub Repair Kit: This is your go-to. Most kits contain a resin or filler compound and a hardener. Some also include color-matching tints. Look for kits specifically designed for acrylic or solid surface repairs.
- Fine-Grit Sandpaper: Start with around 400-grit and progress to much finer grits (800, 1000, 1500, and even 2000-grit) for smoothing and polishing.
- Rubbing Alcohol or Acetone: For thorough cleaning of the damaged area. Acetone can be strong, so use it in a well-ventilated area and test on an inconspicuous spot if you’re unsure about its effect on your tub’s specific finish.
- Clean Microfiber Cloths: Plenty of them! For cleaning, drying, and buffing.
- Masking Tape or Painter’s Tape: To protect surrounding areas and create clean repair lines.
- Small Putty Knife or Spreader: For applying the filler. A plastic one is best to avoid scratching the acrylic.
- Gloves: To protect your hands from the repair compounds.
- Dust Mask: Especially when sanding.
- Optional: Color-Matching Tints: If your kit doesn’t include them or the color match is off, you might need these to get the perfect hue.
- Optional: Clear Acrylic Sealer or Polishing Compound: For a final protective layer and enhanced shine.
Step-by-Step Guide to Fixing a Chipped Acrylic Bathtub
Now, let’s get down to business. Follow these steps carefully for the best results.
Step 1: Clean the Damaged Area Thoroughly
This is arguably the most crucial step. Any dirt, soap scum, or moisture left in the chip will compromise the repair.
- Initial Wash: Use a mild bathroom cleaner and a soft cloth. Scrub the area around the chip gently.
- Degrease: Wipe the entire chip area and a few inches around it with rubbing alcohol or acetone on a clean cloth. This removes any oils or residue that soap alone might not get.
- Dry Completely: Use a clean, dry microfiber cloth to ensure the area is bone dry. Let it air dry for a bit longer if you’re not sure.
Step 2: Prepare the Chip for Repair
Chips often have rough edges. You need to smooth these out to help the filler adhere properly.
- Gentle Sanding (if needed): If the edges of the chip are jagged or raised, you can very gently use a fine-grit sandpaper (like 400-grit) to smooth them down. Work carefully to avoid damaging the surrounding acrylic. The goal is to create a smooth transition.
- Remove Debris: After any minor sanding, wipe the area down again with rubbing alcohol to remove any dust particles. Ensure it’s dry.
Step 3: Mask the Area
Protect the pristine parts of your bathtub. This step ensures clean edges for your repair.
- Apply Tape: Carefully place masking tape or painter’s tape around the chipped area. Leave a border that’s just slightly larger than the chip itself. Press the tape down firmly, especially at the edges. This creates a clean barrier and will help you define the shape of your repair.
- Create a Mold (for deeper chips): For deeper chips, you might need to create a small ‘dam’ with the tape. Apply a second layer of tape slightly within the first, forming a raised edge that mirrors the shape of the chip. This helps contain the filler as it cures.
Step 4: Mix and Apply the Acrylic Repair Filler
This is where the magic starts. Follow the instructions in your specific repair kit precisely.
- Read Kit Instructions: Each kit is slightly different. Pay close attention to the mixing ratios and working times.
- Measure Accurately: In a small, disposable container (or the one provided in the kit), measure the resin and hardener according to the manufacturer’s instructions. Accuracy is key for proper curing.
- Mix Thoroughly: Use a small stirring stick to mix the components. Blend them until the color is uniform, usually for about 30-60 seconds. Don’t over-mix, as this can introduce air bubbles.
- Add Tint (if necessary): If you need to match the tub color, add a tiny drop of tint at a time, mix, and compare to your tub. It’s better to start with less and add more. Remember that the color might change slightly as it cures.
- Apply the Filler: Using your small putty knife or spreader, carefully apply the mixed filler into the chip. Start by gently pressing it into the deepest parts.
- Overfill Slightly: It’s generally recommended to slightly overfill the chip. This is because acrylic filler can shrink a tiny bit as it cures. You can sand down the excess later. Aim for the filler to be flush with or slightly above the surrounding acrylic surface.
- Smooth the Surface: Use the spreader to gently smooth the surface of the filler, making it as level as possible with the tape dam. Work quickly, as the filler will start to set.
Step 5: Allow the Filler to Cure
Patience is vital here. Trying to move too soon will ruin your repair.
- Check Curing Time: Refer to your kit’s instructions for the recommended curing time. This can range from a few minutes to several hours, depending on the product and ambient temperature.
- Don’t Disturb: Resist the urge to touch or test the repair while it’s curing.
- Ventilation: Ensure the bathroom is well-ventilated during the curing process, especially if using products with strong odors.
Step 6: Sand and Level the Repair
Once fully cured, it’s time to make the repair blend in seamlessly.
- Remove Masking Tape: Carefully peel away the masking tape. If the filler has stuck to the tape, gently use a craft knife to score along the edge of the tape before peeling.
- Initial Sanding: Start with a medium-grit sandpaper (around 400-grit) wrapped around a small sanding block or a piece of wood. Gently sand the hardened filler. Your goal is to bring it down to the level of the surrounding acrylic. Work slowly and check your progress frequently.
- Progress to Finer Grits: Gradually move to finer grits: 800, 1000, 1500, and even 2000-grit. Each stage removes the scratches left by the previous grit. Sand in circular motions, and then use long, straight strokes following the “grain” of the tub if there is one.
- Maintain Moisture (Optional but Recommended): For extremely fine grits (1000-grit and above), lightly misting the area with water can help reduce friction and achieve a smoother finish. This is called wet sanding.
- Check for Smoothness: After each grit, wipe the area clean with a damp cloth and feel it with your finger. You’re looking for a surface that is completely smooth and flush with the rest of the tub. You should no longer feel an edge.
Step 7: Polish and Buff
This final step brings back the shine and makes the repair virtually invisible.
- Apply Polish: Use a clean microfiber cloth to apply a small amount of acrylic polishing compound or a non-abrasive car wax.
- Buff: Rub the compound into the repaired area and surrounding acrylic using firm, circular motions.
- Achieve Shine: Continue buffing until the repaired area matches the shine of the rest of the tub. You might need to apply a second thin layer of compound.
- Final Wipe Down: Wipe away any excess compound with a clean, dry microfiber cloth.
Troubleshooting Common Issues
Even with the best intentions, sometimes things don’t go perfectly the first time.
Problem: The color doesn’t match.
Solution: If your kit came with tints, you can try to adjust the color. You might need to mix a new batch and reapply, or in some cases, if the repair is slight, you can try a very thin layer of colored acrylic paint designed for plastics, followed by a clear coat. Always test color adjustments on a hidden area or a scrap piece first.
Sometimes, a slight difference is unavoidable.
Problem: The filler looks dull after sanding.
Solution: You likely need to progress to finer grits of sandpaper. Make sure you’re using grits of 1000-grit or higher for the final stages before polishing. The polishing compound is designed to bring back the shine once the surface is smooth enough.
Problem: The repair feels rough or uneven.
Solution: It’s probably not fully level. Go back to your sanding stages, starting with a slightly coarser grit (like 600 or 800) if necessary, and work your way back up to the very fine grits. Ensure you’re using a sanding block to keep the surface flat and avoid creating new dips or high spots.
Problem: The filler is bubbling.
Solution: This could be due to moisture in the area before application or air bubbles introduced during mixing. Ensure the tub is bone dry and mix the filler gently. If it’s a minor issue, you might be able to sand it down and reapply.
Pro Tips for a Seamless Finish
- Work in Good Lighting: Natural light is best. It helps you see the true color and any imperfections.
- Patience is Key: Don’t rush any step, especially curing and sanding.
- Start Small: If you’re nervous, practice on a scrap piece of acrylic or a less visible part of the tub if possible.
- Use the Best Kit You Can Find: Investing in a high-quality acrylic repair kit from a reputable brand will give you a better chance at a good outcome. Brands that specialize in automotive or marine repair often have excellent acrylic fillers.
- Consider Professional Help for Large Damage: For significant cracks or missing pieces, a DIY repair might not be sufficient, and professional restoration might be a better option.
When to Consider Professional Restoration
While DIY repairs are great for small chips and scratches, some damage is beyond the scope of a simple kit.
- Large Cracks: Cracks that run across a significant portion of the tub or appear to compromise its structure should be assessed by a professional.
- Extensive Damage: If your tub has multiple large chips, deep gouges, or extensive surface damage, a professional resurfacing might be more cost-effective and yield better results than multiple patch jobs.
- Delamination: If the acrylic layers are separating, this is a structural issue that needs expert attention.
- Severe Discoloration: Some yellowing or staining might be fixable with cleaning, but deep-set discoloration often requires professional refinishing.
If you’re unsure about the extent of the damage or your ability to repair it, it’s always wise to get a quote from a professional bathtub refinisher. They have specialized tools and materials to handle more complex issues.
Maintaining Your Acrylic Tub After Repair
Once your tub is fixed, keeping it in top shape is straightforward.
- Regular Cleaning: Use mild, non-abrasive cleaners. Avoid abrasive powders, steel wool, or harsh chemicals like pure acetone or ammonia, which can dull or damage the acrylic finish.
- Gentle Scrubbing: Use soft cloths or sponges.
- Rinse Thoroughly: Always rinse away soap and cleaner residue.
- Avoid Sharp Objects: Be mindful of dropping heavy or sharp items in the tub.
- Address New Damage Quickly: Small scratches or chips are much easier to fix if you catch them early.
Fixing a chipped acrylic bathtub is a rewarding DIY project that can save you money and restore the beauty of your bathroom. By following these steps, you can effectively mend those imperfections and enjoy a smooth, flawless tub once more.


Similar Posts



















