How to Fix a Kitchen Faucet Handle That Falls Down
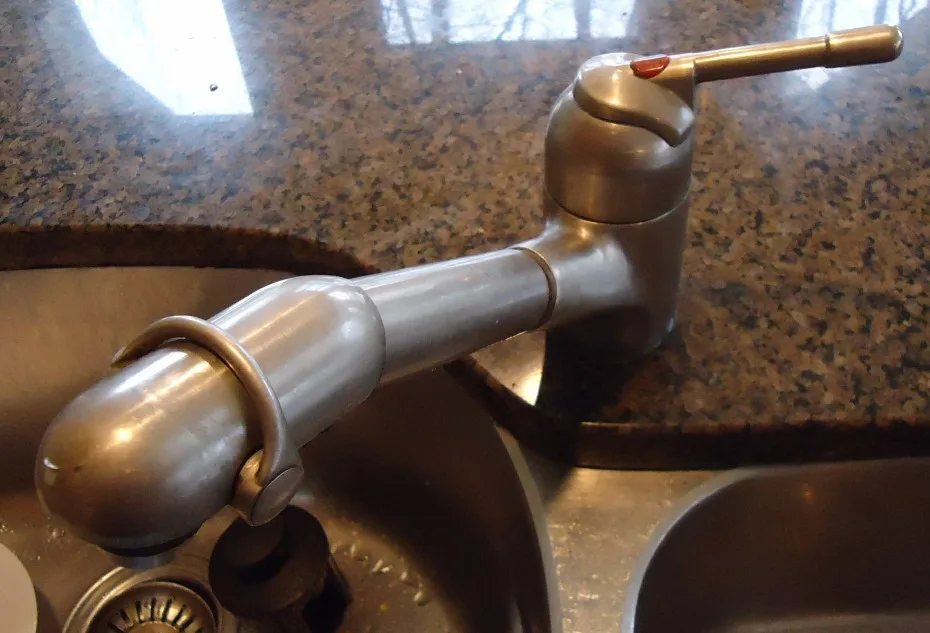
That feeling of a kitchen faucet handle going limp can be incredibly frustrating. You reach your hand out, expecting solid resistance, only to have the handle flop down uselessly. It doesn’t just look bad; it makes controlling water flow an absolute pain.
This isn’t a problem you have to live with, though. Most often, a kitchen faucet handle that falls down has a straightforward fix that you can handle yourself with a few basic tools. Let’s get that handle back into working order.
Image source: Wikimedia Commons / Tomwsulcer
Why Your Faucet Handle Might Be Falling Down
Before we dive into the repair, it’s helpful to understand why this happens. The handle on your kitchen faucet is usually connected to an internal mechanism that controls the water flow and temperature. This mechanism is often a cartridge or valve.
When the handle starts to fall, it typically means the connection between the handle and this internal part has weakened or broken.
The most common culprits are:
- A loose set screw: This is the most frequent reason. A small screw, often hidden, keeps the handle firmly attached to the valve stem. If this screw loosens, the handle will no longer be held in place and can easily slip or fall.
- Worn internal parts: Over time, the components inside the faucet, especially the cartridge, can wear down. This wear can cause a loose connection that a simple tightening of the set screw won’t fix.
- A damaged handle: While less common, the handle itself can sometimes develop internal damage that prevents it from gripping the valve stem properly.
Understanding these possibilities helps us target the repair effectively. We’ll start with the easiest fixes and move to more involved ones.
Tools You’ll Need for the Job
Gathering your tools before you begin can save you a lot of hassle. For most faucet handle repairs, you won’t need a specialized plumbing arsenal. The typical items you’ll want on hand include:
- Screwdriver set: You’ll likely need both Phillips head and flathead screwdrivers, as set screws can vary.
- Allen wrench set (hex keys): Many modern faucets use Allen screws for their handles.
- Pliers: Needle-nose pliers can be useful for grabbing small parts.
- Adjustable wrench: For any larger nuts that might need tightening.
- Rag or towel: To protect your sink and catch any drips or dropped parts.
- Penetrating oil (optional): For stubborn screws.
- Replacement parts (if necessary): This could be a new cartridge or a specific screw.
Step-by-Step Guide to Fixing a Drooping Faucet Handle
Let’s get this fixed! We’ll walk through the process methodically, starting with the most common and easiest fix: the set screw.
Step 1: Identify Your Faucet Type and Locate the Set Screw
This is crucial. Faucet designs vary wildly. You need to figure out what kind of faucet you have and where its set screw is hiding.
Common Faucet Handle Types:
- Lever Handles: These have a single lever that moves up, down, and side-to-side. They are the most common type for kitchen faucets.
- Knob Handles: Older styles often feature two knobs, one for hot and one for cold, that you turn.
- Ball Faucets: These have a single handle that moves over a rounded ball mechanism.
- Cartridge Faucets: These use a removable cartridge to control water flow. Most modern lever-style faucets are cartridge-based.
Finding the Set Screw:
The set screw is usually located on the underside or the back of the faucet handle. It’s often very small and might be masked by a decorative cap.
- Look for a small hole: This is your most direct clue. The hole might be threaded.
- Check under a decorative cap: Many handles have a small plastic or metal cap that, when pried off, reveals the set screw. These caps often have a small “H” or “C” for hot and cold, or the manufacturer’s logo. You can usually gently pry these off with a small flathead screwdriver or a utility knife. Be careful not to scratch the finish.
- Examine the base of the handle: Sometimes the screw is right at the point where the handle connects to the faucet body.
If you’re unsure about your faucet model, check the manufacturer’s website or the original installation manual. Knowing the brand and model can help you find specific diagrams online.
Step 2: Tighten the Set Screw
Once you’ve located the set screw, it’s time to tighten it.
- Select the right tool: For most set screws, you’ll use either a small Phillips head screwdriver or an Allen wrench (hex key). You might need to try a few sizes until you find the one that fits snugly.
- Turn clockwise: Insert the screwdriver or Allen wrench into the set screw and turn it clockwise. You’ll feel it engage with the threads.
- Tighten firmly, but don’t overtighten: You want the screw to be snug enough to hold the handle securely. Overtightening can strip the threads or damage the screw, making future repairs difficult. Give it a few firm turns until you feel resistance.
- Test the handle: Gently try to move the handle. Does it feel firm? Does it stay in place when you let go? If it feels secure, you’ve likely solved the problem!
If the set screw was loose, you’re probably all set. If tightening it didn’t help, or if the screw just spins without tightening, it’s time to move on to the next potential issues.
Step 3: Inspect the Handle and Stem Connection
If tightening the set screw didn’t do the trick, the problem might be with the connection itself.
- Remove the handle: Most faucet handles can be removed by loosening that same set screw you just tightened. Sometimes, you might need to loosen it completely, or even remove it entirely, to pull the handle off. If it’s stuck, a little penetrating oil might help. You can also try wiggling it gently.
- Examine the stem: Once the handle is off, you’ll see the valve stem that protrudes from the faucet body.
- Look for damage or wear:
- Stripped threads: Check the internal threads of the handle and the external threads on the valve stem. Are they smooth and well-defined, or are they rounded and worn away? If either is stripped, you’ve likely found your problem.
- Worn splines: Some stems have splines (grooves) that the handle grips. If these are worn down, the handle won’t have anything to grab onto.
- Corrosion or debris: Clean any gunk or corrosion from the stem and the inside of the handle. This might be all that was preventing a good grip.
If you find stripped threads or worn splines on the stem, the stem itself might need replacement. If the handle’s internal connection is damaged, you might need a new handle.
Step 4: Consider Replacing the Cartridge (If Applicable)
Many modern kitchen faucets use a ceramic disc cartridge or a similar valve system. This cartridge is what actually controls the water flow. If the handle is connected to this cartridge, and the cartridge itself is worn or damaged, it can lead to a loose handle.
When to Suspect the Cartridge:
- Tightening the set screw didn’t help, and there’s no obvious damage to the handle or stem.
- You experience inconsistent water flow, sputtering, or leaks in addition to the loose handle.
- The faucet is older and has seen a lot of use.
How to Replace a Faucet Cartridge:
- Turn off the water supply: This is non-negotiable. Look for the shut-off valves under your sink. Turn them clockwise until they are completely closed. Turn on the faucet to relieve any residual pressure.
- Remove the handle: As described in Step 3.
- Expose the cartridge: Depending on your faucet design, you might need to remove a decorative bonnet, a retaining clip, or a nut that holds the cartridge in place.
- Remove the old cartridge: Cartridges can sometimes be tricky to pull out. You might need a cartridge puller tool, which is specific to certain faucet brands. Sometimes, gentle wiggling with pliers can do the trick. Note the orientation of the old cartridge before you remove it.
- Install the new cartridge: Insert the new cartridge, ensuring it’s oriented correctly (matching the old one). It should slide in smoothly.
- Reassemble: Replace any retaining clips, nuts, and the handle.
- Turn on the water and test: Slowly turn the shut-off valves back on and check for leaks. Test the handle for proper operation.
Identifying the correct replacement cartridge is vital. You’ll need to know your faucet’s brand and model. Often, you can find the part number on the cartridge itself or by consulting the manufacturer’s parts list online.
For example, Moen and Delta cartridges are common, and each has specific replacement parts. We’ve all had to deal with a stubborn filter needing replacement, much like the need to keep up with filter maintenance on other household items. How Often Should You Replace Vacuum Filter can offer some insight into regular upkeep that prevents larger issues.
Step 5: Replacing the Faucet Handle (If Necessary)
If you’ve inspected the stem and the set screw, and even considered the cartridge, but the handle still feels loose or won’t stay put, it’s possible the handle itself is the problem.
Signs the Handle Might Be Damaged:
- Cracks or visible damage on the handle.
- The internal part of the handle that grips the stem is rounded out or stripped.
- You’ve replaced the cartridge and checked the stem, but the handle is still loose.
Replacing the Handle:
- Identify your faucet brand and model: This is essential for finding a compatible replacement handle.
- Order a new handle: You can usually find replacement handles directly from the faucet manufacturer or through plumbing supply stores.
- Remove the old handle: As detailed in Step 3.
- Install the new handle: Slide the new handle onto the valve stem and secure it with the set screw. Ensure it feels firm and operates correctly.
Troubleshooting Common Issues
Sometimes, even after following the steps, you might run into a snag. Here are a few common issues and how to address them:
- The set screw won’t tighten or keeps backing out: This often indicates stripped threads on either the screw itself, the handle, or the faucet body connection. If the threads on the faucet body are stripped, you might be looking at replacing the entire faucet. If it’s just the handle threads, a new handle is needed.
- The handle is stuck and won’t come off: Apply penetrating oil and let it sit for a while. Gentle wiggling and tapping can also help. If it’s really stubborn, you might need a specialized handle puller tool.
- Water leaks after the repair: Double-check that all connections are tight and that any O-rings or seals are properly seated. If you replaced a cartridge, ensure it’s the correct model and installed correctly. Sometimes, a new cartridge is faulty out of the box.
When to Call a Professional Plumber
While fixing a loose faucet handle is often a DIY-friendly task, there are times when it’s best to call in a professional:
- You’re uncomfortable with the process: If any step feels beyond your skill level or you lack the necessary tools, a plumber can handle it efficiently.
- The problem is complex: If you’ve tried the basic fixes and the issue persists, or if you suspect a more significant problem with your plumbing system, a plumber has the expertise to diagnose and repair it.
- You can’t identify the faucet type or parts: Some high-end or older faucets can be difficult to identify, making it hard to get the right replacement parts.
- You’ve made the problem worse: If you’ve inadvertently caused more damage, it’s time to bring in the pros.
A plumber can quickly assess the situation, identify the exact cause, and perform the necessary repairs without causing further damage. For many homeowners, the peace of mind and saved time are well worth the cost. Sometimes, it’s just a matter of knowing when to call an expert.
Explore more blog posts for general home maintenance tips.
Prevention is Key: Maintaining Your Faucet
Once you’ve fixed that wobbly handle, you’ll want to keep your faucet in good working order. A little preventative maintenance goes a long way.
- Regular cleaning: Clean your faucet handles and spout regularly with mild soap and water. This prevents mineral buildup and corrosion that can affect moving parts. Avoid abrasive cleaners that can damage the finish.
- Be gentle: Avoid yanking or forcing the handle. Treat your fixtures with care.
- Address minor issues promptly: If you notice a slight wobble or a drip, don’t ignore it. Addressing small problems early can prevent them from becoming major repairs. This is like making sure you have the right oil level in your lawn mower; a simple check can prevent serious engine trouble.
- Know your faucet: Familiarize yourself with your faucet’s brand and model. Keep any manuals or warranty information in a safe place. This information will be invaluable if you ever need to order parts or troubleshoot specific issues.
By following these tips, you can ensure your kitchen faucet handle remains sturdy and reliable for years to come, and you can avoid the frustration of a handle that falls down.


Similar Posts



















