How to Tighten a Loose Kitchen Sink Faucet Base
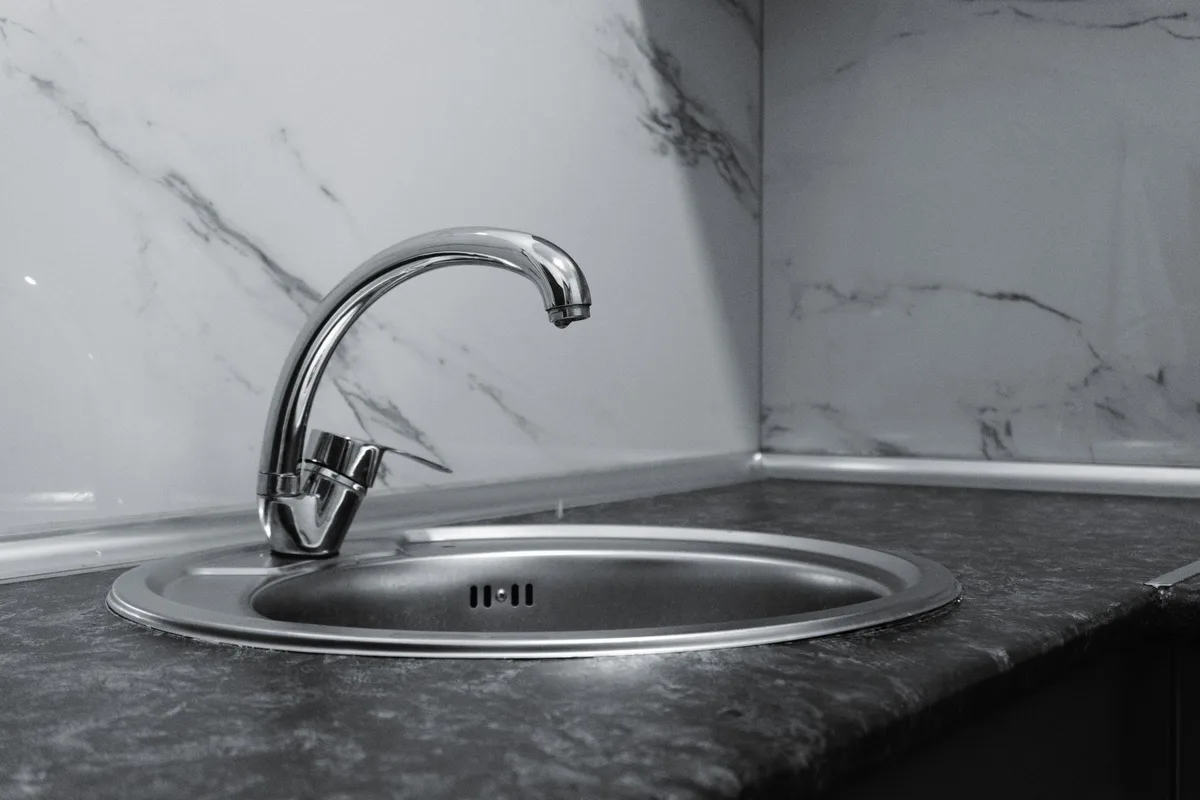
A wobbly kitchen sink faucet base isn’t just annoying; it can lead to bigger problems. Water can seep into the cabinet below, causing mold and even structural damage. Plus, a loose faucet just feels… cheap.
Fortunately, fixing this common issue is usually straightforward. You don’t need to be a master plumber to get that faucet base feeling solid again.
This guide will walk you through exactly what you need to do. We’ll cover identifying the problem, gathering your tools, and most importantly, the step-by-step process to tighten that loose faucet base. You’ll have a secure, stable faucet in no time.
Why Does a Faucet Base Become Loose?
Your kitchen faucet undergoes a lot of use. It’s turned on and off countless times daily. The constant water pressure and the physical force of turning the handles or lifting the lever all contribute to wear and tear.
Over time, the mounting hardware that secures the faucet to the sink or countertop can simply loosen.
Here’s a breakdown of common culprits:
- Vibration and Movement: Every use creates small vibrations. Over months and years, these accumulate, gradually unscrewing the mounting nuts.
- Water Pressure: Consistent water pressure can exert a subtle but constant force on the faucet from beneath the sink.
- Improper Installation: Sometimes, a faucet is never quite tight enough from the start. This can be due to a rushed installation or an inexperienced DIYer.
- Worn Parts: The rubber or plastic washers and seals around the base can degrade over time. This loss of material can lead to a gap, allowing the faucet to wobble.
- Hard Water Buildup: Mineral deposits from hard water can sometimes interfere with the tightening mechanism, preventing a secure fit.
Understanding these causes helps you appreciate why regular checks and prompt fixes are a good idea, similar to how you’d maintain other household items. For instance, just like cleaning the air filter on a vacuum cleaner keeps it running efficiently, keeping your faucet base tight prevents secondary issues.
Tools and Materials You’ll Need
Before you start, gather everything you’ll need. Having the right tools makes the job much easier and prevents frustration. You likely have most of these in your home toolbox already.
- Adjustable Wrench or Basin Wrench: This is your primary tool. An adjustable wrench works for many faucets, but a basin wrench is specifically designed to reach those awkward nuts in tight spaces under the sink.
- Screwdriver Set (Phillips and Flathead): Some mounting mechanisms use screws, so a basic set is handy.
- Bucket or Towels: To catch any residual water and keep your workspace dry.
- Flashlight or Headlamp: It’s dark under the sink, and you need to see what you’re doing.
- Penetrating Oil (Optional): If nuts are stuck due to corrosion or mineral buildup, penetrating oil can help loosen them. Let it sit for a bit before trying to turn.
- Plumber’s Putty or Silicone Caulk (Optional): If the old sealant is damaged or missing, you might need this to create a watertight seal after tightening.
- Safety Glasses: Protect your eyes from dust and debris.
Having these items ready ensures you can complete the repair in one go without interrupting the process to run to the hardware store.
Image source: Pexels / Zulfugar Karimov (Pexels License)
Step-by-Step Guide to Tightening Your Faucet Base
This is where we get down to business. Follow these steps carefully, and you’ll have a secure faucet in no time.
Step 1: Clear the Under-Sink Area
First, you need clear access. Remove everything from the cabinet beneath your kitchen sink. This gives you plenty of room to work without bumping into cleaning supplies or other items.
Placing a bucket or some old towels on the cabinet floor is a good idea to catch drips.
Step 2: Locate the Mounting Hardware
Look up under the sink, behind the pipes. You’ll see the underside of your faucet where it passes through the sink or countertop. There should be a metal nut or a series of nuts and possibly screws holding the faucet in place.
This is what you need to tighten.
For many single-handle faucets, there’s a large nut that screws onto a threaded shank coming down from the faucet body. For widespread faucets, you might see multiple smaller nuts.
Step 3: Identify the Type of Mounting Mechanism
The way your faucet is secured will dictate how you tighten it.
- Large Nut: Most common. This is a single, large nut that tightens the entire faucet assembly.
- Studs and Nuts: Some faucets use threaded studs that come down from the faucet, with nuts tightened onto them.
- Mounting Plates and Screws: Less common, but some designs use a plate and screws.
Step 4: Attempt to Tighten the Hardware
This is the core of the fix.
- For a Large Nut: Use your adjustable wrench or basin wrench to turn the nut clockwise. If it’s stiff, try a little penetrating oil and let it sit for 10-15 minutes. Then, try again.
- Important: Tighten it firmly, but don’t overtighten. You don’t want to crack the sink or damage the faucet. A snug, secure feel is what you’re aiming for.
- For Studs and Nuts: You’ll need to hold the studs in place while tightening the nuts, or vice-versa. Sometimes a second wrench is needed. Tighten them evenly.
- For Mounting Plates and Screws: Use your screwdriver. Tighten the screws snugly.
Tightening Tip: If your faucet seems to rotate slightly as you try to tighten the nut, try holding the faucet body steady from above with your other hand. This can prevent it from spinning and allow the nut to tighten properly.
Step 5: Test for Looseness
Once you think you’ve got it snug, gently try to wiggle the faucet from above. It should feel solid and stable, with no movement at the base. If it still feels loose, repeat Step 4, applying a little more pressure.
Be patient. Sometimes it takes a few tries to get the right tension.
Troubleshooting Common Issues
What if the nuts are stuck, the faucet still wobbles, or you’ve encountered another snag? Don’t worry, we’ve got solutions.
Stubborn or Rusted Nuts
If the mounting nut is corroded and won’t budge, penetrating oil is your best friend. Apply it generously to the threads. Let it soak for at least 15-30 minutes, or even overnight for very stubborn cases.
You might need a wire brush to help clean the threads before applying. If it’s still stuck after soaking, you may need to carefully cut the nut off with a hacksaw or an oscillating tool. This is usually a last resort.
Faucet Still Wobbles After Tightening
This can happen for a few reasons:
- The Nuts Aren’t Tight Enough: Go back and give them another turn, ensuring they are snug.
- Internal Faucet Components are Worn: Sometimes the internal parts of the faucet itself are failing, causing movement that feels like a loose base. This might require faucet repair or replacement.
- The Sink or Countertop is Damaged: In rare cases, the surface the faucet is mounted to might be cracked or weakened, preventing a secure hold. Inspect the sink or countertop around the faucet base for any damage.
Water Leaks After Tightening
If you notice leaks after tightening, it’s usually because the old seals or plumber’s putty have been disturbed or are no longer effective.
- Check the Supply Lines: Ensure the hot and cold water supply line connections are tight and not leaking.
- Re-evaluate the Base Seal: If you suspect the seal is the issue, you might need to loosen the faucet slightly, clean off old putty or caulk, apply fresh plumber’s putty or silicone caulk around the base, and then re-tighten the faucet. This is more involved and essentially means you’re re-seating the faucet.
When to Know If You Need a New Faucet
While tightening the base is a common fix, sometimes it’s a sign that the faucet is at the end of its lifespan. If you’ve tried tightening and the faucet still wobbles, or if you have persistent leaks that can’t be resolved, it might be time for a replacement. Other signs include:
- Constant Drips: Even after replacing washers, the faucet continues to drip.
- Corrosion and Rust: The faucet body is heavily corroded or rusted, often affecting spout movement.
- Difficulty Operating: Handles are stiff, or the spout is hard to move.
- Outdated Style or Functionality: You’re simply ready for an upgrade to a more modern or functional faucet.
Replacing a faucet is a more involved DIY project or a job for a professional plumber. For those considering a replacement, exploring different faucet styles and features can really enhance your kitchen experience.
Maintaining Your Faucet for Longevity
Preventative maintenance goes a long way. A quick check of your faucet base every few months can save you from a more significant repair down the line.
- Regular Checks: Give the faucet a gentle wiggle every quarter. If you feel any looseness, tighten it immediately.
- Clean Regularly: Wipe down your faucet with a soft cloth after use to prevent mineral buildup. This helps keep everything moving smoothly.
- Address Leaks Promptly: Don’t ignore small drips. They can worsen over time and indicate underlying issues. Finding and fixing leaks early can often prevent further damage.
Just like keeping up with routine maintenance for your car ensures it runs smoothly, a little attention to your kitchen faucet means it will serve you well for years to come. Thinking about other home maintenance, like understanding how often you should replace your vacuum filter, is part of a similar proactive approach to keeping your home in good working order.
Conclusion
A loose kitchen sink faucet base is a common household annoyance that’s usually quite simple to fix. By identifying the mounting hardware and using the right tools, you can secure your faucet and prevent potential water damage. Remember to work patiently, tighten firmly but not excessively, and always have a bucket handy.
If you encounter stubborn issues or persistent leaks, it may be time to consider replacing the faucet, but for most wobbling bases, a quick tighten is all that’s needed. You’ve got this!


Similar Posts




















[…] we dive into the repair, it’s helpful to understand why this happens. The handle on your kitchen faucet is usually connected to an internal mechanism that controls the water flow and temperature. This mechanism is […]