How to Fix Low Water Pressure in Bathroom Sink
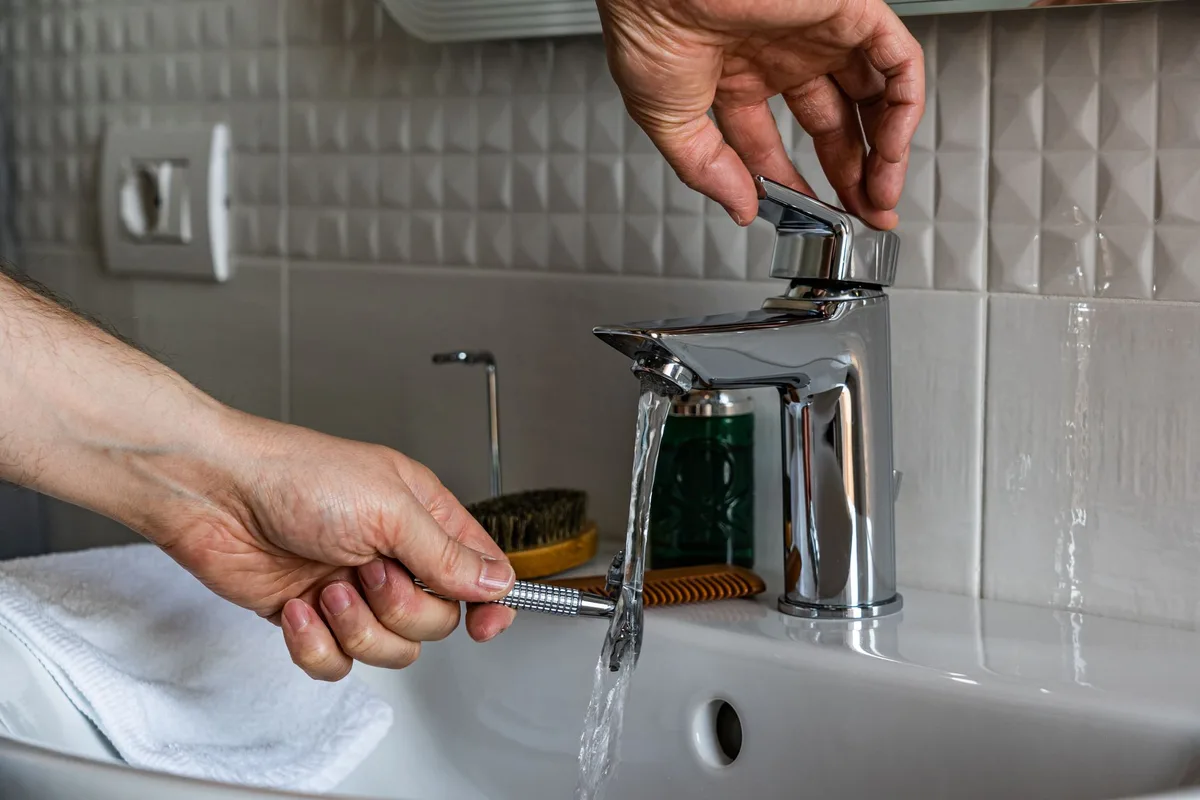
That dribble from your bathroom faucet. It’s more than just annoying; it’s a daily frustration. You’re trying to wash your hands, rinse your face, or maybe even fill a glass, and you’re met with a pathetic trickle.
Low water pressure in your bathroom sink isn’t just a minor inconvenience; it can disrupt your entire routine. But don’t despair! This isn’t a problem you need to call a plumber for immediately.
Often, the fix is straightforward and something you can tackle yourself.
We’ve all been there. Standing at the sink, waiting what feels like an eternity for enough water to do the simplest tasks. It’s a common plumbing issue, and thankfully, frequently fixable without a professional’s help.
This guide will walk you through the most common causes of low water pressure in your bathroom sink and provide clear, step-by-step solutions. We’ll look at everything from easy fixes you can do in minutes to slightly more involved tasks that might require a bit of elbow grease and a few basic tools.
Image source: Pexels / Castorly Stock (Pexels License)
Let’s get that faucet flowing like it should. We’ll cover:
- Identifying the culprit: Is it just your sink, or is it the whole house?
- Simple Checks: Aerator clogs and handle issues.
- Under the Sink: Supply line problems.
- Deeper Dives: Valve issues and potential municipal supply problems.
By the end of this, you’ll have a much better understanding of what’s causing your bathroom sink’s low water pressure and how to resolve it for good.
Step 1: Is It Just the Bathroom Sink, or Is It the Whole House?
This is your crucial first step to diagnosing the problem. If you have low water pressure in only your bathroom sink, the issue is likely localized to that fixture or its immediate supply. If you have low pressure in your kitchen sink, shower, and other faucets too, then the problem is more significant and might involve your home’s main water supply or a municipal issue.
How to Test:
- Turn on your kitchen faucet: Do you have good pressure there?
- Check your shower: Is the water flow strong?
- Test another bathroom sink: If you have a second bathroom, see how its faucet performs.
If every faucet in your house is suffering from low pressure, you might need to contact your water utility company or a general plumber to investigate your main water line. However, if it’s isolated to your bathroom sink, we’ve got plenty of fixes to try.
Step 2: Check the Aerator – The Most Common Culprit
The aerator is that little screw-on cap at the very tip of your faucet spout. It mixes air with water, which can reduce splashing and conserve water. Over time, sediment, mineral deposits (like limescale), and debris from your pipes can build up inside it, significantly restricting water flow.
This is by far the most frequent reason for a weak stream from a single faucet.
What You’ll Need:
- Adjustable wrench or pliers (with cloth to protect the finish)
- Old toothbrush or small stiff brush
- Vinegar (white distilled)
- Small bowl or cup
How to Clean Your Aerator:
- Unscrew the Aerator: Most faucet aerators can be unscrewed by hand. If it’s tight, use your adjustable wrench or pliers. Remember to wrap the jaws with a cloth or some tape to avoid scratching the faucet’s finish. Turn it counter-clockwise.
- Disassemble (If Necessary): Some aerators have multiple small parts and screens inside. Lay them out on a clean surface in the order you removed them so you can reassemble them correctly. Small rubber parts and screens can be delicate.
- Soak in Vinegar: Place the aerator parts in a small bowl filled with white vinegar. Let them soak for at least 30 minutes, or longer if they’re heavily caked with mineral deposits. Vinegar is excellent at breaking down limescale.
- Scrub Away Debris: After soaking, use your old toothbrush or small stiff brush to gently scrub away any loosened debris and sediment. Pay attention to the screen and the small holes.
- Rinse Thoroughly: Rinse all the aerator parts under running water to remove any remaining vinegar and gunk.
- Reassemble and Reinstall: Carefully put the aerator back together, making sure any screens and rubber gaskets are in place. Screw it back onto the faucet spout clockwise. Tighten it snugly, but don’t overtighten.
- Test the Pressure: Turn on the faucet. You should notice a significant improvement in water flow.
Pro Tip: If your aerator is very old or appears damaged, consider replacing it. They are inexpensive and readily available at hardware stores. Make sure to get the correct size and thread type for your faucet.
Step 3: Examine the Faucet Handles and Cartridge
If cleaning the aerator didn’t solve the problem, the next step is to look at the faucet handles and the internal cartridge. The handle controls a valve that regulates water flow. Sometimes, the mechanism inside can become clogged or worn, restricting water.
For Two-Handle Faucets:
These typically have a valve stem, washer, and seat for each handle (hot and cold).
- Turn Off Water Supply: Locate the shut-off valves under the sink. There should be one for hot and one for cold water. Turn them clockwise until they are completely off. Open the faucet handles to drain any remaining water.
- Remove the Handle: You’ll usually find a decorative cap on top of the handle. Pry it off gently with a flathead screwdriver or a utility knife. Beneath it, you’ll see a screw. Unscrew this and lift the handle off.
- Access the Stem: Once the handle is off, you’ll see the valve stem. You might need a wrench to unscrew a retaining nut or bonnet nut that holds the stem in place.
- Inspect and Clean: Carefully pull out the valve stem. Look for any debris, mineral buildup, or worn-out rubber washers or O-rings. Clean the stem and the inside of the faucet body where it sits. Replace any damaged washers or O-rings; these are very cheap and can be found at any hardware store.
- Reassemble: Put everything back together in reverse order. Turn the water supply back on slowly and check for leaks. Test the faucet.
For Single-Handle Faucets:
These usually use a cartridge.
- Turn Off Water Supply: Just like with two-handle faucets, find the shut-off valves under the sink and turn them off for both hot and cold water. Open the faucet handle to release pressure.
- Remove the Handle: Single-handle faucets often have a small set screw, typically on the side or back of the handle, that needs to be loosened with an Allen wrench. Once loosened, the handle should pull off. There might be a decorative cover plate as well.
- Remove the Cartridge: You’ll see the cartridge. It might be held in place by a retaining clip or a threaded collar. Remove the clip or unscrew the collar.
- Pull Out the Cartridge: You may need pliers to gently wiggle and pull the cartridge straight out. Note its orientation, as it needs to go back in the same way.
- Clean or Replace the Cartridge: Inspect the cartridge for any blockages or damage. Sometimes, a thorough cleaning with vinegar and a soft brush is enough. However, if the cartridge is old or visibly damaged, it’s often best to replace it. Take the old one to a hardware store to ensure you get an exact match.
- Reassemble: Install the new or cleaned cartridge, reattach the retaining clip or collar, replace the decorative cover and handle, and tighten the set screw. Turn the water supply back on slowly and test.
Step 4: Inspect the Supply Lines Under the Sink
The flexible hoses that connect your faucet to the shut-off valves are called supply lines. These can sometimes become kinked or clogged.
What You’ll Need:
- Adjustable wrench
- Towel or bucket (to catch drips)
How to Inspect Supply Lines:
- Turn Off Water Supply: Again, shut off the hot and cold water valves under the sink.
- Disconnect Lines: Place a towel or small bucket under the connections to catch any residual water. Use your adjustable wrench to disconnect the supply lines from the faucet inlets (the connections at the bottom of the faucet body).
- Check for Kinks: Carefully examine the entire length of each supply line. Are they kinked or sharply bent anywhere? Straighten any kinks gently.
- Check for Clogs: Disconnect the other end of the supply lines from the shut-off valves. Hold each line end over a bucket or sink and briefly turn the valve on slightly to check the water flow. You should get a strong burst of water. If the flow is weak from one or both lines, the line itself might be clogged internally.
- Replace if Necessary: If a supply line is kinked beyond straightening or shows signs of internal blockage, it’s best to replace it. They are inexpensive and come in various lengths and fitting sizes. Ensure you get the correct ones for your faucet and shut-off valves.
- Reconnect and Test: Reconnect the supply lines, ensuring they are not kinked. Turn the water supply back on slowly and check for leaks at all connection points. Finish by turning the faucet on to test the pressure.
Step 5: Investigate the Shut-Off Valves
The shut-off valves under the sink control the flow of water to your faucet. While less common, these valves can sometimes become partially closed or clogged internally, restricting water flow.
How to Check Shut-Off Valves:
- Ensure Water is On: Make sure the main water supply to your house is on.
- Open Valves Fully: Go under the sink and fully open both the hot and cold shut-off valves. Turn them counter-clockwise as far as they can go. Test the faucet.
- Inspect for Debris (Advanced): If you still have low pressure and suspect the valve itself, you can try to remove the valve stem for inspection.
- Turn Off Water Supply: Shut off the main water supply to your house or just the individual shut-off valve if you’re confident.
- Disconnect Supply Line: Disconnect the supply line from the shut-off valve. Have a bucket ready.
- Unscrew Valve Stem: You’ll see a packing nut and the valve stem. Unscrew the packing nut. Gently pull out the valve stem.
- Clean: Inspect the stem and the inside of the valve body for debris. Clean them thoroughly.
- Reassemble: Put the stem back in, tighten the packing nut, reconnect the supply line, and turn the water on slowly.
Important Note for Valve Replacement: If you suspect your shut-off valves are faulty and cleaning them doesn’t help, replacing them is a more involved DIY job. It requires shutting off water to your entire house and potentially using pipe threading tools or compression fittings. This might be a good point to call a plumber if you’re not comfortable with this type of work.
We found some great resources on sink repair that might offer further guidance on plumbing basics if you’re looking to expand your DIY skills.
Step 6: Consider Your Home’s Water Pressure Regulator (If Applicable)
Many homes have a pressure regulator (often a bell-shaped device) where the main water line enters the house. Its job is to reduce the incoming municipal water pressure to a safe and manageable level for your home’s plumbing. If this regulator fails or is set too low, it can cause low water pressure throughout your entire house, including your bathroom sink.
Checking the Regulator:
- Location: It’s usually found near your main water shut-off valve, often close to where the water pipe enters your home’s foundation.
- Testing: If you have a pressure gauge, you can test the pressure before and after the regulator. The ideal pressure for a home is typically between 45 and 60 PSI. Anything consistently below 40 PSI might be causing your low-pressure issues.
- Adjustment: Many regulators have an adjustment screw. Turning this screw can increase or decrease the pressure. However, if you’re unsure about adjusting this, it’s best to call a plumber. Incorrectly setting the regulator can damage your plumbing.
Step 7: Look at Your Home’s Plumbing Material & Age
The type of pipes used in your home and their age can also contribute to low water pressure. Older homes might have galvanized steel pipes, which are prone to corrosion and rust buildup internally over decades. This buildup narrows the pipe diameter, restricting water flow.
If your home has very old plumbing, this could be the underlying cause.
- Galvanized Pipes: These are usually grey and have a distinctive threaded appearance at joints. They are known to corrode from the inside out.
- Copper Pipes: More modern and less prone to corrosion, but joints can still develop issues.
- PEX Pipes: Flexible plastic tubing, common in newer homes, generally has excellent flow rates.
If your pipes are old and corroded, the only permanent solution is often repiping your home. This is a significant undertaking and definitely a job for a licensed plumber.
Step 8: Could it Be the Municipal Water Supply?
In rare cases, the low water pressure you’re experiencing might be due to an issue with the municipal water supply for your entire neighborhood.
- Water Main Break: A break in a main water line can temporarily reduce pressure for many homes.
- Maintenance or Repairs: Your local water utility may be performing maintenance that affects pressure.
- High Demand: During periods of high water usage (like hot summer days), pressure can dip across a wider area.
What to Do:
- Check with Neighbors: Ask your neighbors if they are experiencing similar problems.
- Contact Your Water Utility: If multiple homes are affected, contact your local water company to inquire about any known issues or disruptions.
Conclusion: Enjoy Your Flowing Faucet!
Low water pressure in your bathroom sink is a solvable problem. By systematically checking the aerator, faucet handles, supply lines, and shut-off valves, you’ve likely identified and fixed the cause yourself. Remember, regular maintenance, like cleaning your aerator periodically (perhaps every 6-12 months, depending on your water quality), can prevent future issues.
If you’ve gone through all these steps and the problem persists, it’s time to call in a professional plumber to tackle more complex issues like the main shut-off valves, pressure regulator, or internal plumbing. You shouldn’t have to live with a trickle, get that full flow back and make your bathroom routine a pleasure, not a pain! If you’re looking to maintain various home appliances, you might find our guide on vacuum filter replacement useful for general home upkeep.


Similar Posts




















[…] keep the exact temperature if the main hot water supply […]