How to Install a Kitchen Faucet Water Filter Adapter
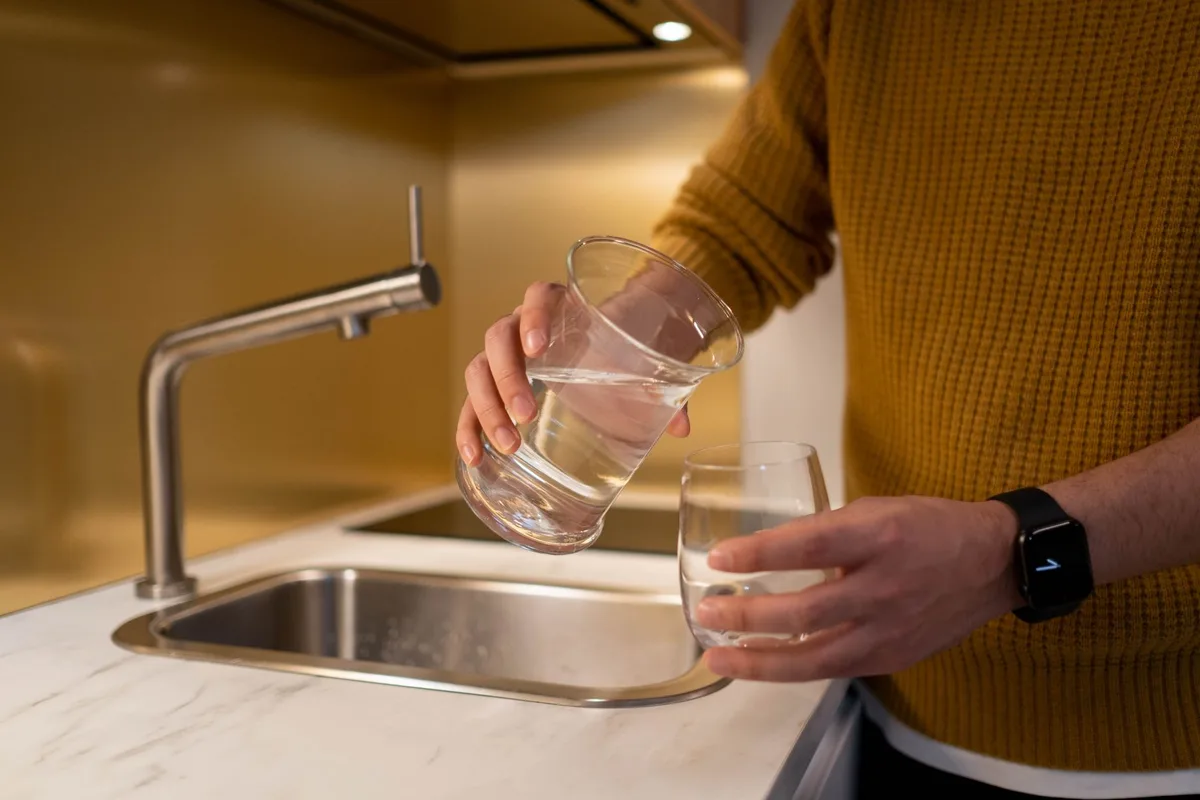
Clean, great-tasting water is a fundamental part of a healthy home. While many rely on bottled water or under-sink systems, a simple kitchen faucet water filter adapter offers a convenient and cost-effective solution. These handy devices attach directly to your existing faucet, transforming it into a source of purified water for drinking, cooking, and more.
If you’ve been wondering how to install one of these adapters, you’re in the right place. This guide will walk you through the entire process, making it straightforward and stress-free.
Installing a kitchen faucet water filter adapter is surprisingly easy. You don’t need to be a plumbing expert to get it done. In most cases, it’s a DIY job that takes less than an hour.
We’ll cover everything from what you’ll need to the actual installation steps and some tips to keep it running smoothly.
Why Install a Faucet Filter Adapter?
Before we dive into the installation, let’s briefly touch on why you might want to add a faucet filter adapter to your kitchen. The primary benefit is, of course, improved water quality. These adapters typically use activated carbon filters to reduce common contaminants like chlorine, sediment, and volatile organic compounds (VOCs).
This results in water that tastes and smells better, making your coffee, tea, and even plain water more enjoyable.
Beyond taste, these filters can also help remove impurities that might be a concern for your family’s health. They’re a more eco-friendly alternative to single-use plastic bottles and offer a significant cost saving over time compared to buying bottled water. Plus, they’re a fantastic option for renters or anyone who doesn’t want a permanent under-sink installation.
What You’ll Need for Installation
Gathering your tools and materials beforehand makes the installation process much smoother. Most faucet filter adapters come with everything you need in the box, but it’s always good to have a few extra items on hand.
Here’s a checklist of what you’ll likely need:
- Your Faucet Water Filter Adapter Kit: This includes the filter housing, the filter cartridge itself, and various adapters and parts to connect to your faucet.
- Adjustable Wrench or Pliers: You’ll need these to tighten and loosen certain connections. Be gentle to avoid damaging your faucet or the adapter parts.
- Teflon Tape (Plumber’s Tape): This is crucial for creating a watertight seal on threaded connections. It prevents leaks.
- A Small Towel or Rag: For wiping up any drips or spills.
- A Bucket or Small Container: To catch any residual water when you disconnect your aerator.
- Your Faucet’s Aerator or Instruction Manual: Knowing your faucet’s specific aerator type can sometimes be helpful, though most adapters cater to common sizes.
Step-by-Step Installation Guide
Now, let’s get down to the actual installation. We’ll break it down into simple, manageable steps.
Step 1: Turn Off the Water Supply
This is a critical safety step. You don’t want water spraying everywhere.
- Locate the shut-off valves for your kitchen faucet. These are usually under the sink, connected to the hot and cold water lines leading to the faucet.
- Turn both the hot and cold water valves clockwise until they are fully closed.
- Turn on your faucet to drain any remaining water in the lines. Let it run for a few seconds until the flow stops. This relieves pressure.
Step 2: Remove the Faucet Aerator
The aerator is the small, perforated piece at the very tip of your faucet spout. It’s where the water comes out. This is what you’ll be replacing or attaching the adapter to.
- Grip the aerator firmly. Depending on your faucet, you might be able to unscrew it by hand.
- If it’s stuck, use your adjustable wrench or pliers. Wrap a rag around the aerator first to prevent scratching the finish.
- Turn the aerator counter-clockwise to loosen and remove it.
- Be prepared for a little bit of water to drip out when you remove it. That’s why having a towel and a small container ready is helpful.
Step 3: Identify and Attach the Correct Faucet Adapter
Most faucet filter adapter kits come with a few different threaded adapters. Your goal is to find the one that will screw securely onto the threads where your aerator was.
- Look at the threads inside the faucet spout. There are typically external threads.
- Examine the adapters provided in your kit. Most kits include adapters for standard male and female aerator threads.
- Try screwing each adapter into the faucet spout by hand. You’re looking for a snug fit without forcing it.
- Once you find the adapter that fits, you might want to wrap it with Teflon tape before attaching it firmly. This ensures a watertight seal. Wrap the tape around the threads 2-3 times in a clockwise direction.
- Screw the chosen adapter into the faucet spout. Tighten it gently with your wrench or pliers, just enough to make it secure. Don’t overtighten, as this can damage the threads.
Step 4: Attach the Filter Housing
Now you’ll connect the main part of the filter system to the adapter you just installed.
- Your filter housing will have a threaded opening that matches the adapter you just attached to the faucet.
- Apply Teflon tape to the threads of the adapter on the faucet spout if you haven’t already.
- Screw the filter housing onto the adapter by hand.
- Once it’s snug, use your wrench or pliers to tighten it slightly. Again, avoid overtightening. You want it secure, but not so tight that it becomes difficult to remove later for filter changes.
Step 5: Install the Water Filter Cartridge
This step is usually quite simple.
- Most filter housings open in half or have a cap that unscrews. Refer to your adapter’s specific instructions if needed.
- Take the new filter cartridge out of its packaging. Some cartridges have a plastic wrap that needs to be removed.
- Insert the filter cartridge into the housing. It’s usually designed to fit in only one way, so don’t force it.
- Close the filter housing securely. If it unscrews, make sure to tighten it properly to prevent leaks.
Step 6: Turn the Water Supply Back On
It’s time to test your work!
- Slowly turn the hot and cold water shut-off valves under the sink counter-clockwise to restore the water supply.
- Keep an eye on the new filter adapter and housing for any immediate drips or leaks. If you see any, immediately turn off the water supply again and re-check your connections and the Teflon tape.
Step 7: Flush the Filter
This is a crucial step for a new filter. New filters contain carbon dust from the manufacturing process, which needs to be flushed out before you drink the water.
- Turn your faucet to the cold water setting.
- Let the water run for at least 5 minutes, or as directed by the filter manufacturer’s instructions. You’ll likely see cloudy or discolored water initially. This is normal.
- Continue flushing until the water runs clear. This means all the loose carbon particles have been washed away.
- Once the water is clear, you can turn off the faucet.
Step 8: Test for Leaks (Again!)
After the initial flush, it’s a good idea to do a more thorough leak check.
- Turn the faucet on and off a few times.
- Look very carefully at all the connection points between the faucet, the adapter, and the filter housing.
- Use your dry towel to wipe down all the parts. Then, run your hand over them to feel for any moisture.
- If you find any persistent drips, turn off the water supply and gently tighten the connections or re-apply Teflon tape.
Using Your Filtered Water
That’s it! Your kitchen faucet water filter adapter should now be installed and ready to go. You can now enjoy filtered water directly from your tap.
Remember to use the filtered water for drinking, making ice cubes, brewing coffee or tea, and rinsing fruits and vegetables.
You’ll notice a difference in the taste and clarity of your water immediately. It’s a small change that can significantly improve your daily kitchen experience.
Maintaining Your Faucet Water Filter Adapter
To ensure your filter continues to provide clean water, regular maintenance is key. The most important part is knowing when to replace the filter cartridge.
How Often to Replace the Filter
Filter lifespan varies depending on the brand, model, and the quality of your tap water. Manufacturers usually provide an estimated capacity in gallons or a recommended replacement timeline (e.g., every 3 months).
- Follow Manufacturer Recommendations: This is your primary guide. It’s typically based on typical usage.
- Pay Attention to Taste and Flow Rate: If you notice your water starting to taste or smell less fresh, or if the water flow from the faucet significantly decreases, it’s a strong sign that your filter is either clogged or has reached its capacity.
- Keep a Log: Jotting down the date you installed the new filter can help you remember when it’s due for a change. Keeping track of filter changes is similar to knowing how often you should replace vacuum filter; proactive replacement ensures optimal performance.
Replacing the Filter Cartridge
Replacing the cartridge is very similar to the initial installation of the filter housing.
- Turn off the water supply valves under the sink.
- Turn on the faucet to relieve pressure.
- Unscrew the filter housing (you may need a towel to catch drips).
- Remove the old filter cartridge.
- Insert the new filter cartridge into the housing.
- Screw the housing back onto the adapter, tightening it securely.
- Turn the water supply back on.
- Flush the new filter for at least 5 minutes until the water runs clear.
Cleaning the Filter Housing
Occasionally, you might want to clean the filter housing itself.
- With the water supply off and the filter removed, you can wipe down the inside of the housing with a soft cloth and mild soap.
- Rinse it thoroughly to remove any soap residue before inserting a new filter and turning the water back on.
Checking for Leaks
As part of your regular maintenance, periodically check all connections for leaks. A small drip can sometimes go unnoticed until it causes damage. If you see a leak, address it immediately by tightening the connection or replacing the Teflon tape.
Common Issues and Troubleshooting
Even with careful installation, you might run into a minor issue. Here are a few common problems and how to solve them.
Water Leaks
- Where to Look: Check the connection between the faucet and the adapter, the connection between the adapter and the filter housing, and the seal of the filter housing itself.
- Solution: Turn off the water supply, then gently tighten the leaking connection. If the leak persists, unscrew the part, remove any old Teflon tape, and apply fresh Teflon tape (2-3 wraps clockwise) before reassembling. Ensure the filter housing is properly sealed with the cartridge inside.
Reduced Water Flow
- Cause: This is almost always a sign that the filter cartridge is clogged or has reached its end of life. It can also indicate that the faucet itself has an aerator issue if the filter is bypassed.
- Solution: Replace the filter cartridge. If the problem persists after a new filter, check your faucet’s aerator for sediment buildup if you installed the filter in a bypass mode.
Cloudy or Discolored Water
- Cause: This is common with new filters before flushing. If it happens after the initial flush, it might indicate a filter malfunction or that the filter’s capacity has been exceeded.
- Solution: Ensure you flushed the new filter thoroughly for at least 5 minutes. If the problem continues after proper flushing with a new cartridge, it might be time to contact the manufacturer or consider a different filter brand.
Are All Faucets Compatible?
While most modern kitchen faucets are designed to accommodate a water filter adapter, there are a few exceptions.
- Pull-Out or Pull-Down Sprayers: These faucets usually have a spray head that cannot be easily adapted for a filter. The filter needs a fixed spout.
- Unusual Aerator Threads: Very old or exceptionally unique faucets might have non-standard thread sizes for their aerators, meaning the included adapters might not fit. In such cases, you might need to search for specialized adapters or consider a different filtration method.
- Low Water Pressure: While not a compatibility issue, if your home already suffers from very low water pressure, adding a filter might further reduce it, making it less practical.
If you’re unsure about your faucet’s compatibility, check the specifications of the water filter adapter kit you’re interested in. Most kits will list the types of faucets they are compatible with.
Enjoying Your Purified Water
Installing a kitchen faucet water filter adapter is a straightforward process that brings significant benefits. By following these simple steps, you can quickly upgrade your tap water and enjoy cleaner, better-tasting water for all your household needs. Remember to perform regular maintenance and replace your filter cartridges on time to keep your water pure and your system running efficiently.
This simple upgrade is a fantastic way to improve your home’s water quality without major renovations.


Similar Posts



















