How to Get Rid of Maggots in Trash Can

Image source: Pexels / Steve A Johnson (Pexels License)
I’ve dealt with this exact problem. It’s disgusting. I know.
You open your trash can and see a writhing mass of white larvae. The smell hits you next. That’s the moment you realize you’ve got a maggot infestation, and you need it gone.
Fast.
Here’s the good news: getting rid of maggots in your trash can isn’t complicated. You don’t need special equipment or expensive products. You need the right steps, the right timing, and a little bit of patience.
In this article, I’ll walk you through exactly how to kill maggots, clean your trash can, and stop them from coming back. No fluff. No theory.
Just practical steps that work.
Why Maggots Appear in Your Trash Can
Maggots don’t just appear out of nowhere. They come from fly eggs. Female flies lay eggs on rotting organic matter.
Your trash can is a perfect breeding ground.
Here’s what attracts them:
- Meat scraps, leftover chicken bones, steak fat, fish skin
- Dairy products, spoiled milk, cheese rinds
- Overripe fruit, bananas, melons, tomatoes
- Pet waste, soiled litter or dog waste
- Damp food waste, anything wet and rotting
Flies can smell this stuff from a distance. They find their way in, lay eggs, and within 24 hours you’ve got maggots. The warmer the weather, the faster they develop.
Most people don’t see the eggs. They’re tiny and white. You only notice when the eggs hatch and the larvae start crawling around.
What You’ll Need to Get Rid of Maggots
Before we get into the actual cleanup, gather your supplies. Trust me, having everything ready makes the job faster and less unpleasant.
Your cleanup kit:
| Item | Purpose |
|---|---|
| Heavy-duty rubber gloves | Protect your hands |
| Bleach or white vinegar | Kill maggots and sanitize |
| Baking soda | Deodorize and scrub |
| Long-handled scrub brush | Reach the bottom |
| Trash bags (heavy-duty) | Bag infested waste |
| Spray bottle | Apply cleaning solution |
| Boiling water | Instant kill option |
| Face mask | Block the smell |
I recommend wearing old clothes you don’t care about. You’ll probably get splashed, and you don’t want that smell on your good gear.
How to Remove Maggots from Your Trash Can
Let’s get to the core of this. Here’s my step-by-step process for removing maggots from a trash can.
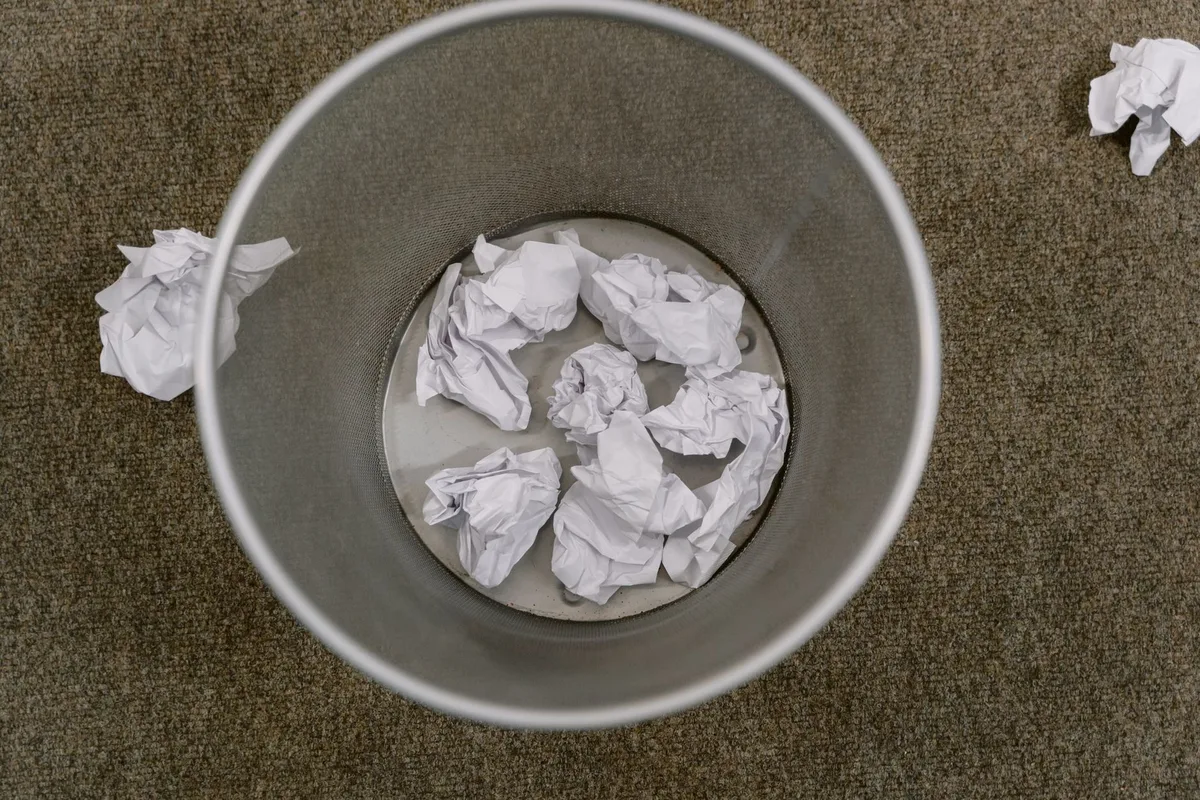
Image source: Pexels / Tima Miroshnichenko (Pexels License)
Step 1: Seal and Remove the Infested Trash Bag
Don’t open the bag. Don’t poke at it. Just tie it off tight.
If the bag has a tear, double-bag it. Lift it out carefully. The goal is to avoid spreading maggots across your garage floor or kitchen.
Place the bag directly into a second trash bag. Tie it securely. Take it outside to your curbside bin immediately.
Don’t let it sit in your garage.
Step 2: Kill the Remaining Maggots
Once the bag is out, you’ll see maggots stuck to the bottom and sides of the can. Some might be crawling around the rim.
You have three effective options:
Boiling water, This is instant. Pour a full kettle of boiling water directly over the maggots. They die within seconds.
The heat also helps loosen any stuck debris.
Bleach solution, Mix one part bleach with three parts water. Pour it in and let it sit for 10 minutes. Bleach kills maggots on contact and sanitizes the surface.
White vinegar, If you prefer a non-toxic option, undiluted white vinegar works. It kills maggots but takes longer than bleach. Pour it directly over the larvae.
I prefer boiling water for the initial kill. It’s fast, chemical-free, and doesn’t leave a strong smell.
Step 3: Scrub the Inside of the Can
Now you need to clean everything. Even after the maggots are dead, you need to remove the residue and organic matter.
Fill the can with hot water. Add a cup of bleach or a cup of vinegar. Let it soak for 15 minutes.
Take your scrub brush and go to work. Focus on:
- The bottom corners
- Along the sides
- Under the rim
- The lid (especially the underside)
Maggots leave behind a slimy residue. That residue can attract more flies. Scrub until the can looks clean and smells fresh.
Step 4: Rinse and Disinfect
Empty the dirty water outside. Don’t dump it in your kitchen sink. Rinse the can thoroughly with a garden hose.
Spray the entire interior with a fresh bleach solution. Let it sit for 5 minutes. Rinse again.
Turn the can upside down and let it dry completely in the sun. Direct sunlight helps kill any remaining bacteria and eggs.
Step 5: Dispose of Dead Maggots
Sweep up any dead maggots that fell on the ground. Use a dustpan and throw them in a sealed bag. If they’re in your yard, birds will eat them.
That’s fine.
Don’t flush them down the drain. They can clog your pipes.
How to Clean a Trash Can After Maggots (Deep Clean)
Sometimes the surface clean isn’t enough. If the infestation was large or the can has been sitting for a while, you need a deep clean.
Here’s my deep clean routine:
Step 1: Pressure wash if possible. A pressure washer blasts away every trace of organic matter. It reaches cracks and crevices that a brush can’t.
Step 2: Apply a degreaser. Trash cans build up grease from food waste. That grease traps bacteria and smell. Spray a citrus-based degreaser and let it sit for 10 minutes.
Step 3: Scrub with baking soda. Baking soda is a mild abrasive. It scrubs without scratching the plastic. It also neutralizes odors.
Step 4: Bleach soak. Fill the can with water and add a cup of bleach. Let it sit for 30 minutes. Bleach kills bacteria, viruses, and any remaining eggs.
Step 5: Sun dry. UV rays are a natural disinfectant. Leave the can in direct sunlight for at least 2 hours. Make sure it’s completely dry before you use it again.
Preventing Maggots in the Future
Cleaning up once is annoying. Cleaning up every week is a nightmare. Prevention is the real solution.
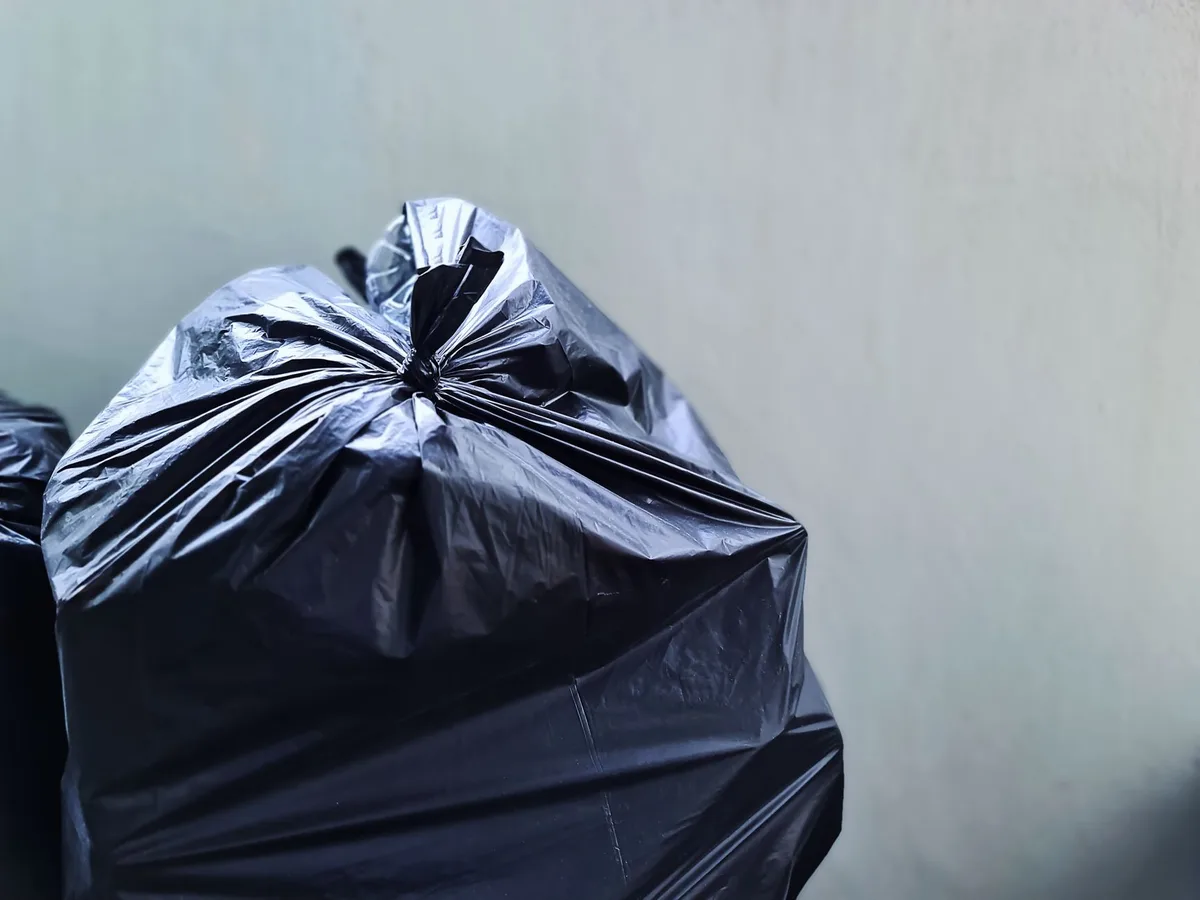
Image source: Pexels / Suparerg Suksai (Pexels License)
Use the Right Trash Bags
Cheap bags tear easily. A tear means leaks. Leaks mean flies.
Invest in heavy-duty trash bags. They cost more but they’re worth it. Look for bags with a thickness of at least 1.5 mil.
Double-bag meat scraps, especially during summer.
Wrap Food Waste
This is the single most effective prevention tip. Wrap food scraps in newspaper, paper towels, or a separate small bag before putting them in the main trash.
Think about it: a fly can’t smell through a sealed wrapper. If the food is contained, the fly doesn’t come.
Keep the Lid Closed
It sounds obvious, but I see it all the time. People leave the lid propped open. Or the lid doesn’t fit properly.
Check your trash can lid. Does it seal tight? If not, replace it.
You can also place a brick or heavy object on top to keep it closed.
Clean Your Can Regularly
Don’t wait for a maggot problem. Clean your trash can once a month during warm weather.
A quick rinse with a bleach solution takes 5 minutes. It prevents the buildup that attracts flies.
Manage Trash Pickup Schedule
In hot weather, trash rots faster. If your pickup is once a week, you’re leaving food waste to sit for 7 days.
Consider:
- Taking out trash more frequently
- Freezing meat scraps until pickup day
- Using a smaller can that fills up faster
Use Natural Repellents
Some scents repel flies. Try:
- Eucalyptus oil, A few drops on a cotton ball inside the lid
- Peppermint oil, Same idea, strong smell
- Bay leaves, Place a few in the bottom of the can
- Cedar chips, Absorb moisture and repel insects
These aren’t foolproof, but they help. I use eucalyptus oil in my outdoor cans during summer.
Keep the Area Clean
The area around your trash can matters too. If there’s spilled food or juice on the ground, flies will find it.
Sweep the area weekly. Hose down any spills. Keep the cans away from doors and windows.
Common Mistakes People Make When Removing Maggots
I’ve seen people make these mistakes. They make the problem worse. Avoid them.
Mistake 1: Using Too Much Water
Water doesn’t kill maggots. Maggots can survive in water for hours. If you just rinse the can, you’re spreading them around.
Always use boiling water, bleach, or vinegar to kill them first.
Mistake 2: Leaving Dead Maggots in the Can
Dead maggots decompose. They attract more flies. You need to remove every trace.
After killing them, scrub the can clean. Don’t leave any residue.
Mistake 3: Not Cleaning the Lid
The lid is a prime spot for fly eggs. Flies can crawl under the rim and lay eggs where you can’t see them.
Always clean the lid, the rim, and the hinges.
Mistake 4: Using Ammonia
Some people recommend ammonia. Don’t use it. Ammonia doesn’t kill maggots effectively.
It also creates toxic fumes when mixed with bleach.
Stick with bleach, vinegar, or boiling water.
Mistake 5: Ignoring the Source
You can clean the can perfectly. But if you don’t fix what attracted the flies, they’ll come back.
Look at your trash habits. Are you leaving food waste exposed? Is the can overflowing?
Address the root cause.
FAQ About Maggots in Trash Cans
Can maggots survive in a sealed trash bag?
Yes, for a while. They need oxygen, but they can survive for several days inside a sealed bag. They’ll eventually die from lack of food or oxygen, but they can also pupate and turn into flies inside the bag.
How long does it take for maggots to turn into flies?
About 7 to 10 days. The maggot stage lasts 5 to 7 days. Then they pupate for another 2 to 3 days.
This is why you need to act fast, a week-old infestation can become a fly problem.
Are maggots dangerous?
Maggots themselves aren’t directly dangerous. They don’t bite or sting. But they’re a sign of unsanitary conditions.
They can carry bacteria from rotting food. Prolonged exposure can cause skin irritation or infection.
Can I use salt to kill maggots?
Salt can kill maggots by dehydrating them. But it takes time and doesn’t work well on large infestations. Boiling water or bleach is faster and more reliable.
Should I call a professional?
For a standard trash can infestation, you don’t need a professional. The steps in this guide work. Call a professional only if maggots have spread to your walls, ceiling, or other areas of your home.
That’s a sign of a larger fly infestation.
When to Call a Pest Control Professional
Most maggot problems are DIY solutions. But sometimes you need backup.
Call a professional if:
- Maggots are in your kitchen cabinets or pantry
- You see maggots on your ceiling or walls
- The infestation keeps coming back
- You have a fly problem that won’t stop
- The smell is unbearable and you can’t find the source
These are signs of a larger infestation. Flies might be breeding somewhere else in your home. A professional can identify and eliminate the source.
For more information on proper waste management and pest prevention, the EPA’s guide on managing household waste is a solid resource. The University of Minnesota Extension also offers practical advice on preventing fly infestations around the home.
My Final Tips for a Maggot-Free Trash Can
I’ve been dealing with outdoor trash cans for years. Here’s what I’ve learned:
Stay consistent. The best prevention is routine. Clean your can once a month. Take out the trash regularly.
Don’t let things pile up.
Watch the weather. Summer is maggot season. Be extra vigilant from June through September. Check your can more frequently.
Inspect your cans. Check for cracks, holes, or gaps. Flies can squeeze through tiny openings. Replace damaged cans.
Use can liners. Even if you use trash bags, add a can liner. It adds an extra layer of protection against leaks.
Don’t overstuff. An overstuffed can is harder to clean. The lid doesn’t seal properly. Food waste gets crushed and leaks out.
Summary
Getting rid of maggots in your trash can is straightforward. Kill them with boiling water or bleach. Scrub the can clean.
Dry it in the sun. Then prevent future infestations by wrapping food waste, sealing your bags, and cleaning regularly.
You don’t need to panic. You don’t need harsh chemicals. You just need to follow the steps.
Now go clean that trash can. You’ll feel better once it’s done.


Similar Posts



















