How to Install a Pop up Drain Stopper Bathroom Sink
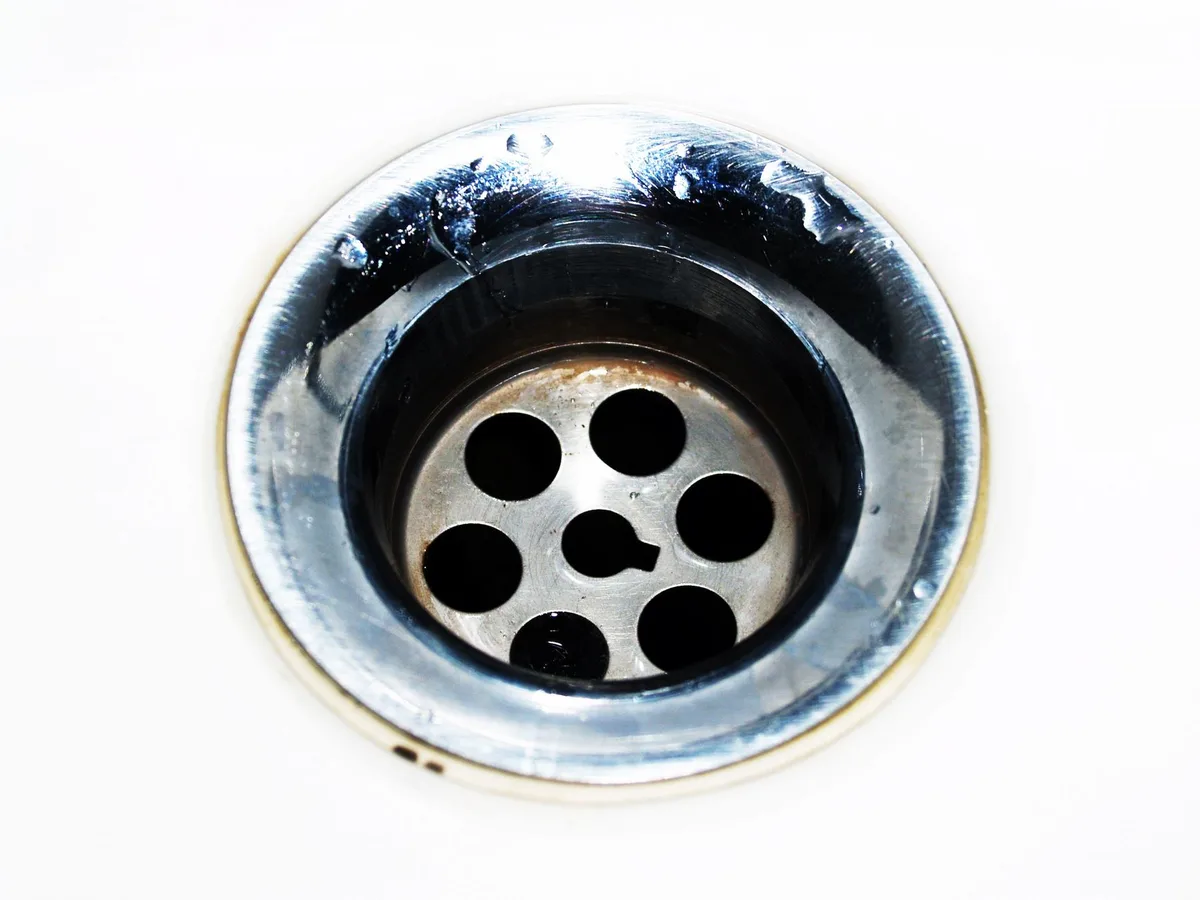
A dripping faucet or a sink that won’t hold water is more than just annoying. It’s a sign that something isn’t quite right. Often, the culprit is a faulty drain stopper.
Specifically, the pop-up drain stopper, a common fixture in most bathroom sinks, can wear out or become clogged. If yours isn’t working efficiently, you might be wondering how to fix it. The good news is, installing a new pop-up drain stopper is a straightforward DIY project.
You don’t need to be a master plumber to get your sink draining properly again. We’ll walk you through it step-by-step, ensuring you can tackle this task with confidence.
This guide focuses solely on the installation of a pop-up drain stopper for your bathroom sink. We’ll cover everything from recognizing the need for a replacement to getting the new stopper securely in place. Understanding the mechanics of your sink drain can save you time and money.
It’s a surprisingly simple process when you break it down. You’ll learn what tools you might need and how to navigate the parts involved. Let’s get your sink back in perfect working order.
Why Replace Your Pop-Up Drain Stopper?
Sometimes, a pop-up drain stopper just stops working. You might notice a few key signs that indicate it’s time for a replacement. The most common issue is a leak.
If your sink won’t hold water, even when the stopper seems to be in place, the seal is likely compromised. This can happen due to wear and tear on the rubber gasket or corrosion on the metal parts.
Another tell-tale sign is difficulty in operating the stopper. If it’s stiff to push down or doesn’t pop back up reliably, that’s a clear indicator of a problem. Debris can get lodged in the mechanism, or parts might simply be worn out.
You might also notice rust or significant discoloration on the stopper itself. This isn’t just unsightly; it can affect the stopper’s functionality and seal.
Finally, a persistent foul odor originating from the drain can sometimes be linked to a drain stopper that isn’t sealing properly, allowing sewer gases to escape. While cleaning the drain itself often resolves this, a worn-out stopper might be part of the issue. Replacing it ensures a tight seal and a fresher-smelling bathroom.
Understanding the Components of a Pop-Up Drain Assembly
Before you dive into the installation, it’s helpful to understand the different parts of a pop-up drain assembly. This isn’t just about the stopper you see in the sink. The assembly is a system that works together to control water flow.
The primary components include:
- The Stopper: This is the visible part you interact with. It’s usually a metal or plastic piece with a rubber gasket on the underside that creates a seal against the drain opening.
- The Pivot Rod: This is ahorizontal rod that goes through the drain body under the sink. It has a ball on one end and a threaded end on the other.
- The Lift Rod: This is the vertical rod connected to the stopper. It’s often attached to a knob or lever on the back of the faucet.
- The Lift Rod Strap / Tailpiece: This is a metal or plastic piece that connects the lift rod to the pivot rod. It has holes that allow you to adjust the stopper’s position.
- The Pivot Ball: This is a metal or plastic ball that the pivot rod connects to. It moves within the drain body to open or close the drain.
- The Drain Body / Tailpiece: This is the main part of the drain assembly that connects to your sink and the P-trap. It houses the pivot ball and the stopper mechanism.
- The Gasket(s): Rubber seals that prevent water from leaking around the drain assembly and the stopper itself.
When you’re replacing a pop-up drain stopper, you might be replacing just the stopper part or the entire drain assembly. This guide will primarily focus on replacing the stopper mechanism, which is the most common DIY fix.
Gathering Your Tools and Materials
You won’t need a lot of specialized equipment to install a pop-up drain stopper. Most of what you need is standard household stuff or easily obtainable from a hardware store.
Here’s a list of what you’ll likely need:
- New Pop-Up Drain Stopper Assembly: Make sure it’s compatible with your sink. Some are universal, while others are specific to certain types of sinks or faucet styles.
- Adjustable Wrench or Pliers: For loosening and tightening nuts on the drain assembly. Channel-lock pliers work very well here.
- Bucket or Towels: To catch any residual water when you disconnect the drain pipe.
- Plumber’s Putty or Silicone Sealant: To create a watertight seal between the drain flange and the sink. The type of sealant can depend on the sink material. For most porcelain sinks, plumber’s putty is standard. For certain stone or composite sinks, silicone might be recommended. Check the instructions that come with your new drain.
- Screwdriver (Phillips or Flathead): May be needed for securing some parts.
- Rag or Old Towel: For cleaning up any mess.
- Safety Glasses: Always a good idea when working under a sink to protect your eyes from drips or debris.
Having these items ready will make the installation process much smoother.
Image source: Pexels / icon0 com (Pexels License)
Step-by-Step: Removing the Old Pop-Up Drain Stopper
Before you can install the new one, you’ve got to get the old one out. This usually involves working from both inside the sink and underneath it.
- Clear the Area: Remove everything from under your sink cabinet. This gives you ample space to work. Place your bucket or towels directly under the P-trap.
- Disconnect the P-Trap: The P-trap is the U-shaped pipe under your sink. It connects the drainpipe from the sink to the wall pipe. Loosen the slip nuts on either side of the P-trap. Water will drain into your bucket. Once loosened, the P-trap can be pulled away.
- Locate the Pivot Rod: Look under the sink where the drainpipe connects to the sink basin. You’ll see the tailpiece extending down from the sink. Attached to this tailpiece is a horizontal rod, the pivot rod. This rod usually goes into a fitting on the tailpiece and has a ball connected to its end.
- Detach the Lift Rod Strap: The lift rod (the one connected to the knob on your faucet) will be attached to the pivot rod assembly via a lift rod strap. This strap typically has a screw or clip that you’ll need to undo to separate the lift rod from the pivot rod.
- Remove the Pivot Rod Assembly: Once the lift rod strap is detached, you should be able to pull the pivot rod out from the side of the drain body. Sometimes, there’s a retaining nut you’ll need to loosen first. The pivot ball will likely come with it.
- Remove the Drain Flange from Above: Go back to the sink basin. You should now be able to unscrew the drain flange, the metal ring at the top of the drain opening inside the sink. If it’s stuck, you might need to use a flathead screwdriver to gently pry it up or a pair of pliers to grip and turn it. Be careful not to damage the sink.
You’ve now successfully removed the old drain stopper assembly. Take a moment to clean any old putty or sealant from the sink opening.
Step-by-Step: Installing the New Pop-Up Drain Stopper
With the old assembly out of the way, it’s time to put in the new one. This process is essentially the reverse of removal, with a few key sealing steps.
- Prepare the New Drain Flange: Apply a generous bead of plumber’s putty or silicone sealant around the underside of the new drain flange. This is crucial for preventing leaks. If you’re unsure which sealant to use, check the manufacturer’s instructions for your new drain or sink.
- Insert the New Drain Flange: Carefully place the new drain flange into the sink opening from above. Press down firmly to seat it, allowing some of the putty or sealant to squeeze out around the rim.
- Install the New Drain Body and Pivot Ball: From under the sink, slide the new drain body (tailpiece) up into the drain flange. Make sure the opening for the pivot rod on the side of the drain body is facing the correct direction to align with where your lift rod will be. Insert the new pivot ball into the drain body.
- Insert the New Pivot Rod: Slide the new pivot rod through the opening in the drain body and into the pivot ball. You might need to angle it slightly.
- Attach the Lift Rod Strap: Connect the lift rod strap to the new pivot rod. This is often done with a screw that passes through the strap and into the threaded end of the pivot rod. Ensure the pivot rod is positioned so that the stopper, when in place, can sit flush. You may need to adjust the rod’s position later.
- Connect the P-Trap: Reattach the P-trap to the new tailpiece. Hand-tighten the slip nuts first, then use your pliers or wrench to snug them up. Don’t overtighten, as this can crack the plastic fittings.
- Insert the New Stopper: From the sink basin, place the new stopper into the drain opening. It should rest on the drain flange.
- Test the Mechanism: Operate the lift rod on your faucet. The stopper should go down, sealing the drain, and pop back up when you lift the rod. If it’s stiff or doesn’t move freely, you might need to adjust the position of the pivot rod on the lift rod strap.
Take a moment to wipe away any excess plumber’s putty or sealant that squeezed out.
Testing for Leaks and Adjustments
After installation, it’s critical to test your work thoroughly. A small leak can cause significant water damage over time.
- Plug the Drain: Place the stopper in the down position. Fill the sink with a few inches of water.
- Check Underneath: Carefully inspect all the connections you worked on under the sink. Look for any drips around the P-trap connections, the tailpiece connection to the drain body, and where the pivot rod enters the drain body.
- Check the Flange Seal: While the sink is full, check the area around the drain flange inside the sink. If you see water seeping out, the plumber’s putty or sealant may not have been applied correctly, or the flange isn’t seated properly.
- Drain and Inspect Again: Let the sink drain completely. Inspect the seals again as the water flows through.
- Adjust the Stopper Height: If the stopper doesn’t seem to seal completely or doesn’t pop up fully, you’ll need to adjust the lift rod strap. There are usually multiple holes on the strap or a way to slide it up and down the pivot rod. Adjust the position until the stopper operates smoothly and creates a good seal. This might take a few tries. Sometimes, a worn-out gasket on the stopper itself is the cause, and you might need to replace just that rubber piece if your stopper allows for it.
Most pop-up drain stoppers come with basic instructions for adjustment. If you’re struggling, consulting those can help. Sometimes, a stubborn stopper just needs a little patience and trial-and-error to get perfectly aligned.
When to Call a Professional
While installing a pop-up drain stopper is an achievable DIY project for many, there are times when it’s best to call in a professional plumber.
If you’ve tried to install the new stopper and it’s still leaking despite your best efforts, it might indicate a more complex issue with the sink or drain pipes, or perhaps a less-than-standard fitting. If the drain flange is cracked or the sink itself has damage around the drain opening, that requires professional attention.
Also, if you encounter significant corrosion or damage to any of the existing plumbing under the sink, it’s wise to stop and call a plumber. Trying to force damaged pipes or fittings can lead to bigger problems, like burst pipes or extensive water damage. For homeowners unsure about any aspect of the repair, or those who simply prefer not to deal with plumbing tasks, a professional plumber can complete the job quickly and correctly.
This ensures everything is sealed properly and avoids potential future headaches.
Maintenance Tips for Your New Drain Stopper
Once you have your new pop-up drain stopper installed and working perfectly, a little bit of regular maintenance can go a long way in keeping it functioning smoothly and preventing future issues. Think of it akin to ensuring your vacuum cleaner filter is clean; a little upkeep prevents bigger problems.
- Regular Cleaning: Periodically, you should clean the visible part of the drain stopper. Remove any hair, soap scum, or debris that accumulates. This helps maintain a good seal and prevents clogs.
- Avoid Harsh Chemicals: When cleaning your sink and drain, avoid using very harsh chemical drain cleaners. These can corrode metal parts and degrade the rubber gaskets over time. Opt for gentler cleaning solutions.
- Check for Leaks Periodically: Make it a habit to do a quick check for leaks under the sink every few months, especially after you’ve used the sink. You don’t need to drain the sink; just a visual inspection is usually enough.
- Operate Regularly: Even if you have a sink that isn’t used frequently, operate the pop-up stopper every now and then. This helps keep the mechanism from seizing up.
By following these simple maintenance tips, you can extend the life of your new pop-up drain stopper and ensure your bathroom sink continues to drain efficiently for years to come. It’s a small effort that pays off in the long run, keeping your plumbing in good working order.


Similar Posts



















