How to Install a Shower Head
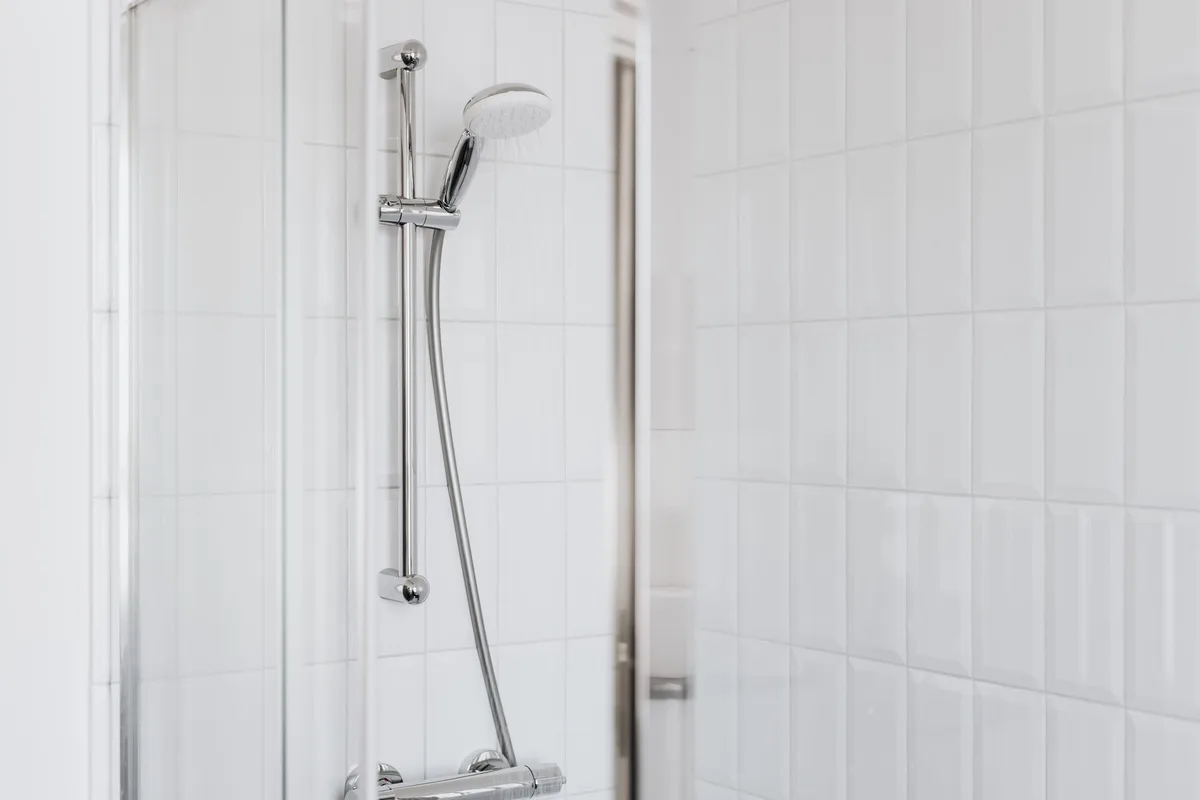
Upgrading your shower head is one of the easiest and most satisfying DIY home improvements you can make. It can transform your daily shower from a mundane task into a spa-like experience. Plus, installing a new shower head is surprisingly simple.
You don’t need to be a plumbing expert to get the job done.
Whether you’re looking to boost water pressure, conserve water, or just want a more luxurious shower, this guide will walk you through every step. We’ll cover everything from gathering your tools to troubleshooting common issues. Let’s get your new shower head installed and ready to enjoy.
Why Upgrade Your Shower Head?
Before we dive into the installation process, let’s talk about why you might want to swap out your old shower head. It’s not just about aesthetics or having the latest gadget.
- Improved Water Pressure: Many older shower heads are designed with lower flow rates that can leave you feeling unsatisfied. A new, modern shower head can offer significantly better pressure.
- Water Conservation: Conversely, many new shower heads are designed to be highly efficient, using less water without sacrificing spray quality. This is great for your utility bills and the environment.
- Enhanced Shower Experience: From rainfall shower heads to those with multiple spray settings (like massage or mist), you can customize your shower to your exact preferences.
- Health and Hygiene: Some newer models come with built-in filters to reduce impurities in your water, contributing to a cleaner shower.
- Aesthetic Update: A sleek, new shower head can instantly modernize your bathroom’s look.
Tools You’ll Need for Installation
Gathering the right tools before you start makes the process smooth and efficient. You probably already have most of these items in your toolbox.
- Adjustable Wrench or Pliers: To loosen and tighten the shower head and arm.
- Plumber’s Tape (PTFE Tape): This is crucial for creating a watertight seal on the threads.
- Rag or Old Towel: To protect the shower arm finish and to wipe up any drips.
- Old Toothbrush or Soft Brush: For cleaning any old sealant or debris from the threads.
- Bucket or Bowl: To catch any residual water when you remove the old shower head.
- New Shower Head: Of course! Make sure it’s compatible with your existing shower arm.
Step 1: Prepare Your Workspace and Gather Tools
Safety and preparation are key to any successful DIY project. Start by making sure your workspace is ready. You don’t want to be scrambling for something mid-job.
Lay down your rag or old towel on the shower floor. This protects the tub or shower base from dropped tools and makes cleanup easier. If you have a shower curtain, pull it back to give yourself plenty of room to work.
Make sure your new shower head is out of its packaging and you have all the necessary parts. Sometimes, new shower heads come with their own plumber’s tape, but it’s always good to have a roll on hand just in case.
Your new shower head should have a universal fitting. Most shower arms in the US and UK are standard sizes. So, unless you have a very unusual setup, your new head should screw right on.
Step 2: Remove the Old Shower Head
This is where the actual removal begins. It’s usually a straightforward process.
Image source: Pexels / www.kaboompics.com (Pexels License)
Turn off the water supply to the shower. Although you’re only working on the shower head, it’s always best practice to ensure the water is off to avoid any unexpected sprays.
Place your bucket or bowl directly beneath the shower arm to catch any leftover water. There will likely be a small amount of water remaining in the pipe.
Now, grab your adjustable wrench or pliers. You’ll use this to grip the base of the old shower head where it connects to the shower arm.
Wrap the rag or towel around the base of the shower head to protect its finish from the tool. Carefully grip the shower head with the wrench.
Turn the wrench counter-clockwise. This is the direction to unscrew any threaded fitting. You might need to apply a bit of force, but go slowly and deliberately.
The shower head should begin to loosen.
Once it’s loose enough, you can usually unscrew it by hand. Unscrew it completely and set it aside.
Step 3: Clean the Shower Arm Threads
After removing the old shower head, you’ll see the end of the shower arm. This is where the new shower head will attach. It’s important to clean this area thoroughly.
Look at the threads on the end of the shower arm. You might see old plumber’s tape, mineral deposits, or sealant. These need to be removed for a proper seal with the new shower head.
Use your old toothbrush or a soft brush to scrub away any remaining old tape or gunk. If there are stubborn deposits, you can gently scrape them with a plastic scraper or even your fingernail. Avoid using anything metal that could scratch or damage the threads.
Once you’ve cleaned off all the debris, wipe the threads with your rag to ensure they’re clean and dry. A clean surface is crucial for the new plumber’s tape to adhere correctly and create a watertight connection.
Step 4: Apply Plumber’s Tape to the Shower Arm Threads
This is a critical step for preventing leaks. Plumber’s tape, also known as PTFE tape or Teflon tape, creates a seal between the threads of the shower arm and the new shower head.
Take your roll of plumber’s tape. Start by wrapping it around the threads of the shower arm. Begin at the end of the thread, closest to the shower arm itself.
Wrap the tape in a clockwise direction. This is important because when you screw on the new shower head, you’ll be turning it counter-clockwise. Wrapping the tape in the same direction ensures that it doesn’t unravel as you tighten the new fixture.
Overlap the tape slightly with each turn. You want to cover all the threads completely. Aim for about three to four layers of tape.
You should be able to see the tape filling in the grooves of the threads.
Once you’ve wrapped the threads sufficiently, gently press the tape into the grooves with your finger. This helps it adhere and form a good seal. Trim off any excess tape that hangs off the end of the threads.
Step 5: Install the New Shower Head
Now for the exciting part, attaching your new shower head! This is where you’ll see your bathroom transform.
Take your new shower head and locate the threaded opening on its base. Carefully align this opening with the plumber’s tape-covered threads on the shower arm.
Begin to screw the new shower head onto the shower arm by hand. Again, turn it in a clockwise direction. You should be able to feel it threading on easily.
If you feel resistance, stop. You might be cross-threading it, which can damage the fittings. Back it off and try again.
Continue screwing it on until it’s snug. You want it to be hand-tight. Don’t force it any further at this stage.
Now, grab your adjustable wrench or pliers again. Wrap the rag around the base of the new shower head to protect its finish.
Using the wrench, tighten the shower head an additional quarter to half a turn. The goal is to secure it firmly, but over-tightening can crack the fitting or damage the shower arm. Just a little bit of extra tightness after hand-tight is usually sufficient.
Make sure the shower head is positioned correctly. You want it to angle downwards so the water sprays where you intend it to. Many shower heads can be adjusted slightly at the ball joint where they connect to the arm.
Step 6: Test for Leaks and Adjust
You’ve installed your new shower head; now it’s time to check your work. This is a crucial step to ensure everything is sealed properly.
Turn the water supply back on. You might want to do this slowly at first.
Turn on the shower and let the water run through the new shower head. Observe the connection point between the shower head and the shower arm very carefully.
Look for any signs of dripping or spraying water. Pay close attention to where the new shower head screws onto the shower arm. If you see any leaks, don’t panic.
If you detect a leak: Turn off the water. You’ll likely need to tighten the shower head slightly more, perhaps another eighth of a turn. Sometimes, this is all it takes.
If tightening doesn’t fix the leak, you might need to remove the shower head again. Check the plumber’s tape. Perhaps it wasn’t applied evenly, or you didn’t use enough layers.
You may need to remove the old tape, re-clean the threads, and apply fresh plumber’s tape, ensuring good coverage in a clockwise direction. Then, re-install the shower head and test again.
Once you’re confident there are no leaks, test out your new shower head! Adjust the angle and spray settings to find your perfect shower experience.
Common Shower Head Installation Issues and Solutions
Even with careful steps, sometimes a snag appears. Here are a few common problems and how to fix them.
The Shower Head Won’t Stop Leaking
This is the most common issue. As mentioned, the first step is to turn off the water and try tightening the shower head a little more. If that fails, the plumber’s tape is the most probable culprit.
- Insufficient Tape: You might not have used enough layers of plumber’s tape. Aim for 3-4 wraps.
- Incorrect Direction: Ensure you wrapped the tape clockwise. If you wrapped it counter-clockwise, it will unspool as you tighten.
- Damaged Threads: On rare occasions, the threads on either the shower arm or the new shower head might be damaged. Inspect them closely. If they look stripped or cross-threaded, you might need to replace the shower arm. Replacing a shower arm is also a relatively simple DIY job, often just requiring unscrewing the old one from the wall pipe.
Water Pressure Seems Lower Than Before
If your new shower head is supposed to boost pressure but isn’t, check a few things.
- Old Shower Head Design: Some older shower heads are designed with very low flow rates as a default. Your new one might be more efficient, but perhaps something within the valve is limiting flow. However, if you’ve chosen a high-pressure model, this is unlikely.
- Flow Restrictor: Many shower heads, particularly those designed for water conservation, have a small flow restrictor inside. These are often a small plastic disc or washer. Depending on local regulations and your preference, you might be able to remove it. Check the manufacturer’s instructions for your specific model. Be aware that removing these may violate local water efficiency standards.
- Clogged Aerator: The tiny holes in the shower head can sometimes get clogged with mineral deposits, especially if you have hard water. Try cleaning them with vinegar or a descaling solution.
The Shower Head Falls Down or Feels Loose
This usually points to a connection that isn’t tight enough.
- Not Tight Enough: Go back to Step 5 and tighten the shower head slightly more. Remember the quarter to half turn after hand-tight.
- Worn Threads: If the threads on the shower arm or the shower head are worn or stripped, they won’t grip properly. Inspect them for visible damage.
Maintaining Your New Shower Head
Once your new shower head is installed and working perfectly, a little regular maintenance will keep it in great shape.
The most common issue that affects shower head performance is mineral buildup, especially in areas with hard water. This calcification can clog the small spray nozzles, reducing water flow and impacting the spray pattern.
- Regular Cleaning: Wipe down your shower head regularly with a soft cloth to remove soap scum and water spots.
- Deep Cleaning: Every few months, or more often if you have hard water, you might need a deeper clean. One effective method is to fill a plastic bag with white vinegar, and then secure the bag around the shower head with a rubber band or zip tie, ensuring the nozzles are submerged in the vinegar. Leave it overnight, then remove the bag and run hot water through the shower head to rinse out any loosened mineral deposits. You can also use an old toothbrush to gently scrub any remaining residue from the nozzles.
If your shower head is designed with replaceable filters, remember to check the manufacturer’s recommendations on how often to replace vacuum filter or any other filtration systems integrated into your home plumbing. While not directly related to the shower head itself, maintaining overall household water quality can contribute to its longevity.
Conclusion
Installing a new shower head is a straightforward DIY project that can significantly enhance your daily routine. By following these steps, you can confidently replace your old fixture with a new one that meets your needs, whether that’s better water pressure, water savings, or simply a more enjoyable shower.
Remember to gather your tools, be patient during the removal and installation, and always test for leaks. With a little effort, you’ll be enjoying your upgraded shower in no time.
For more DIY home repairs, stay tuned to our blog. We cover a wide range of topics to help you maintain and improve your home with confidence.


Similar Posts




















[…] Water pressure largely depends on your home’s plumbing and your municipal supply. Handheld shower heads themselves don’t typically reduce pressure, although some models incorporate flow restrictors to meet […]
[…] is where things get interesting. There are two main approaches shower heads take to combat low […]