How to Install a Toilet Seat
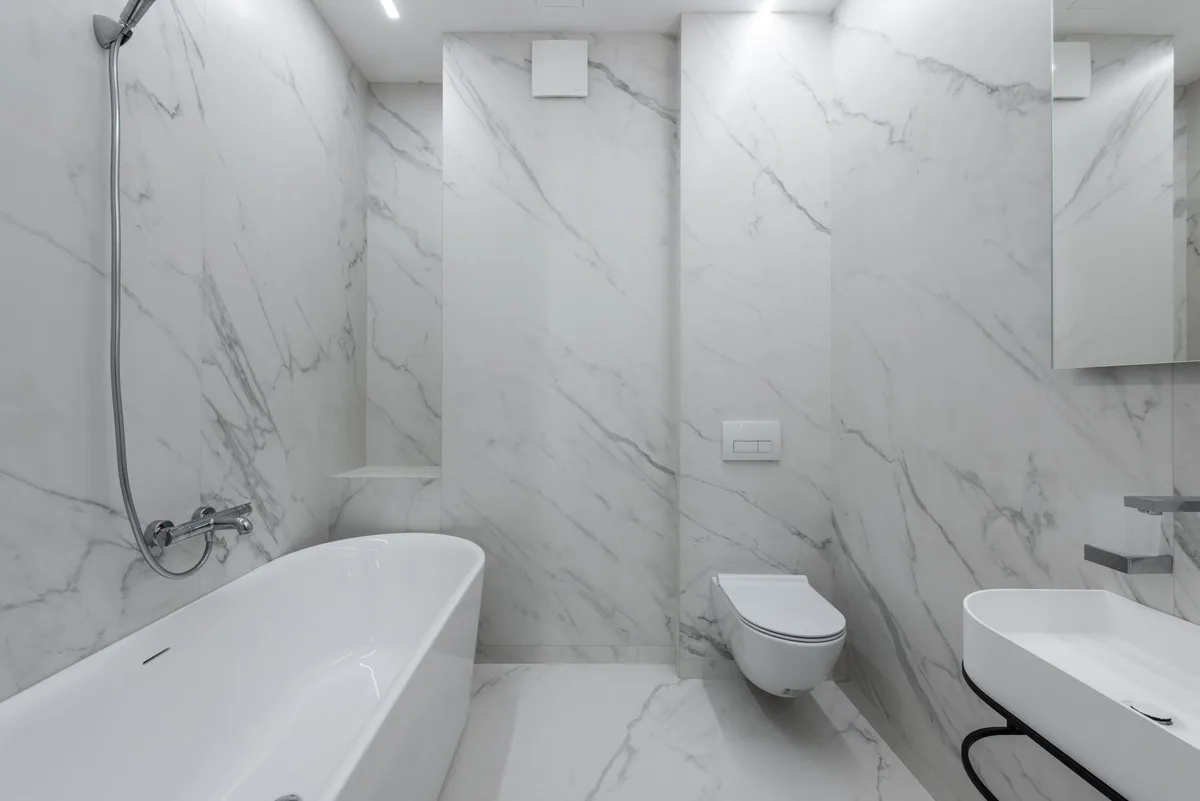
That old toilet seat is looking a bit worse for wear, or maybe you’re just ready for an upgrade. Whatever the reason, installing a new toilet seat is a straightforward DIY project. You don’t need to be a plumbing expert to get this done.
In fact, with just a few basic tools and these clear instructions, you’ll have your new seat fitted securely in no time. Let’s get your bathroom looking and feeling fresh!
Why Upgrade Your Toilet Seat?
Sometimes, a toilet seat is just a toilet seat. But a worn-out or cracked one isn’t just unsightly; it can be a hygiene concern. A new seat can brighten up your bathroom, offer enhanced features like soft-close lids, or simply provide a more comfortable experience.
Plus, replacing one is incredibly easy.
What You’ll Need
Before you start, gather your supplies. You won’t need much, which makes this a quick and painless fix.
- New Toilet Seat: Make sure it’s the right size and shape for your toilet bowl. Most toilets are standard round or elongated.
- Adjustable Wrench or Pliers: This is for loosening stubborn bolts.
- Screwdriver (Flathead or Phillips): Depending on your old seat’s hardware.
- Cleaning Supplies: Disinfectant spray and paper towels or cloths.
- New Toilet Seat Hardware (usually included): Bolts, nuts, and washers.
- Optional: Plumber’s Grease: To help with smooth installation.
Step 1: Prepare the Area and Remove the Old Seat
First things first: let’s get rid of the old. This step also involves a bit of necessary cleanup.
Clean the Area
Before you touch anything, give the area around the old toilet seat a good clean. Use a disinfectant spray and a cloth or paper towels to wipe down the lid, the seat, and the rim. You really don’t want to be fumbling with greasy or grimy hardware.
Locate the Seat Bolts
Most toilet seats are attached at the back, where the seat meets the toilet bowl. You’ll find two bolts, usually covered by plastic caps.
Pry Open the Bolt Caps
If your old seat has plastic caps covering the bolt heads, you’ll need to gently pry them open. A flathead screwdriver usually works best for this. Just be careful not to scratch the porcelain of your toilet.
Some seats have these caps built into the hinge design.
Loosen and Remove the Nuts Underneath
Now, you need to get under the toilet bowl. Look directly beneath where the bolts come through. You’ll see nuts securing the seat.
Use your adjustable wrench or pliers to loosen these nuts. They might be plastic or metal.
- Tip: If the nuts are stuck, a little penetrating oil can help. Give it a few minutes to work its magic. Sometimes, you’ll need to hold the bolt head steady with a screwdriver while you turn the nut.
Once the nuts are loose, you should be able to lift the old toilet seat straight up and off the bowl.
Step 2: Clean the Toilet Bowl Rim
With the old seat removed, take this opportunity for a thorough cleaning. The area where the old bolts were might have accumulated some grime. Use your disinfectant spray and cloths to clean the mounting holes and the entire rim of the toilet bowl.
A clean surface ensures a better fit for your new seat and is just plain more hygienic.
Step 3: Prepare the New Toilet Seat Hardware
Your new toilet seat will come with its own set of hardware. Lay it all out so you can see what you have. Typically, this includes bolts, washers, and nuts.
Some bolts might have a plastic wingnut for hand-tightening.
Step 4: Position the New Toilet Seat
This is where you start fitting the new seat.
Insert the Bolts
Take the bolts that came with your new seat. You’ll thread these through the hinges and into the holes on the toilet bowl. Some seats have the bolts pre-attached to the hinges, while others require you to thread them through the hinge assembly first.
- Check the Bolt Angle: Most standard toilet seat bolts are designed to angle slightly forward to align with the holes. If yours seem straight, check the hinge assembly for any adjustments or orientation clues.
Align and Lower the Seat
Gently lower the new toilet seat onto the bowl, aligning the bolts with the mounting holes at the back of the toilet. Make sure the seat is centered on the bowl. You might need to wiggle it a bit to get everything lined up just right.
Step 5: Secure the New Seat
Now it’s time to fasten the seat.
Attach the Washers and Nuts
From underneath the toilet bowl, place a washer onto each bolt, followed by a nut. Your new seat might come with plastic wingnuts that you can tighten by hand, or you might need your wrench.
Hand-Tighten First
Start by tightening the nuts by hand. This helps ensure the bolts are properly seated and the seat is aligned correctly. Make sure the seat is still centered and straight before you move to tighten them down.
Tighten with Tools
Once you’re happy with the alignment, use your wrench or pliers to tighten the nuts. Tighten them snugly, but don’t overtighten, as this could crack the porcelain or strip the threads. You want the seat to be stable and not wobble.
- Alternating Tightening:Tighten each nut a little at a time, alternating between the left and right sides. This helps to evenly distribute the pressure and ensure a secure fit.
- If Using Wingnuts: If your seat comes with wingnuts, tighten them as much as you comfortably can by hand. They are designed to be relatively secure without tools, but check for any wobble afterward.
Step 6: Test the New Seat
Give the seat a gentle push and pull from side to side and front to back. It shouldn’t wiggle or feel loose. Close the lid and the seat, they should operate smoothly.
If you have a soft-close seat, test that feature to ensure it works as intended.
Troubleshooting Common Issues
Even with simple tasks, things can sometimes go awry. Here are a few common problems and how to fix them.
The Seat is Loose
If your seat still feels a bit wobbly after tightening, double-check that the nuts are as tight as they can go without damaging anything. Ensure you used washers correctly, as they help create a firm connection. Sometimes, a slightly misaligned bolt hole can cause this; try repositioning the seat slightly before fully tightening.
The Bolts Won’t Line Up
This usually means you have the wrong size or shape of seat for your toilet. Round seats are for round bowls, and elongated seats are for elongated bowls. Measure your existing bowl if you’re unsure before purchasing a new seat.
The Nuts Won’t Tighten (Stripped Threads)
If the nuts spin freely and don’t tighten, the threads on the bolt or the nut have likely stripped. You’ll need to replace the hardware. Your new seat should have come with replacements.
If not, you can often find universal toilet seat bolt kits at hardware stores.
The Old Nuts Are Fused or Rusted
This is a common problem with older toilets. If the nuts are completely fused to the bolts due to rust or mineral buildup, you might need to cut them off. A hacksaw or a mini-cutting disc on a rotary tool can do the trick.
Be very careful not to damage the toilet bowl itself. Always wear safety glasses if you’re using tools like this.
Special Types of Toilet Seats
While the basic installation process is the same, some specialized toilet seats have unique features.
Soft-Close Seats
These seats come with a damper system that gently lowers the lid and seat without slamming. The installation is usually identical to standard seats. The mechanism is self-contained within the hinges.
Just make sure the bolts are tightened properly so the hinges can function correctly.
Quick-Release Seats
Quick-release seats are designed for easy cleaning. They often have a button or lever on the hinge that allows you to detach the seat from the mounting posts. Installation typically involves attaching the mounting posts to the toilet bowl first, then clicking the seat onto the posts.
Bidet Toilet Seats
Installing a bidet toilet seat involves a bit more than just attaching a standard seat. You’ll need to connect it to your toilet’s water supply. Typically, this involves shutting off the water, disconnecting the existing supply line, attaching a T-adapter, and then reconnecting the water supply to both the toilet tank and the bidet seat.
Always follow the manufacturer’s specific instructions for these. This step would be outside the scope of just installing a toilet seat, but it’s good to be aware of if you’re upgrading your bathroom.
Heated Toilet Seats
Similar to bidet seats, heated seats require an electrical connection. They will have a power cord that needs to be plugged into a nearby GFCI-protected outlet. Ensure you have an outlet within reach and that it’s safe for bathroom use.
Maintaining Your New Toilet Seat
Once your new seat is installed, a little regular care will keep it looking and functioning well.
- Regular Cleaning: Wipe down your toilet seat regularly with a mild toilet bowl cleaner or disinfectant spray. Avoid harsh chemicals or abrasive pads that could scratch the surface.
- Check Tightness: Every few months, check the nuts underneath to ensure the seat is still secure and doesn’t wobble.
- Address Spills Quickly: Clean up any spills or splatters promptly to prevent staining or damage.
When to Call a Professional
For most people, installing a toilet seat is a simple DIY task. However, if you encounter significant issues with the toilet itself, such as cracked porcelain around the bolt holes, or if you’re uncomfortable working with plumbing for more complex installations like bidet seats, it’s always a good idea to call a qualified plumber. They can ensure the job is done safely and correctly.
Conclusion
Installing a new toilet seat is a rewarding and easy project that can significantly improve the look and feel of your bathroom. By following these simple steps, you can confidently tackle this task yourself. Remember to get the right size seat, gather your tools, clean thoroughly, and tighten securely.
Happy installing!


Similar Posts



















