How to Label Plastic Storage Containers
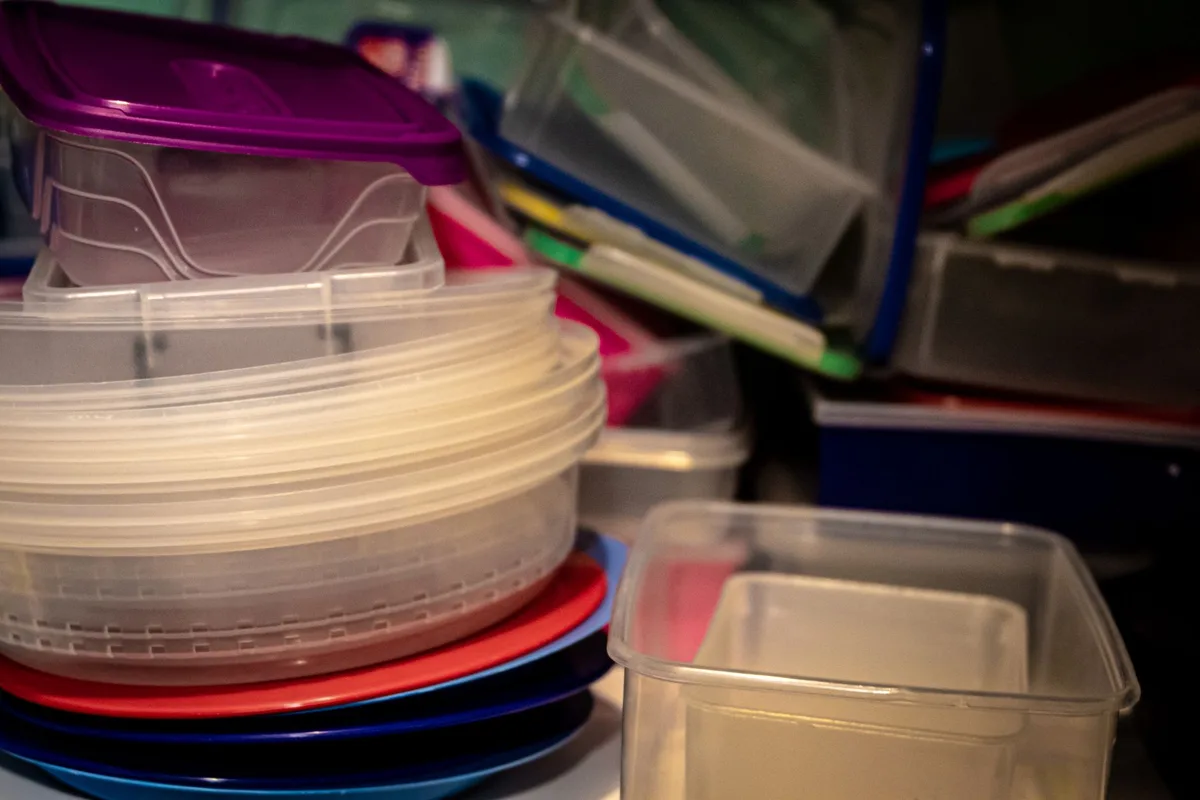
Image source: Pexels / Magda Ehlers (Pexels License)
Let’s be honest. You’ve been there. You open a cabinet, and a dozen identical plastic containers stare back at you.
Which one holds the flour? Which one has the sugar? And what’s that mystery container you haven’t opened since last year?
I’ve organized enough pantries and garages to know that labeling plastic storage containers is the single most impactful thing you can do for your sanity. It turns chaos into order. It saves time.
It stops you from buying duplicates of things you already have.
But here’s the thing: not all labels work on plastic. You can’t just slap any sticker on there and expect it to last. Plastic is tricky.
It’s smooth. It flexes. It goes through temperature changes.
And if you’ve ever tried peeling off a stubborn label, you know the struggle is real.
This guide covers everything you need to know. From choosing the right labeling method to making labels that actually stay put. Let’s dive in.
Why Labeling Plastic Containers Matters More Than You Think
Most people think labeling is just about knowing what’s inside. It’s not. It’s a whole system.
When every container is labeled, you stop wasting time. You stop lifting lids and sniffing contents. You stop guessing.
You stop buying that second bag of rice because you forgot you already had one.
Here’s what proper labeling does for you:
- Saves money. You use what you have instead of buying more.
- Reduces food waste. You see expiration dates and use things before they go bad.
- Streamlines your workflow. Whether it’s meal prep or hardware storage, you grab and go.
- Makes your space look professional. Let’s face it, a row of labeled containers looks satisfying.
And if you share a kitchen or workshop with others, labeling removes all ambiguity. Your partner won’t accidentally use the all-purpose flour when they needed bread flour. Your kids can find their snacks without asking you a thousand times.
Choosing Your Labeling Method: Labels vs. Markers vs. Chalk
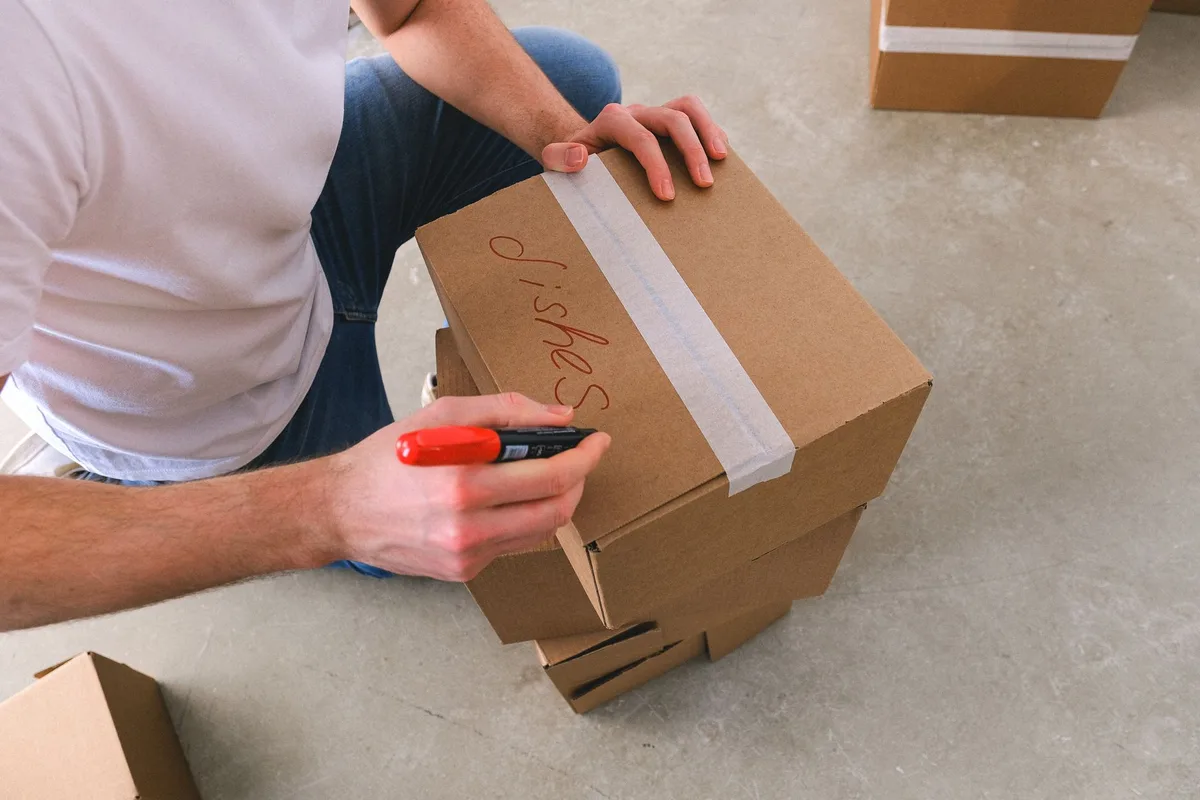
Image source: Pexels / SHVETS production (Pexels License)
You’ve got three main options here. Each works differently depending on your needs. Let me break them down.
Adhesive Labels: The Gold Standard
This is what I recommend for most people. Adhesive labels are clean, readable, and come in endless varieties.
What works best on plastic: Look for labels labeled “permanent” or “all-weather.” These use stronger adhesives that bond to slick surfaces. Avoid basic office labels, they peel off within days.
Best label materials for plastic:
| Label Type | Best For | Durability |
|---|---|---|
| Vinyl labels | Freezer, fridge, wet areas | Excellent |
| Polyester labels | Long-term, dishwasher-safe | Excellent |
| Paper labels with strong adhesive | Dry pantry, short-term | Good |
| Removable labels | Temporary use | Fair |
Pro tip: If you’re labeling containers that go in the dishwasher, buy labels specifically designed for that purpose. Regular labels will disintegrate.
Direct Marking: Quick and Dirty
Sometimes you don’t need fancy labels. You need to know what’s in that container right now.
Permanent markers work but have limitations. They smear. They fade.
They’re hard to remove. And over time, the ink can absorb into certain plastics.
What I actually use: A grease pencil or china marker. It writes on plastic, doesn’t smear when dry, and wipes off with a damp cloth. Perfect for temporary labeling.
For long-term direct marking, use a label maker that prints on adhesive tape. The Brother P-Touch or Dymo LetraTag are both solid options. The tape is designed for plastic and resists fading.
Chalk and Dry-Erase: The Reusable Option
This is brilliant for containers you reuse frequently.
Chalk markers write directly on plastic. They dry opaque and stay put. When you need to change the label, a damp cloth wipes them clean.
No residue. No fuss.
Dry-erase markers work similarly but can smudge more easily. They’re better for containers that don’t get handled much.
What to buy: Chalk markers with a fine tip. The liquid chalk kind, not the dusty classroom chalk. Brands like U Brands or Arteza work well.
The downside? These markers aren’t dishwasher-safe or freezer-proof. Use them only for dry storage at room temperature.
Preparing the Plastic Surface for Labeling
This step is crucial. If you skip it, your labels will peel off within a week. I learned this the hard way.
Plastic containers come from the factory with a release agent on the surface. It’s a thin film that helps the plastic pop out of the mold. That film also prevents labels from sticking.
Here’s how to prep:
- Wash the container with hot soapy water. Scrub thoroughly.
- Rinse completely. Soap residue also messes with adhesion.
- Dry with a lint-free cloth. Paper towels leave fibers.
- Wipe with rubbing alcohol. This removes any remaining oils or film. Use a cotton ball or microfiber cloth.
- Let it air dry for 60 seconds. The alcohol needs to evaporate completely.
Now your container is ready for labeling. Don’t touch the surface with your fingers after this. The oils from your skin will mess things up.
How to Apply Labels for Maximum Longevity
You’ve got a clean container and a good label. Now apply it properly.
Follow these steps:
- Apply at room temperature. Cold plastic makes labels brittle. Hot plastic makes adhesive too runny.
- Press from the center outward. This pushes air bubbles to the edges.
- Use firm, even pressure. Run your thumb across the entire label.
- Wait 24 hours before exposing the container to moisture or temperature changes. The adhesive needs time to form a strong bond.
For containers that go in the freezer: Apply the label after the container is filled. The plastic shrinks slightly when cold. If you apply the label when empty, it might wrinkle when the container expands as it warms back up.
For dishwasher-safe containers: Place the label on a flat surface, not a curved one. Curved areas get more water pressure and heat. The label will fail faster.
Removing Old Labels and Residue
Image source: Pexels / www.kaboompics.com (Pexels License)
Eventually, you’ll need to relabel. Maybe you changed what’s in the container. Maybe the label wore out.
Either way, you need to remove the old one without damaging the plastic.
The wrong way: Peeling aggressively. This leaves sticky residue and can scratch the plastic.
The right way:
- Heat it up. Use a hairdryer on medium heat. Wave it over the label for 30 seconds. The heat softens the adhesive.
- Peel slowly. Start at a corner. Pull at a 180-degree angle, back toward yourself.
- Remove residue. If any sticky stuff remains, use one of these: , Rubbing alcohol, works on most adhesives
, Goo Gone, excellent for stubborn residue
, Cooking oil, let it sit for 5 minutes, then wipe
, WD-40, spray, wait, wipe
Warning: Don’t use acetone (nail polish remover) on plastic. It can melt or discolor the surface.
For labels that just won’t come off: Soak the container in warm, soapy water overnight. Most adhesives break down with prolonged exposure to water and mild detergent.
Best Practices for Organizing by Lifecycle Stage
Different situations call for different labeling approaches. Here’s how I handle each one.
Pantry and Dry Goods
This is the most common use case. You need labels that last months and don’t fade.
What I use: Vinyl labels from a label maker. They’re waterproof, smudge-proof, and look clean.
What to include on the label:
- Item name (obviously)
- Date purchased or date opened
- Expiration date (if applicable)
For bulk items like rice, flour, or sugar: Write the weight or volume on the label. “All-Purpose Flour, 5 lbs, Opened 3/15” tells you everything you need to know.
Freezer Storage
The freezer is brutal on labels. Cold temperatures make adhesives brittle. Condensation when you thaw the container can loosen labels.
Best approach: Use freezer-grade labels or write directly with a permanent marker on freezer tape.
Critical information: Always write “Use by [date].” Frozen food doesn’t last forever. USDA guidelines on freezer storage say ground meat keeps 3-4 months, while whole roasts keep up to 12 months.
Pro tip: Label the container before freezing. And label the sides, not just the lid. Lids get separated from containers.
Side labels stay with the container.
Garage and Workshop
Your garage has temperature swings, dust, and humidity. Labels need to survive all of it.
What works: Heavy-duty vinyl labels or engraved plastic tags. For containers that sit on shelves, use labels that wrap around the corner. This makes them visible from the front and side.
What to label: Nails, screws, bolts, paint, cleaning supplies, seasonal items.
Consider color coding: Red labels for hazardous materials. Blue for water-related items. Green for garden supplies.
It speeds up finding things.
Meal Prep and Daily Use
These containers get washed constantly. They go in the microwave. They get stacked.
Standard labels won’t survive.
Solutions:
- Silicone labels that attach with a band
- Reusable chalk labels that stick to the side
- Write directly with a grease pencil
What to write: Name of the meal, date prepped, and reheating instructions. “Chicken stir-fry, 4/10, Microwave 2 min” saves you from guessing later.
Common Mistakes and How to Avoid Them
I’ve made every mistake in the book. Here’s what to avoid.
Mistake 1: Using cheap labels. I bought a 500-pack of generic labels once. Every single one peeled off within a week. Spend the extra dollar.
It’s worth it.
Mistake 2: Labeling only the lid. Lids get swapped. Labels on lids also get hidden by other containers when you stack them. Always label the body of the container.
Mistake 3: Writing too small. You shouldn’t have to squint. Use a font size that’s readable from arm’s length.
Mistake 4: Not dating your labels. Food goes bad. You think you’ll remember when you bought that bag of lentils. You won’t.
Mistake 5: Labeling dirty containers. Grease, dust, and fingerprints block adhesion. Prep the surface. Every time.
Labeling Tools and Products Worth Buying
You don’t need a million gadgets. But a few tools make this process dramatically easier.
Label makers:
- Brother P-Touch PT-D210, The best bang for your buck. Prints on durable, plastic-friendly tape.
- Dymo LetraTag LT-100H, Simpler, cheaper, gets the job done.
Permanent markers that actually last:
- Sharpie Professional, Holds up better than standard Sharpies
- Uni-Paint markers, Oil-based, water-resistant, excellent for plastic
Reusable options:
- Chalk markers, U Brands or Arteza fine-tip
- Write-on labels, Avery Write-On Labels work with any ballpoint pen
Adhesive removers:
- Goo Gone, My go-to for stubborn residue
- 3M Adhesive Remover, Stronger, good for industrial use
The Psychology of a Labeled Space
Here’s something nobody talks about. Labeling changes how you interact with your space.
When everything has a place and a label, your brain relaxes. You stop scanning for things. You stop second-guessing.
You develop a rhythm. Grab container, check label, use contents, return container. Simple.
Efficient.
This is especially true for people who share space. Labels remove the friction of “Whose is this?” or “Can I use this?” Everyone knows exactly what everything is. It creates a system that works without constant maintenance.
And once you start labeling plastic containers, you’ll find yourself labeling other things too. Drawers. Shelves.
Cords. It’s a slippery slope into total organization. I’m not sorry.
Final Thoughts on Labeling Plastic Storage Containers
Here’s the bottom line.
Labeling plastic containers isn’t complicated. You just need the right materials and a little technique. Clean the surface.
Use quality labels. Apply them properly. That’s 90% of it.
The remaining 10% is consistency. Make labeling part of your routine. Every time you fill a container, label it.
Every time you empty one, clean off the old label. Keep the system alive.
Your future self will thank you. No more mystery containers. No more buying duplicates.
No more sniffing lids to figure out what’s inside.
Start small. Label the containers you use most often. Then expand.
Before you know it, you’ll have a system that runs itself.
And honestly? It feels really good to open a cabinet and see everything perfectly organized with clear, readable labels. That’s not just organization.
That’s peace of mind.


Similar Posts



















