How to Make a Hanging Laundry Bag
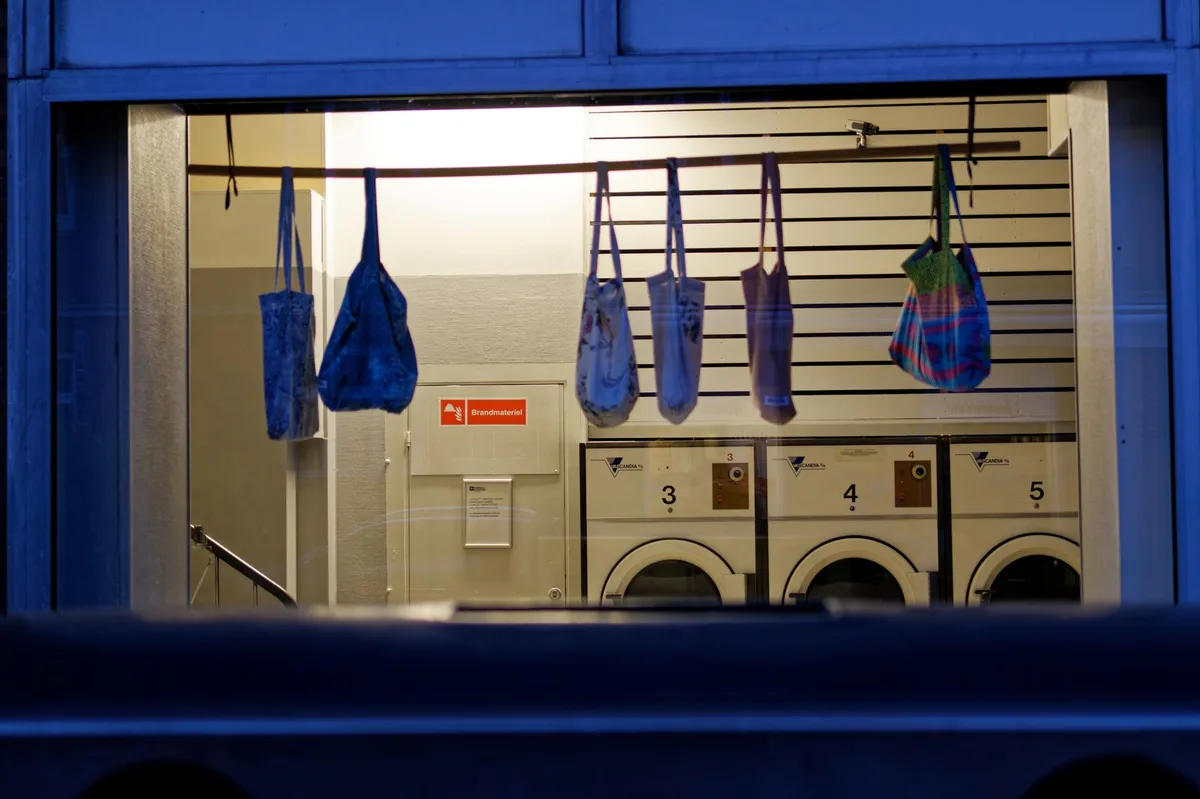
Let me be straight with you: a hanging laundry bag is one of those projects that looks simple on paper but can go sideways fast if you don’t plan it right. I’ve made more than a few over the years, and I’ve learned what works and what doesn’t. This guide will walk you through the entire process, from picking materials to hanging your finished bag.
No fluff, just practical steps.
Image source: Pexels / Jørgen Larsen (Pexels License)
Why Make Your Own Hanging Laundry Bag?
You can buy a laundry bag anywhere. But making one gives you control over size, material, and durability. Store-bought bags often rip at the seams within months.
The drawstrings snap. The fabric pills and looks terrible. When you sew your own, you choose every component.
That means a bag that actually lasts.
Plus, you save money. A roll of quality canvas costs less than two decent store-bought bags. You’ll get three or four bags from that same roll.
That’s practical math.
What You’ll Need: Materials and Tools
Before we start cutting fabric, let me list exactly what you need. Don’t skip the quality check on these items. Cheap materials make a cheap bag.
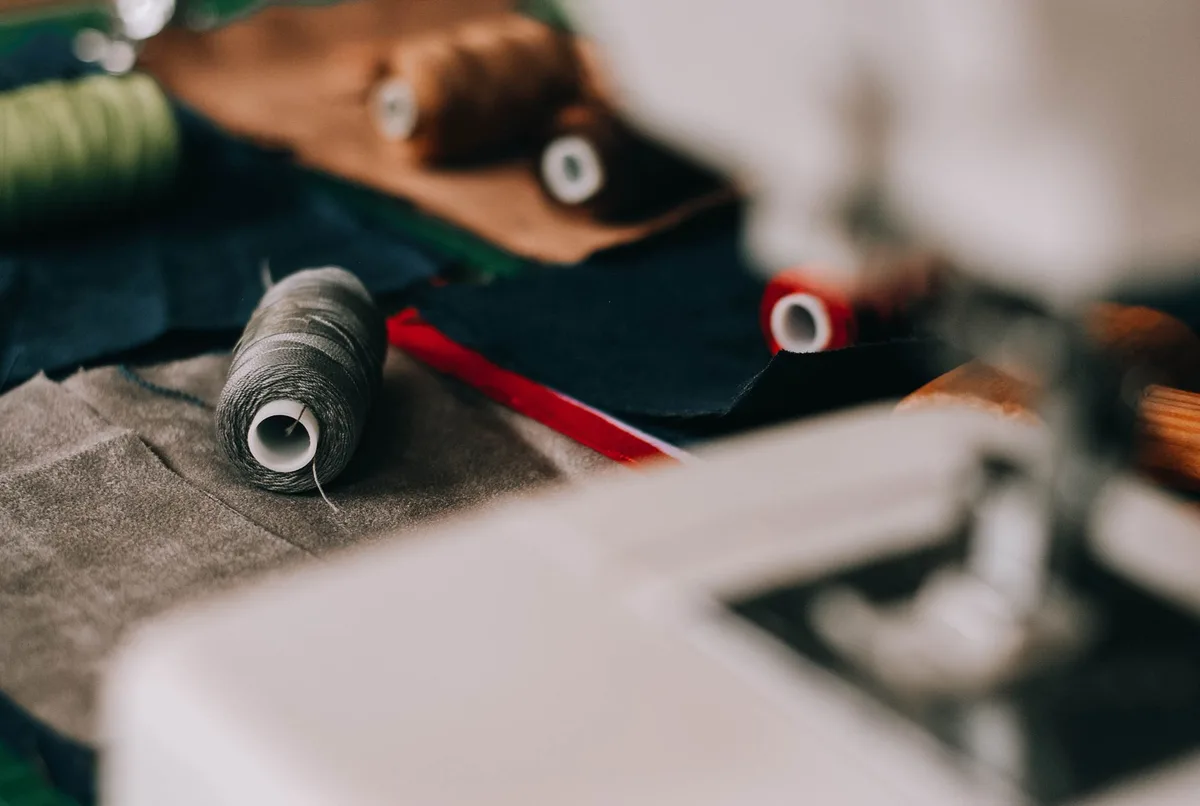
Image source: Pexels / rakhmat suwandi (Pexels License)
Fabric Choices That Work
Canvas or cotton duck is my top recommendation. It’s heavy enough to hold wet towels but still breathes. A 10-ounce canvas is ideal.
Lighter fabrics like quilting cotton work for delicates but won’t survive heavy loads.
Meshes, polyester mesh or nylon netting, work great for gym clothes or swimsuits. The airflow prevents mildew. But mesh bags don’t hold up to regular laundry cycle abuse.
Use them for specific purposes.
Denim from old jeans makes a rugged bag. It’s free if you’ve got worn-out jeans. Just cut off the legs and work with the intact fabric sections.
Avoid thin polyester blends, cheap satin, or any fabric with loose weaves. They’ll tear at stress points within weeks.
Hardware and Notions
- Drawstring cord: ¼-inch cotton cord or paracord works best. Avoid nylon cords under 3mm, they dig into your hands.
- Grommets: Size #2 or #3 brass grommets for the drawstring opening. You’ll need two or four depending on your design.
- Thread: Heavy-duty polyester thread. Gutermann’s Extra Strong or Coats & Clark’s outdoor thread. Regular all-purpose thread will snap.
- Hook or hanger: A sturdy metal hook rated for at least 10 pounds. Or a wooden hanger with a thick crossbar.
Tools Required
| Tool | Purpose | Notes |
|---|---|---|
| Sewing machine | Main construction | A heavy-duty machine handles canvas better |
| Heavy-duty needle | Size 16 or 18 | Regular needles break on thick fabric |
| Scissors or rotary cutter | Cutting fabric | Keep them sharp |
| Measuring tape | Dimensions | Metal tape is more accurate |
| Fabric marker or chalk | Marking lines | Washable only |
| Hammer and grommet set | Installing grommets | Practice on scrap first |
| Iron | Pressing seams | Makes sewing much easier |
Choosing the Right Dimensions
Standard hanging laundry bags measure about 24 inches wide by 30 inches long. That holds roughly one full load of laundry, about 12 pounds of mixed clothing.
For a smaller bag (delicates or baby clothes), go 18 inches by 22 inches. For a large family bag, try 30 inches by 36 inches.
My recommendation: Start with the standard size. It fits most closet rods and door hooks. You can adjust later once you know what works for your space.
Step 1: Cutting Your Fabric
Lay your fabric flat. Smooth out all wrinkles. Measure carefully.
For a standard 24×30 bag:
- Cut one rectangle: 26 inches wide by 32 inches tall
- That extra 2 inches on each side allows for seam allowances and hem
If your fabric has a pattern, pay attention to direction. Stripes going sideways look unintentional. Check that the pattern orientation matches your intended hanging direction.
Cut using a rotary cutter and a straight edge for clean lines. Scissors work but take more care. Jagged edges make sewing harder.
Step 2: Preparing the Top Hem
The top edge needs reinforcement. This is where the drawstring will pull. Weak fabric here means a torn bag within weeks.
Fold the top edge down ½ inch and press with an iron. Then fold another 1½ inches and press again. This creates a 2-inch hem that will hold the drawstring channel.
Pin the hem in place. Stitch close to the inner folded edge, about ⅛ inch from the fold. Then stitch along the bottom of the hem, about 1⅝ inches from the top edge.
This creates a channel for your drawstring.
Leave a 2-inch gap in that bottom stitching. You’ll feed the drawstring through this gap later.
Step 3: Installing Grommets (Optional but Recommended)
Grommets prevent the drawstring from tearing through the fabric at the exit points. Without them, the constant friction of the cord saws through the hem within months.
Mark two grommet positions on the hem, about 3 inches from each side edge. Center them vertically so they sit inside the drawstring channel.
Cut small X-shaped slits at each mark. Insert the grommet from the front side, then place the washer on the back. Use your hammer and grommet tool to crimp them in place.
Test that the drawstring slides through smoothly. If the grommet is too tight, you need a larger size. If it’s loose, replace it before proceeding.
Step 4: Sewing the Sides
Fold your fabric in half lengthwise, right sides together. The raw edges should align on the sides and bottom.
Pin the sides together. Start at the top hem and work down to the bottom edge. Keep the fabric smooth, bunching creates uneven seams.
For side seams: Use a ½-inch seam allowance. Stitch from the top hem down to the bottom. Backstitch at both ends for reinforcement.
For the bottom seam: Sew across with the same ½-inch allowance. Backstitch again.
Now you have a basic bag shape. Turn it right side out. Check that the seams are straight and the corners are square.
Step 5: Reinforcing the Seams
This is the step that separates a bag that lasts years from one that lasts months.
Flat-felled seams are ideal. They encase the raw edges inside the seam itself. No fraying, no loose threads.
Here’s how to do it:
- Press the seam allowances to one side
- Trim one allowance to ¼ inch
- Fold the wider allowance over the trimmed one
- Press flat
- Stitch close to the folded edge
This takes extra time but is worth every minute. If flat-felled seams seem too advanced, at least zigzag or serge the raw edges. Raw edges inside a laundry bag catch on clothing and create pulls.
Triple-stitch the bottom corners. These points take the most stress when the bag is full. Sew forward, backward, and forward again over the corner area.
Use a shorter stitch length, about 2mm instead of 2.5mm.
Step 6: Adding the Drawstring
Cut your drawstring cord to 48 inches for a standard bag. That gives plenty of length for tying and hanging.
Attach a safety pin to one end of the cord. Feed it through the gap you left in the hem stitching. Push the pin through the channel, working it all the way around until it emerges from the same gap.
Remove the safety pin. Even out the cord ends. Tie a knot in each end, use a double overhand knot or tie a stopper knot.
These prevent the cord from slipping back into the channel.
For a decorative touch, thread wooden beads onto each end before tying the knots. They make pulling the drawstring easier and look great.
Step 7: Attaching the Hanger
You have several options here:
S-hook: Hook it through the drawstring loop at the top. Simple. Quick.
But the hook can slide around and the bag hangs unevenly.
Wooden hanger: Cut a small slit in the top hem, about 1 inch wide, centered on the bag. Slide the hanger hook through. The crossbar sits inside the bag.
This distributes weight evenly and keeps the bag open for easy filling.
Door hook: Sew a cloth loop at the top center of the bag. Make it from the same fabric, folded double for strength. Stitch it into the top hem before you sew the sides.
This creates a permanent hanging point.
Grommet hanging: Install two heavy-duty grommets at the top corners of the bag. Use a cord or carabiner to hang it. This works well for outdoor or garage use.
Variations Worth Trying
Divided Compartment Bag
Sew a vertical seam down the center of the bag. Leave the top 6 inches open. Now you have one side for lights and one for darks.
It’s not perfect separation but it saves sorting time.
Mesh Window Bag
Cut a rectangular section from the front of the bag before sewing. Replace it with polyester mesh. This lets air circulate and prevents musty smells.
It also lets you see how full the bag is without opening it.
Pocket Bag
Add a small pocket to the front of the bag. Use it for dryer sheets, stain pens, or loose change you find in pockets. A 6-inch by 6-inch patch pocket works perfectly.
Sew it on before assembling the bag.
Laundry Scent Bag
Sew a small sachet pocket inside the bag. Fill it with dried lavender or cedar chips. This keeps clothes smelling fresh between washes.
Change the herbs every few months.
Common Mistakes to Avoid
Thin thread: I cannot stress this enough. Regular thread breaks. Use heavy-duty polyester or bonded nylon thread.
Your machine will complain a bit, adjust tension and use a larger needle.
Skipping grommets: Every bag I’ve made without grommets eventually tears at the drawstring hole. The fabric frays, the hole widens, and the bag becomes useless. Grommets solve this permanently.
Tight drawstring channel: If your channel is too narrow, the cord won’t slide. Make the channel at least 1½ inches wide. Test with your chosen cord before finalizing.
Uneven side seams: Measure twice, cut once applies here. Use a seam gauge or measuring marks on your machine’s throat plate. Inconsistent seam allowances make the bag twist and hang crooked.
Poor fabric choice: I used a discount cotton once. It looked fine for two months. Then it disintegrated.
Invest in proper canvas or duck cloth. Your bag will outlast the cheap alternative five times over.
Care and Maintenance
Your hand-made laundry bag needs basic care to stay functional.
Machine wash cold on gentle cycle. Use mild detergent. Skip bleach, it weakens natural fibers.
Air dry or tumble dry on low. High heat shrinks cotton and damages the drawstring cord.
Remove the drawstring before washing. Cord can tangle and damage your machine. Always wash it separately in a mesh lingerie bag.
Replace the drawstring every six months if you use the bag weekly. Cotton cords wear out. Paracord lasts longer but can rough up fabric edges.
Check grommets periodically. If one loosens, replace it immediately. A loose grommet can fall out and get lost in your laundry.
Where to Hang Your Bag
Behind bedroom doors: Standard placement. Use an over-the-door hook rated for 10 pounds. The bag stays out of sight but easily accessible.
In the laundry room: Hang from a ceiling hook or wall bracket. This keeps dirty clothes contained near the washer.
In a closet: Install a heavy-duty closet rod hook. Make sure the hook can support the bag’s full weight without bending.
On a bathroom door: Useful for towel collection. Use a smaller bag here, 18 by 22 inches is plenty.
Avoid hanging from lightweight curtain rods or hollow-core doors with thin screws. The weight of a full bag, 12 to 15 pounds, will pull them out.
Frequently Asked Questions
Can I make this without a sewing machine?
Yes, but it takes patience. Use backstitch for all seams. Double-stitch stress points.
The hand-sewing method adds about three hours to the project.
What’s the best fabric for heavy loads?
12-ounce canvas or denim. These handle wet towels and jeans without stretching or tearing.
How do I fix a stuck drawstring?
Pinch the channel and work the cord back and forth. If it’s truly stuck, cut a small access slit near the stuck point, free the cord, and hand-stitch the slit closed.
Can I use this bag for the washing machine?
Some designs work as wash bags. But the hanger and drawstring get tangled. A dedicated wash bag is different from a hanging storage bag.
Use this one for collection only and transfer clothes to a separate laundry bag for washing.
How long should this take?
About two hours for a beginner. Experienced sewers can finish in 45 minutes. The cutting and prep work takes longer than the actual sewing.
Final Thoughts
Making a hanging laundry bag isn’t complicated. The steps are straightforward. The materials are affordable.
The result is something you’ll use every single week.
The key is respecting the process. Don’t rush the hems. Don’t skip the reinforcement.
Choose fabric that can handle real use. A bag made this way will outlast anything you buy at a store.
And there’s genuine satisfaction in using something you built with your own hands. Every time you drop a load of dirty clothes in, you’ll remember the work you put in. That’s worth something.
Start with the standard size. Use canvas. Install grommets.
Sew flat-felled seams. You’ll get a bag that works perfectly and lasts for years. Then make another for your kid’s dorm room.
Or one for the guest bathroom. They make great gifts.
Your laundry routine just got an upgrade. And you did it yourself.


Similar Posts



















