How to Make a Storage Bin Inventory System
Got stuff? Of course you do. We all do.
From the garage overflowing with tools and seasonal gear to the pantry stocked with duplicates you forgot you had, clutter happens. But what if I told you there’s a way to tame that chaos? It’s not magic, and it doesn’t require a complete lifestyle overhaul.
It’s simply a well-designed storage bin inventory system.
Think about it. How much time do you waste searching for that specific bolt, that winter sweater, or that camping tent? How much money do you spend rebuying things you already own but can’t find?
A robust inventory system for your storage bins can put an end to all that. It’s about knowing what you have, where it is, and how much of it you’ve got. This isn’t just for hoarders or extreme organizers.
It’s for anyone who wants more peace, less stress, and a better grip on their belongings.
This guide will walk you through creating a storage bin inventory system from scratch. We’ll cover the core components, how to choose your method, and practical tips to make it stick. Let’s get your storage sorted.
Why You Need a Storage Bin Inventory System
Let’s be blunt: a disorganized storage system is a leaky faucet. It drips time and money, and it’s incredibly frustrating. A functional inventory system stops the leaks and gives you back valuable resources.
Saves Time and Reduces Frustration
Picture this: you need that one specific piece of hardware, and you know it’s “somewhere in the garage.” You spend 30 minutes rummaging through boxes. Eventually, you find it, but your mood is shot. Or, is it worse?
You can’t find it, so you drive to the store, buy a new one, and then find the original later. That’s wasted time and wasted money. A good inventory system means you can instantly locate anything you need.
No more guessing games.
Prevents Duplicate Purchases
We’ve all been there. You buy a new can of paint, only to discover three half-used ones already tucked away. Or that extra set of Christmas lights you didn’t need.
Keeping track of your inventory means you know what you have, preventing those embarrassing and costly duplicate purchases. It’s smart shopping, pure and simple.
Aids in Insurance Claims
If the worst happens, a fire, flood, or theft, having a detailed inventory can be a lifesaver for insurance claims. A bin-by-bin, item-by-item list with descriptions and even photos makes proving your losses so much easier. It’s a proactive measure that brings real peace of mind.
Optimizes Space Usage
When you know exactly what you have and where it is, you can organize more efficiently. You won’t be storing empty space or cramming things haphazardly. An inventory helps you see patterns, identify underutilized bins, and potentially downsize your storage footprint.
The Core Components of a Storage Bin Inventory System
Regardless of the method you choose, a solid inventory system relies on a few key pieces of information. Get these right, and you’re halfway there.
1. Bin Identification
Each storage bin needs a unique identifier. This is the “address” of your stored items.
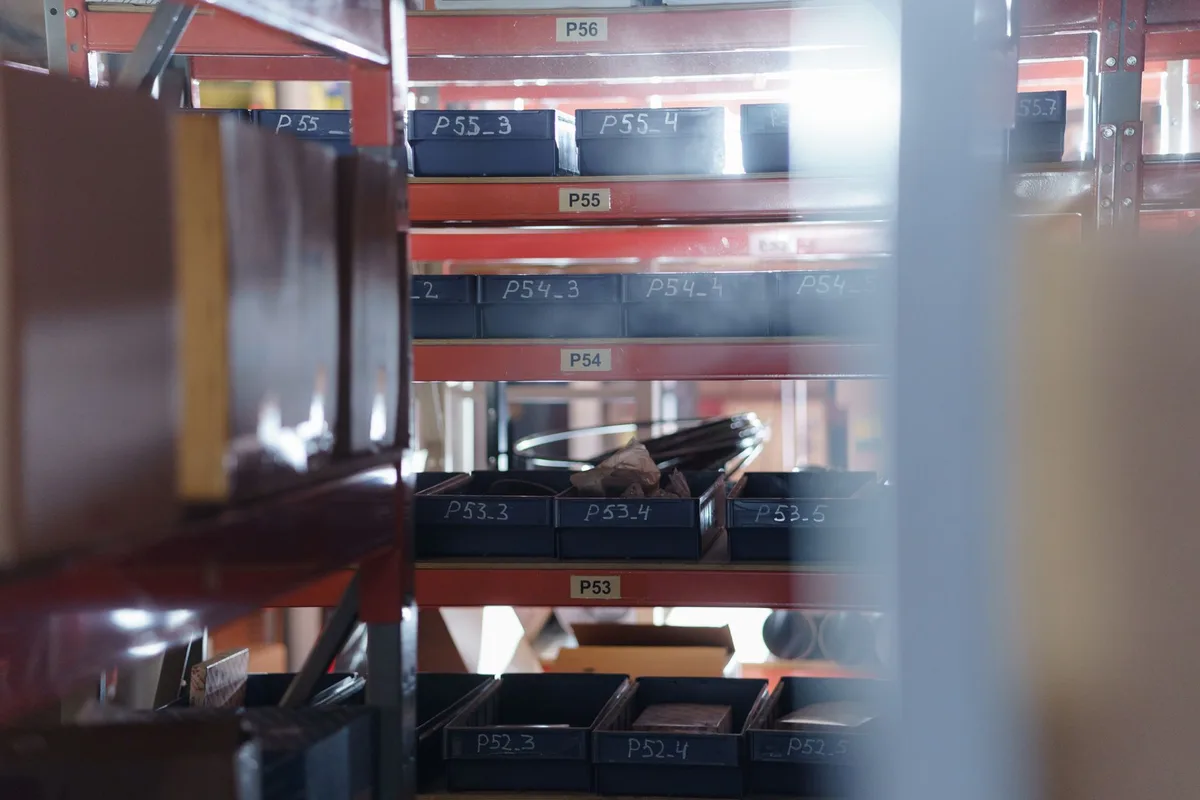
- Unique Labels: Use simple, clear labels for each bin. Numbers are a great start (Bin 1, Bin 2, etc.). You can also use letter/number combinations (A1, A2, B1). The key is that each bin has one and only one identifier.
- Location Tracking (Optional but Recommended): If you have multiple storage areas (garage shelves, attic, basement), add a location to your identifier. For example, “Garage Shelf 3, Bin 5” or “Attic Unit B.” This adds another layer of precision.
2. Item Description
What exactly is inside each bin? Be specific enough to be useful.
- Clear Names: Don’t just write “Stuff.” Write “Gardening Tools,” “Winter Scarves & Gloves,” “Kids’ Art Supplies.”
- Key Details: For important items, add crucial details. For tools, note make/model if relevant. For craft supplies, list colors or types. For electronics, include serial numbers. The level of detail depends on the item and how likely you are to need that specific information.
3. Quantity
How many of each item do you have in that bin?
- Precise Counts: For individual items like tools, books, or toys, count them.
- Approximate Counts/Estimates: For bulk items like screws, fabric scraps, or small craft beads, an estimate might be sufficient (“approx. 500 screws,” “approx. 2 lbs fabric”).
- Units: Be consistent with units (pieces, feet, pounds, gallons).
4. Bin Contents (The Master List)
This is the heart of your system. It’s the compiled list that tells you what’s in each bin. This is where the “inventory” part really happens.
- Linking Items to Bins: For every item in your inventory, you need to know which bin it resides in. This is the direct link that your system provides.
5. Status/Condition (Optional but Helpful)
For certain items, knowing their condition is crucial.
- New/Used/Damaged: Is that item new in the box, used but functional, or broken and needs repair/disposal?
- Last Used/Maintenance Date: For tools or equipment, tracking usage or maintenance can be valuable.
Image source: Pexels / cottonbro studio (Pexels License)
Choosing Your Storage Bin Inventory Method
There’s no one-size-fits-all answer here. The best method depends on your tech savviness, budget, and how complex your inventory is. We’ll look at a few popular options, from low-tech to high-tech.
1. The Low-Tech Approach: Notebook and Index Cards
This is the simplest and most budget-friendly method. It’s great if you’re not a tech person or have a relatively small inventory.
How it works:
- Bin Labels: Label each bin clearly with a number or letter.
- Notebook: Dedicate a notebook to your inventory. Create a page or section for each bin.
- Index Cards: Alternatively, use index cards. One card per bin. On the card, list the items inside. You can also use separate cards for each item, noting the bin number it came from.
Pros:
- Inexpensive.
- Easy to understand and use.
- No tech required.
- Tangible and accessible.
Cons:
- Can get bulky and disorganized with many bins.
- Searching is manual and can be slow.
- Difficult to update quickly.
- No easy way to add photos or detailed specs.
- Risk of losing the notebook or cards.
Best for: Small collections, simple needs, those who prefer analog.
2. The Spreadsheet Method: Excel, Google Sheets, etc.
This is a popular mid-range option. Spreadsheets offer more organization and searchability than a notebook.
How it works:
- Bin Labels: Label your bins numerically or with a system.
- Spreadsheet Setup: Create a spreadsheet with columns for:
- Bin Number
- Location (e.g., Garage, Attic)
- Item Name
- Description (optional but useful)
- Quantity
- Unit (pcs, lbs, ft)
- Status (New, Used, Damaged)
- Notes (e.g., “Christmas decorations, store until November”)
- Populate: Enter the details for each item. You can dedicate a tab to each bin, or have one master list and use a separate column to link items to bins. The latter is usually more efficient for searching.
- Search Functionality: Use the built-in search and filter features to find items quickly.
Pros:
- Organized and structured.
- Powerful search and filter capabilities.
- Relatively inexpensive (Google Sheets is free).
- Can be accessed from multiple devices (especially cloud-based like Google Sheets).
- Can add a column for links to photos you store elsewhere.
Cons:
- Can become complex with many rows.
- Requires some spreadsheet literacy.
- Data entry can still be time-consuming.
- Not ideal for visual referencing directly within the sheet for many photos.
Best for: Individuals or families with moderate inventory, those comfortable with spreadsheets, budget-conscious tech users.
3. Dedicated Inventory Management Apps and Software
For the most robust solution, consider specialized apps. These are designed specifically for tracking and managing inventory.
How it works:
- App Selection: Choose an app that fits your needs. Popular options include Sortly, MyStuff, HomeZense, or even more business-oriented options if you have a very large collection.
- Input Data: Most apps allow you to easily add items, assign them to bins or locations, add photos, and input details.
- Barcode Scanning: Many apps allow you to generate or use existing barcodes on items and scan them to quickly add, remove, or update quantities.
- Reporting and Searching: These apps offer powerful search, filtering, and reporting features.
Pros:
- Highly organized and feature-rich.
- User-friendly interfaces, often with mobile apps.
- Barcode scanning speeds up data entry and updates.
- Visual inventory with photos is standard.
- Often offers cloud syncing for access anywhere.
- Can provide valuable insights through reports.
Cons:
- Can involve subscription fees or upfront costs.
- May have a learning curve.
- Requires a smartphone or tablet for full functionality (e.g., scanning).
Best for: Individuals or families with extensive collections, those who want advanced features like scanning, people comfortable with mobile apps and potentially subscription services.
Step-by-Step: Building Your Storage Bin Inventory System
Ready to get started? Let’s break down the process.
Step 1: Audit and Declutter Your Storage Areas
Before you start cataloging, take stock of what you actually have.
- Empty Bins: Go through each bin. Empty it out completely.
- Sort Ruthlessly: As you empty, sort items into three piles: Keep, Donate/Sell, and Discard. Be honest with yourself about what you truly need or use. This is a critical step. An inventory system is for your stuff, not for clutter you don’t need.
- Clean Bins: Wipe down the empty bins before relabeling or putting new items in them.
Step 2: Choose Your Labeling System
Decide on how you will identify your bins.
- Numbering: If you have 50 bins, sequential numbers (1-50) are straightforward.
- Zone + Number: For larger areas, try “Garage Shelf A, Bin 1” or “Attic Section Bins 1-10”.
- Materials: Use durable labels. Label makers are excellent for this. You can also use sturdy sticker labels or even paint.
Step 3: Select Your Inventory Method
Revisit the options: notebook, spreadsheet, or app. Choose the one that feels most manageable and sustainable for you.
- If using a notebook: Get a good quality one.
- If using a spreadsheet: Open a new file, and set up your column headers.
- If using an app: Download it, create an account, and explore its features.
Step 4: Start Cataloging (Bin by Bin)
This is where the work happens. Take it one bin at a time.
- Label the Bin: Make sure the bin has its unique identifier.
- System Input:
- Notebook: Create a new page for this bin number.
- Spreadsheet: Create a new row for each item found in this bin.
- App: Create a new bin entry or location, and then add items to it.
- List Contents: As you take items out of the bin, add them to your inventory.
- Item Name: Be descriptive.
- Quantity: Count or estimate carefully.
- Description/Notes: Add any relevant details that will help you identify it later or recall its purpose.
- Photos (Optional but Recommended): If using an app or a digital method, take a quick photo of the contents of the bin or key items. These are invaluable.
- Bin Status: Note if the bin is now empty, partially filled, or needs to be moved to another location.
Step 5: Consolidate and Refine
Once you’ve gone through all your bins, review your master list.
- Search for Duplicates: Check if you accidentally listed the same item in multiple bins.
- Check for Missing Items: Are there any items you thought you had but didn’t find? This is a good time to note them.
- Standardize Descriptions: Ensure your item names are consistent (e.g., “Hammer” vs. “Claw Hammer.” Try to stick to one).
Step 6: Develop a Maintenance Routine
An inventory system is only useful if it’s kept up-to-date.
- When You Put Away: The golden rule: If you take something out, and put it back, update the inventory immediately. Don’t wait. This is the easiest way to maintain accuracy.
- Regular Check-ins: Schedule periodic reviews. Quarterly or semi-annually, do a quick scan of your digital inventory against a few physical bins to ensure accuracy.
- When You Get New Items: Add them to the inventory before they get lost in the shuffle.
Tips for Success and Making It Stick
Building the system is one thing. Keeping it running is another.
1. Start Small, Build Momentum
Don’t try to catalog your entire life’s possessions in one weekend. Start with one area or type of item that causes you the most frustration. Master that, and then move on.
Success breeds motivation.
2. Keep It Simple
The best system is the one you’ll actually use. Don’t over-engineer it. If it feels like a chore, you won’t stick with it.
Prioritize clarity and ease of use over complex features you don’t need.
3. Involve the Household
If you share your living space and your storage, get everyone on board. Explain the benefits. Assign responsibilities if necessary.
A shared system is more likely to be used and maintained.
4. Visuals Are Your Friend
If your method allows, use photos. A picture is worth a thousand words, especially when you’re trying to identify a specific tool part or a decorative item. This is where apps shine.
5. Don’t Fear the Purge
Regularly decluttering is part of inventory management. Use your inventory list to identify items you haven’t touched in years. It’s a great prompt to decide their fate.
6. Make It Accessible
Your inventory system should be easy to access when you need it. If it’s a physical notebook, keep it where you’ll see it. If it’s digital, make sure you can pull it up quickly on your phone or computer.
Common Pitfalls to Avoid
Even with the best intentions, things can go wrong. Be aware of these common mistakes:
1. Overly Vague Descriptions
Writing “miscellaneous parts” in a bin means you’ll still be guessing. Be specific enough to avoid opening the bin unnecessarily.
2. Inconsistent Updates
The most common reason inventory systems fail is a lack of regular updates. If you don’t log changes as they happen, your system quickly becomes obsolete.
3. Too Much Detail (or Not Enough)
Find the balance. For common household items, “Box of Cereal Boxes” might suffice. For specialized tools, “Porter-Cable Orbital Sander, Model 330, Serial # XYZ123” is better.
And conversely, don’t create 50 categories for every single screw.
4. Ignoring the “Empty” Condition
When you empty a bin, update its status. Noting “Bin 12: Empty” is just as important as listing its contents when full. This helps you avoid searching empty containers.
5. Forgetting About Bin Location
If your bins move between storage areas, make sure your system accounts for their current location. This could be a simple note or a dedicated field.
Bringing Order to Your Storage
Creating a storage bin inventory system isn’t just about tidiness; it’s about reclaiming your time, reducing stress, and making your home more functional. Whether you prefer pen and paper or a sophisticated app, the principles remain the same: identify, describe, quantify, and track.
By following these steps and committing to regular maintenance, you can transform your chaotic storage spaces into organized, efficient hubs. No more frantic searches, no more forgotten duplicates. Just the peace of mind that comes with knowing exactly what you have, and where to find it.
Take control of your stuff, one bin at a time.


Similar Posts



















