How to Make Solar Lamp
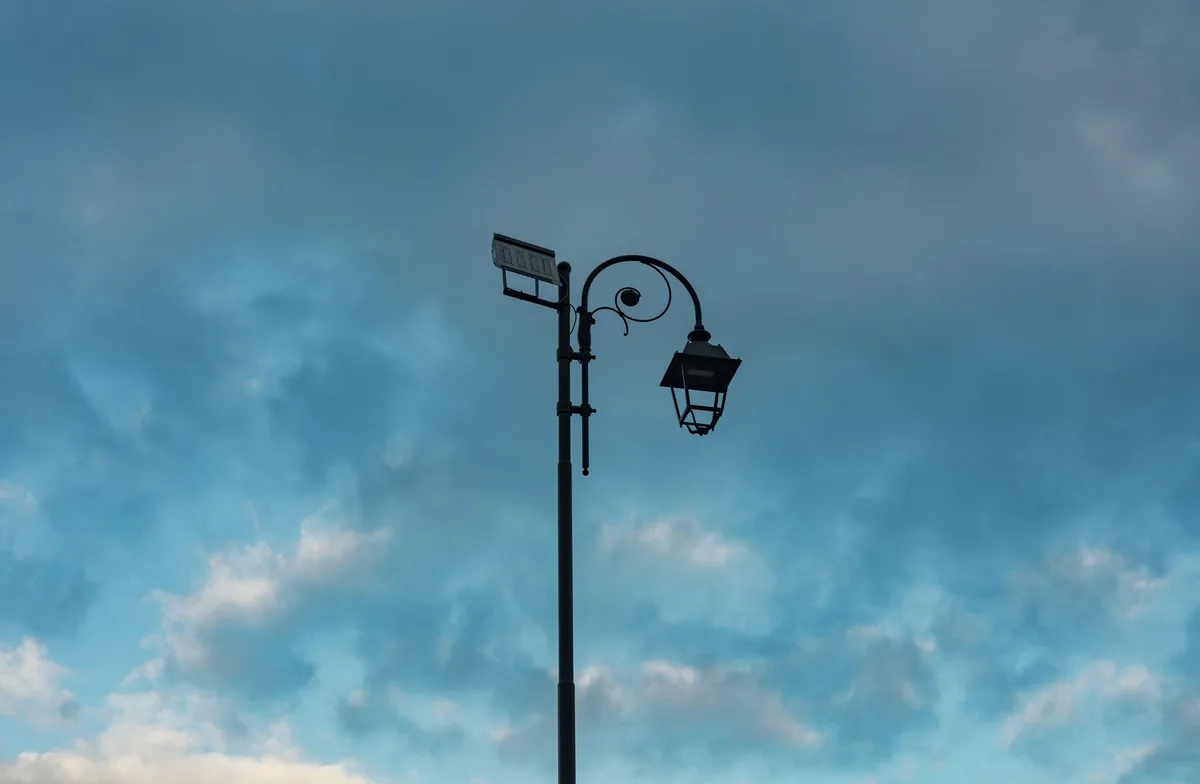
Let me walk you through building your own solar lamp from scratch. I’ve done this project dozens of times, and I can tell you right now, it’s easier than you think. You don’t need to be an electrician or a solar engineer.
You just need the right parts, a clear plan, and about an hour of your time.
Image source: Pexels / Angelo Capitanio (Pexels License)
Why Build a Solar Lamp Yourself?
Store-bought solar lamps are fine. But when you build one yourself, you get exactly what you want. You choose the brightness, the battery size, the enclosure, and the look.
You also save money. A quality DIY solar lamp costs around $10, $15 in parts. Compare that to $30, $50 for a comparable store model.
You also learn something. Once you understand how a solar lamp works, you’ll never look at outdoor lighting the same way again. You’ll see the circuit, the panel, and the battery every time you walk past one.
And here’s the kicker, when your lamp stops working (and it will, eventually), you’ll be able to fix it yourself. That’s not something you can say about most cheap imports.
How a Solar Lamp Actually Works
Before we grab tools, let’s talk about the science. It’s simple.
A solar lamp has four main parts:
- Solar panel, captures sunlight and turns it into electricity
- Battery, stores that electricity for nighttime use
- LED, the light source that runs on stored power
- Controller circuit, manages the flow of electricity between all three
During the day, the solar panel generates a small current. That current charges the battery. The controller prevents the battery from overcharging or draining completely.
When the sun goes down, the controller detects the voltage drop and switches the LED on. Come morning, it switches the LED off again.
That’s it. That’s the whole magic trick.
The clever part is the controller chip. Most DIY solar lamp circuits use a chip called the TP4056 for charging and a separate transistor or MOSFET for the light control. Some newer chips combine both functions into one tiny package.
Materials and Tools You’ll Need
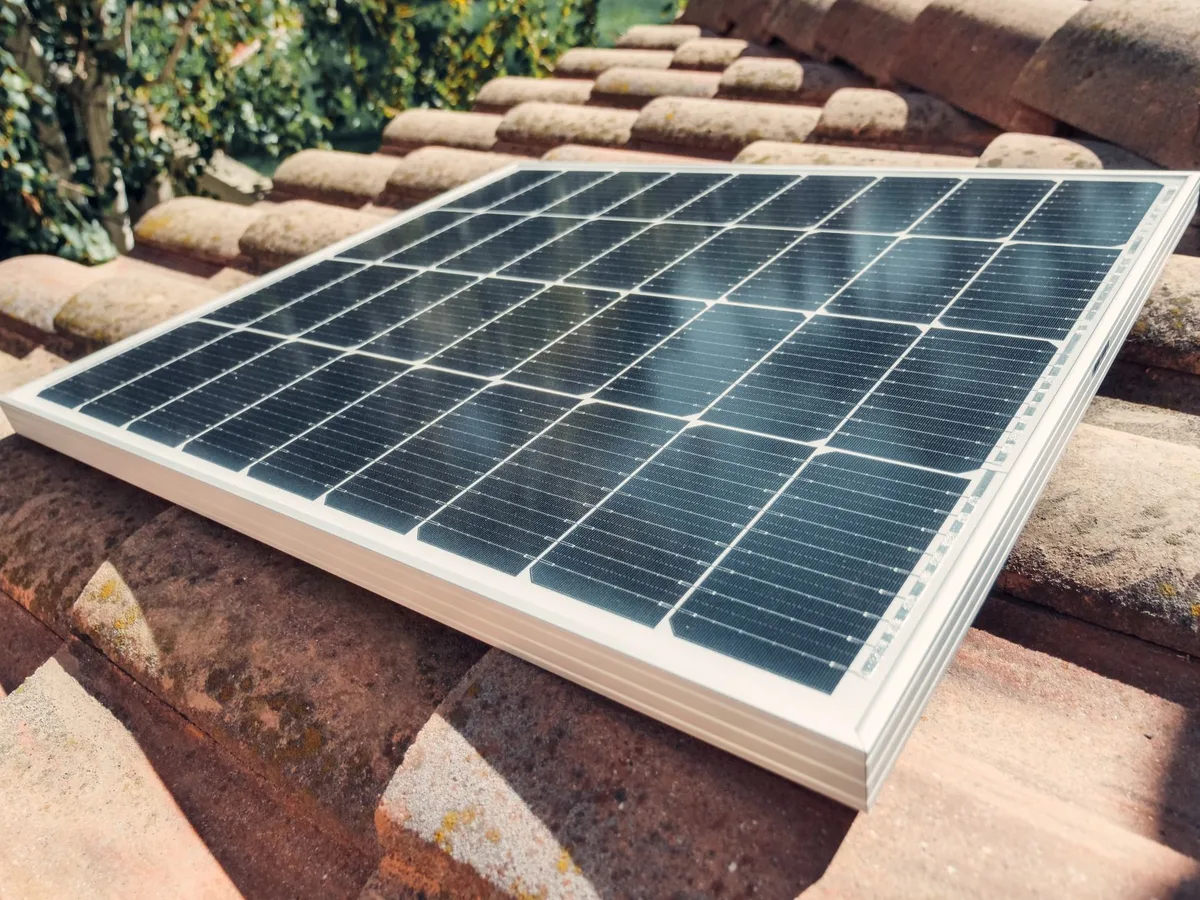
Image source: Pexels / Kindel Media (Pexels License)
Here’s your shopping list. I’m assuming you want a small-to-medium outdoor lamp, think garden path light or patio accent.
Core Parts
| Component | Specs | Approx Cost |
|---|---|---|
| Solar panel | 5V, 2W (polycrystalline) | $4–$6 |
| Rechargeable battery | 18650 lithium-ion, 2000–3000mAh | $3–$5 |
| LED | 1W warm white (3.2V) | $1–$2 |
| TP4056 charging module | With battery protection | $1–$2 |
| ON/OFF switch | Small toggle or slide | $1 |
| Diode | 1N4007 (for reverse polarity protection) | $0.10 |
Enclosure Options
You have choices here. I’ve used:
- Mason jars (glass, great for ambient light)
- ABS project boxes (durable, weather-resistant)
- Repurposed tin cans (rustic look, easy to drill)
- 3D-printed housings (if you have a printer)
For outdoor use, go with ABS or a sealed glass jar. Make sure whatever you pick has room for the battery and circuit board.
Tools You’ll Need
- Soldering iron and solder (leaded is easier for beginners)
- Wire strippers
- Small screwdriver set
- Hot glue gun (for waterproofing)
- Drill with small bits (for enclosure holes)
- Multimeter (optional but helpful for testing)
Choosing the Right Solar Panel
Don’t overthink this. A 5V, 2W panel works for most small lamps. That’s about 400mA of charging current in full sun.
It’ll charge a 2000mAh battery in about 5, 6 hours of direct sunlight.
Size matters. A 2W panel is roughly 4×6 inches. That’s manageable for a tabletop lamp or garden stake.
If you want something bigger, say, a lamp for a shed or a reading light, go up to a 5W panel. That’ll charge faster and support brighter LEDs.
Panel types:
- Polycrystalline, blue-ish tint, slightly less efficient, cheaper
- Monocrystalline, black, more efficient, costs a bit more
For a beginner project, polycrystalline is fine. The efficiency difference matters less for a small lamp than it does for a whole-house solar system.
One pro tip: Buy a panel with a built-in USB port if you can. That makes testing way easier, and it gives you a backup phone charger on sunny days.
The Battery: Your Lamp’s Fuel Tank
Lithium-ion 18650 cells are the sweet spot for this project. They’re cheap, widely available, and hold a lot of power for their size. A single 18650 runs a 1W LED for about 5, 6 hours per charge.
Safety warning: Buy cells with built-in protection circuits. Unprotected cells can overheat or catch fire if you short them. I only use protected cells in all my projects.
The extra few cents are worth your peace of mind.
If you want to go even safer, pick NiMH (nickel-metal hydride) rechargeable batteries. They’re less energy-dense, so you’ll need more of them or accept shorter run times. But they’re nearly impossible to overcharge or over-discharge.
For outdoor lamps that might survive a few days of clouds, NiMH is a solid choice.
Battery capacity breakdown:
- 2000mAh → ~5 hours on a 1W LED
- 3000mAh → ~8 hours on a 1W LED
- 5000mAh (2 cells in parallel) → ~13 hours
Aim for a 2500, 3000mAh cell. That covers a typical summer night with some margin.
Building the Lamp Circuit
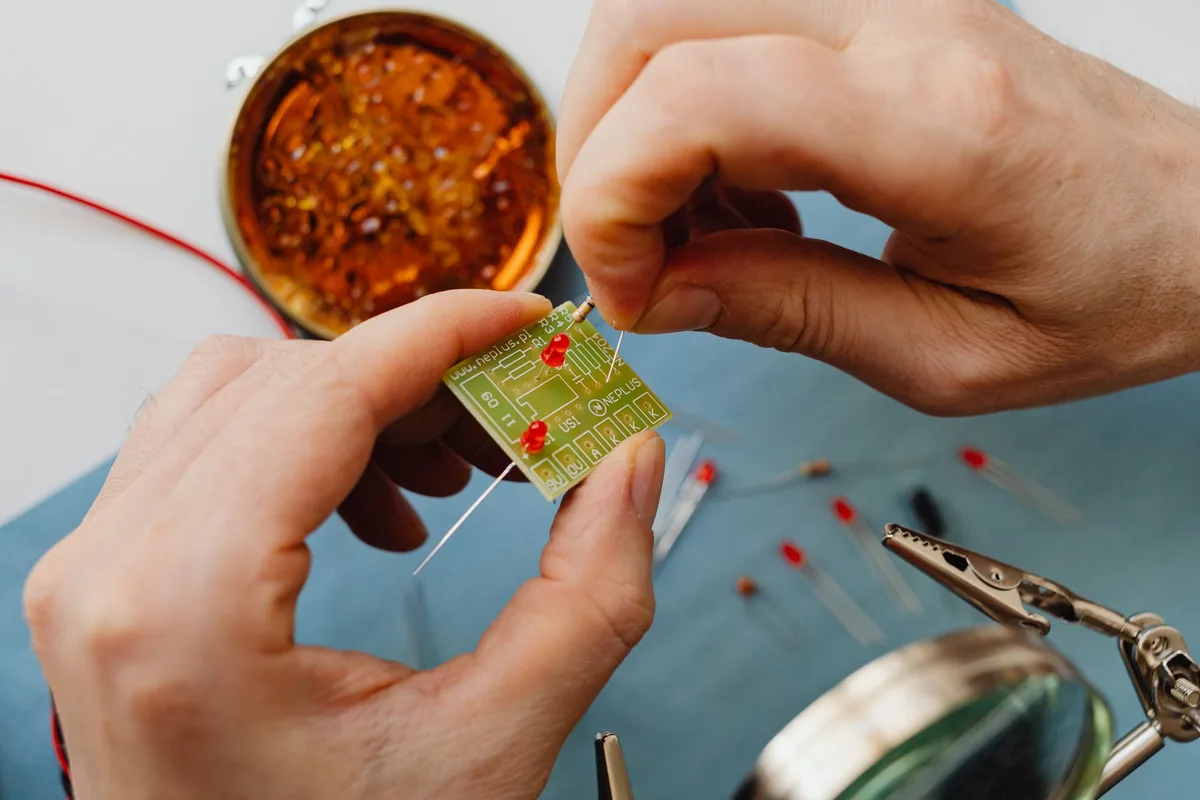
Image source: Pexels / www.kaboompics.com (Pexels License)
Now we get to the fun part. I’m going to walk you through the circuit step by step.
Step 1: Understand the TP4056 Module
The TP4056 is a tiny blue circuit board you can find on Amazon or eBay for a couple bucks. It has:
- Two input pads (IN+ and IN-), for the solar panel
- Two output pads (OUT+ and OUT-), for the battery
- Two B+ and B- pads, for connecting the battery
Most modules also have protection chips that prevent overcharge (stops at 4.2V) and under-discharge (cuts off at 2.5V). That’s the safety I mentioned.
Step 2: Prepare Your Wires
Cut three short lengths of wire, about 3 inches each. Strip 1/4 inch from both ends of each wire. Use red for positive and black for negative.
It’s not strictly necessary, but it makes troubleshooting much easier later.
Step 3: Connect the Solar Panel
Solder the solar panel’s positive wire to the TP4056’s IN+ pad. Solder the negative wire to IN-. If your panel has a red and black wire, red goes to IN+.
If both wires are the same color, use a multimeter to find polarity.
Quick test: Hold the panel in sunlight and touch a multimeter to the wires. Positive lead on the red wire should show positive voltage. If it shows negative, swap the wires.
Step 4: Connect the Battery
Solder the battery’s positive (usually red) to the TP4056’s B+ pad. Negative to B-. The battery protection circuit in the module will start charging immediately if there’s sunlight.
Step 5: Add the Switch and LED
This is where the circuit branches. The LED needs power from the battery, but we want it to turn on only at night.
Simplest method, use the solar panel itself as the light sensor. Here’s how:
Solder the LED’s positive wire to one terminal of the ON/OFF switch. Solder the other switch terminal to the battery’s positive (B+ or directly to the battery wire). Solder the LED’s negative wire to the battery’s negative.
Now, the LED will turn on whenever the solar panel isn’t generating voltage. That’s because in this basic circuit, the panel’s voltage keeps the LED off during the day. At night, the panel voltage drops, and the LED lights up.
The catch: This method doesn’t use the battery efficiently. The LED will stay on until the battery drains completely. For a better setup, add a light-dependent resistor (LDR) and a transistor.
But for a first build, the simple circuit works.
Step 6: Solder the Diode
Solder a 1N4007 diode in series with the solar panel’s positive wire. The band on the diode goes toward the TP4056 module. This prevents the battery from discharging back through the panel at night.
Without it, you lose up to 20% of your stored energy overnight.
Step 7: Test Everything
Before you seal the enclosure, test the circuit.
- Place the solar panel in bright light. The LED should be off.
- Cover the panel completely. The LED should turn on within a few seconds.
- Uncover the panel. The LED should turn off.
If the LED stays on all the time, your panel isn’t generating enough voltage. Check your connections. If the LED doesn’t turn on at all, check the battery voltage, it might be too low to run the LED.
Assembly and Enclosure
Now we make it weatherproof.
Step 1: Mount the Solar Panel
Drill holes in your enclosure lid to match the panel’s mounting screws. Use rubber gaskets or silicone sealant around each screw hole. Water is the enemy of electronics, and a single drop can kill your circuit.
Step 2: Secure the Battery and Circuit
Use hot glue or double-sided foam tape to attach the battery and TP4056 module inside the enclosure. Don’t let them rattle around. Vibration can break solder joints over time.
Step 3: Route the Wires
Keep wires tidy. Use small zip ties or twist ties to bundle them. Make sure no bare wire touches another bare wire.
A short circuit inside your lamp means no light and a dead battery.
Step 4: Add a Diffuser (Optional)
If you’re using a bare LED, the light will be harsh and directional. Place a piece of frosted acrylic or a white plastic diffuser in front of the LED. For a mason jar lamp, the glass itself acts as a diffuser.
Just point the LED upward through the glass.
Step 5: Seal the Enclosure
Run a bead of silicone sealant around all seams. For a mason jar, make sure the lid seals tight. For an ABS box, use the included rubber gasket.
If your box didn’t come with one, cut a gasket from an old inner tube or craft foam.
Testing and Troubleshooting
You built it. Now let’s make sure it works.
Initial Test (Sunlight)
Place the lamp in direct sunlight for 4 hours. After that, move it to a completely dark room. The lamp should light up within 30 seconds.
It should stay lit for at least 4 hours if you used a 2000mAh battery.
Initial Test (No Sun)
If it’s cloudy or nighttime, use a 12V halogen work light. Place it 6 inches from the solar panel. Wait 10, 15 minutes for the battery to charge enough to run the LED.
Then cover the panel and watch for the light.
Common Problems and Fixes
LED stays on during the day
- Your panel might be shaded. Move the lamp to a sunnier spot.
- The diode might be reversed. Check that the band points toward the TP4056.
- Your panel may be faulty. Test its voltage in sunlight, should be 4.5, 5.5V.
LED never turns on
- Battery is dead. Charge it externally with a USB charger.
- Bad solder joint. Reflow all connections.
- LED is blown. Replace it with a known-good unit.
Lamp works but only for 30 minutes
- Battery is too small. Swap in a higher-capacity cell.
- Battery is old or damaged. Lithium-ion cells degrade after 300, 500 cycles.
- LED is drawing too much current. Use a resistor to limit the current to 300, 350mA.
Lamp flickers
- Loose wire. Check all connections.
- Bad ground. Make sure all negative wires connect solidly.
- LDR circuit is oscillating. Add a small capacitor (10µF) across the LDR and ground.
How to Weatherproof Your Solar Lamp
Outdoor electronics need protection. Here’s what I’ve learned from lamps that died after one rainy season.
Seal the Panel Edge
The solar panel itself has a thin plastic or glass surface. Water can seep in through the edges. Apply clear silicone caulk around the entire rim where the panel meets its frame.
Let it cure for 24 hours.
Protect the Circuit Board
Coat the entire TP4056 module in conformal coating or clear nail polish. Avoid the pads and connectors you’ll solder to. This prevents condensation from causing shorts.
Vents (Yes, You Need Them)
Completely sealed enclosures trap moisture. When the temperature drops at night, condensation forms inside. Drill two small holes (1/8 inch) on opposite sides of the enclosure.
Cover them with fine mesh to keep bugs out. The airflow lets moisture escape.
Battery Warning
Lithium-ion batteries hate cold weather. If you live where winter temperatures drop below freezing, install the battery in a separate insulated compartment. Use foam padding.
At 20°F, a lithium battery loses 50% of its capacity. At 0°F, it might not work at all.
Making Your Solar Lamp Brighter or Dimmer
You’re not stuck with one brightness. Here’s how to adjust it.
Increase Brightness
- Use a 3W LED instead of 1W. You’ll need at least a 5W solar panel to charge fast enough.
- Add a second 18650 battery in parallel. Double the battery capacity, double the run time.
- Use a larger panel. A 10W panel charges three times faster than a 2W panel.
Decrease Brightness
- Add a resistor in series with the LED. A 10-ohm resistor drops the current by about 30%.
- Use a dimmer LED. A surface-mount 5050 LED draws less power and spreads light better.
- Use a PWM controller. These pulse the LED on and off rapidly, making it look dimmer while saving battery.
I usually build lamps with a small potentiometer (variable resistor) so I can adjust brightness on the fly. A 100-ohm trim pot costs about 50 cents and gives you full control.
Adding a Light Sensor for Smarter Operation
The basic circuit uses the solar panel as the sensor. That works, but it’s not perfect. On cloudy days, the panel might not generate enough voltage to keep the LED off.
Or the lamp might stay on during a full moon.
A dedicated light sensor (LDR or photoresistor) fixes this. Here’s the upgrade:
- Buy a 5mm LDR and a 10k-ohm resistor.
- Connect the LDR between the LED’s positive wire and ground.
- Connect the 10k resistor between the LED’s positive wire and the battery positive.
When light hits the LDR, its resistance drops. That draws current away from the LED, turning it off. In darkness, the LDR resistance goes up, and the LED gets full power.
This circuit is more reliable than the panel-sensor method. It costs about $1 extra and takes 10 minutes to add.
Real-World Performance: What to Expect
I’ve built over 20 solar lamps in the last three years. Here’s what I’ve learned about real-world performance.
Summer solstice (June): Full charge by 2 PM. Runs from 8 PM to 5 AM. That’s 9 hours of light.
Winter solstice (December): Full charge by 3:30 PM if the panel isn’t shaded. Runs from 5 PM to 11 PM. That’s 6 hours, barely enough for a late evening.
For winter use, double the battery capacity or add a second panel.
Cloudy week: The lamp might charge to only 50% over several days. Run time drops to 2, 3 hours. If you live in the Pacific Northwest, oversize your battery by 50%.
Direct competition: A well-built DIY lamp beats a $15 Walmart solar lamp on brightness and build quality. It matches a $40 commercial lamp. It doesn’t beat a $100 professional-grade landscape light, but it costs a quarter as much.
Maintenance Tips
Your solar lamp will run for years with minimal maintenance. Here’s what to do every few months.
- Clean the panel, Dust, pollen, and bird droppings cut charging efficiency by 30% or more. Wipe the panel with a damp cloth every 2, 4 weeks during summer.
- Check the seals, Silicone sealant degrades over time. Look for cracks every spring. Reapply if needed.
- Test the battery, After two years, lithium batteries lose about 20% of their capacity. If your lamp runs for only 3 hours when it used to run for 6, replace the battery.
- Tighten screws, Vibration from wind and handling loosens screws. Check them annually.
Final Words
Building a solar lamp is one of the most satisfying weekend projects you can do. You get a functional piece of outdoor lighting. You learn about circuits, batteries, and solar power.
And you save money compared to buying ready-made.
The design I shared here is the one I use for gifts. I’ve given them to neighbors, friends, and family. Everyone loves them.
They’re practical, they look good, and they have a story.
Now go build one. You’ll be glad you did.
For more technical specifications on solar panel efficiency and battery chemistry, refer to the National Institute of Standards and Technology’s solar energy resources. Their research papers on photovoltaic performance are the gold standard.


Similar Posts



















