How to Remove Toilet Seat for Deep Cleaning
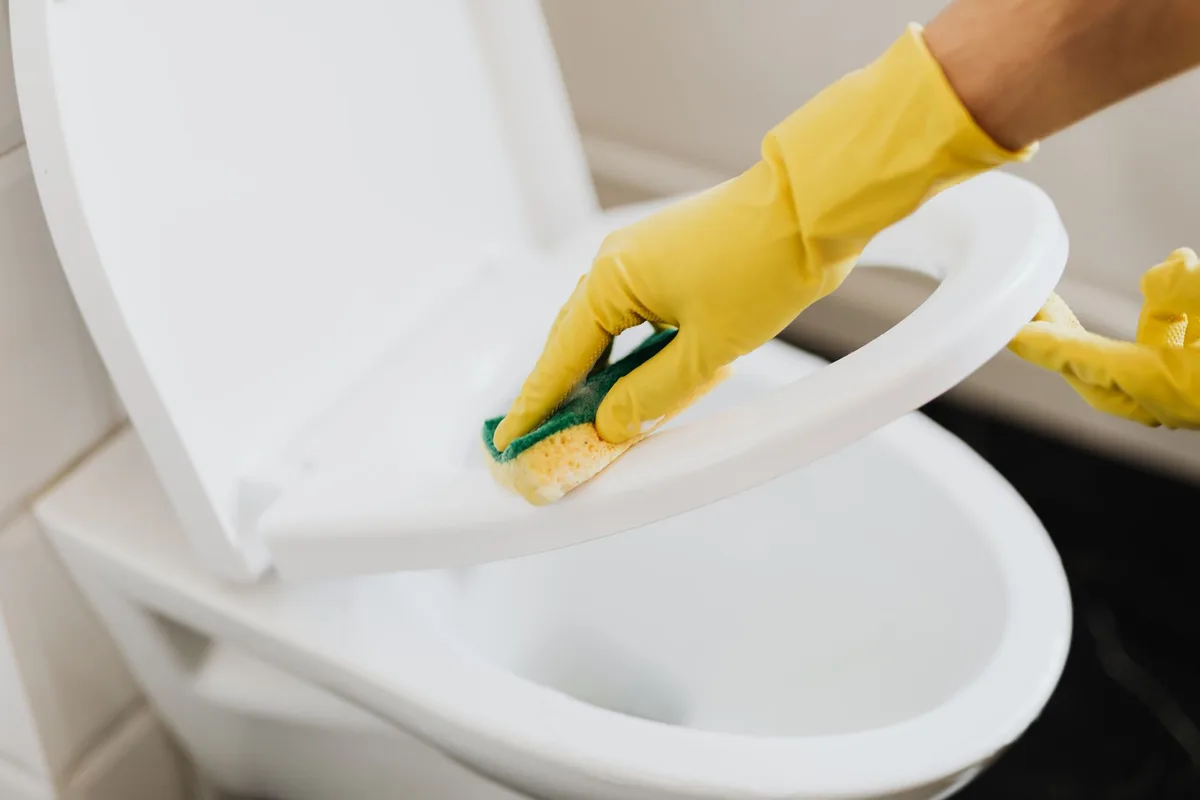
A sparkling clean bathroom is a must, and that includes your toilet. While we all give the toilet bowl a good scrub regularly, the seat often gets overlooked. Food crumbs, dust, hair, and germs can accumulate on and under the toilet seat, making it unhygienic.
The best way to tackle this is by giving it a thorough deep clean, and that often means removing the toilet seat entirely.
Don’t worry, removing a toilet seat isn’t complicated. With a few simple tools and this guide, you’ll have it off and can give it (and the toilet rim) a proper clean in no time. We’ll walk you through exactly how to do it, what you’ll need, and common issues you might encounter.
The process depends on the type of toilet seat hinges your toilet has. Most modern seats use bolts that screw into nuts located underneath the ceramic. Older or novelty seats might have Quick-Release hinges or other systems.
We’ll cover the most common methods.
Tools You’ll Need
Before you start, gather these items. Having them ready makes the job smooth and quick.
- Screwdriver: This is your primary tool. Most toilet seat bolts use a Phillips head (cross-shaped) or a flathead (single slot) screw. You might need both, or at least a set to find the right fit.
- Pliers or Wrench: Sometimes, the nuts under the seat can be stubborn or have a wingnut design. Pliers or an adjustable wrench will help you get a good grip and turn them.
- Cleaning Supplies: Once the seat is off, you’ll want to clean it thoroughly. This includes a bathroom cleaner or all-purpose cleaner, disinfectant wipes, and old cloths or paper towels. You might also want an old toothbrush or a small scrub brush for tight spots.
- Gloves: For hygiene, it’s a good idea to wear rubber gloves while cleaning.
- Safety Glasses (Optional but Recommended): Particularly if you’re working in a tight space where something might fall or spray.
- A Small Container or Bag: To keep track of the bolts and nuts once they’re removed.
Identifying Your Toilet Seat Hinge Type
The first step is crucial: figure out how your toilet seat is attached. Look at the back of the toilet seat, where it meets the bowl.
- Standard Hinges: You’ll typically see plastic or metal caps covering the bolts at the back of the seat. These caps often lift or pop off to reveal the screw head. Underneath the back rim of the toilet, you’ll find the nuts or wingnuts holding the bolts in place.
- Quick-Release Hinges: These often have a lever or button on the hinge itself. Pushing this usually releases the seat from its mountings, leaving the mountings attached to the toilet bowl. These are designed for easy removal for cleaning.
- Concealed Hinges: Some seats have a more modern look where the hinges are hidden. In this case, you’ll usually find a specific access point on the hinge cover that needs to be opened or a button to press to expose the fixing mechanism.
Step-by-Step: Removing a Standard Toilet Seat
This is the most common type. It’s usually straightforward.
Step 1: Locate the Bolts and Nuts
Open the hinge covers at the back of the toilet seat. You should see the screw heads of the bolts. Now, look underneath the toilet bowl‘s rear rim, directly below where the seat attaches.
You’ll find the nuts holding these bolts. They might be plastic wingnuts (easy to turn by hand) or metal nuts (requiring a tool).
Step 2: Loosen the Nuts
This is where you apply your tools.
- For Wingnuts: Try to unscrew them by hand first. If they’re tight, use pliers to get a better grip and turn them counter-clockwise.
- For Metal Nuts: Use your wrench or pliers to grip the nut and turn it counter-clockwise.
- Hold the Bolt: While you’re loosening the nut, you might need to hold the bolt head on the other side with a screwdriver to stop it from spinning. If the bolt head is recessed inside the hinge and doesn’t turn easily, you may need to use a screwdriver to apply slight pressure to keep it stationary while you turn the nut.
You don’t need to remove the nuts completely just yet. Loosen them until they are free from the bolt threads.
Step 3: Unscrew the Bolts
Once the nuts are loose enough, the bolts should be free. Now, go back to the top side of the toilet seat. You should be able to lift the seat slightly.
- If the bolts are still firmly attached to the hinge mechanism, you might need to gently wiggle the seat or use your screwdriver to carefully pry the bolt free from the plastic hinge assembly.
- Often, simply lifting the seat will disengage the bolts from the hinge.
Once the bolts are free from the hinges, the toilet seat should lift away from the toilet bowl.
Step 4: Remove the Toilet Seat
Carefully lift the entire seat and lid assembly off the toilet bowl. Place it aside for cleaning.
Step 5: Store Hardware
Keep the bolts, nuts, and any washers together in your small container or bag. You’ll need them to reattach the seat later.
Step-by-Step: Removing a Quick-Release Toilet Seat
Quick-release seats are designed for easier cleaning. The removal process is usually much faster.
Step 1: Locate the Release Mechanism
Look at the hinges of your quick-release toilet seat. You’ll typically see a button, lever, or a small slot on the side or top of each hinge post.
Step 2: Activate the Release
Push the button, pull the lever, or insert a small tool (like a flathead screwdriver or even a pen tip) into the slot to activate the release mechanism. You might hear a click.
Step 3: Lift the Seat
Once the mechanism is activated, the toilet seat itself should lift straight up and away from the hinge posts that remain attached to the toilet bowl.
Step 4: Clean the Hinge Posts
The hinge posts are still attached to the toilet. You can lift them slightly to clean around their base. Some quick-release systems allow the hinge posts themselves to be removed with further effort, often by unscrewing a bolt from underneath, similar to standard hinges.
Consult your seat’s manual if you’re unsure.
Step-by-Step: Removing a Concealed Hinge Toilet Seat
Concealed hinges often offer a cleaner aesthetic but can be a bit trickier to figure out initially.
Step 1: Find the Access Point
Look very closely at the hinge covers. There’s usually a small tab, a push-button, or a section that slides or lifts to reveal the fixing mechanism. Sometimes, you need to lift the plastic cover slightly to see where it attaches to the bolt.
Step 2: Release the Fixing Mechanism
Once you’ve found the access point, follow the instructions for your specific seat. This might involve:
- Pushing a button that retracts a locking pin.
- Using a screwdriver to turn a cam lock.
- Lifting a lever.
Step 3: Detach the Seat
After the mechanism is released, the seat should detach from the concealed hinge housing. You might need to gently lift or pull the seat away.
Step 4: Unscrew the Housing (If Necessary)
In some concealed hinge designs, the entire hinge housing is secured by a bolt from underneath. If the seat detaches but the housing remains, you’ll need to locate the bolt underneath the toilet rim and unscrew it, similar to a standard seat removal.
Deep Cleaning the Toilet Seat and Bowl Area
Now that your toilet seat is off, it’s time for that deep clean!
Cleaning the Toilet Seat
- Initial Wipe Down: Use disinfectant wipes or a damp cloth with some all-purpose cleaner to remove loose dirt and grime from the seat and lid.
- Scrubbing: For tougher grime, use your bathroom cleaner and an old toothbrush or scrub brush. Pay close attention to the underside of the seat, the hinges, and any nooks and crannies. These areas can harbor a surprising amount of bacteria.
- Disinfection: After scrubbing, use a disinfectant spray or wipes to kill germs. Let it sit for the recommended contact time before wiping it clean.
- Rinse and Dry: Wipe down the seat with a clean, damp cloth to remove any cleaner residue. Then, dry it thoroughly with a clean towel or paper towels.
Cleaning the Toilet Bowl Area
This is where you’ll see the real benefit of removing the seat.
- The Rim: The area under the toilet seat hinges is a prime target for bacteria and grime buildup. Use your chosen bathroom cleaner and a scrub brush or toothbrush to get into all the crevices around the bolt holes. Don’t neglect the ceramic surface where the seat base sits.
- The Bolt Holes: If you have a standard seat, the bolt holes in the toilet bowl rim can collect residue. Use a small brush to clean these out thoroughly.
- General Bowl Cleaning: Now that the area is clear, give the entire toilet bowl a good scrub with your toilet brush and cleaner.
Reattaching the Toilet Seat
Putting the seat back on is essentially the reverse of removal.
Step 1: Position the Seat
Place the toilet seat back onto the toilet bowl, aligning the hinges with the bolt holes.
Step 2: Insert the Bolts
Guide the bolts through the hinge mechanisms and into the holes on the toilet bowl.
Step 3: Secure the Nuts
From underneath the toilet bowl rim, screw the nuts back onto the bolts.
- Hand-tighten first: Get them snug by hand.
- Tighten with tools: Use your pliers or wrench to tighten the nuts until the seat is secure. Be careful not to overtighten, as this can crack the porcelain or strip the bolt threads. The seat should not wobble or slide around.
- Check alignment: Make sure the seat is centered on the bowl before tightening completely.
Step 4: Replace Hinge Covers
Snap or push the hinge covers back into place.
Troubleshooting Common Issues
Sometimes, things don’t go as smoothly as planned. Here are a few common problems and how to solve them.
Nuts Are Stuck or Rusted
This is especially common with older metal nuts.
- Penetrating Oil: Spray a rust-penetrating fluid (like WD-40) onto the nuts and let it sit for 15-30 minutes. This can help loosen rust. Reapply if necessary.
- Gentle Force: Try to loosen the nuts again with your wrench or pliers.
- Cutting the Bolt: As a last resort, if the nuts simply won’t budge and you’re determined to remove the seat, you might need to cut the bolt. A small hacksaw or a rotary cutting tool with a metal cutting disc can be used. Be very careful not to damage the toilet bowl itself. You can see how to handle some common DIY fixes on various DIY forums.
Bolts Spin in Place
If the bolt on top spins as you try to loosen the nut underneath, the bolt threads might be stripped or the bolt head is not getting enough grip.
- Hold the Bolt: Try to get a firm grip on the bolt head with a suitable screwdriver. This is usually the most effective solution.
- Use Pliers Directly on the Bolt Head: If the bolt head is accessible, you might be able to use pliers to hold it while you turn the nut.
Broken Hinges or Plastic Parts
If a hinge breaks during removal, you might need to replace the entire toilet seat. It’s often more economical than trying to repair broken plastic hinges.
How Often Should You Deep Clean Your Toilet Seat?
For most households, removing the toilet seat for a deep clean every 3-6 months is a good idea. If you have frequent guests, young children, or pets, you might want to do it more often, perhaps quarterly. Regular cleaning of the seat surface reduces the need for full removal, but this deep clean ensures you get all the hidden grime.
Just like your vacuum filters need regular attention, your toilet seat needs occasional deep cleaning. You can learn how often you should replace vacuum filters as a reference for general home maintenance frequency.
Conclusion
Removing your toilet seat for a deep clean might seem like a daunting task, but it’s a straightforward DIY job. By identifying your hinge type, gathering the right tools, and following these steps, you can easily detach your seat and give your toilet a truly thorough clean. A clean toilet is basic home hygiene, and tackling the hidden spots like under the seat contributes significantly to a healthier bathroom environment.
So, don’t let that grime build up! Grab your tools and give your toilet the deep clean it deserves.


Similar Posts



















