How to Replace Toilet Seat Hinges Only
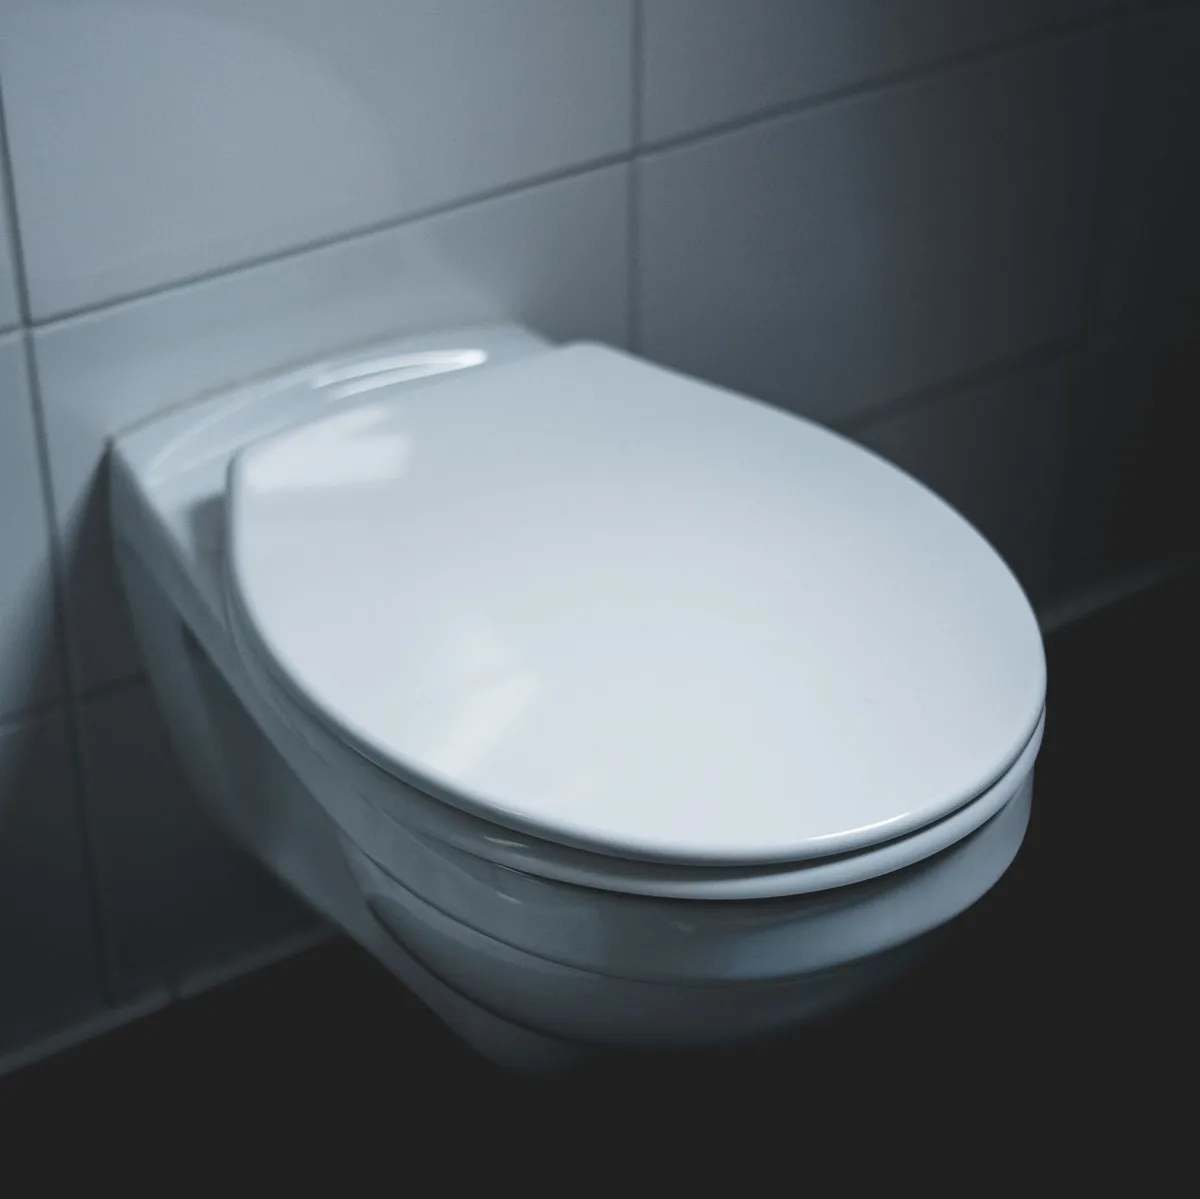
That wobbly toilet seat. It’s a common annoyance, right? You’ve probably tightened the bolts a million times, only for it to loosen up again.
Most of the time, the culprit isn’t the entire toilet seat, but just the hinges. Replacing just the hinges is a surprisingly simple DIY task that can save you money and get your bathroom back in order. Forget buying a whole new seat; we’re focusing on the small but mighty parts that hold it all together.
We’ll walk through exactly how to swap out those worn-out toilet seat hinges. It’s less about plumbing and more about a straightforward hardware fix. You don’t need specialized tools, just a few common household items.
Let’s get this done.
Why Replace Just the Hinges?
Constantly dealing with a loose or broken toilet seat can be incredibly frustrating. Before you assume you need a whole new seat, consider the hinges.
Durability of Modern Toilet Seats
Many toilet seats today are built to last. The plastic or wood itself is often quite robust. The hinges, however, are exposed to repeated stress, moisture, and cleaning chemicals.
They’re the component most likely to wear out or break first. Replacing just this part extends the life of your existing seat and is more cost-effective.
Cost Savings
A new toilet seat can range from $20 to well over $100, depending on features and material. Replacing only the hinges is a fraction of that cost. You might find replacement hinge kits for as little as $10 to $20.
This makes it a smart budget-friendly solution.
Environmental Impact
By choosing to replace only the broken part, you’re reducing waste. Instead of discarding a perfectly good seat, you’re simply upgrading a single component. It’s a small step towards a more sustainable approach to home maintenance.
Simplicity of the Task
Honestly, replacing toilet seat hinges is not a difficult job. It requires minimal tools and a little bit of patience. You don’t need to be a handyman to successfully complete this.
Understanding Your Toilet Seat Hinges
Before you can replace them, it’s helpful to know what you’re dealing with. Toilet seat hinges come in a few common styles. Most attach to the toilet bowl with two bolts, and the seat itself then clips or screws onto these hinges.
Types of Toilet Seat Hinges
- Standard Bolt-Down Hinges: These are the most common. They consist of a long bolt that passes through the back of the toilet bowl rim. A nut on the underside secures the hinge to the bowl. The seat then attaches to the top of these hinges.
- Quick-Release Hinges: These allow you to lift the seat straight off for easier cleaning. They often have a lever or button mechanism. The underlying attachment to the bowl is usually similar to standard hinges but with an additional release feature.
- Top-Fix/Top-Mount Hinges: These are designed for toilets where access to the underside of the bolt holes is difficult or impossible. The hinge is secured directly into the top of the toilet bowl, often with a special anchor that expands.
The replacement process will vary slightly depending on which type you have. Most aftermarket hinge kits are designed to be universal, but it’s always a good idea to check compatibility before buying.
What You’ll Need: Tools and Materials
Gathering your supplies beforehand makes the job much smoother. You probably already have most of these items around the house.
Essential Tools
- Screwdriver: A Phillips head screwdriver is most common. Some hinges might use a flathead, so having both on hand is wise.
- Pliers or Adjustable Wrench: You’ll need these to hold or turn the nuts securing the bolts under the toilet bowl.
- Penetrating Oil (Optional but helpful): If the bolts or nuts are old and corroded, a spray of penetrating oil can make them much easier to loosen.
- Rag or Old Towel: For wiping up any drips and general cleanup.
- Gloves (Optional): If you prefer not to touch the old hardware.
Replacement Hinges
This is the crucial part. You need to buy a replacement hinge kit.
- Compatibility Check: Measure your current hinges. Note the distance between the bolt holes on your toilet bowl. Most standard seats have a bolt spread of about 5.5 to 6.5 inches.
- Hinge Material: They usually come in plastic, metal, or a combination. Plastic is common and cost-effective. Metal ones might offer more durability.
- Universal Kits: Many kits are sold as “universal” replacement parts. These are designed to fit most standard toilet seats. They typically include new bolts, nuts, and washers.
You can find these hinge kits at most hardware stores, home improvement centers, or online retailers.
Step-by-Step Guide to Replacing Toilet Seat Hinges
Let’s get down to business. This process is straightforward.
Step 1: Remove the Old Toilet Seat
First, you need to detach the entire toilet seat from the bowl.
- Locate the Bolts: Look at the back of the toilet seat where it meets the bowl. You’ll see two round or oval caps covering the bolts.
- Pry Open the Caps: Carefully use a flathead screwdriver or even your fingernail to gently pry open these caps. They should snap open, revealing the bolt heads.
- Loosen the Nuts: Underneath the rim of the toilet bowl, you’ll find the nuts that hold the bolts in place. You might need to use your screwdriver to hold the bolt head still on top while you use pliers or a wrench to turn the nut from underneath. Lefty-loosey!
- Remove the Seat: Once the nuts are off, the old toilet seat should lift straight off the bowl.
Image source: Pexels / Jonas Thomann (Pexels License)
Pro Tip: If the nuts are really stuck, a quick spray of penetrating oil can work wonders. Let it sit for a few minutes before trying again.
Step 2: Detach the Old Hinges from the Seat
Now, you’ll separate the old hinges from the toilet seat itself.
- Examine the Hinge Connection: The hinges are usually attached to the toilet seat with screws.
- Unscrew the Old Hinges: Use your screwdriver to remove these screws. Keep the screws, as some replacement kits might not include new ones, and these might be fine to reuse if they aren’t damaged.
- Separate the Parts: Once the screws are out, you can pull the old hinges away from the toilet seat. You should now have the loose toilet seat and the separate old hinges.
Step 3: Attach the New Hinges to the Toilet Seat
This is where the new parts come into play.
- Position the New Hinges: Line up your new hinges with the screw holes on the toilet seat. Most hinges are designed to fit the existing mounting points.
- Secure the Hinges: Use the screws (either new ones from the kit or your old ones) to firmly attach the new hinges to the toilet seat. Tighten them securely, but don’t overtighten, as you could strip the plastic or crack the seat. Make sure the hinges are facing the correct direction, ready to align with the bolt holes on the toilet bowl.
Step 4: Reattach the Seat to the Toilet Bowl
Now, it’s time to put it all back together.
- Position the Seat: Place the toilet seat, with its new hinges attached, onto the toilet bowl. Align the hinges with the bolt holes in the back of the bowl.
- Insert the New Bolts: Feed the new bolts (from your replacement kit) down through the hinges and the holes in the toilet bowl.
- Attach the Nuts: From underneath the toilet bowl rim, screw on the new nuts. Hand-tighten them first.
- Align and Tighten: Ensure the toilet seat is centered and straight on the bowl. Then, use your pliers or wrench to tighten the nuts. You’ll want them snug but not so tight that you risk cracking the porcelain. Again, hold the bolt head from above with your screwdriver while tightening the nut from below.
- Test the Fit: Gently lower the seat and lid. Check for wobble. If it’s still loose, tighten the nuts a bit more. If it’s too tight and the seat feels strained, loosen them slightly.
Step 5: Final Touches
- Install Bolt Covers: If your new hinges came with decorative caps or covers, snap them into place over the bolt heads.
- Clean Up: Wipe away any dust or residue. Dispose of the old hardware.
Congratulations! You’ve just replaced your toilet seat hinges. That wobbly seat should now feel solid and secure.
Troubleshooting Common Problems
Even with simple DIY jobs, you might run into a snag. Here are a few common issues and how to fix them.
The Bolt/Nut Won’t Budge
This is often due to rust or mineral buildup.
- Penetrating Oil: As mentioned, this is your best friend. Apply generously and let it soak in for at least 15-30 minutes, or even overnight if possible.
- Heat: Sometimes, carefully applying heat from a hairdryer (not a torch!) to the nut can help it expand slightly, breaking the bond. Be cautious not to overheat or melt plastic parts.
- Hacksaw/Bolt Cutters: In extreme cases, you might need to resort to cutting the bolt. This is a last resort, of course, as it’s destructive.
New Hinges Don’t Fit
Sometimes, even “universal” kits have slight variations.
- Bolt Spread: Double-check that your new hinges match the bolt spread of your toilet bowl. Some bowls have slightly non-standard measurements.
- Hinge Design: Ensure the hinge mechanism itself is compatible. For example, if you have a quick-release seat, the new hinge needs to support that feature. Sometimes you might need to purchase a specific kit from the toilet seat manufacturer.
Seat is Still Wobbly After Replacement
This usually means one of two things:
- Not Tight Enough: The most common reason. Go back and tighten the nuts as much as you can without damaging the porcelain.
- Worn Seat Mounts: The plastic fittings on the toilet seat itself where the hinges attach might be worn or cracked, causing the wobble. In this case, you might indeed need a new toilet seat after all.
Maintaining Your New Hinges
Once you’ve got your new, sturdy hinges, a little care goes a long way.
Regular Cleaning
Wipe down your toilet seat and hinges regularly with a mild bathroom cleaner. Avoid harsh abrasive cleaners or solvents that can damage the plastic or finish of the hinges. A soft cloth is ideal.
If you have a particularly tough stain, try a paste of baking soda and water.
Check Tightness Periodically
Even with new hardware, it’s a good idea to check the tightness of the nuts every few months. Vibrations from flushing or general use can cause them to loosen slightly over time.
Avoid Excessive Force
Don’t slam the toilet seat down. This puts unnecessary stress on the hinges and can lead to premature wear, even with new parts. Gently lower both the seat and the lid.
When to Consider a Full Toilet Seat Replacement
While replacing just the hinges is often the best solution, there are times when a full toilet seat replacement is necessary.
- Cracked or Damaged Seat: If the toilet seat itself is cracked, chipped, or significantly damaged, it’s time for a new one. This can be a hygiene issue.
- Widespread Damage: If multiple parts of the seat and lid seem worn out, or if the hinge mounting points on the seat are stripped and cannot hold screws securely, a new seat is a better investment.
- Outdated or Uncomfortable Seat: If your current seat is uncomfortable, outdated in style, or lacks modern features you desire (like a soft-close mechanism), a complete replacement might be preferable.
- Specialty Toilets: Some designer toilets or those with unique shapes might use proprietary hinge systems. In these cases, you might need to buy a specific replacement seat designed for that model.
Conclusion
Replacing toilet seat hinges is a small fix with a big impact on your daily comfort and bathroom’s appeal. It’s an economical, straightforward, and environmentally conscious choice. By following these steps, you can easily tackle this task and enjoy a stable, wobble-free toilet seat once again.
Don’t let a loose seat be a constant bother; a few minutes of your time can resolve it.
This quick repair demonstrates that not every home maintenance issue requires calling a professional or buying an entirely new product. Sometimes, focusing on the individual components is all it takes.


Similar Posts




















[…] process depends on the type of toilet seat hinges your toilet has. Most modern seats use bolts that screw into nuts located underneath the ceramic. Older […]