How to Replace a Shower Diverter Valve
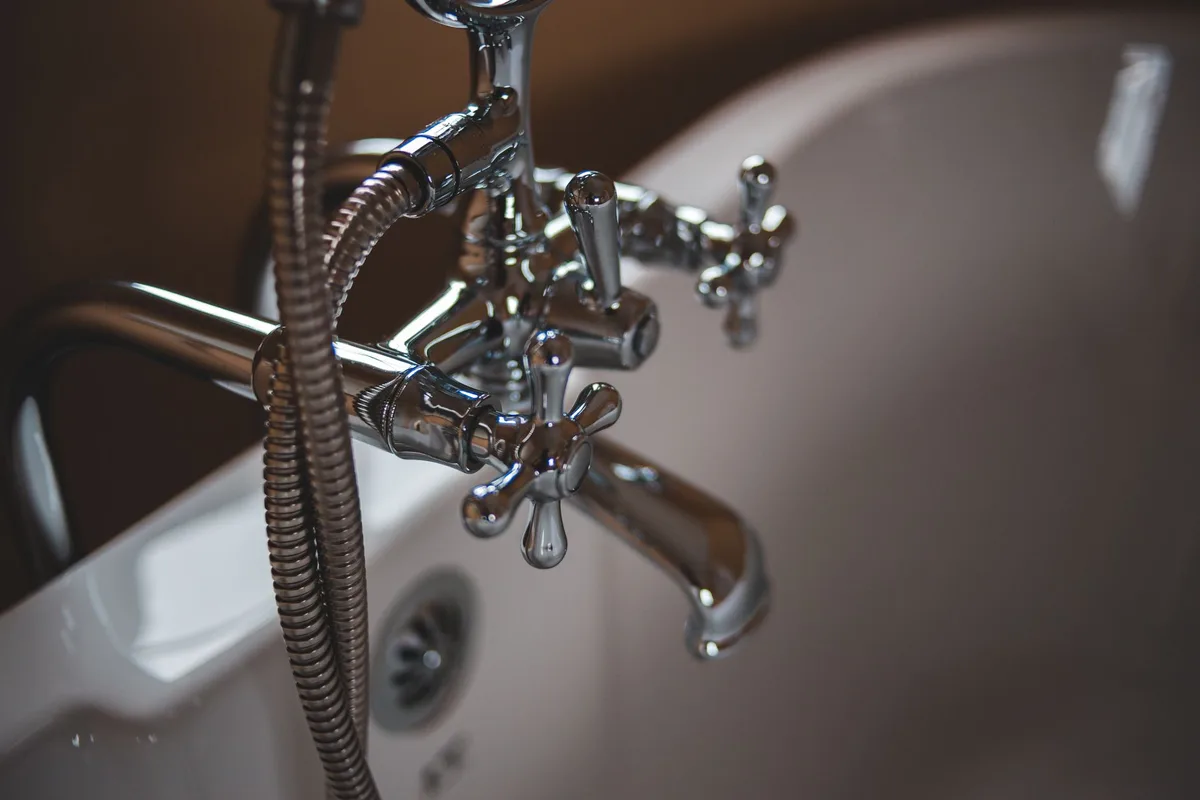
That annoying drip, a shower that won’t switch to the handheld attachment, or just a general funkiness in your shower operation? It sounds like your shower diverter valve might be on its last legs. Don’t sweat it, though.
Replacing a shower diverter valve is a totally manageable DIY job. You don’t need to be a master plumber to fix this. With a few basic tools and this guide, you’ll have your shower running like new again.
We’ll walk you through everything, from identifying the problem to testing your new valve.
Why Your Shower Diverter Valve Might Be Failing
Before we dive into the replacement process, let’s chat about why this little part might be causing trouble. The diverter valve is the unsung hero of your shower. It’s responsible for directing water flow either to your fixed showerhead or to your handheld wand.
When it’s working, you barely notice it. When it’s not, things get… unpleasant.
Common culprits for a failing diverter usually boil down to wear and tear. Over time, the internal seals or mechanisms can corrode, get gummed up with mineral deposits, or simply become loose. This leads to a few tell-tale signs:
- Leaking: Water might seep from the showerhead or tub spout even when the diverter is in the “off” position for one.
- Stuck: You might struggle to switch between the showerhead and the handheld wand, or one might not work at all.
- Weak Flow: Water pressure seems off, or you notice a significant drop when trying to use the handheld shower.
- Unintended Switching: The water might randomly switch back to the showerhead when you want it on the wand, or vice versa.
These issues are usually a sign that the internal workings of the diverter valve are not sealing properly. Replacing the entire valve is often the most straightforward and effective solution. Sometimes, depending on your faucet, you might be able to replace just the internal cartridge, but a full valve replacement is generally a more robust fix.
Tools and Materials You’ll Need
Gathering your supplies before you start is key to a smooth repair. You don’t want to be halfway through and realize you’re missing a crucial tool. Here’s what you’ll likely need:
- New Shower Diverter Valve: Make sure it’s compatible with your existing shower faucet. Taking pictures of your current setup or the old valve to a hardware store can help.
- Screwdrivers: Both Philips head and flathead will be useful.
- Adjustable Wrench or Pliers: For loosening and tightening nuts.
- Hex Wrench Set (Allen Keys): Some diverter handles use hex screws.
- Utility Knife or Putty Knife: To gently pry off trim pieces.
- Plumber’s Grease or Silicone Lubricant: For lubricating new seals.
- Teflon Tape (Pipe Thread Tape): To ensure watertight connections.
- Rag or Towel: For wiping up water and protecting surfaces.
- Bucket: To catch any residual water.
- Safety Glasses: Always protect your eyes!
- Flashlight: To see into those dark nooks and crannies.
- Optional: Mineral Deposit Remover: If you suspect buildup is an issue.
Image source: Pexels / Erik Mclean (Pexels License)
Step-by-Step: How to Replace Your Shower Diverter Valve
Now let’s get down to business. Follow these steps carefully for a successful replacement.
Step 1: Shut Off the Water Supply
This is the absolute first and most critical step. You do not want to be loosening pipes with water still flowing.
- Locate Your Main Water Shut-Off Valve: This is usually in your basement, crawl space, or near your water heater.
- Turn the Valve Off: Rotate it clockwise until it’s fully closed.
- Test: Turn on a faucet elsewhere in your home (like a sink) to confirm the water is off. It should only trickle out or stop completely.
Step 2: Remove the Shower Handle and Trim Plate
This is where you’ll start to see the inner workings.
- Find the Handle Screw: Most shower handles have a small screw or set screw that secures them. It’s often hidden beneath a decorative cap or plate.
- Pry Off the Cap (if necessary): Gently use a flathead screwdriver or utility knife to pop off any trim cap covering the screw. Be careful not to scratch the finish.
- Remove the Screw: Use the appropriate screwdriver (Philips, flathead, or hex key) to remove the screw. Keep it in a safe place!
- Pull Off the Handle: Once the screw is out, the handle should pull straight off. You might need to wiggle it a bit. If it’s stuck, avoid excessive force. Sometimes a handle puller tool is needed, or a little gentle persuasion with a rubber mallet.
- Remove the Trim Plate: After the handle is off, you’ll see a decorative trim plate. This might be held on by screws or simply press-fit against the wall. Remove any visible screws. If it’s press-fit, carefully use your putty knife or utility knife to gently pry it away from the wall.
Step 3: Access the Diverter Valve
With the handle and trim removed, you can now see the main valve body. The diverter mechanism is usually part of, or attached to, this main valve.
- Identify the Diverter: Depending on your faucet’s design, the diverter might be a stem that pulls out, a knob that turns, or a cartridge that’s threaded into the main valve. It’s the part directly behind where the handle was, responsible for the showerhead/wand switch.
- Loosen Retaining Nuts or Screws: You might see a large nut or several smaller screws holding the diverter mechanism in place. Use your adjustable wrench or pliers to loosen and remove these. Go slowly and carefully.
Step 4: Remove the Old Diverter Valve
This is where things get a bit more hands-on.
- Carefully Extract the Valve: Once any retaining nuts or screws are removed, the diverter valve should be removable. You might need to gently pull it straight out. If it feels stuck, check for any missed screws or if mineral deposits are acting like glue. A little gentle wiggling is usually fine.
- Inspect the Valve Seat: As you pull the diverter out, look inside the valve body where it was seated. This is the “valve seat.” Check for any debris, corrosion, or damage. Sometimes, the problem isn’t the diverter itself but a damaged seat.
Step 5: Install the New Diverter Valve
Now it’s time to put in the shiny new part.
- Prepare the New Valve: If your new valve has any rubber seals or O-rings, apply a thin layer of plumber’s grease or silicone lubricant to them. This helps them seal properly and makes installation easier.
- Insert the New Valve: Align the new diverter valve with the opening in the main valve body. It should slide in smoothly. Make sure it’s oriented correctly, often there’s a specific way it needs to fit.
- Secure the New Valve: Reinstall any retaining nuts or screws you removed. Tighten them snugly with your wrench or pliers. Don’t overtighten, as this can damage the new valve or the faucet body.
- Re-apply Teflon Tape (if needed): If the diverter threads into your spout or some other component, wrap the threads with Teflon tape about 3-4 times clockwise. This helps create a watertight seal.
Step 6: Reassemble the Trim and Handle
You’re almost done! Now, just put everything back the way it was.
- Replace the Trim Plate: Slide the trim plate back into position against the wall. Secure it with its screws, if applicable.
- Reattach the Shower Handle: Slide the handle back onto the diverter stem.
- Replace the Handle Screw: Insert and tighten the screw that holds the handle in place. Don’t forget to pop the decorative cap back on if there was one.
Step 7: Turn the Water Supply Back On and Test
The moment of truth!
- Turn Water On Gradually: Slowly turn your main water shut-off valve back on, counter-clockwise.
- Check for Leaks: With the water on, carefully inspect around the diverter valve, trim plate, and any connections you touched for any signs of dripping or leaks.
- Test the Diverter: Turn on your shower. Test the diverter mechanism to ensure it smoothly switches water flow to both the showerhead and the handheld wand. Check that water only comes out of the selected outlet.
If everything is working perfectly, congratulations! You’ve successfully replaced your shower diverter valve. If you still notice leaks or operational issues, don’t panic.
It’s possible a seal isn’t seated correctly, or you might have a more complex issue with the main valve body itself. In that case, it might be time to call a professional plumber.
Common Shower Diverter Valve Types Explained
Understanding the different types of diverter valves can help you identify what you have and what you need. While the replacement process is generally similar, knowing the type can make purchasing the correct replacement part much easier.
1. Tub Spout Diverter (Pull-Up or Push-Down)
This is probably the most common type for bathtubs. The diverter mechanism is built directly into the tub spout itself.
- How it works: You typically pull a knob or a plunger located on the spout to send water up to the showerhead. Pushing it back down (or letting it retract) sends water back down to the tub spout.
- Replacement: For these, you’re often replacing the entire spout assembly, or sometimes just the internal diverter piece if it’s designed to be serviced separately. This involves unscrewing the spout from the pipe threaded into the wall.
2. Two-Handle Faucet Diverter
In older or traditional shower setups with two separate handles (one for hot, one for cold), the diverter is usually a separate piece.
- How it works: One handle controls water flow, and the other, often a smaller knob or lever, operates the diverter to switch between the showerhead and tub spout.
- Replacement: This type often involves removing an escutcheon plate and then accessing a stem-like diverter that needs to be unscrewed or pulled out. Similar to the steps outlined above for a single-handle faucet.
3. Single-Handle Faucet Diverter (Cartridge-Style)
Modern faucets with a single handle typically use a cartridge system. The diverter function can be integrated into this main cartridge or be a separate component attached to it.
- How it works: The single handle controls both temperature and flow. A push, pull, or turn of another part of the handle or a secondary knob switches the water from the tub spout to the showerhead.
- Replacement: This is the most common scenario we’ve detailed in the main guide. It involves removing the handle, trim plate, and then accessing the diverter cartridge or stem, which is often threaded or held by a retaining clip.
4. Built-in Diverter Valve
Some shower systems have a dedicated diverter valve located within the wall, separate from the main faucet controls. This is more common in complex shower systems or custom installations.
- How it works: This valve might have its own handle or be controlled electronically. It directs water to different outlets like showerheads, body jets, or handheld wands.
- Replacement: Replacing this type can be more involved, sometimes requiring access through an access panel or even cutting into the wall. It’s often best left to professionals unless you have significant plumbing experience.
Knowing which type you have is the first step in ensuring you purchase the correct replacement part. Always double-check compatibility with your existing faucet brand and model if possible.
Tips for a Smooth Shower Diverter Replacement
Even with a good guide, a little extra know-how can prevent common pitfalls.
- Document Everything: Before you start taking things apart, take pictures with your phone. Snap shots of the handle, trim, and how the diverter is seated. This visual record is invaluable for reassembly, especially if you get interrupted.
- Work Cleanly: Place a towel or rag over your drain to prevent small parts from falling in. Keep your workspace tidy so you don’t lose screws or washers.
- Don’t Force It: If a part feels stuck, don’t yank on it. There’s usually a reason it’s resisting. Look for hidden screws, try gentle wiggling, or consider applying a penetrating oil (if metal-on-metal and you can protect the finish).
- Faucet Manufacturer Resources: If you know the make and model of your faucet, check the manufacturer’s website. They often have specific diagrams, troubleshooting guides, and even video tutorials for their products. This is a great way to ensure you get the right part and understand your specific mechanism.
- Match the Part Exactly: When buying a replacement diverter, try to match your old part precisely. Minor differences can prevent it from fitting or sealing correctly. If you can’t find an exact match, take the old part with you to the store to compare. Make sure to check for compatibility with shower filter systems if you have one.
- Consider Replacing the Whole Cartridge: In many single-handle faucets, the diverter mechanism is part of the main valve cartridge. If your cartridge is old, replacing the entire cartridge along with the diverter might be a wise preventative measure and could fix other flow issues too.
Replacing a shower diverter valve might seem daunting, but it’s a realistic DIY project. Taking your time, following these steps, and having the right tools will ensure you can enjoy a properly functioning shower again soon.


Similar Posts



















