How to Clean Shower Head Flow Restrictor
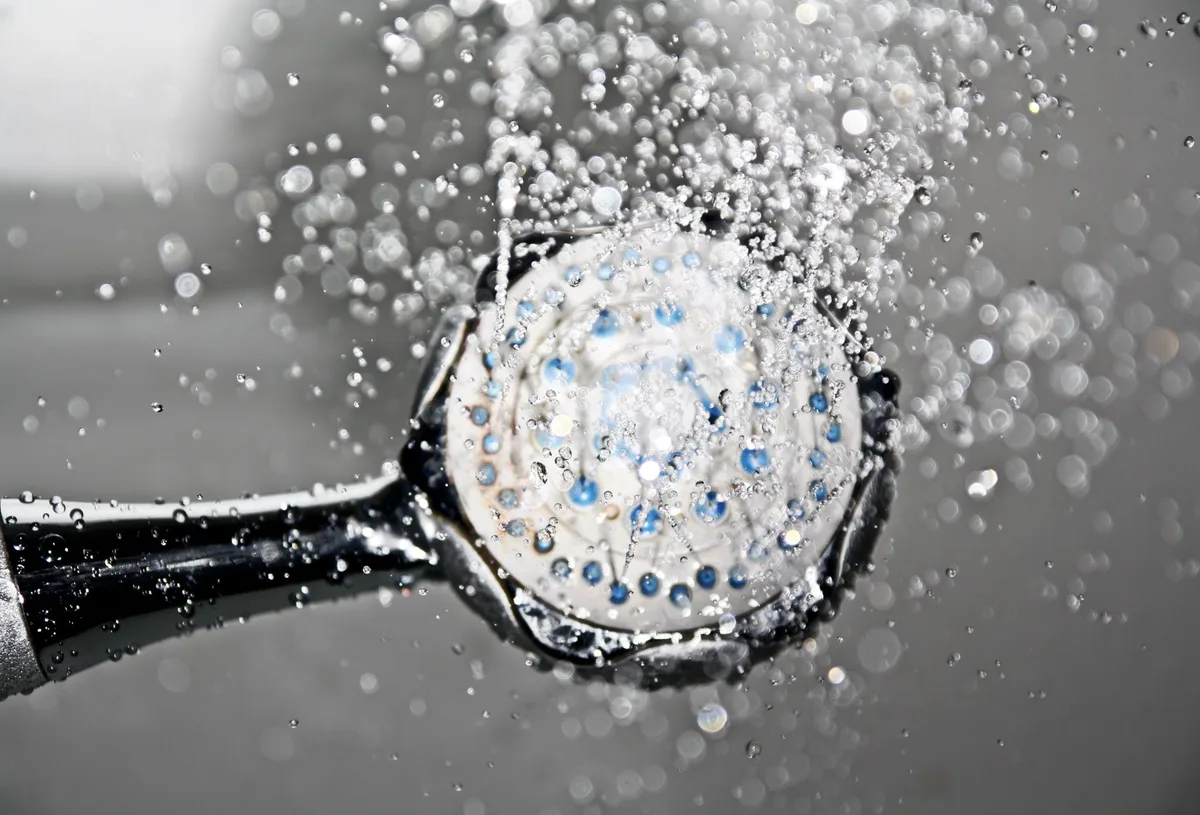
Got a shower head that’s more of a dribble than a downpour? You’re not alone. Over time, mineral deposits, limescale, and general gunk can build up inside your shower head, clogging those crucial little holes and, most importantly, the flow restrictor.
This small, often overlooked component is key to water conservation, but when it gets blocked, your shower experience suffers.
Don’t let a weak spray ruin your morning routine. Cleaning out your shower head’s flow restrictor is a surprisingly simple DIY task. With a few common household items and a little bit of patience, you can bring back the satisfying pressure you’re used to.
We’ll walk you through exactly how to do it, step by step, so you can get back to enjoying a truly revitalizing shower.
Understanding the Flow Restrictor
Before we dive into the cleaning process, let’s quickly talk about what a flow restrictor actually is. It’s a tiny plastic or rubber piece, often disc-shaped, that sits inside your shower head. Its primary job is to limit the amount of water that flows through the shower head per minute.
This is mandated by regulations in many regions to help conserve water and reduce energy costs associated with heating that water.
While essential for water saving, these restrictors can become culprits in shower head performance issues. When they get clogged with mineral buildup from hard water, think calcium and magnesium, they can significantly reduce water pressure. That’s where cleaning comes in.
How to Disassemble Your Shower Head
Most shower heads are designed for relatively easy homeowner maintenance. You won’t need a degree in engineering to get to the flow restrictor.
Step 1: Gather Your Supplies
Before you start, make sure you have everything you need. This will make the process much smoother.
- Adjustable wrench or pliers: To loosen the shower head from the shower arm.
- Rag or cloth: To protect the finish of your shower head from the wrench.
- Small bowl or container: To hold the disassembled parts.
- White vinegar: The star player for dissolving mineral deposits.
- Old toothbrush or small cleaning brush: For scrubbing stubborn gunk.
- Toothpick or pin: To dislodge any remaining debris.
- Teflon tape (optional but recommended): For reassembling to ensure a watertight seal.
Step 2: Detach the Shower Head
First, wrap your rag around the base of the shower head where it connects to the shower arm. This protects the chrome or finish from scratches. Use your adjustable wrench or pliers to gently turn the shower head counter-clockwise.
It should loosen and come off the shower arm. If it’s very tight, try applying a little more steady pressure. Sometimes, a bit of wiggling can help.
Step 3: Locate and Remove the Flow Restrictor
Once the shower head is off, look inside the threaded end that was attached to the shower arm. You’ll likely see a small screen or a plastic piece. This is usually where the flow restrictor is located.
Sometimes, it’s a small plastic disc. You might need to gently pry it out with a small flathead screwdriver or a toothpick. Be careful not to damage it, as you’ll want to put it back.
In some designs, the restrictor is integrated into a larger piece, like a rubber washer. Note how it’s positioned so you can reassemble it correctly.
The Vinegar Soak: Dissolving the Gunk
White vinegar is your best friend when it comes to tackling limescale and mineral buildup. Its acidity breaks down these deposits effectively.
Step 4: Soak the Flow Restrictor and Shower Head Parts
Place the flow restrictor, and any other small parts you removed from the shower head, into your small bowl or container. Pour enough white vinegar into the container to completely submerge these pieces.
If you’re dealing with a lot of buildup on the main shower head body as well, you can soak the entire shower head in a larger container or even a plastic bag filled with vinegar. Just make sure the affected areas are covered.
Let the parts soak for at least 30 minutes. For heavily clogged shower heads, you might need to soak them for a few hours or even overnight. You should start to see the mineral deposits beginning to loosen and flake away.
Cleaning and Reassembly
After soaking, it’s time to scrub and put everything back together.
Step 5: Scrub and Rinse
Remove the flow restrictor and other parts from the vinegar solution. Use your old toothbrush or small cleaning brush to scrub away any remaining residue. Pay attention to any nooks and crannies.
If some stubborn bits remain, a toothpick or a pin can be used to gently dislodge them. Rinse all the parts thoroughly under running water to remove all traces of vinegar and loosened debris.
Step 6: Reassemble the Shower Head
This is the reverse of disassembly.
First, reinsert the cleaned flow restrictor into its original position within the shower head. Make sure it’s seated correctly. If there was a screen or washer, ensure it’s in place.
If you are reattaching the shower head to the shower arm, it’s a good idea to wrap some Teflon tape around the threads of the shower arm. This helps create a watertight seal and prevents leaks.
Now, screw the shower head back onto the shower arm clockwise. Hand-tighten it first. Then, use your wrench or pliers (with the protective rag in place!) to give it a final snug turn.
Don’t overtighten it, as this can damage the threads.
Testing Your Restored Shower Head
Now for the moment of truth: turning on the water!
Step 7: Test the Water Pressure
Turn on your shower. You should immediately notice a difference in water pressure. The spray should be stronger and more evenly distributed.
If you still have weak pressure, it’s possible there’s more buildup deeper inside the shower head that the soak didn’t fully reach, or the restrictor might be damaged. You might consider repeating the process or exploring options for replacing the shower head.
Troubleshooting and Maintenance Tips
Sometimes, things don’t go perfectly, or you might want to know how to prevent this from happening again.
Dealing with Stubborn Clogs
If the vinegar soak didn’t fully do the trick, you might need a stronger approach or a replacement part. For incredibly stubborn mineral buildup, some people use a commercial limescale remover, but always follow the product instructions carefully and ensure it’s safe for your shower head’s materials. If the flow restrictor itself appears physically damaged or warped, it might be time to buy a replacement.
You can usually find generic replacements at hardware stores or online.
Preventing Future Buildup
The best offense is a good defense. Here’s how to keep your shower head performing optimally:
- Regular Cleaning: Aim to clean your shower head every 1-3 months, depending on your water hardness. A quick vinegar soak as described above can be done periodically.
- Water Softener: If you have very hard water, consider installing a whole-house water softener. This significantly reduces mineral content in all your water, protecting all your fixtures and appliances. You can also find smaller, shower-specific water softeners that attach to the shower arm.
- Wipe Down After Use: A quick wipe of the shower head with a dry cloth after each use can help prevent water spots and mineral buildup from forming in the first place.
- Check Vacuum Filter Replacement Schedule: While not directly related to your shower head, understanding filter replacement cycles for other household items can give you a general sense of routine maintenance. For instance, knowing how often you should replace your vacuum filter helps create a habit of checking various components.
- Periodic Flushes: Occasionally, remove the shower head and run hot water through the shower arm for a minute or two. This can help flush out any loose debris that might be lurking in the plumbing.
When to Consider Replacing Your Shower Head
While cleaning can work wonders, sometimes a shower head is simply past its prime. If you’ve tried cleaning it multiple times and still experience poor pressure, or if the shower head is old and corroded, it might be time for a new one. Modern shower heads often have more efficient designs and better ways to combat mineral buildup.
For example, some feature rubber nozzles that you can simply rub to break away limescale.
Beyond the Flow Restrictor: Other Pressure Issues
While the flow restrictor is a common culprit, it’s not the only reason for low water pressure. If cleaning your flow restrictor doesn’t solve the problem, consider these other possibilities:
- Clogged Shower Arm: The shower arm itself can accumulate mineral deposits over time. The vinegar soak might have helped this a bit, but sometimes deeper cleaning or replacement is needed.
- Issues with the Shut-off Valve: There’s typically a shut-off valve where the shower arm meets the main water line. If this valve isn’t fully open, it will restrict water flow.
- Problems with the Main Water Supply: In rare cases, the low pressure might be an issue with your home’s main water supply line or something happening at the municipal level. If all your faucets have low pressure, this is a more likely scenario.
- Pinhole Leaks in Pipes: While less common, a pinhole leak in the pipes leading to your shower could also reduce overall pressure.
For any issues related to your home’s plumbing beyond simple fixture maintenance, it’s best to consult a qualified plumber. Common fixes for household issues often start with the simplest solutions, and a clogged flow restrictor is usually at the top of that list.
Conclusion: Enjoy a Better Shower
A weak shower spray can be incredibly frustrating, but it doesn’t have to be a permanent problem. By understanding and cleaning your shower head’s flow restrictor, you can restore optimal water pressure and dramatically improve your showering experience. It’s a satisfying DIY project that saves you money on water bills and results in a much more invigorating wash.
So, grab some vinegar and a toothbrush, and get ready to transform that dribble into a powerful stream!


Similar Posts



















