How to Sew a Mesh Laundry Bag
I’ve been sewing for over a decade, and I still remember the first mesh laundry bag I made. It was a disaster. The seams ripped after three washes, the drawstring tangled into a knot I couldn’t undo, and the mesh fabric frayed like crazy.
I swore I’d never try again.
But I did. And now I’m here to save you from making the same mistakes.
A mesh laundry bag is one of the most useful sewing projects you’ll ever tackle. It protects delicate clothes in the wash, keeps socks from disappearing into the void, and organizes your laundry like nothing else. Store-bought ones cost anywhere from $8 to $20, and they fall apart fast.
The one you make yourself? It’ll last for years.
This guide covers everything you need. The right materials. The best stitches.
The exact measurements that work. I’ll walk you through each step with the kind of detail I wish someone had given me.
Let’s get started.
Why Sew Your Own Mesh Laundry Bag?
You might be thinking, “Why bother? I can buy one for ten bucks.”
Fair question. Here’s why making your own wins every time.
Custom sizing matters. Store-bought bags come in a few standard sizes. Your delicates might need a smaller bag. Your sweaters might need a larger one.
When you sew it yourself, you pick the exact dimensions that fit your laundry routine.
Better quality. Commercial mesh bags often use thin mesh and weak stitching. A handmade bag with reinforced seams and a proper drawstring channel will outlast three store-bought ones.
Cost savings over time. One roll of mesh fabric makes several bags. The materials for a single bag cost about $3 to $5. Compare that to replacing cheap bags every few months.
It’s genuinely easy. If you can sew a straight line, you can make this bag. No complex curves. No tricky fitting.
Just straight seams and a simple channel.
I’ve made about twenty of these over the years for myself and as gifts. Every single person who got one said the same thing: “I didn’t know a laundry bag could be this good.”
Choosing the Right Mesh Fabric
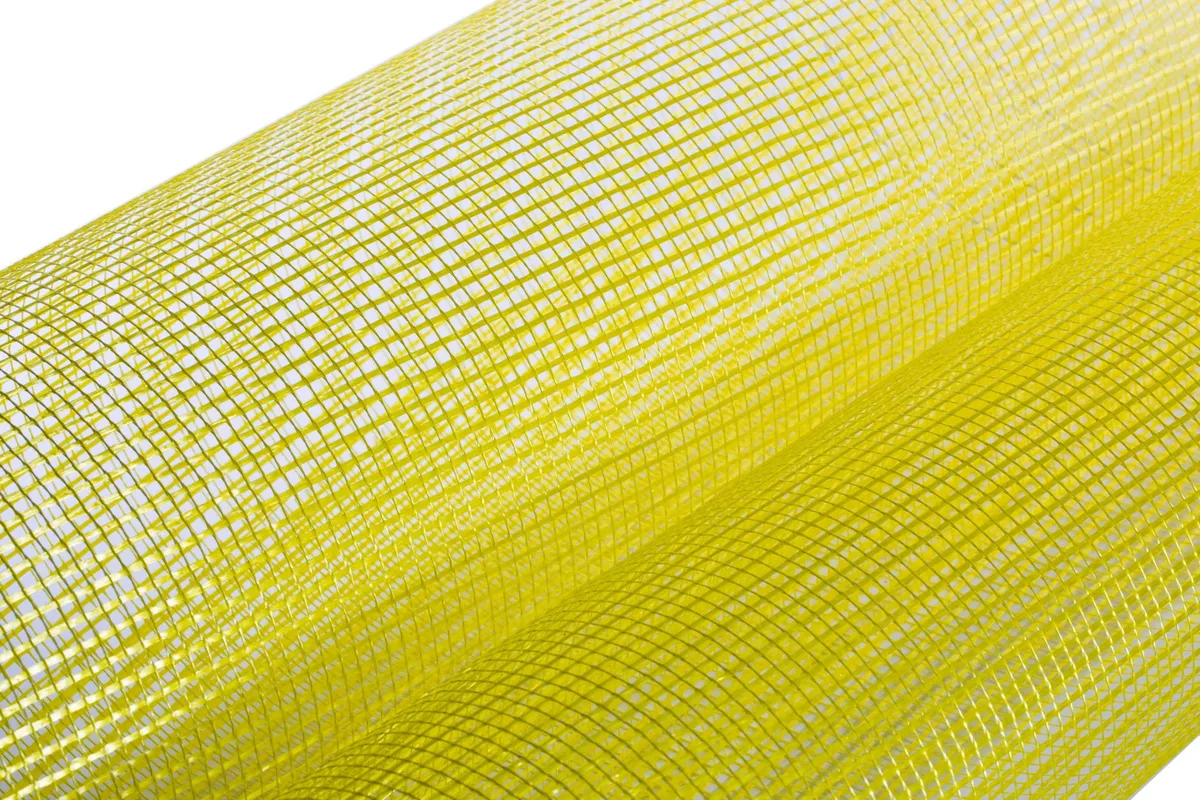
Picking the right mesh is the most important decision you’ll make. Get this wrong, and your bag will fail. Get it right, and you’re golden.
Types of Mesh Fabric
Nylon mesh, This is my top recommendation. It’s lightweight, dries fast, and resists mildew. Nylon mesh handles the agitation of a washing machine better than any other material.
Look for 100% nylon with small to medium holes.
Polyester mesh, A close second. It’s slightly more affordable than nylon and holds up well in warm water. The downside?
It can pill over time if you wash it with rough fabrics like denim.
Cotton mesh, I don’t recommend this for laundry bags. Cotton absorbs water, gets heavy, and takes forever to dry. It also shrinks.
Save it for produce bags or market totes.
Vinyl mesh, This is the stiff, plasticky stuff you see in cheap store bags. Avoid it. It cracks, it gets brittle, and it’s awful to sew.
What to Look For
Check the hole size. For a laundry bag, you want holes small enough to keep socks and underwear from poking through. About 1/16 to 1/8 inch openings work perfectly.
Check the weight. Lightweight mesh (around 1-2 ounces per square yard) is fine for delicates. Medium-weight mesh (3-4 ounces) handles heavier items like sweaters and jeans.
Check the stretch. Pull the fabric diagonally. If it stretches a lot, it’ll be harder to sew and more likely to distort in the wash.
Minimal stretch is better.
I buy my mesh from fabric stores or online retailers that specialize in performance fabrics. If you’re unsure, buy a half-yard first and test it.
Tools and Materials You’ll Need
Here’s everything required for this project. Most of these items you probably already own.
Materials
- 1/2 yard of nylon mesh fabric, This makes one standard-size bag (roughly 18 x 24 inches). Want a larger bag? Get 3/4 yard.
- 1 yard of cotton cord or nylon drawstring, 1/4 inch thick works best. Paracord also works well.
- Thread, Polyester or nylon thread. Do NOT use cotton thread. Cotton rots in damp conditions and will snap.
- Safety pin or bodkin, For threading the drawstring.
Tools
- Sewing machine, A basic machine handles this project easily.
- Sharp scissors or rotary cutter, Mesh dulls blades fast. Keep them sharp.
- Straight pins or clips, Wonder clips work better than pins on mesh because they don’t leave holes.
- Measuring tape or ruler
- Fabric marker or chalk
Optional but Helpful
- Walking foot, If your machine has one, use it. It feeds slippery mesh fabric evenly.
- Ballpoint needle, Size 80/12 works great. The rounded tip slides between mesh fibers instead of cutting them.
- Seam sealant, Fray Check or similar product prevents mesh edges from unraveling.
I made my first bag without a walking foot or ballpoint needle. It worked fine. Those extras just make the process smoother.
Step 1: Cut Your Mesh Fabric
Measure twice, cut once. This applies doubly to mesh because it shifts around so much.
Cut a rectangle measuring 20 inches wide by 26 inches tall. This gives you a finished bag roughly 18 inches wide and 24 inches tall with a 2-inch hem allowance at the top.
Here’s the breakdown:
- 20 inches wide = 18 inches finished width + 1 inch seam allowance on each side
- 26 inches tall = 24 inches finished height + 2 inches for the drawstring channel at the top
If you want a different size, follow this formula: finished width + 2 inches, finished height + 2 inches.
Use a rotary cutter and mat if you have one. It keeps the edges straight and prevents the mesh from pulling. Scissors work too, just cut slowly and carefully.
Pro tip: Stack the mesh double-layer before cutting. You’ll cut both pieces at once, saving time and ensuring they match perfectly.
Step 2: Sew the Side Seams
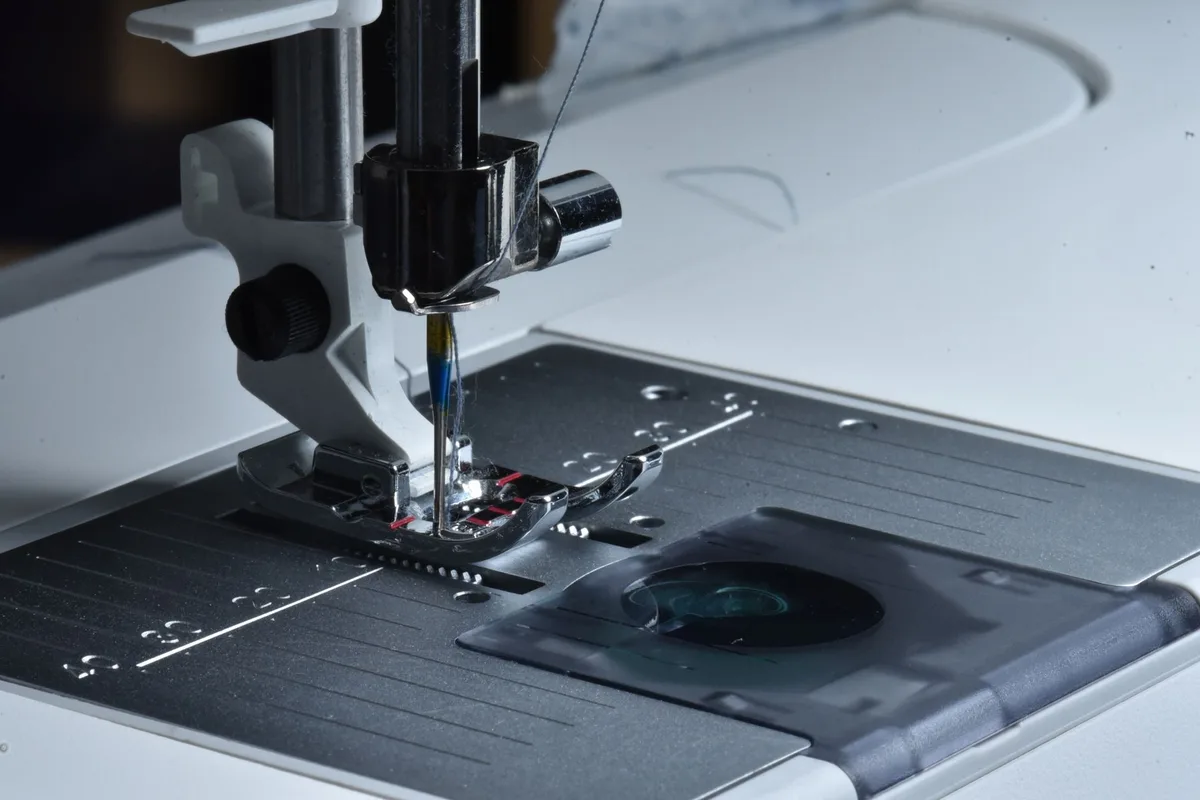
This is where things get real. Mesh fabric behaves differently than cotton or quilting fabric. It’s slippery.
It shifts. It tries to crawl down into the machine’s feed dogs.
Set your machine to a straight stitch, 3 to 3.5 mm length. A slightly longer stitch works better on mesh because it doesn’t bunch up the fabric as much.
Fold your fabric in half with right sides together. The raw edges should align. You should have a rectangle that’s 20 inches wide folded to 10 inches wide.
Pin or clip the side and bottom edges. Place pins perpendicular to the seam line, about every 3 inches. If you’re using pins, put them inside the seam allowance so the needle never hits them.
Sew a 1/2-inch seam down the side and across the bottom. Backstitch at the beginning and end to lock the stitches.
Here’s the trick that changed everything for me: sew slowly. Don’t rush. Let the machine feed the mesh at its own pace.
If you push or pull, the fabric will stretch and your seams will ripple.
After sewing the first seam, go back and sew a second seam 1/4 inch from the first one, inside the seam allowance. This is called a double seam. It reinforces the bag and prevents the mesh from fraying at the edges.
Finish the raw edges with a zigzag stitch or an overlock stitch if your machine has one. This seals the edges and stops fraying. Mesh frays like crazy, so don’t skip this step.
Step 3: Create the Drawstring Channel
The drawstring channel is the pocket at the top of the bag where your cord slides through. Get this right, and your bag will cinch perfectly every time.
Fold the top edge of the bag down by 1/4 inch toward the wrong side. Press it with your fingers. Mesh doesn’t hold a crease like cotton does, so just flatten it as best you can.
Fold it down again, this time by 1 1/2 inches. This creates a clean, finished edge and a channel wide enough for your drawstring.
Pin or clip this folded channel in place. Make sure it’s even all the way around.
Sew close to the folded edge, leaving the sides open. Start sewing 1 inch from one side seam, stitch across the top, and stop 1 inch from the other side seam. Leave those 1-inch gaps open so you can thread the drawstring through later.
Here’s what beginners mess up: they sew the channel closed all the way across, then wonder why they can’t get the string through. Leave those gaps open.
Sew a second line of stitching 1/4 inch from the first line. This creates a wider channel and gives the drawstring room to move freely.
Step 4: Add the Drawstring
Attach a safety pin to one end of your drawstring cord. Push the safety pin into one of the gaps you left open in the channel.
Work the safety pin through the channel, bunching the fabric as you go. This takes patience. Mesh has friction that cotton doesn’t.
Don’t yank or pull hard. Just work it through inch by inch.
When the safety pin comes out the other gap, remove it. You now have the drawstring running through the entire channel.
Knot the two ends of the drawstring together. Some people add a cord stop or toggle here. I prefer a simple knot.
It’s less fussy.
Trim the excess cord to about 2 inches past the knot. If you use a lighter, quickly melt the cut ends of nylon or polyester cord. This prevents fraying.
Step 5: Reinforce the Stress Points
This is the step most tutorials skip, and it’s the difference between a bag that lasts six months and one that lasts six years.
The stress points on a laundry bag are:
- The corners of the bottom
- The sides where the channel meets the bag body
- The drawstring gaps
Reinforce these areas with extra stitching. Sew a small square or X pattern at each corner of the bottom. Add a few back-and-forth stitches at the channel gaps.
I also add a bar tack at the center bottom of the bag. This is just a tight zigzag stitch about 1/2 inch wide. It prevents the bottom seam from splitting when you load heavy items.
Bonus Tips for Perfect Mesh Sewing
I learned these lessons the hard way. Save yourself the headache.
Use the right needle. A universal needle pushes mesh fibers apart instead of piercing through them. This causes skipped stitches and fabric damage. Switch to a ballpoint or stretch needle.
Size 80/12 is perfect.
Reduce presser foot pressure. Most machines let you adjust this. Lower pressure prevents the mesh from stretching as it feeds through. Check your machine’s manual for the adjustment dial location.
Test on scraps first. Cut a 5-inch square of your mesh and sew a few test seams. Adjust your tension and stitch length until the stitches look even and the fabric doesn’t pucker.
Don’t backstitch on mesh. Backstitching on mesh can bunch up the fabric and create ugly lumps. Instead, leave long thread tails and tie them off by hand. Or reduce your stitch length to 1.5 mm for the first and last inch of each seam.
Wash before you sew. Pre-wash your mesh fabric in warm water and dry it on low heat. This removes any factory chemicals and lets the fabric shrink before you sew it. Yes, nylon can shrink a bit.
Common Mistakes and How to Avoid Them
Let me save you from the same errors I made.
Mistake: Using the wrong thread. Cotton thread will rot and snap within months. Use polyester or nylon thread. It’s stronger and resists moisture.
Mistake: Sewing too fast. Mesh slips and stretches when you rush. Slow your machine down. Your seams will be straighter and your bag will look professional.
Mistake: Skipping the zigzag edge finish. Unfinished mesh edges fray aggressively. By the tenth wash, those frayed edges will reach your seam line. By the twentieth, you’ll have holes.
Zigzag or overlock every raw edge.
Mistake: Making the channel too narrow. A 1-inch channel is too tight for most drawstrings. Go with 1.5 to 2 inches. Your cord will slide smoothly.
Mistake: Not leaving gaps in the channel. You need those open spots to thread the drawstring. Mark them clearly before you sew so you don’t accidentally close them.
Sizing Guide for Different Uses
One size doesn’t fit all. Here are the dimensions I use for different purposes.
Delicates bag: 14 x 18 inches finished. Holds bras, underwear, and lingerie. Small enough that items don’t get tangled.
Socks bag: 12 x 16 inches finished. Perfect for keeping sock pairs together. Make two of these.
Sweater bag: 20 x 26 inches finished. Large enough for bulky knits without cramming them in.
Travel bag: 16 x 20 inches finished. Fits in a suitcase corner. Use it to separate dirty clothes from clean ones.
Shoe bag: 14 x 18 inches finished. Stores one pair of sneakers. The mesh lets shoes breathe.
Adjust the material quantities based on your chosen size. A quarter yard of mesh is plenty for small bags. Larger bags need up to a full yard.
Caring for Your Mesh Laundry Bag
You made it. Now take care of it.
Machine wash cold. Hot water can shrink even nylon mesh over time. Cold water is gentler on the fabric and the seams.
Air dry. Skip the dryer. Hang your mesh bag to dry. The dryer’s heat breaks down nylon and polyester fibers.
Air drying extends your bag’s life by years.
Empty after every use. Don’t leave damp items sitting in the bag. Mildew grows fast on mesh. Empty it and let it dry before the next use.
Check the drawstring. Over time, the cord wears down at the knot. Replace it when you see fraying. It costs fifty cents and takes two minutes.
Mend small tears immediately. A tiny hole becomes a giant rip in one wash cycle. If you see a loose thread or small tear, stitch it up right away.
Why This Bag Beats Store-Bought
I’ve compared my handmade bags against every store option out there. Here’s what I found.
Store-bought mesh bags use thin, flimsy mesh with large holes. Small items poke through. The drawstrings are weak and break.
The seams unravel after a dozen washes.
My handmade bags have tight mesh, double-stitched seams, reinforced stress points, and quality drawstrings. They cost less to make. They look better.
They last longer.
And there’s something satisfying about pulling your laundry out of the wash and seeing a bag you made yourself, still holding strong after years of use.
One last thing: when someone sees your homemade laundry bag and asks where you bought it, you get to say, “I made it.” That feeling never gets old.
Now go sew your bag. Your delicates will thank you.


Similar Posts



















