How to Waterproof a Shower Niche
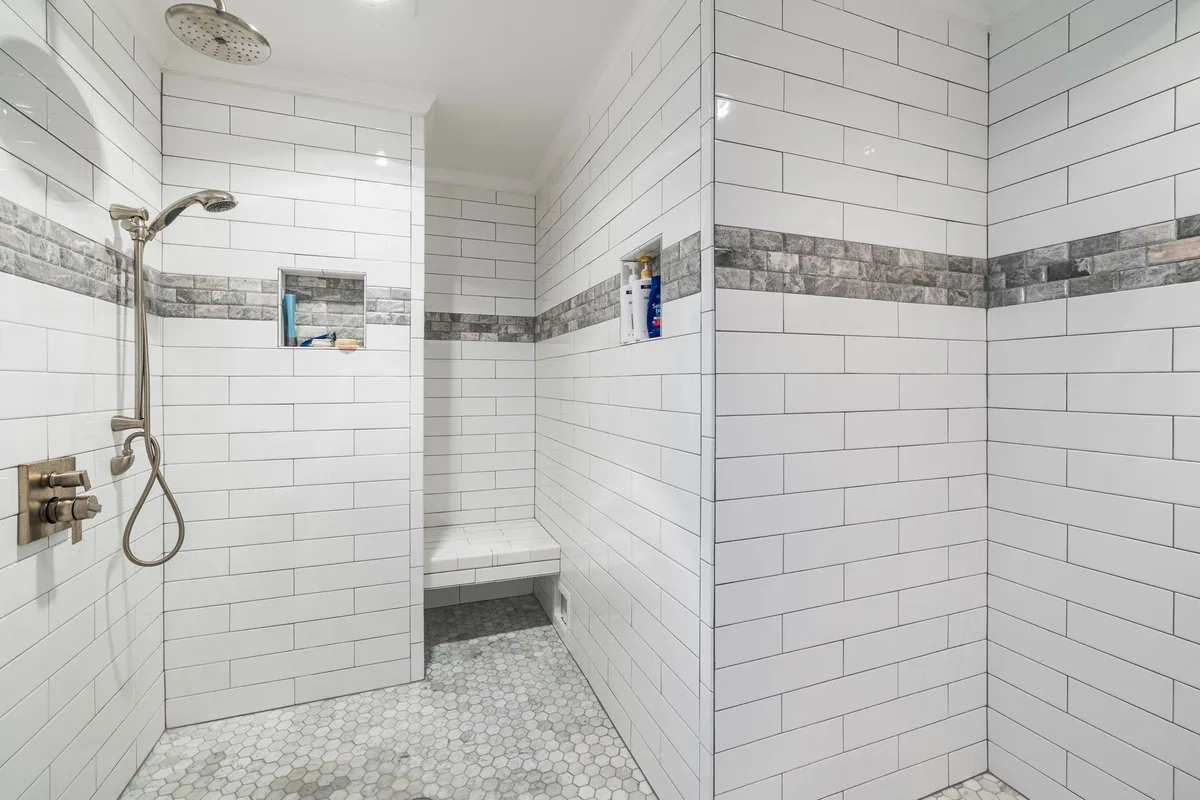
A shower niche is a fantastic addition to any bathroom. It provides convenient storage for toiletries like shampoo bottles and soap. But, if not properly waterproofed, it can become a weekend warrior’s nightmare, leading to leaks, mold, and costly repairs.
That’s where we come in. We’re going to walk you through exactly how to waterproof a shower niche, ensuring it lasts for years and keeps water where it belongs, in the shower.
This isn’t a quick fix; it’s about doing it right from the start. We’ll cover everything from preparing the space to applying the final waterproof membrane. By the end, you’ll have the confidence to tackle this project yourself or understand what to look for if you hire a professional.
Why Shower Niche Waterproofing Matters
Let’s not sugarcoat it: water and untreated building materials are a disastrous combination. That little alcove in your shower, while convenient, is a prime spot for moisture intrusion. Without proper waterproofing, water can seep behind your tiles and into your wall cavity.
This can cause a cascade of problems:
- Mold and Mildew Growth: These aren’t just unsightly; they can impact air quality and cause respiratory issues.
- Structural Damage: Persistent moisture weakens drywall, subflooring, and even structural studs, leading to expensive repairs.
- Rotting Wood: In older homes, water intrusion can lead to wood rot, a serious structural concern.
- Efflorescence: This white, powdery mineral deposit can appear on surfaces as water evaporates, indicating moisture issues.
- Unhappy Homeowners: Leaks are a major source of stress and can devalue your home.
A properly waterproofed niche prevents all of this. It creates a seamless barrier, directing water back into the shower drain and preventing it from reaching vulnerable building components. Think of it as the ultimate protection for your shower’s integrity.
Image source: Pexels / Curtis Adams (Pexels License)
Planning Your Shower Niche Waterproofing Project
Before you grab any tools, a little planning goes a long way. This stage is critical for a smooth and effective waterproofing job.
Choosing Your Waterproofing Method
There are a few popular ways to waterproof a shower niche. Each has its pros and cons, but we’ll focus on the most common and reliable methods.
- Liquid Waterproofing Membranes: These are applied with a brush or roller, much like paint. They cure into a seamless, flexible membrane. They’re great for covering all the nooks and crannies.
- Sheet Membranes: These are large rolls of waterproof material that are adhered to the wall with specialized adhesive. They’re robust and offer excellent protection, especially at seams and corners.
For shower niches, a combination of both can often be the most effective. We’ll break down the process using a liquid membrane, as it’s generally more accessible for DIYers.
Gathering Your Materials and Tools
Having everything ready before you start is key. You don’t want to be halfway through and realize you’re missing a crucial item.
Materials You’ll Need:
- Waterproofing Membrane: Choose a high-quality liquid membrane specifically designed for wet areas like showers. Ensure it’s compatible with your tile adhesive and grout.
- Waterproofing Seam Tape: This fabric tape is embedded into the liquid membrane to reinforce corners and seams, preventing cracks.
- Waterproofing Corner Tapes/Pre-formed Corners: For a more robust solution at internal and external corners.
- Backer Board: If your niche isn’t already framed with a cement board or other waterproof substrate, you’ll need this.
- Thin-Set Mortar: For adhering backer board and tiles.
- Tile Adhesive: For sticking your tiles.
- Grout: For filling the gaps between tiles.
- Sealant (Silicone Caulk): For sealing edges and any change of planes after tiling.
Tools You’ll Need:
- Utility Knife: For cutting backer board and membrane.
- Notched Trowel: For spreading thin-set mortar and tile adhesive.
- Spatula or Putty Knife: For applying membrane in tight spots.
- Paint Brushes and Rollers: For applying the liquid membrane. Use different sizes for various areas.
- Caulking Gun: For applying silicone sealant.
- Bucket and Sponge: For cleaning up.
- Measuring Tape and Pencil: For accurate measurements.
- Safety Glasses and Gloves: Essential for protection.
Step-by-Step: Waterproofing Your Shower Niche
Now, let’s get down to business. This is where the magic happens. We assume your niche is already framed and ready for modification or tiling.
Step 1: Prepare the Niche Surface
Cleanliness is paramount. Any dust, debris, or old adhesive will compromise the bond of your waterproofing materials.
- Clean Thoroughly: Use a stiff brush to remove any loose particles. Then, wipe down all interior surfaces of the niche with a damp cloth. Allow it to dry completely.
- Check for Gaps: Inspect the inside of the niche for any cracks or gaps where water could potentially penetrate. Fill these with a suitable sealant or mortar, ensuring they are flush with the surrounding surface.
- Smooth Rough Edges: If there are any sharp edges from framing or cuts, sand them down. You want a smooth, uniform surface for the membrane to adhere to.
Step 2: Apply Waterproofing Membrane to the Niche Interior
This is where you start building your waterproof barrier. Work methodically.
- First Coat: Using your paint brush, apply a generous, even coat of the liquid waterproofing membrane to the back wall of the niche. Ensure complete coverage, right into the corners. Don’t skimp here.
- Corners and Seams (Crucial!): This is the most vulnerable area. While the first coat is still wet, embed the waterproofing seam tape into the corners where the back wall meets the side walls, and where the side walls meet each other. Press the tape firmly into the membrane, smoothing out any wrinkles or bubbles with your brush. You want the tape fully saturated and adhered.
- Second Coat: Once the first coat has dried to the manufacturer’s recommended tack (usually a few hours), apply a second, perpendicular coat of the waterproofing membrane. This ensures a complete, monolithic barrier. Again, make sure the seam tape is fully covered.
- Sides and Ceiling: Repeat the process for the side walls and the ceiling of the niche. Always apply at least two coats, and pay extra attention to all corners and edges.
Step 3: Waterproof the Niche Exterior Edges
Now, we need to waterproof the ‘lip’ of the niche, the edges that will meet your shower wall. This is where water might try to sneak behind.
- Extend the Membrane: Apply the liquid waterproofing membrane to the exterior edges of the niche. Extend this application onto the surrounding shower wall by at least 4-6 inches. This creates an overlap, preventing water from getting behind the niche itself.
- Reinforce Edges: Use seam tape on any inside or outside corners of this exterior lip as you did on the interior. While it might seem like overkill, these transition points are critical.
Step 4: Allow the Membrane to Cure
Patience is a virtue, especially with waterproofing.
- Drying Time: The manufacturer’s instructions will specify the curing time. This can range from 24 hours to several days. Do NOT rush this step. The membrane needs to be fully cured and watertight before you proceed with tiling.
- Check for Pinholes: Once cured, visually inspect the entire waterproofed area. Look for any missed spots, pinholes, or thin areas. If you find any, apply an additional coat of membrane to those specific spots.
Step 5: Install Tiles to the Niche
Once your waterproofing is cured and inspected, you’re ready for the aesthetic part.
- Apply Thin-Set: Use your notched trowel to spread thin-set mortar onto the interior surfaces of the niche. Work in small sections so the mortar doesn’t dry out.
- Set Your Tiles: Carefully place your tiles, pressing them firmly into the thin-set. Ensure they are level and have consistent grout lines. Don’t forget to tile the ceiling and floor of the niche.
- Tile the Niche Exterior: Tile the surrounding shower walls, ensuring your tile installation overlaps the waterproofed exterior edges of the niche by at least 4-6 inches.
Step 6: Grout and Seal
The final steps to cap it all off.
- Grouting: Once the tile adhesive has cured (usually 24 hours), mix and apply your grout to the tile lines within the niche. Clean off excess grout as per the grout manufacturer’s instructions.
- Sealing the Grout: After the grout has cured, apply a grout sealer. This protects the grout from stains and moisture.
- Caulking: This is the last line of defense. Use a high-quality, mildew-resistant silicone sealant to fill any gaps:
- Where the niche tile meets the shower wall tile.
- Along the top edge of the niche.
- Any other change of plane.
This final bead of sealant prevents water from getting behind the tile and into the niche structure.
Common Mistakes to Avoid
Even with the best intentions, some common pitfalls can undo your hard work.
- Incomplete Coverage: Missing even a small spot can be a disaster. Ensure every inch of the niche’s interior, especially corners and edges, is covered by the membrane.
- Rushing the Curing Process: Waterproofing membranes need time to cure properly. Installing tile too soon can compromise the membrane’s integrity and lead to failure.
- Not Reinforcing Corners: Corners are the weakest points. Always use seam tape or pre-formed corners to add strength and flexibility.
- Using the Wrong Materials: Always use waterproofing products specifically designed for wet areas like showers. General-purpose sealants or paints won’t cut it. Using the wrong thin-set or grout can also cause issues down the line. For example, proper substrate preparation is key, and if you’re replacing a damaged section, understanding how to repair a washing machine drum has absolutely no bearing on shower niche waterproofing, but it highlights how specialized knowledge matters in different DIY tasks.
- Skipping the Sealer: After tiling and grouting, sealing the grout is crucial. It prevents stains and adds another layer of protection.
- Over-reliance on Sealant: While sealant is important, it’s the last line of defense, not the primary waterproofing. The membrane is your core waterproof barrier.
Maintaining Your Waterproofed Shower Niche
Even a perfectly waterproofed niche requires some basic upkeep to ensure its longevity.
- Regular Cleaning: Clean the niche regularly with non-abrasive, pH-neutral cleaners. This prevents soap scum and grime buildup, which can harbor mold and mildew.
- Check the Sealant: Periodically inspect the sealant around the niche. If you notice any cracking, peeling, or mold growth, remove the old sealant and reapply fresh silicone. This is your first alert for potential issues.
- Ensure Proper Drainage: Make sure the shower floor and drain are functioning correctly, preventing standing water for extended periods. While not directly part of the niche, a clogged drain can exacerbate moisture issues. This is similar to how how often you should replace vacuum filter affects air quality, a poorly draining shower impacts overall water management.
- Avoid Harsh Chemicals: Steer clear of abrasive cleaners or bleach, which can degrade grout and sealant over time.
By following these simple maintenance steps, you’ll keep your shower niche looking great and functioning perfectly for years to come.
Conclusion
Waterproofing a shower niche might seem daunting, but with careful preparation and the right approach, it’s a manageable and highly rewarding DIY project. By creating a robust, seamless barrier, you’re not just protecting your walls from water damage; you’re ensuring a healthier, more pleasant bathroom environment. Remember to work methodically, use quality materials, and never compromise on the curing times.
A little extra effort upfront saves a world of trouble and expense down the line. Happy waterproofing!


Similar Posts



















