How to Caulk a Shower
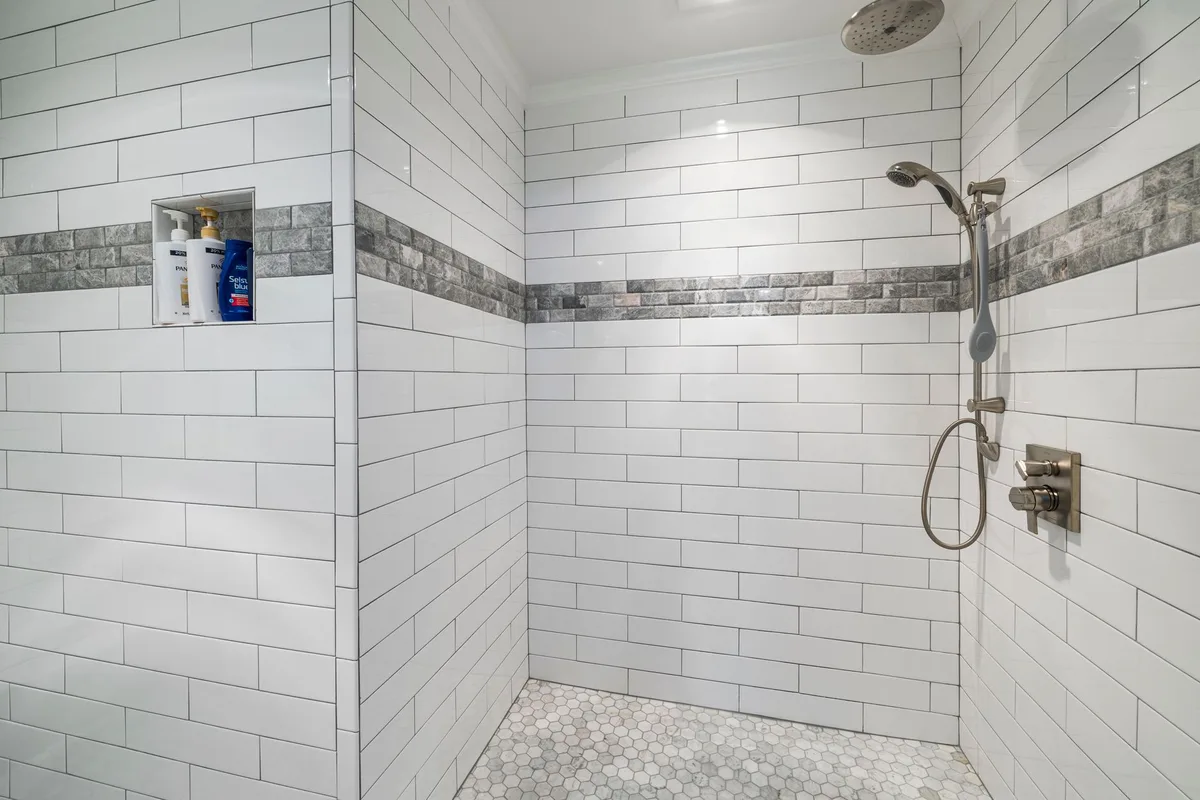
A leaky shower isn’t just annoying; it can lead to serious water damage, mold, and mildew problems that are tough and expensive to fix. The good news? You can prevent all that by properly caulking your shower.
It’s a straightforward DIY task that saves you money and keeps your bathroom looking and staying fresh.
This guide walks you through everything you need to know to caulk a shower like a pro. We’ll cover the materials, preparation, the actual caulking process, and how to get that perfect finish. Let’s get your shower sealed up tight.
Image source: Pexels / Curtis Adams (Pexels License)
Why Caulking Matters for Your Shower
Caulk isn’t just a cosmetic filler. It’s your first line of defense against water infiltration. In a bathroom, especially around a shower or tub, water is everywhere.
When you shower, water hits the walls, the floor, and the fixtures. If there are gaps or seams where water can seep in, it can cause all sorts of problems.
This is where caulk comes in. It creates a flexible, waterproof barrier. It seals the junctions between your shower walls, the tub or shower base, and around fixtures like faucets and showerheads.
Without a good caulk seal, water can get behind your tiles, into your walls, and under your flooring. This can lead to:
- Mold and Mildew Growth: Damp, dark spaces are a breeding ground.
- Rot and Decay: Wood framing in your walls can start to rot.
- Structural Damage: Over time, persistent leaks weaken building materials.
- Pest Infestations: Water damage can attract insects and other pests.
- Unpleasant Odors: Mold and mildew often come with a musty smell.
Regularly inspecting and maintaining your shower caulk is essential. It’s a small job that prevents big headaches.
Choosing the Right Caulk for Your Shower
Not all caulk is created equal, especially when it comes to a wet environment like a shower. You need something that’s designed for moisture resistance and flexibility.
Best Types of Caulk for Showers
100% Silicone Caulk: This is the gold standard for showers. It offers excellent waterproofing and flexibility. It sticks well to most surfaces commonly found in bathrooms, like tile, porcelain, and fiberglass. Silicone caulk is also highly resistant to mold and mildew. The downside? It can be a bit trickier to work with. It doesn’t smooth out as easily as acrylics, and cleaning up mistakes can be tough since it pretty much sticks to everything. It also can’t be painted over.
Siliconized Acrylic Latex Caulk: This is a good compromise. It’s easier to apply and clean up than pure silicone, and it’s paintable. It offers good adhesion and decent water resistance. Look for labels that specifically state “kitchen & bath” or “mildew resistant.” While better than plain latex, it’s generally not as waterproof or durable as 100% silicone in high-moisture areas. You’ll likely need to reapply it more often than silicone.
Specialty Bathroom Caulk: Many brands offer specialized caulk formulated specifically for bathrooms. These often combine the benefits of silicone and acrylic, offering good water repellency, flexibility, mold/mildew resistance, and ease of use. These are often your best bet for a balance of performance and user-friendliness.
What to Look For on the Label
- “100% Silicone” or “Silicone Caulk”: For maximum durability and waterproofing.
- “Kitchen & Bath”: Indicates it’s formulated for wet environments.
- “Mildew Resistant” / “Mold & Mildew Proof”: Crucial for preventing unsightly and unhealthy growth.
- “Adheres to Tile, Porcelain, Fiberglass, etc.”: Ensure compatibility with your shower materials.
- “Paintable”: If you plan to paint the surrounding area and want the caulk to match. (Note: 100% silicone is not paintable).
Pro Tip: Always buy a tube of caulk that says “100% Silicone” or is explicitly marketed for bathrooms and kitchens, and that contains mildew inhibitors.
Essential Tools and Materials
Before you start, gather everything you’ll need. Having all your supplies ready makes the job go smoothly.
What You’ll Need:
- Caulk Gun: Choose a good quality one. A dripless model is a lifesaver. These have a trigger mechanism that stops the flow of caulk automatically when you release pressure.
- Caulk (your chosen type): Enough for the job. It’s better to have a little extra than to run out mid-seal.
- Utility Knife or Caulk Removal Tool: For scraping away old caulk. A dedicated caulk removal tool often has various edges for different tasks.
- Scraper or Putty Knife: For stubborn old caulk.
- Rubbing Alcohol or Denatured Alcohol: To clean the surface and help the new caulk adhere.
- Clean Rags or Paper Towels: Plenty of them.
- Masking Tape (Painter’s Tape): For creating clean, straight lines. This is a game-changer for beginners.
- Caulking Tool or Smoothing Tool: For professional-looking finishes. You can buy sets with various shapes, use your finger (with a wet glove or a bit of water/soap), or even a plastic spoon.
- Gloves: Disposable nitrile gloves are ideal.
- Bucket of Water: For wetting your smoothing tool and cleaning up.
- Optional: Small Screwdriver or Awl: To puncture the caulk tube seal.
Preparing Your Workspace
Get the area clean and dry. Remove any soap scum, old caulk, or debris. If there’s any existing caulk, you’ve gotta get rid of it.
This is probably the most important step.
Step 1: Removing Old Caulk
You can’t apply new caulk over old, peeling caulk. It won’t adhere properly and will eventually fail. This step is tedious but absolutely critical for a durable, watertight seal.
- Cut Along the Edges: Use your utility knife or caulk removal tool to carefully cut along the top and bottom edges of the old caulk bead. Aim to slice into the caulk itself, not deep into the surrounding material.
- Pry and Pull: Once you’ve scored both edges, try to get your tool underneath the caulk bead. Gently pry it up and then pull it away from the seam. Work in manageable sections.
- Scrape Stubborn Bits: If bits of caulk remain stuck, use your scraper or the edge of your caulk removal tool to gently scrape them away. Be careful not to scratch tiles or grout.
- Clean the Area: After removing the bulk of the caulk, you’ll likely have small remnants or adhesive residue. Use a rag with rubbing alcohol (or denatured alcohol for tougher residue) to wipe down the entire area where the caulk was. This removes any lingering fragments and oils, ensuring the new caulk has a clean surface to stick to.
Step 2: Cleaning and Drying the Surface
This is non-negotiable. New caulk needs a completely clean and dry surface to adhere properly. Even a tiny bit of soap scum, dirt, or moisture can prevent a good bond, leading to leaks down the line.
- Thorough Cleaning: Give the entire area where you removed the old caulk a good scrub. Use a bathroom cleaner to remove any soap residue, mold, or mildew. Pay special attention to the grout lines and corners.
- Rinse Well: Make sure you rinse all cleaning product residue away. Leftover cleaner can interfere with caulk adhesion.
- Dry Completely: This is the crucial part. You need to let the area dry thoroughly. Use clean, dry rags to blot up as much moisture as possible. Then, open a window or use a fan to speed up the drying process. For best results, let it air dry for at least 24 hours, especially in humid bathrooms. Make sure there’s no dampness deep within the grout lines.
Step 3: Applying the New Caulk
Now for the main event! With a clean, dry surface and your tools ready, you’re set to apply the new caulk.
Preparing the Caulk Tube
- Cut the Tip: Use your utility knife to cut the tip of the caulk tube at a 45-degree angle. You want to create a small opening, smaller than the bead you want to create. You can always cut it larger if needed, but you can’t make it smaller. A good starting point is to cut it so the opening is about the same size as the gap you’re filling.
- Puncture the Inner Seal: Most caulk tubes have an inner seal. Use the long rod on your caulk gun (or a screwdriver/awl) to puncture this seal. Push it in firmly to break it.
Applying the Caulk Bead
- Load the Gun: Pull back the plunger on the caulk gun, insert the tube (with the cut tip facing out), and push the plunger forward until it’s snug against the back of the tube.
- Test the Flow: Before you get to the shower, test the caulk flow on a piece of scrap cardboard or newspaper. Squeeze the trigger gently. If it doesn’t flow, check that the seal is broken and the tip isn’t clogged. If it flows too much, release the pressure using the gun’s release lever (usually a small thumb tab).
- Apply the Caulk: Place the tip of the caulk tube at the beginning of the seam. Hold the gun at a consistent 45-degree angle. Apply steady, even pressure to the trigger as you move the gun along the seam. Aim for a continuous, unbroken bead of caulk that fills the gap.
- For corners: Start at the bottom and work your way up.
- For horizontal seams: Start at one end and work your way to the other.
- Drip Prevention: When you pause or finish a section, remember to release the pressure on the caulk gun trigger. This stops the flow and prevents drips. Many guns have a “drip-free” feature you can engage.
Using Masking Tape for Perfect Lines
This is a lifesaver for beginners and ensures a super clean finish.
- Apply Tape: Before you apply caulk, place a strip of painter’s tape on either side of the seam you’re about to caulk. Leave a gap between the tape strips that’s just wide enough for your desired caulk bead. Press the tape down firmly so the caulk doesn’t seep underneath it.
- Caulk the Gap: Apply your caulk bead right down the center of the taped-off area.
- Remove Tape: Immediately after applying the caulk (before it starts to skin over), carefully and slowly peel off the masking tape. Pull the tape away at an angle, pulling it off the caulk bead. This leaves a perfectly straight, clean line of caulk.
Step 4: Smoothing the Caulk Bead
This is where you turn a basic bead into a professional-looking seal. The goal is to press the caulk into the joint and remove any excess for a smooth, consistent finish.
- Choose Your Tool: You can use a specialized caulk smoothing tool, your finger (wear a glove!), or even a plastic spoon.
- Get it Wet (Optional but Recommended): Dip your finger or smoothing tool in a bucket of water, or a solution of water with a tiny bit of dish soap. This helps prevent the caulk from sticking to your tool and allows for a smoother glide.
- Smooth the Bead: Starting at one end of the seam, run your chosen tool smoothly along the caulk bead. Apply consistent but gentle pressure. The goal is to press the caulk into the gap and remove the excess, creating a slight concave surface that sheds water.
- For corners: Run your tool down the corner.
- If you’re using your finger: A gloved finger, slightly wet, works well. Some people find using a damp paper towel wrapped around their finger also works.
- Wipe Away Excess: As you smooth, caulk will build up on your tool or finger. Wipe this excess off onto a damp rag or paper towel at regular intervals. Don’t let it build up too much.
- Don’t Overwork It: Especially with silicone, overworking can make the bead uneven or lift the caulk. A few smooth passes are usually all you need. If you make a mistake, you can wipe it away immediately with a damp rag and reapply.
Step 5: Curing and Drying Time
This is the waiting game, but it’s crucial. Your new caulk needs time to cure properly before it can get wet.
What is Curing?
Curing is the process where the caulk hardens and forms a solid, waterproof seal. This isn’t just about the caulk feeling dry to the touch; it’s a chemical process.
Drying vs. Curing
- Drying: The surface feels dry. This can happen in an hour or two.
- Curing: The caulk fully hardens and achieves its maximum adhesion and water resistance. This can take significantly longer.
How Long to Wait
- Check the Caulk Tube: The manufacturer will always specify the recommended curing time on the caulk tube. This is your primary guide.
- General Guideline: For most bathroom caulks, especially 100% silicone, you’ll need to wait at least 24 hours before exposing the caulk to water. Some may even recommend up to 48 hours for complete curing, especially in less ventilated areas.
- Ventilation: Ensure good ventilation in your bathroom during the curing process. Open windows or use a fan. This helps the caulk cure faster and more effectively.
Resist the temptation to use the shower early. Even if the caulk feels hard, it might not be fully cured. Getting it wet too soon can weaken the bond and lead to premature failure.
When to Re-Caulk Your Shower
Even the best caulk job won’t last forever. Several signs indicate it’s time for a refresh.
- Cracking or Peeling: If the caulk starts to crack, pull away from the tile, or peel, it’s lost its seal.
- Mold or Mildew Growth: If mold or mildew grows within the caulk itself (not just on the surface), it means moisture is getting behind it, and the caulk needs replacing.
- Loose Caulk: If you can easily push or pull on the caulk bead and it feels loose or spongy, its adhesion is compromised.
- Deterioration: Over time, caulk can simply break down. It might become brittle, discolored, or less flexible.
- Visible Gaps: Any discernible gaps where water can enter are a red flag.
Regularly inspecting your shower’s caulking means you can catch these issues early, preventing more serious water damage.
Frequently Asked Questions About Caulking a Shower
What is the difference between caulk and silicone?
Caulk is a general term for a sealant. Silicone is a specific type of caulk. 100% silicone caulk offers the best waterproof performance and flexibility for showers, but it’s harder to work with and can’t be painted. Siliconized acrylic latex caulk is easier to use and paintable but less durable in wet areas.
Can I caulk over old caulk?
No, you should never caulk over old caulk. It won’t adhere properly, and the new caulk will likely fail quickly. Always remove old caulk completely before applying new.
How do I get a smooth caulk line without tape?
Practice is key! Use a consistent angle (45 degrees) and steady pressure. You can also use a caulk smoothing tool or your finger (wearing a glove and dipping it in water or a soapy solution) to smooth the bead in one continuous motion.
Start and stop smoothly.
My caulk looks terrible. Can I fix it?
Yes, you can. If the caulk is still wet, you can wipe it off with a damp rag and start over. If it’s already dried, you’ll need to remove it using a caulk removal tool or utility knife and reapply.
How often should I replace my shower caulk?
It depends on the type of caulk and the conditions, but generally, plan to inspect your caulk every 6-12 months. You might need to replace it every 2-5 years, or sooner if you notice any of the signs of deterioration mentioned above. For a well-installed silicone seal, you can often get 5+ years.
For a quick DIY fix, checking the vacuum filter replacement frequency can sometimes feel like a similar maintenance task, important for keeping things running smoothly.
Can I use regular household caulk in the shower?
It’s best to avoid it. Regular household caulk, like basic latex caulk, is not designed for constant moisture and may not resist mold and mildew. Always opt for a caulk specifically labeled for “kitchen & bath” or “waterproof.”
By following these steps, you can ensure your shower stays protected from water damage, looking great, and free from those dreaded moldy seams. It’s a rewarding DIY project that makes a real difference in your bathroom.


Similar Posts



















