How Do You Empty a Dehumidifier

Emptying a dehumidifier sounds simple. Pull the bucket. Dump the water.
Slide it back. But anyone who has lugged a full 16-pint tank across a finished basement knows the reality. It sloshes.
It splashes. It triggers the “bucket full” shutoff sensor two hours after you go to bed. If you want dry air without the daily wrestling match, you need to know every way to move that water out of the machine.
This guide covers manual emptying, gravity drainage, and pump-assisted setups so you can pick the method that fits your space and your schedule.
Understanding Your Dehumidifier’s Collection System
Every portable dehumidifier pulls moisture from the air and condenses it into liquid water. That water has to go somewhere. Most residential units ship with a removable plastic bucket (often called a tank or reservoir) sitting at the bottom of the cabinet.
A float switch inside that bucket cuts power to the compressor when the water hits the max line. This prevents overflows. It also means the machine stops working until you empty it.
Some models offer a threaded port on the back or side for a garden hose connection. This lets gravity pull water straight to a floor drain. Higher-end units add a built-in condensate pump.
That pump pushes water vertically, up to a sink, out a window, or into a utility drain, giving you total placement freedom. Knowing which hardware you have is step one. Check the back panel for a hose barb.
Check the spec sheet for “pump” or “gravity drain only.” You can’t rig a pump solution on a gravity-only port without buying an external condensate pump.
Method 1: Manual Bucket Emptying (Step-by-Step)
Manual emptying is the default. It works on every unit. It requires zero tools.
It also demands the most labor. Do it right and you avoid wet socks and moldy carpets.
1. Power down the unit.
Hit the power button. Unplug the cord if the bucket sits deep inside the cabinet. Wet hands near live outlets are a bad mix.
2. Locate the release latch.
Most buckets pull straight out. Some have a side latch or a top handle that locks into the frame. Check your manual if it resists.
Forcing it cracks the brittle plastic tabs that hold the float switch.
3. Support the bottom.
A full 16-pint bucket weighs roughly 16 pounds. A 22-pint bucket tops 22 pounds. Grab the handle with one hand.
Cup the bottom with the other. Do not carry it by the handle alone. The plastic flexes.
The handle snaps. Water goes everywhere.
4. Walk slowly to the drain.
Keep the bucket level. Sudden stops create a wave that crests the rim. Dump it into a floor drain, utility sink, or toilet.
Avoid kitchen sinks if you can, lint and dust from the air often settle in the tank.
5. Rinse occasionally.
Once a month, hit the inside with a spray bottle of vinegar and water. Swirl. Dump.
This kills the biofilm that clogs float switches and makes the bucket smell like a wet dog.
6. Re-seat firmly.
Slide the bucket all the way home until you hear a click. The machine will not restart if the float switch isn’t engaged. Many service calls are just a bucket seated crooked.
Pro tip: Empty the bucket before it hits the auto-shutoff line. Running the compressor dry for a few cycles while the bucket is out stresses the refrigeration system. Set a phone reminder if you’re forgetful.
Method 2: Setting Up Continuous Drainage with a Hose
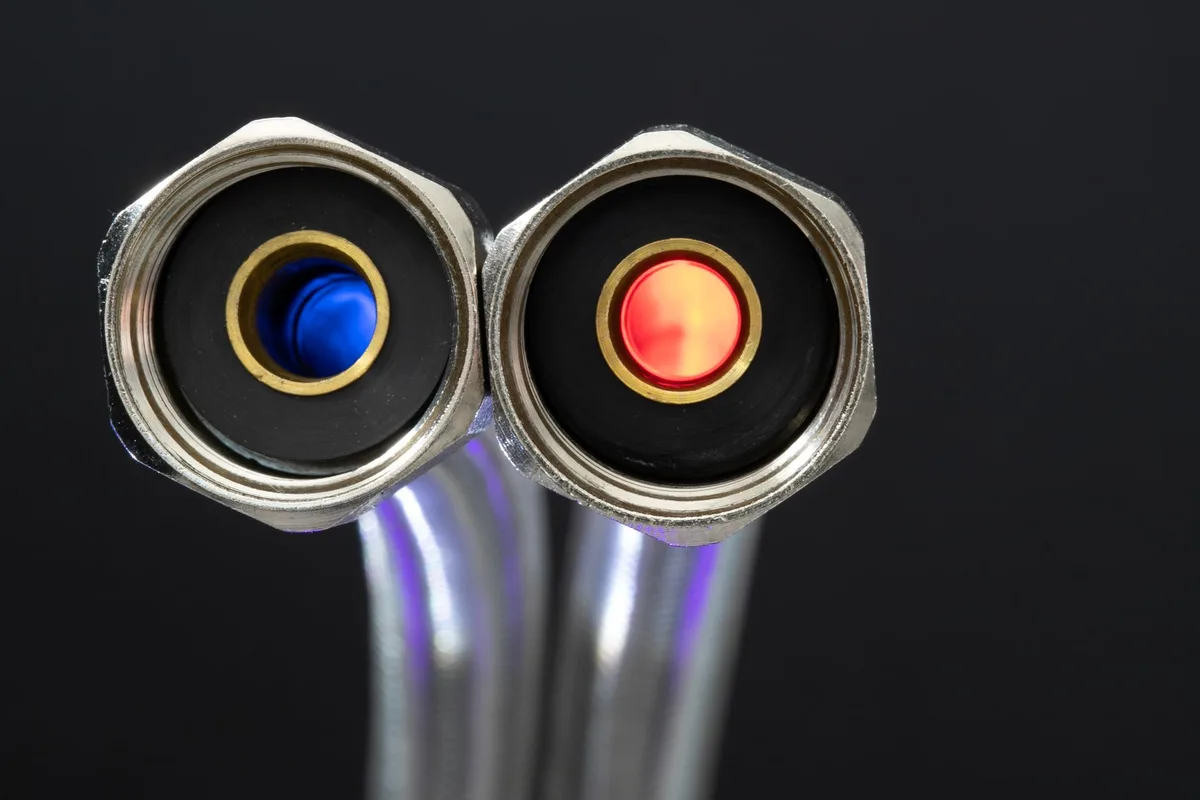
Gravity drainage deletes the bucket chore forever, if you have a floor drain lower than the unit’s drain port. This is the sweet spot for most basements.
What you need
- A short length of standard garden hose (⅝-inch ID works on most ports).
- A hose clamp or zip tie (optional but smart).
- Scissors or a utility knife.
Step-by-step
- Unplug the dehumidifier.
Always. Water plus electricity equals regret.
- Remove the bucket.
Set it aside. You’ll see the drain port opening inside the cavity or on the rear panel.
- Remove the port cap.
Some caps unscrew by hand. Others need a coin or flathead screwdriver. Don’t lose the rubber washer inside the cap.
You need it if you ever go back to bucket mode.
- Attach the hose.
Push the hose onto the barb until it bottoms out. If the fit is loose, slip a hose clamp over the hose before pushing it on, then tighten with a screwdriver. A zip tie works in a pinch but can cut the hose over time.
- Route the hose to the drain.
This is where installs fail. The hose must run downhill every inch of the way. No coils.
No uphill sections. No kinks. Water will not flow uphill.
It will back up into the unit and trip the float switch or leak onto the floor.
- Secure the hose.
Use zip ties or adhesive cable clips to fasten the hose to the wall or floor joists. A loose hose vibrates when the compressor runs. It walks itself off the barb.
I’ve seen it happen.
- Terminate at the drain.
Let the hose end sit just above the drain grate. Do not shove it into a standpipe trap. Sewer gas can backfeed into the dehumidifier cabinet.
An air gap is code in many jurisdictions and just smart practice.
- Plug in and test.
Power on. Set humidity target. Watch the hose end for 30 seconds.
You should see a steady drip or thin stream. If nothing flows, check for kinks or a high spot in the line.
Critical detail: The drain port on many units sits 6, 12 inches off the floor. Your floor drain must be lower than that port. Measure before you buy hose.
If the drain is higher, you need Method 3.
Method 3: Using a Built-in Pump for Automatic Drainage
A built-in condensate pump lets you drain to a sink, a tall utility tub, or even out a basement window. The pump activates when water in the internal reservoir hits a trigger level. It pushes water through a small-diameter tube (usually ⅜-inch ID) up to 15, 17 feet vertically.

Setup workflow
- Verify pump presence.
Not all “pump ready” units include the pump. Some just have the wiring harness. Read the box.
If yours lacks a pump, you can buy an external condensate pump (Little Giant, Hartell, Sauermann) and plumb it into the gravity port. That’s a separate project.
- Connect the supplied tubing.
Factory pumps usually ship with a roll of clear vinyl tubing. Push it onto the pump outlet barb. Secure with the provided clamp.
- Run the tube to the destination.
Unlike gravity hose, this tube can go up. Run it vertically to the ceiling joists, across, then down into a laundry sink or condensate pump reservoir. Keep horizontal runs tight.
Sagging tubes trap air pockets that kill prime.
- Prime the pump (if required).
Some internal pumps self-prime. Others need you to pour a cup of water into the bucket cavity to wet the impeller. Check the manual.
Dry running burns the motor in minutes.
- Set the termination.
End the tube above the sink rim. Again, maintain an air gap. Do not seal it into a drain pipe.
If the sink backs up, you want the water on the counter, not pumped back into the dehumidifier.
- Enable pump mode.
Many units have a “Pump” button or a menu setting. Select it. The display should show a pump icon.
If you skip this, the machine keeps checking the bucket float switch and shuts off.
Maintenance note: Pump tubing grows algae. Once a year, disconnect the tube. Flush with a 50/50 vinegar-water mix using a turkey baster or funnel.
Run the pump cycle manually (usually holding the power button for 3 seconds) to clear the line.
Troubleshooting Common Drainage Issues
Even a perfect install hits snags. Here are the top five I see in the field.
Water leaks from the bucket area during hose/pump mode.
You didn’t seat the bucket plug/cap correctly. Or the internal diverter flap (inside the bucket cavity) is stuck open. Remove the bucket.
Shine a flashlight up into the cavity. You should see a little plastic door covering the bucket opening when the hose port is active. Gently nudge it closed with a finger.
Gurgling or no flow in gravity hose.
Air lock. Disconnect the hose at the unit. Blow through it gently.
Reconnect. Ensure zero uphill sections. Even a ¼-inch rise over 10 feet stops flow.
Pump runs but no water exits.
Clogged tube or check valve. Disconnect tube at pump outlet. Trigger pump manually.
If water shoots out, the tube is clogged. If nothing shoots, the pump impeller or check valve is jammed. Vinegar flush fixes 80% of these.
The other 20% need a new pump head.
Unit keeps saying “Bucket Full” with hose attached.
The float switch thinks the bucket is full. Either the bucket isn’t seated (see Method 1, step 6) or the internal diverter flap is missing/broken. Some brands (looking at you, older Frigidaire) let the flap fall off into the bucket.
Fish it out. Snap it back.
Mold smell from the drain hose.
Standing water in a low spot. Reroute to eliminate the dip. Or pour a cap of bleach down the hose quarterly.
Don’t overdo bleach, it degrades vinyl tubing over years.
Maintenance Tips to Keep Water Flowing
A dehumidifier is a lint magnet. That lint rides the water into every drain path.
Clean the air filter monthly.
Pull it. Vacuum it. Wash with warm soapy water if it’s grimy.
Dry fully. A clogged filter reduces airflow. The coil gets colder.
It ices up. Ice melts in a surge that overwhelms the drain system. Clean filter = steady, manageable condensate rate.
Inspect the coil annually.
Shine a light through the intake grille. Dust on the fins acts like insulation. Spray with coil cleaner (no-rinse foam type).
Let it drain out the normal path. This keeps efficiency high and water volume predictable.
Check hose/tube integrity every spring.
UV light makes vinyl brittle. Kinks become cracks. Replace the hose every 2, 3 years for $5.
Cheap insurance against a flooded basement.
Verify the float switch.
With the unit unplugged, lift the float arm manually. Hear a click? Good.
No click? The switch is stuck or the magnet fell off. Order the part.
It’s a $12 fix that prevents a $2,000 water damage claim.
Level the unit.
Use a torpedo level on top of the cabinet. Adjust the feet. A tilted unit lets water pool away from the drain port.
The float switch triggers early. The pump runs dry. The compressor short-cycles.
Five seconds with a level saves hours of headaches.
Frequently Asked Questions
Can I drain a dehumidifier into a sump pit?
Yes. Gravity hose works great if the pit lid has a hole for the hose. Keep the hose end above the water line.
If the pit floods, the hose becomes a siphon back into the unit. An air gap is non-negotiable.
Do I need a trap in the drain line?
No. Traps hold water. That water evaporates in a dry basement.
Sewer gas enters the cabinet. Run an open standpipe or use an air gap at the drain. Simple.
Safe.
Can I use a garden hose for the pump outlet?
Don’t. Pump tubing is ⅜-inch ID. Garden hose is ⅝-inch.
The pump lacks the head pressure to push water through that larger diameter up a vertical run. Use the factory tubing or rated ⅜-inch vinyl.
Why does my bucket fill even with the hose connected?
The internal diverter flap isn’t sealing. Or the hose is kinked/blocked. Water takes the path of least resistance, the bucket.
Fix the flap or clear the hose.
Is it okay to drain into a washing machine standpipe?
Only with an air gap. Never seal the hose into the standpipe. Washing machine discharge pressure can blow water back up your dehumidifier hose.
I’ve seen it flood a laundry room in minutes.
How often should I empty the bucket manually?
Daily in high humidity (70%+ RH). Every 2, 3 days at 50% RH. Don’t wait for the shutoff.
The machine works best with headroom in the tank.
Final word
Match the drainage method to your plumbing reality. Gravity hose is cheap and bulletproof if the drain is low. Built-in pump buys flexibility.
Manual bucket works everywhere but demands discipline. Pick one. Set it up right.
Then forget it exists, until filter cleaning day.


Similar Posts



















