How to Clean Bathroom Sink Overflow Hole Easily
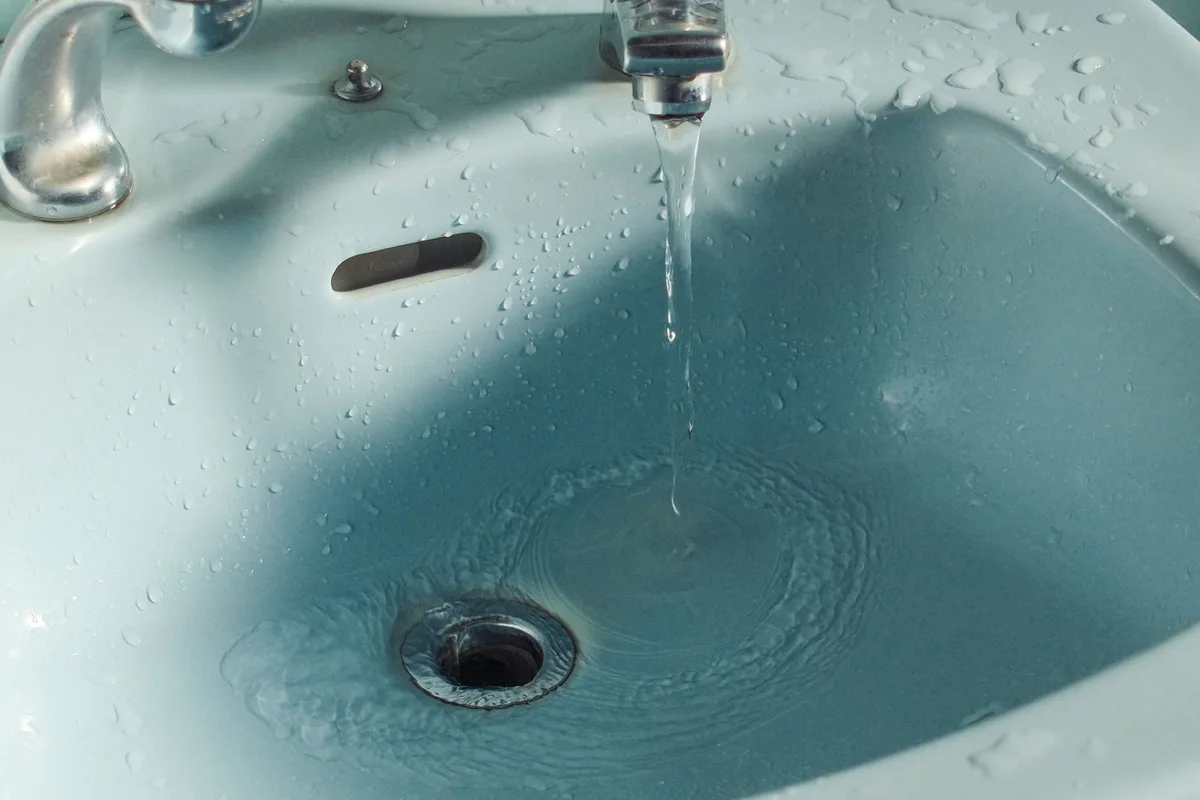
That little hole on your bathroom sink. It’s an important safety feature, but let’s be honest, it’s also an uninvited guest at the party of cleanliness. It’s the silent collector of soap scum, hair, toothpaste residue, and all sorts of general gunk.
Left unchecked, it can start to smell, look unsightly, and even contribute to slow draining. But don’t worry! Cleaning out your bathroom sink overflow hole is surprisingly simple.
You don’t need fancy tools or a plumber. We’ll walk you through how to tackle this often-ignored spot with everyday items, leaving your sink looking and smelling fresh.
You might think, “Is it really that big a deal?” Yes, it is. When that overflow hole gets clogged, water can’t escape properly. This means a higher risk of your sink overflowing onto your countertop and floor.
Plus, the stagnant, grimy water trapped inside becomes a breeding ground for bacteria and mold. Yuck. So, let’s get this done, nice and easy.
Why Does That Overflow Hole Get So Dirty?
Before we dive into the cleaning, let’s understand why this overflow drain becomes a magnet for grime. It’s a bit of a perfect storm for dirt accumulation.
- Water Stagnation: The primary role of the overflow is to prevent your sink from filling too high. This means any water that trickles or sits near it can become stagnant. Stagnant water is prime real estate for bacteria and mold growth.
- Soap Scum Buildup: As water drains, it carries soap residue with it. Some of this residue inevitably finds its way into the overflow hole, where it mixes with other debris and hardens over time.
- Hair and Debris: Loose hairs, small bits of tissue, toothpaste splatters, and other tiny particles get washed down the sink. Many of these can easily slip into the overflow opening, forming a sticky, matted mess.
- Lack of Direct Flushing: Unlike the main drain, the overflow hole doesn’t get a direct, high-pressure flush every time you use the sink. It’s more of a passive recipient of whatever finds its way there.
This combination of factors means that even with regular sink cleaning, the overflow hole can become a forgotten, dirty little secret. But fear not, we’re about to reveal its secrets and clean it up!
Gathering Your Cleaning Arsenal
You really don’t need much to clean your sink’s overflow hole. Most of these items are probably already in your home.
- Rubber Gloves: Protect your hands from grime and cleaning solutions.
- Old Toothbrush or Small Scrub Brush: An old toothbrush is perfect for getting into tight spots.
- Pipe Cleaner or Wire Hanger: Great for dislodging stubborn clogs from within the hole.
- Baking Soda: A natural abrasive and deodorizer.
- White Vinegar: A fantastic disinfectant and lime-scale remover.
- Dish Soap: Helps break down grease and grime.
- Warm Water: To rinse and help dissolve debris.
- Paper Towels or Clean Cloth: For wiping and drying.
- (Optional) Small Funnel: Can make pouring cleaning solutions easier.
- (Optional) Small Plunger: For tougher clogs, although usually not necessary for just the overflow hole.
- (Optional) Bleach (use with caution): For stubborn mold or mildew, but never mix with vinegar.
Step-by-Step Guide to a Sparkling Overflow Hole
Ready to get your hands (gloved, of course) dirty? Here’s how to make that overflow hole gleam.
Step 1: Prepare the Area
First things first, put on your rubber gloves. Make sure you have good lighting so you can see what you’re doing. If your sink has a stopper, remove it.
This will give you better access. Wipe down the sink basin itself to remove any loose debris. This prevents more gunk from heading towards the overflow hole during cleaning.
Step 2: Initial Inspection and Clear Debris
Take a peek into the overflow hole. Can you see any obvious gunk or hair stuck right at the opening? If so, carefully try to pull it out with a pair of tweezers or your gloved fingers.
Sometimes, a good portion of the blockage is right there. Many people find that simply removing visible debris is enough to clear minor blockages.
Image source: Pexels / actually_jet
Inside the sink, you’ll see a metal or plastic fitting. This is usually held in by a screw. Sometimes, you can unscrew this fitting to get even better access.
Be careful not to force it if it’s stuck. If it’s an older sink, this might be a good time to think about checking the general condition of your plumbing fixtures. Many common household issues can be prevented with regular maintenance, similar to how you’d consider [seasonal prep] for outdoor equipment.
Step 3: The Baking Soda and Vinegar Power Duo
This is where the magic happens. Baking soda and vinegar create a fizzy reaction that helps loosen grime, deodorize, and break down clogs.
- Pour Baking Soda: Generously pour about half a cup of baking soda directly into the overflow hole. Try to get as much of it down into the hole as possible.
- Add Vinegar: Slowly pour about half a cup of white vinegar over the baking soda. You’ll see it fizz and bubble. Let this reaction work for about 10-15 minutes.
The fizzing action is key! It physically agitates the gunk, lifting it from the sides of the drainpipe. If you have a small funnel, it can help direct the vinegar straight into the hole without too much mess.
Step 4: Scrubbing the Grime Away
After the fizzing has subsided, it’s time for some elbow grease.
- Use Your Brush: Dip your old toothbrush or small scrub brush into a mixture of dish soap and warm water.
- Scrub the Opening: Gently scrub the inside of the overflow hole. Work the bristles around the edges and as far down as you can reach. Pay attention to any visible sludge or buildup.
- Use a Pipe Cleaner (if needed): For deeper clogs or stubborn residue, take a pipe cleaner or a straightened wire coat hanger. Gently insert it into the overflow hole and twist and push it around. This can help break up compacted material. Be gentle, you don’t want to damage the pipe.
Don’t be surprised if you pull out some pretty gross stuff on your brush or wire! That’s a good sign you’re making progress.
Step 5: The Rinse Cycle
Now it’s time to flush everything out.
- Pour Warm Water: Slowly pour a kettle of warm water (not boiling!) down the overflow hole. This washes away the loosened debris and cleaning residue.
- Run the Tap: After the warm water, run your sink tap on a medium setting for a minute or two, letting the water flow directly into the basin and down the overflow. This acts as a final flush.
Check the water flow. Does it seem to be draining better? If you notice significant improvement, you’ve likely cleared the blockage.
If it still seems slow or sluggish, you might need to repeat the baking soda and vinegar treatment or try a slightly more intensive method.
Tackling Stubborn Clogs: What to Do Next
Sometimes, a simple baking soda and vinegar treatment isn’t enough. If you’re still facing slow draining or a lingering smell, here are a few more tricks:
Using a Small Plunger
While often used for the main drain, a small sink plunger can sometimes help with the overflow if the clog is closer to the opening and you can create a seal.
- Seal the Main Drain: Cover the main sink drain with a damp cloth or a stopper to create suction.
- Position the Plunger: Place the plunger cup directly over the overflow hole.
- Plunge Gently: Give it a few firm but gentle plunges. You’re trying to dislodge whatever is blocking the pipe rather than force it further.
- Flush Again: Run water to see if it drains better.
This method requires patience and can be a bit messy, but it’s very effective for physical blockages.
A Gentle Chemical Solution (Use Sparingly)
If natural methods fail and you’re desperate, a mild, commercially available drain cleaner specifically designed for bathroom sinks can be used. However, be extremely cautious.
- Read the Label: Ensure it’s safe for sink drains and your pipe material.
- Never Mix Chemicals: Absolutely never mix drain cleaners with other cleaning agents like vinegar or bleach. Doing so can create toxic fumes.
- Follow Instructions Exactly: Use only the amount recommended and let it sit for the specified time.
- Ventilate: Ensure the bathroom is well-ventilated.
- Rinse Thoroughly: Flush with plenty of warm water afterward.
For most common overflow issues, however, the baking soda and vinegar method, combined with brushing and flushing, is sufficient and much safer for your pipes and the environment. It’s also good to remember that many household maintenance tasks, like ensuring your vacuum cleaner is working efficiently by following guidelines on [how often to replace vacuum filter], contribute to the overall cleanliness and functionality of your home.
The Bleach Option (Use with Extreme Caution)
If you suspect mold or mildew is the culprit, a very dilute bleach solution can be used after you’ve thoroughly flushed out any vinegar.
- Dilute Bleach: Mix about 1/4 cup of bleach with 1 cup of water. Never mix bleach with vinegar or any other cleaner.
- Pour Carefully: Pour the diluted bleach solution into the overflow hole.
- Let Sit: Allow it to sit for 10-15 minutes.
- Rinse Thoroughly: Flush with plenty of warm water. Ensure good ventilation.
Remember, bleach is a strong chemical and should be used as a last resort. It can also damage certain materials over time.
Preventing Future Overflow Grime
The best offense is a good defense, right? Here’s how to keep that overflow hole from becoming a problem again:
- Regular Rinsing: After using the sink, especially if you’ve used a lot of soap, give the overflow area a quick rinse with warm water. Just a splash can help wash away residue before it builds up.
- Deep Clean Monthly: Make cleaning the overflow hole part of your monthly bathroom deep-clean routine. A quick baking soda and vinegar treatment every four weeks will prevent major clogs.
- Wipe Down the Sink: Wiping down your sink basin regularly helps prevent toothpaste, soap, and hair from reaching the overflow hole in the first place.
- Stopper Care: If you have a stopper that fits snugly, ensure it’s clean. Sometimes, grime can build up on the stopper itself and then transfer to the overflow.
- Address Main Drain Slowdowns Promptly: A consistently slow main drain can sometimes affect how water interacts with the overflow. Keeping your main drain clear ensures proper water flow.
- Consider a Sink Strainer: While it won’t catch everything, a simple sink strainer can trap larger debris that might otherwise wash into the overflow.
By incorporating these simple habits, your bathroom sink’s overflow hole will remain a clean, functional part of your sink, not a yucky, smelly hidden problem. It’s a small effort that makes a big difference in the overall hygiene of your bathroom. Maintaining these small but crucial elements is a hallmark of a well-kept home, much like ensuring your air conditioning system is running efficiently or that your essential home appliances are in good working order.
So there you have it. Cleaning your bathroom sink overflow hole is a straightforward task that pays off in spades. No more unsightly grime, no more unpleasant odors, and no more worrying about unexpected sink overflows.
You’ve got this!


Similar Posts



















