How to Remove Calcium Buildup From Shower Head
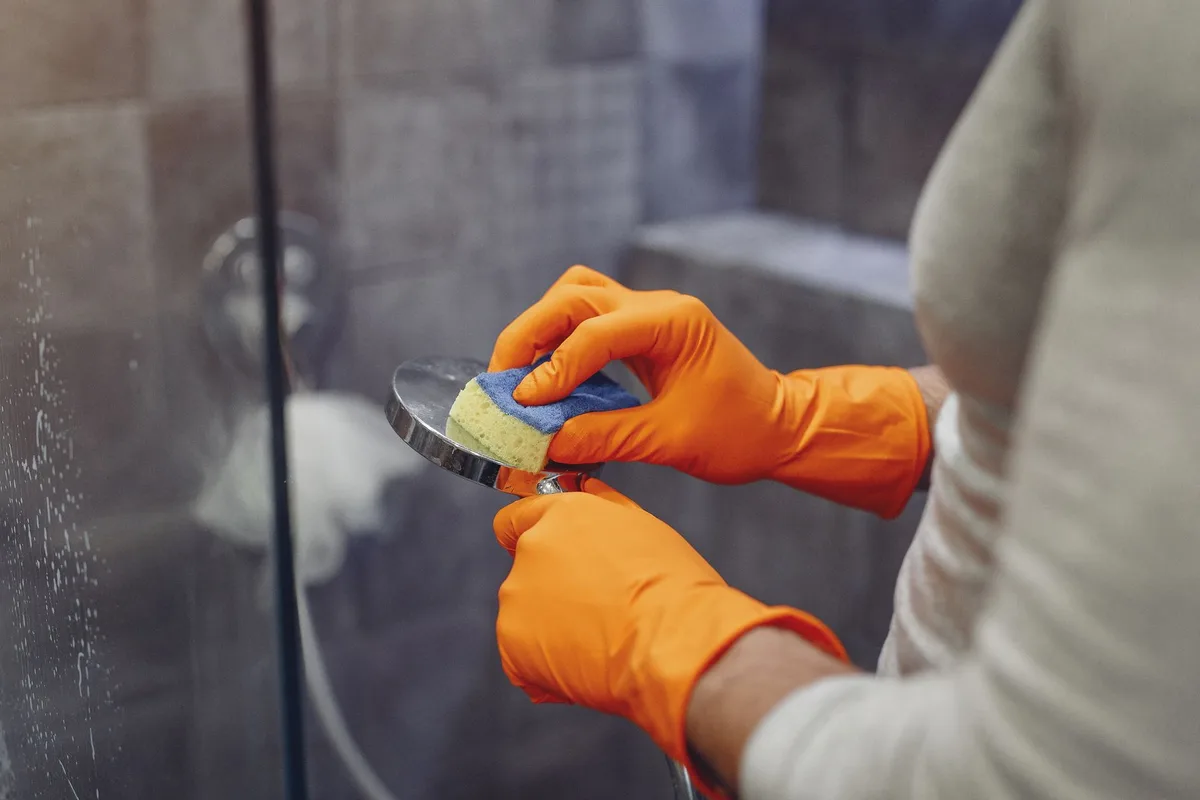
That stubborn white crust clinging to your shower head? That’s calcium buildup, also known as limescale. Over time, minerals in your water, particularly calcium and magnesium, deposit onto surfaces.
Your shower head is a prime culprit. This buildup doesn’t just look unsightly; it can actually affect your shower’s performance. Water pressure can drop, spray patterns can become erratic, and you might even notice a dull finish.
Fear not! Tackling this common household issue is surprisingly straightforward. You don’t need fancy gadgets or harsh chemicals.
With a few common household items and a bit of elbow grease, you can restore your shower head to its former glory. We’ll guide you through the easiest and most effective methods to banish that calcium buildup for good. Let’s get your shower back to its best.
Why Does Calcium Buildup Happen?
Hard water is the main culprit behind shower head limescale. When your water supply contains high concentrations of dissolved minerals, especially calcium and magnesium, these minerals can precipitate out of the water when it dries. Think of it like evaporation leaving behind a residue.
This residue, over time, solidifies and builds up on surfaces.
Your shower head’s tiny nozzles are particularly susceptible. As water flows through them and then evaporates after you shower, the minerals are left behind. These deposits can clog the nozzles, restricting water flow and leading to that frustratingly weak spray.
It’s a natural process, but one that can be managed.
The Easiest Method: The Vinegar Soak
This is the go-to method for a reason. White vinegar is acidic, and that acidity is brilliant at breaking down mineral deposits like calcium. It’s safe, readily available, and surprisingly powerful.
What You’ll Need:
- White vinegar
- A plastic bag (a sturdy one, like a gallon freezer bag)
- A rubber band or twist tie
- An old toothbrush or a small scrub brush
- A soft cloth
Step-by-Step Guide:
- Prepare the Shower Head: If your shower head is easily detachable, you might consider removing it. However, most of the time, you can treat it directly on the arm.
- Fill the Bag: Pour enough white vinegar into the plastic bag to completely submerge the shower head. You want the nozzles to be soaking in the vinegar.
- Secure the Bag: Carefully place the bag over the shower head, ensuring the nozzles are fully immersed. Secure the bag tightly around the shower arm with a rubber band or twist tie. This keeps the vinegar in place and prevents leaks.
- Let it Soak: Leave the shower head to soak in the vinegar. For light buildup, 30 minutes to an hour might be enough. For more stubborn deposits, you’ll want to let it soak for several hours, or even overnight. The longer it soaks, the more effectively the vinegar will break down the calcium.
Image source: Pexels / Gustavo Fring (Pexels License)
- Remove and Rinse: Gently remove the bag. You’ll likely see the vinegar has turned cloudy, a sign that it’s been working its magic. Now, turn on your hot water for a few minutes. This flushes out loosened mineral deposits and any lingering vinegar smell.
- Scrub Away Residue: Use your old toothbrush or scrub brush to gently scrub away any remaining calcium flakes. Pay attention to the nozzles.
- Wipe Clean: Dry the shower head with a soft cloth. Admire your sparkling clean shower head. You should notice an immediate improvement in water flow and spray.
When the Vinegar Soak Isn’t Enough: Detailing and Deeper Cleaning
Sometimes, the calcium buildup is particularly tenacious. It might be caked on, or in hard-to-reach crevices. In these cases, you might need to combine the vinegar soak with a bit more detailed work.
Using a Toothbrush and Other Tools
If after the initial soak, some stubborn bits remain, don’t despair.
- Targeted Scrubbing: Use your toothbrush to get into the individual nozzles. You can also use a toothpick or a small pin to carefully poke at any remaining hardened deposits within the nozzles. Be gentle, though; you don’t want to damage the shower head.
- Dish Soap Boost: For any oily residue or grime that may have accompanied the calcium, a drop of dish soap mixed with water can help. Scrub with your toothbrush after the vinegar soak before rinsing.
For Detachable Shower Heads
If you have a detachable shower head, the vinegar soak can be even more effective.
- Disassemble (if possible): Carefully take apart your shower head as much as the manufacturer allows. This usually involves unscrewing the faceplate or the main body. Be sure to note how it comes apart so you can reassemble it correctly.
- Submerge Completely: Place all the disassembled parts into a container (like a bowl or a resealable plastic tub). Cover them completely with white vinegar.
- Soak: Allow them to soak for several hours or overnight, just like the bag method.
- Scrub and Rinse: Use your toothbrush to scrub away loosened deposits from all parts. Rinse each piece thoroughly under running water.
- Reassemble: Put your shower head back together.
- Test: Reattach it to the shower arm and run hot water through it.
Alternative Cleaning Solutions (Use with Caution)
While vinegar is generally the preferred method due to its effectiveness and safety, there are a couple of other options you might consider for very tough cases. Always use these with caution and proper ventilation.
Lemon Juice
Lemon juice contains citric acid, which also has de-scaling properties. It’s a natural alternative, and it smells much more pleasant than vinegar.
- Method: Similar to the vinegar soak, you can fill a plastic bag with lemon juice and secure it over the shower head. Let it soak for a few hours. You can also apply lemon juice with a cloth and let it sit on problematic areas before scrubbing.
- Caution: While natural, highly concentrated citric acid can still be damaging to certain finishes over prolonged exposure. A good rinse afterwards is essential.
Baking Soda Paste
Baking soda is a mild abrasive and can help scrub away loosened mineral deposits.
- Method: After an initial vinegar or lemon juice soak and rinse, if some residue remains, make a thick paste of baking soda and water. Apply this paste to the affected areas with your toothbrush and scrub gently.
- Caution: Baking soda is abrasive, so use it with a soft brush and avoid excessive force, especially on delicate finishes.
Preventing Future Calcium Buildup
Once you’ve got your shower head sparkling clean, you’ll want to keep it that way. Prevention is always better than cure!
Regular Wiping
This is the simplest and most effective preventative measure. After each shower, take a few seconds to wipe down your shower head with a dry cloth. This removes excess water before it can evaporate and leave minerals behind.
Frequent Vinegar Rinses
You don’t need a full soak every time. A quick rinse can make a big difference.
- Weekly Mini-Soak: Once a week, or every two weeks, fill a small plastic bag with a 50/50 mix of white vinegar and water. Secure it over the shower head for 15-30 minutes. Then, remove the bag, turn on the hot water to rinse, and give it a quick wipe.
Water Softeners
If you live in a very hard water area, the most effective long-term solution is a whole-house water softener. These systems remove the minerals from your water supply before they even reach your plumbing fixtures. While this is a larger investment, it protects all your appliances and plumbing from limescale damage.
Shower Head Materials and Coatings
Some shower head materials and coatings are more resistant to mineral buildup than others. Stainless steel, brass, and certain polished chrome finishes tend to show buildup less readily than matte or textured finishes, though all are susceptible. Features like “easy-clean” nozzles, often made of rubber, allow you to simply rub away mineral deposits.
When to Consider Replacement
If you’ve tried all these methods and your shower head still suffers from poor performance, or if it’s visibly damaged or extremely old, it might be time for a replacement. Modern shower heads often come with features like anti-clog nozzles that make maintenance much easier. Investing in a good quality shower head can save you hassle down the line.
When choosing a new shower head, look for models with features designed to combat hard water. “Easy-clean” or “anti-limescale” nozzles are a great perk. These are typically made of flexible rubber or silicone, allowing you to rub away mineral deposits with your finger.
This minor maintenance can significantly prolong the life and performance of your shower head.
Shower Head Maintenance and Your Vacuum Filter
While tackling your shower head, you might think about other home maintenance tasks. Keeping your home clean often involves looking after various appliances. For instance, did you know how often you should replace your vacuum filter?
A clogged vacuum filter can reduce suction power and recirculate dust, impacting your home’s air quality. Regularly checking and replacing filters, much like cleaning your shower head, ensures everything runs efficiently. Keeping up with these small tasks prevents bigger problems and keeps your home running smoothly.
By following these simple steps, you can easily remove calcium buildup from your shower head and enjoy a more powerful, consistent shower every time. Regular maintenance is key to preventing future issues and keeping your bathroom fixtures looking and performing their best.


Similar Posts



















