How to Clean Toilet Rim Holes
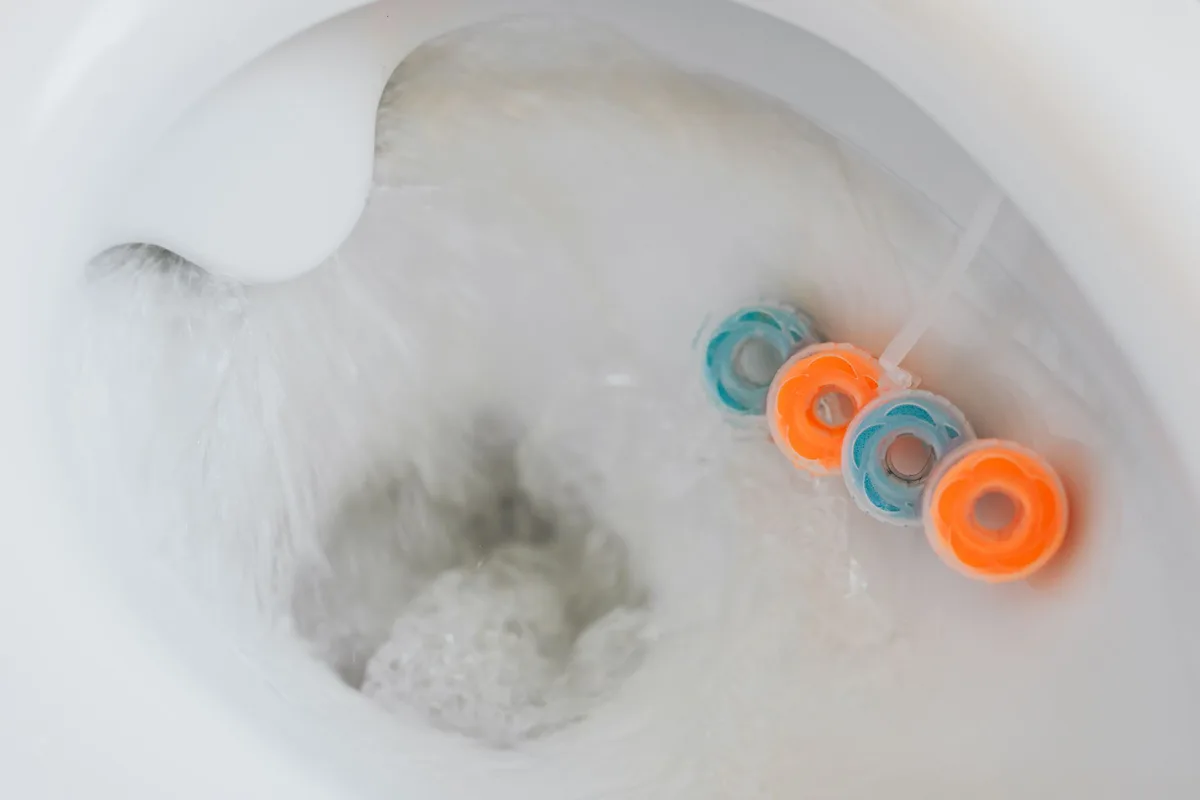
That clean toilet feeling is amazing. But have you ever looked closely under the rim and seen… well, less than ideal? Those little holes around the toilet bowl’s rim are notorious for collecting grime.
Hard water, mineral deposits, and general bathroom gunk love to gather there. Left unchecked, they can become breeding grounds for bacteria and create unsightly stains. Don’t worry, though.
Cleaning toilet rim holes is a straightforward job. With the right tools and a little know-how, you can make them sparkle again.
We’ll dive deep into the best methods. You’ll learn how to tackle these hidden spots effectively. We’ll cover the common culprits and the most effective cleaning agents.
Plus, we’ll offer tips to keep them cleaner for longer. Ready to banish that built-up mess? Let’s get to it.
Why Do Toilet Rim Holes Get Dirty?
It’s a fair question. Those little holes seem innocent enough. They’re actually part of your toilet’s flushing mechanism.
Water flows through them to rinse the bowl effectively. But here’s the catch: not all the water drains away completely. A small amount can linger in the rim channels and the holes themselves.
This stagnant water is the perfect environment for things to grow.
Mineral deposits from hard water are a major player. These leave behind chalky, white, or reddish-brown stains. They can accumulate over time, narrowing the holes and affecting your flush.
Then there’s the everyday stuff. Soap scum, body oils, and even mold can find a cozy home in these damp crevices. Without regular attention, they become a persistent problem.
The Role of Hard Water
If you live in an area with hard water, you’re likely no stranger to mineral buildup. Calcium and magnesium are the main culprits. When water evaporates from the rim and around the holes, these minerals are left behind.
They form a tough, crusty layer. This layer can be incredibly difficult to remove with a standard toilet brush. The texture of the buildup also traps other dirt and grime, making the problem worse.
Lingering Moisture and Bacteria
Even in softer water areas, moisture is key. The constant dampness around the rim creates an ideal breeding ground for bacteria and mold. These microorganisms feed on microscopic particles of waste and soap scum.
They can produce unpleasant odors and contribute to those stubborn dark stains you sometimes see.
What You’ll Need to Clean Rim Holes
Gathering your supplies is the first step. You don’t need anything too fancy. Most of these items are probably already in your cleaning arsenal.
- Toilet Bowl Cleaner: Look for a cleaner specifically designed for toilets. Many contain bleach or acids to break down stains and kill germs.
- A Stiff Bristled Brush: A dedicated toilet brush is essential. For those stubborn rim holes, something with slightly stiffer bristles might be needed. Some brushes have a curved head that’s better for reaching under the rim.
- Cleaning Gloves: Protect your hands from harsh chemicals and germs.
- Paper Towels or a Clean Cloth: For wiping away loosened grime and drying.
- Optional: White Vinegar or Baking Soda: These are natural, effective cleaners that can tackle mineral deposits and odors.
- Optional: A Small Wire Brush or Old Toothbrush: For really deep-seated blockages in the holes. Use these with caution.
- Optional: An Old Spray Bottle: For applying vinegar or other solutions.
Choosing the Right Cleaner
Most standard toilet bowl cleaners will do the job. However, if you have significant hard water stains, you might need something stronger. Cleaners with hydrochloric acid or citric acid are very effective against mineral buildup.
Always read the product label and follow the safety instructions. Never mix cleaning products, especially those containing bleach and ammonia, as this can create dangerous fumes.
When a Standard Brush Isn’t Enough
Sometimes, your regular toilet brush just can’t quite get into those tiny holes. That’s where a little extra help comes in. An old toothbrush is fantastic for scrubbing individual holes.
A small wire brush can also be used, but only on very tough, visible mineral deposits. Be gentle to avoid scratching the porcelain.
The Step-by-Step Cleaning Process
Alright, let’s get cleaning. We’ll walk through the most effective method for getting those rim holes spic and span.
Step 1: Flush and Lower Water Level (Optional but Recommended)
For a more effective clean, you want to reduce the amount of water in the bowl. This allows your cleaner to work directly on the rim and holes without being too diluted.
- Method A (Simple): Flush the toilet. As the tank refills, quickly lift the float ball to stop the refill. This leaves a slightly lower water level in the tank, and therefore the bowl.
- Method B (More Effective): Close the water supply valve behind the toilet. Open the tank lid and hold down the flapper without letting the tank refill. This drains most of the water from the bowl.
Having a lower water level means your cleaner stays put and concentrates its power.
Step 2: Apply Your Cleaner Generously
Now it’s time to apply the cleaner. Pour your chosen toilet bowl cleaner under the rim, letting it drip down into the bowl and along the underside of the rim. Make sure to coat all the areas where the holes are located.
If you’re using a natural cleaner like white vinegar, you can pour it directly from the bottle or use a spray bottle to get good coverage. Let any cleaner you use sit for at least 5-10 minutes. This gives it time to start breaking down the gunk.
For tougher stains, you might let it sit longer, even up to 30 minutes.
Step 3: Scrub with Purpose
This is where the elbow grease comes in. Take your toilet brush and scrub vigorously under the rim. Focus on the areas with the holes.
You’ll want to work the brush around the entire circumference of the bowl.
- For Standard Grime: A good scrub with your toilet brush should lift most of the everyday dirt and soap scum.
- For Stubborn Deposits: If you see thick mineral buildup in particular holes, switch to your old toothbrush or small wire brush. Gently scrub each affected hole directly. Be patient; this might take a minute or two per hole.
You’ll likely see loosened debris and grime come away. Don’t worry if it looks a bit messy at first; that’s the gunk being dislodged.
Getting into every nook and cranny is key.
Step 4: Rinse and Repeat (If Necessary)
Once you’ve scrubbed the entire rim area, it’s time to assess.
- If the Holes Look Clean: If the grime is gone and the holes are clear, you’re almost done.
- If Stains Remain: For persistent stains, you might need a second application of cleaner. Let it sit again, then scrub thoroughly. You might consider a specialized toilet bowl cleaner designed for hard water stains if the problem is severe.
Step 5: Flush to Rinse Away Debris
If you lowered the water level earlier, now is the time to restore it and rinse.
- If you closed the water valve: Open it back up. Flush the toilet to rinse all the loosened debris and cleaner down the drain.
- If you only lowered the bowl water slightly: Simply flush the toilet to rinse the bowl clean.
Watch as the water flows through the rim holes. You should see a clear, strong stream without any sputtering or blockage.
Step 6: Final Touches and Drying
Wipe down the exterior of the rim and the area around the holes with a clean cloth or paper towel. Make sure the rim is dry. This helps prevent immediate re-accumulation of grime and mildew.
Tackling Tough Stains and Blockages
Sometimes, the grime in those rim holes is more than just surface-level dirt. Hard water deposits can become thick and really clog the holes. Here’s how to handle those tougher situations.
The Vinegar Soak Method
White vinegar is a fantastic natural de-scaler. It’s acidic enough to break down mineral deposits without being overly harsh.
- Get the Water Level Down: As described in Step 1 above, aim for a low water level in the bowl.
- Soak Paper Towels: Soak several paper towels or rags heavily in white vinegar.
- Apply to the Rim: Drape these vinegar-soaked towels all around the underside of the toilet rim, ensuring they press against the area with the holes. You can tuck them into place.
- Let it Sit: Leave the vinegar-soaked towels in place for at least an hour, or even overnight for very tough buildup. The vinegar will slowly work on dissolving the minerals.
- Remove and Scrub: Remove the soggy towels. You’ll likely notice the mineral deposits have softened considerably. Now, use your toilet brush (and toothbrush/wire brush for specific spots) to scrub away the loosened grime.
- Flush: Flush the toilet to rinse everything away.
This method is excellent for those stubborn rings and crusty bits that standard cleaners might miss. Using vinegar regularly can help prevent hard water buildup from becoming a major issue.
Using Baking Soda Paste
Baking soda is a mild abrasive that can help scrub away stains. It also neutralizes odors.
- Make a Paste: Mix baking soda with a small amount of water (or vinegar for extra power) to create a thick paste.
- Apply the Paste: Use a toothbrush or cloth to apply the paste directly into and around the rim holes.
- Let it Sit: Allow the paste to sit for about 15-20 minutes.
- Scrub: Scrub the area thoroughly with your toilet brush or toothbrush.
- Flush: Flush the toilet to rinse.
Baking soda is a gentler option. It’s great for a less aggressive approach or for regular maintenance cleaning.
Using Specialized Tools
For exceptionally bad blockages, you might need something more specific.
- Pipe Cleaner / Wire Brush: A thin, flexible wire brush or even a sturdy pipe cleaner can be carefully inserted into individual holes to dislodge stubborn debris. Be very gentle. We’re trying to clean, not damage the porcelain or the flushing mechanism.
- Pressure Washer (Extreme Caution): In extremely rare cases of severe calcification in old toilets, some very cautious individuals might consider a very low-pressure nozzle on a small handheld pressure washer. However, this is highly risky and not recommended for the average homeowner. Damage to the toilet or surrounding tiles could occur. Stick to manual methods first.
Remember, the goal is to clean the holes, not to damage the toilet. Start with the least abrasive methods and only escalate if absolutely necessary.
Prevention: Keeping Your Rim Holes Cleaner for Longer
Once you’ve got your toilet rim holes sparkling, you’ll want to keep them that way. Prevention is always easier than a major clean-up.
Regular Cleaning Routine
Consistency is your best friend here. Aim to clean your toilet, including the rim area, at least once a week. A quick scrub under the rim during your regular toilet cleaning can prevent significant buildup.
Don’t wait until you see stains. Making toilet cleaning a habit is crucial for maintaining hygiene and preventing tough problems.
If you’re a fan of a spotless bathroom, consider how you approach other cleaning tasks. For instance, understanding how often you should replace your vacuum filter can contribute to a cleaner home overall. This habit of proactive maintenance extends to your entire living space.
Water Softening
If hard water is your primary nemesis, consider a whole-house water softener. This is a larger investment, but it can significantly reduce mineral buildup throughout your plumbing system, including your toilet. This protects toilets, sinks, dishwashers, and more from limescale.
Using Toilet Bowl Cleaning Tablets (with caution)
There are various toilet bowl cleaner tablets you can drop into the tank. These release a cleaning solution with each flush. While they can help keep things fresher and reduce staining, use them judiciously.
Some can be quite harsh and, over time, may degrade rubber components in your tank. Always follow product instructions. They are more for maintenance than for tackling existing heavy buildup.
Ventilation
Good bathroom ventilation is key to reducing moisture. Using an exhaust fan during and after showers or baths helps dry out the room. Less dampness means less opportunity for mold and mildew to take hold, not just in the rim holes but throughout the bathroom.
Occasional Vinegar Flush
Once a month, consider pouring a cup or two of white vinegar into the toilet bowl and letting it sit for an hour before flushing. This, along with regular cleaning, can help keep mineral deposits at bay.
Common Questions About Cleaning Toilet Rim Holes
Are the holes supposed to be clogged?
No, your toilet rim holes should not be clogged. Their purpose is to distribute water evenly for flushing and rinsing. Clogged holes mean a weaker, less effective flush and can lead to staining and sanitation issues.
How often should I deep clean the rim holes?
If you clean your toilet regularly (weekly), deep cleaning the rim holes might only be necessary every few months, or when you notice signs of buildup or staining. If you have very hard water, you might need to deep clean more frequently.
Can I use bleach to clean the rim holes?
Yes, many toilet bowl cleaners contain bleach and are effective. However, never mix bleach with other cleaners, especially ammonia-based products. Always ensure good ventilation when using bleach. For a less harsh option, vinegar is often sufficient.
What if there’s a strong odor coming from the rim?
A persistent odor, even after cleaning, can indicate a deeper issue. It might mean mold or bacteria have burrowed deeper into the rim channels. In such cases, repeated vinegar soaks and thorough scrubbing are essential.
If the odor persists, you might be dealing with a more significant plumbing issue and should consider consulting a plumber.
Conclusion
Cleaning toilet rim holes sounds like a small task, but it makes a big difference in your bathroom’s overall cleanliness and hygiene. Those little holes are often overlooked, yet they hold the potential for significant grime buildup. By understanding why they get dirty and employing the right cleaning techniques, you can easily tackle the problem.
Whether you’re dealing with simple soap scum or stubborn hard water stains, a consistent approach will win. Remember to gather your supplies, commit to a thorough scrub, and implement preventive measures. A clean toilet is a healthy toilet, and that includes the often-forgotten areas under the rim.
Keep those holes clear, and enjoy a truly fresh and sanitary bathroom.


Similar Posts



















