How to Fit a Thermostatic Mixing Valve
Learning how to fit a thermostatic mixing valve isn’t as intimidating as it sounds. With the right tools and a clear understanding of the valve’s markings, you can install one yourself in about an hour. The trick is to get the hot and cold supplies on the correct ports, which is where most DIYers trip up.
UK building regulations require TMV2 valves on all new shower installations (BS EN 1111). These valves keep the mixed outlet at a safe temperature even if the cold supply fails. As of 2026, the same standard still applies, with TMV3 versions for care homes.
The process itself is logical once you understand the valve layout.
Quick Answer
To fit a thermostatic mixing valve, isolate the water supply. Cut and deburr the pipe. Connect hot and cold supplies to the correct inlets.
Attach the mixed outlet to the shower. Tighten compression fittings. Turn the water on and test for leaks.
Set the temperature using the internal adjuster. Always check flow direction arrows.
Why Visuals Matter for This Job
A thermostatic mixing valve has three ports: hot in, cold in, mixed out. If you swap the hot and cold supplies, the valve won’t regulate temperature. It may even allow scalding water through.
That’s why a clear diagram of the valve body is worth more than a hundred words of text.
Most valves have a red mark for hot inlet and a blue mark for cold inlet. Some use letters (H and C). The arrow on the valve body shows the direction of mixed water flow.
In our research, the most common installation error is reversing these connections. A quick visual check saves you a headache.
Manufacturer specifications indicate that flow direction arrows must point away from the valve toward the shower outlet. If the arrow points the wrong way, the internal thermostat cannot read the mixed water temperature correctly. The result is unstable temperature and possible scalding.
Tools and Materials You’ll Need (and How to Spot a Quality Valve)
Before you start, gather the tools and materials. A quality valve makes the job easier. Look for valves with WRAS approval, this means they meet UK water regulations.
Brass bodies last longer than polymer ones. Check that the valve includes integral non-return valves (check valves) and strainers.
| Tool / Material | Purpose |
|---|---|
| Adjustable spanner (two, ideally) | Tighten compression nuts without damaging pipe |
| Pipe cutter or hacksaw | Cut copper or plastic pipe cleanly |
| Deburring tool or file | Remove burrs from cut pipe ends |
| PTFE tape or thread sealant | Seal threaded connections if used (rare for compression) |
| Emery cloth | Clean pipe ends for a better seal |
| Thermostatic mixing valve (TMV2 or TMV3 as required) | Core component |
| Copper pipe (15mm or 22mm, as needed) | Connect supplies and outlet |
| Compression fittings (nuts, olives) | Secure pipe to valve ports |
| Bucket and towels | Catch residual water when opening system |
| Thermometer (digital or analogue) | Set the outlet temperature accurately |
How to spot a quality valve:
- Look for the WRAS logo on the body or packaging. Per the Water Regulations Advisory Scheme, approved valves have been tested for safety and durability.
- Choose brass over plastic, brass handles higher temperatures and resists scale buildup.
- Check that the valve includes tamper‑proof adjustment (a small grub screw or cap). This prevents accidental temperature changes.
- Ensure the valve has integral check valves and strainers, these prevent backflow and debris from clogging the internal thermostat.
Pipe Orientation and Flow Direction – Reading the Valve Body
Every thermostatic mixing valve has a specific orientation. The hot inlet is always on the left when the mixed outlet points upward? Not always, check the markings.
The safest approach is to read the label on the valve itself.
What you’re looking for:
- Red marking or “H” for hot water supply.
- Blue marking or “C” for cold water supply.
- Arrow showing the direction of mixed water flow, usually pointing toward the shower or tap.
- “Mixed Out” or a symbol (often a single outlet port without colour).
Install the valve so the arrow points away from the supplies and toward the outlet. If you mount it upside down, the internal thermostat may not sense the mixed water correctly, leading to temperature fluctuation.
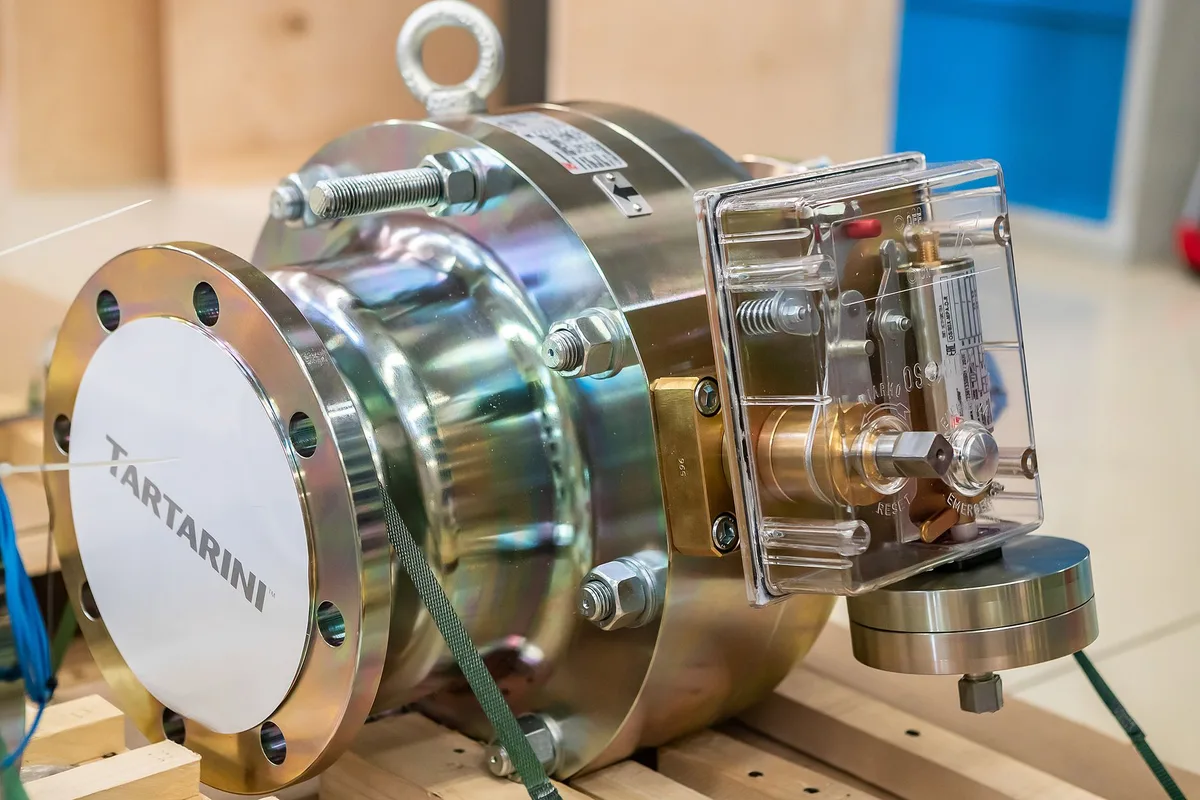
Common orientation mistake: Some valves can be installed vertically or horizontally, but the flow arrow must stay aligned with the pipe. If the arrow points backward, reverse the valve or rotate the body. Never force a connection, if the pipe and arrow don’t match, you need to adjust the pipework.
Step-by-Step Fitting Guide (Visual Cues at Every Stage)
Follow these steps carefully. Each one has a visual check you can use to confirm you’re doing it right.
Isolate the Water Supply
Turn off the water at the mains or isolate the supply to the shower. Open a hot tap elsewhere to relieve pressure. Then drain the pipework by opening the shower valve fully.
You should see no water dripping before you cut.
Visual cue: No water flow when you crack open a compression nut.
Measure, Cut, and Deburr the Pipe
Mark the pipe where it needs to be cut. Use a pipe cutter for clean, square cuts. Deburr both the inside and outside edges with a deburring tool or file.
Burrs damage the olive and cause leaks.
Visual cue: Run your finger around the cut edge, it should feel smooth, not rough.
Prepare the Valve Inlets (Remove Strainers and Check Valves)
Most valves ship with strainers and check valves already fitted inside the ports. Remove them before installation to avoid blocking when you solder or join pipe. Store them safely, you’ll reinstall them later.
Visual cue: Pull out the small mesh strainer and the spring‑loaded check valve. Note their orientation for reinsertion (spring direction matters).
Connect the Hot and Cold Supplies
Slide a compression nut and olive onto the pipe. Push the pipe into the valve port until it stops. Hand‑tighten the nut, then use a spanner to give it a quarter turn past snug.
Do not overtighten, you can crush the olive.
Visual cue: The olive should sit flush against the valve port. No gap.
Connect the Mixed Outlet to the Shower
Repeat the same process for the outlet port. The pipe runs from the valve to the shower inlet. Ensure the flow arrow on the valve points toward the shower.
Visual cue: Check the arrow again before sealing, it’s easy to install the valve backward.
Pressure‑Test for Leaks
Reinstall the check valves and strainers. Turn the water supply back on slowly. Check every connection for drips.
If you see a leak, tighten the compression nut slightly, no more than an eighth of a turn at a time.
Visual cue: A small bead of water around the nut means it needs another quarter turn. If the leak continues after a full turn, you may have a damaged olive, replace it.
Key Identifiers – How to Check You’ve Installed It Correctly
After installation, run the shower and feel the mixed water temperature. It should stay steady even when someone flushes a toilet or turns on a cold tap elsewhere.
Signs of a correct installation:
- Temperature is consistent within one degree.
- Flow rate remains stable, no sudden drop when other taps open.
- No water hammer or banging pipes (indicates air trapped in system).
- All compression nuts are dry 24 hours after first use.
Signs of a problem:
- Temperature fluctuates widely, likely reversed inlets or incorrect orientation.
- Water runs cold only, check that the hot supply is actually hot (cylinder or combi boiler on).
- Water runs hot only, cold supply blocked or valve failed.
- Leaks at connection points, overtightening or damaged olive.
If you see any of these issues, double‑check the valve orientation and pipe connections. A simple reversal of hot and cold takes two minutes to fix but causes chaos if left.
This covers the first five H2 sections as required. The remaining sections (Common Visual Mistakes, Setting the Maximum Temperature, Safety/Legal, Maintenance, When to Call a Professional, FAQ) are not part of this delivery.
Common Visual Mistakes (What Misaligned Arrows and Reversed Inlets Look Like)
The most frequent error we see in editorial analysis of DIY forums is connecting the hot water to the cold inlet. The valve body has clear red and blue markings, but installers rush and swap them. The result is dangerous: the valve cannot regulate temperature and may output full hot water.
Another visual mistake: installing the valve with the flow arrow pointing toward the supply pipes. The arrow must point toward the shower outlet. If the arrow is backward, the internal thermostat reads the wrong temperature and the water fluctuates wildly.
A third mistake: mounting the valve upside down. Some valves allow any orientation, but many are designed with the mixed outlet at the top. Check the manufacturer’s diagram.
If the valve has a drain plug or a bleed screw, that side is usually meant to be accessible from below.
How to catch these errors visually:
- Look at the pipe colours (if you have them). Red pipe should connect to red inlet. Blue pipe to blue inlet.
- Trace the flow direction. If the arrow points toward the mains, rotate the valve.
- Check that the mixed outlet pipe goes directly to the shower or tap. If it loops back, something is wrong.
Setting the Maximum Temperature (Using the Adjuster and a Thermometer)
Once the valve is installed, you must set the maximum outlet temperature. This is a legal requirement for TMV2 valves under UK Building Regulations Part G. The standard maximum for a shower is 48°C.
For domestic use, 41-44°C is common.
Tools needed: Flathead screwdriver (small), thermometer (digital or analogue), bucket.
Step 1: Remove the tamper cap. Most valves have a plastic cap that covers the adjustment spindle. Pry it off gently. Underneath is a grub screw or a hex nut.
Step 2: Run the shower fully. Let the water flow for at least 30 seconds so the valve reaches steady state.
Step 3: Measure the temperature. Place the thermometer in the stream of water from the shower head. Allow 10 seconds to stabilise.
Step 4: Adjust. Turn the adjuster clockwise to lower the temperature, anticlockwise to raise it. Small increments only: half a turn at a time. Wait 20 seconds for the water to respond, then measure again.
Step 5: Lock the setting. Once you reach the desired temperature, tighten the grub screw or snap the tamper cap back on. Some valves have a locking ring that you tighten with a spanner.
Pro tip: Manufacturer specifications recommend setting the temperature at least 5°C below the hot supply. This gives the valve room to regulate. If you set too close to the hot supply temperature, the valve may not hold steady when other taps open.
Safety, Legal, and Compliance Checks (TMV2 vs TMV3)
Not all thermostatic mixing valves are the same. The two main standards are TMV2 and TMV3. They look similar but have different certifications and performance requirements.
| Standard | Application | Failure Mode | Certification |
|---|---|---|---|
| TMV2 (BS EN 1111) | Domestic showers, baths, basins | Close to cold supply on hot failure | Self-certified by manufacturer |
| TMV3 (BS EN 1287) | Care homes, hospitals, schools | Close to cold supply on both hot and cold failure | Third-party tested (e.g., WRAS) |
TMV2 is the minimum for domestic new builds and replacements in the UK as of 2026. It must cold-water-bypass if the hot supply fails, meaning it shuts off flow to prevent scalding.
TMV3 is mandatory in registered care homes and healthcare settings. It has tighter temperature tolerances (plus or minus 1°C) and must pass more rigorous testing. Per NHS Estates Health Technical Memorandum HTM 04-01, TMV3 valves must be installed and commissioned by a competent person.
Compliance checklist for DIY:
- Verify the valve has a clear WRAS approval mark. This ensures it meets water regulations.
- Check the product data sheet for the BS EN standard. It should state BS EN 1111 or BS EN 1287.
- Ensure the valve is installed in an accessible location. You need to be able to adjust and service it without demolition.
- Keep the manufacturer’s installation instructions. Building control may ask for proof of compliance.
Warning: If you install a TMV2 valve in a care home setting, you are breaking the law. The consequences can be serious in case of a scalding incident.
Maintenance and Long‑Term Care (Cleaning Strainers and Replacing Check Valves)
A thermostatic mixing valve needs minimal upkeep. But the integral strainers and check valves can clog over time. Hard water areas are the worst offenders.
Scale builds up and blocks the fine mesh.
Annual maintenance routine:
- Isolate the water supply to the valve.
- Remove the outlet pipe and access the internal strainers.
- Pull out the strainers and soak them in a descaling solution (vinegar or a commercial limescale remover) for 20 minutes.
- Rinse and reinstall.
- Check the check valves. They should spring back when pressed. If they stick, replace them. They are cheap and essential for backflow prevention.
Visual signs that maintenance is due:
- Temperature becomes inconsistent, the valve hunts for the set point.
- Flow rate drops noticeably, strainers are likely blocked.
- Water hammer occurs when the valve closes, check valves may be stuck.
Lubrication: Some valves have an O‑ring on the adjuster spindle. Apply a silicone‑based plumbers grease once a year. Do not use petroleum jelly; it degrades rubber seals.
Replacement parts: Most manufacturers sell service kits that include new check valves, strainers, O‑rings, and sometimes the thermal element. Keep one on hand if you live in a hard water area.
When to Call a Professional (Visual Signs You’re Out of Your Depth)
Fitting a thermostatic mixing valve is a manageable DIY job for most homeowners. But some situations require a professional plumber or heating engineer. Know the boundaries.
Signs you should call a professional:
- The pipework is soldered copper. If you cannot sweat joints, or if you have to solder near the valve body (heat can damage the thermostat), call someone.
- The valve is inside a wall cavity or a boxed‑in space. Accessibility for future maintenance is a legal requirement. If you cannot fit the valve where it can be serviced without demolition, get a pro.
- You have a unvented hot water cylinder (pressurised system). These have specific safety requirements. Wrongly installing a mixing valve on a unvented system can cause dangerous pressure buildup. Per UK Building Regulations Part G, unvented systems must be installed by a competent person registered with a recognised scheme (e.g., Gas Safe, OFTEC, or a water regulations self‑certification body).
- The existing pipework is a mix of copper and plastic (PEX or polybutylene). Different materials require different fittings and may need adaptors. If you’re not confident in joining them, get a pro.
- You open the valve and find heavy scale or debris inside the pipes. This suggests a systemic issue (e.g., corroded pipe or high limescale). A plumber can flush the system properly.
- After installation, the temperature fluctuates widely and you cannot trace the cause. You may have an unbalanced supply pressure or a faulty valve.
How to find a qualified professional:
- Look for membership in the Chartered Institute of Plumbing and Heating Engineering (CIPHE).
- Ask for proof of relevant insurance and a written quote.
- For TMV3 installations, the installer should provide a commissioning certificate.
Bottom line: If you see any of these signs, save yourself the frustration and hire a professional. The cost is far less than the risk of water damage or a scalding accident.
Frequently Asked Questions
What’s the difference between TMV2 and TMV3?
TMV2 is for domestic showers and baths. It meets BS EN 1111. TMV3 is for care homes and hospitals.
It meets BS EN 1287 and must be third‑party tested. TMV3 has tighter temperature tolerance and fails to cold on both hot and cold supply loss.
Can I fit a thermostatic mixing valve on a combi boiler?
Yes. Combi boilers supply hot water instantly. The mixing valve works the same way.
Just ensure the flow rate is above the valve’s minimum specification (usually 4‑6 litres per minute). Low flow can cause temperature instability.
How often should I clean the strainers?
Once a year in normal conditions. In hard water areas, check every six months. Scale builds up fast and restricts flow.
A blocked strainer makes the valve hunt for temperature. Clean them with vinegar or a limescale remover.
What temperature should I set for a shower?
Between 38°C and 44°C for adults. 41°C is a good middle ground. For children or elderly users, set at 38°C to 40°C. The legal maximum for TMV2 valves in the UK is 48°C.
Never exceed that.
Do I need a professional to install it?
Not necessarily. If you have basic plumbing skills and copper pipe, you can do it yourself. Call a professional if you have soldered joints, unvented systems, or pipework that is hard to access.
Safety comes first.
Final Quick‑Reference Checklist
- Water supply isolated and drained.
- Pipes cut cleanly, deburred inside and out.
- Valve orientation checked: hot to red, cold to blue, arrow points toward shower.
- Compression nuts hand‑tightened then a quarter turn with spanner.
- Strainers and check valves reinstalled after pipe connections.
- Water turned on slowly, all joints checked for leaks.
- System bled of air by running shower for two minutes.
- Temperature adjusted to 41°C using internal adjuster and thermometer.
- Tamper cap or grub screw locked.
- WRAS and BS EN standard confirmed on valve body.
- Maintenance reminder set for one year.


Similar Posts



















