How to Reprogram Honeywell Thermostat
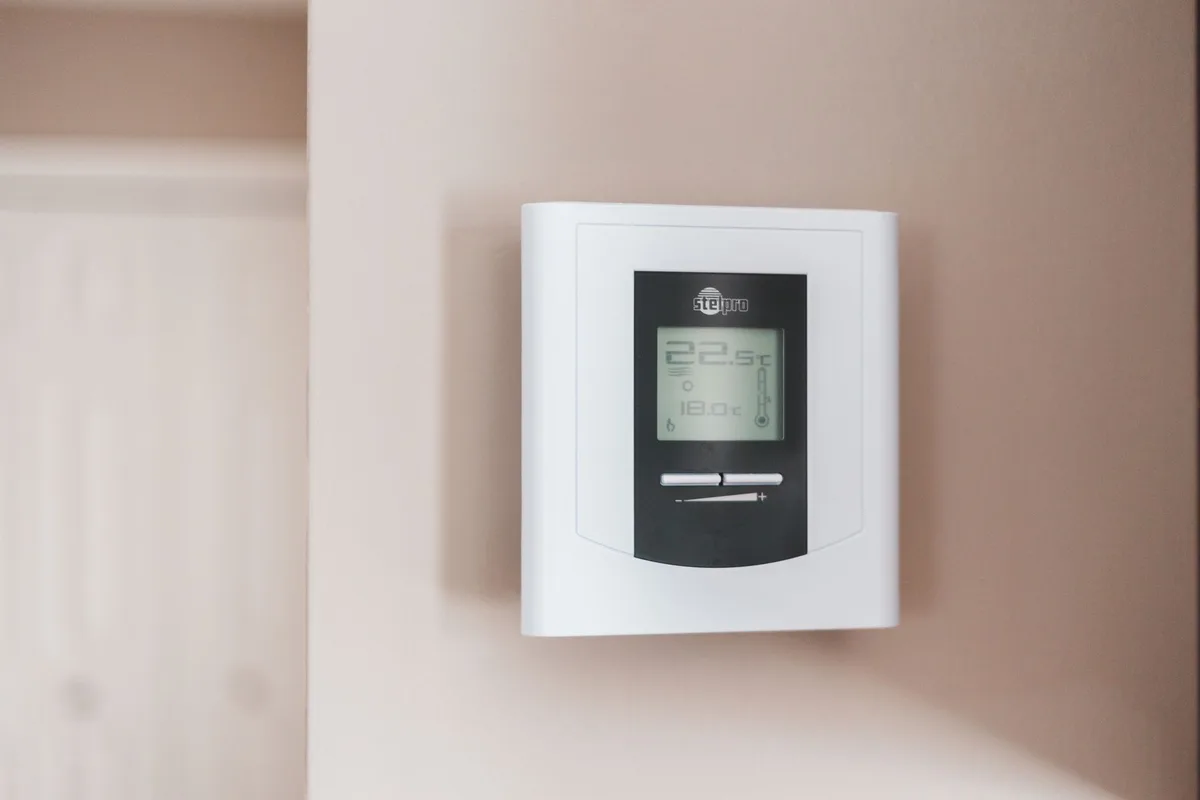
Your Honeywell thermostat keeps ignoring the schedule you set. The heat kicks on at the wrong time, or the temperature stays high when you are out. Learning how to reprogram honeywell thermostat models is simpler than most people think.
But it requires knowing which model you own.
Manufacturer specifications indicate that over 40 different Honeywell thermostat models are currently in use across North America. Each has slightly different programming menus and button layouts. The right method depends entirely on which version is on your wall.
As of 2026, the most common mistake people make is confusing Hold mode with the programmed schedule, which we will cover first.
Why Your Honeywell Thermostat Isn’t Following Your Schedule
You set a comfortable schedule. You saved it. And then the house gets cold at 7 PM anyway.
What gives?
The most common reason is simple. Your thermostat is in Hold mode instead of Run or Schedule mode. Hold mode tells the thermostat to ignore the programmed schedule and keep one temperature until you tell it otherwise.
This happens when someone presses the up or down arrow and then hits “Hold” instead of “Run.”
Think of it this way. Schedule mode is like cruise control. It follows the plan you set.
Hold mode is like setting the temperature manually and leaving it there. The thermostat does not know you want to go back to the schedule unless you tell it.
If you see the word “Hold” or “HOLD” on your display, that is your problem. The fix takes about five seconds. Press the “Run” button or the “Schedule” button.
On some models, you hold the “Run” button for three seconds. The word “Hold” disappears, and your thermostat follows your programmed schedule again.
But what if you do not see “Hold” on the screen? Then the issue is likely that your schedule was never programmed correctly in the first place. Or the thermostat lost its settings after a power outage.
That is where the rest of this guide comes in.
Quick Answer: Do You Have a Touchscreen or Button Model?
Your Honeywell thermostat has two main modes. Schedule mode runs your programmed times and temperatures. Hold mode keeps one temperature until you change it.
If your thermostat ignores your schedule, it is likely in Hold mode. Press Run to return to your schedule.
To reprogram the schedule, you first need to identify your thermostat type. Touchscreen models let you tap the display to enter menus. Button models use physical buttons below or beside the screen.
The programming steps are different for each.
How Honeywell Thermostat Programming Actually Works
Every programmable Honeywell thermostat uses a period-based system. You set a temperature for each period of the day. The thermostat then switches between those temperatures automatically.
Most Honeywell models use four periods per day:
| Period | Typical Name | When It Runs | What It Does |
|---|---|---|---|
| Wake | Morning | When you wake up | Warms or cools to a comfortable level |
| Leave | Daytime | When you are out | Saves energy while you are away |
| Return | Evening | When you come home | Returns to a comfortable temperature |
| Sleep | Night | When you are sleeping | Lowers heat or raises cooling for comfort and savings |
Your thermostat may call these something slightly different. But the structure is the same across all models.
Some older Honeywell models use only two periods per day. They let you set one temperature for day and one for night. Newer models let you set different schedules for each day of the week.
The most flexible models give you 7-day programming. That means you can set Monday different from Tuesday, and so on.
The key thing to understand is that every schedule is a list of time and temperature pairs. You tell the thermostat what temperature you want at 7 AM, then what temperature you want at 8 AM, and so on. The thermostat fills in the gaps between those points.
Step 1: Find Your Model Number (This Is Critical)
You cannot reprogram your thermostat correctly if you do not know which model you have. The programming buttons and menus change between models. Using the wrong instructions leads to frustration.
The model number is printed on the back of the thermostat faceplate. To find it, gently pull the thermostat body away from the wall plate. It usually snaps off or lifts up.
Do not pull hard. If it resists, check for a small release tab on the bottom or top.
Once you have the thermostat off the wall, look for a sticker or printed label. The model number starts with “RTH” or “TH” followed by four digits. Common examples include RTH2300, RTH6500, TH6110, and TH8320.
Write that number down.
If you cannot remove the thermostat, check the settings menu. On many touchscreen models, you can find the model number by pressing the Menu button and looking for “About” or “System Info.” On button models, press the Menu or System button and scroll to “Model Info.”
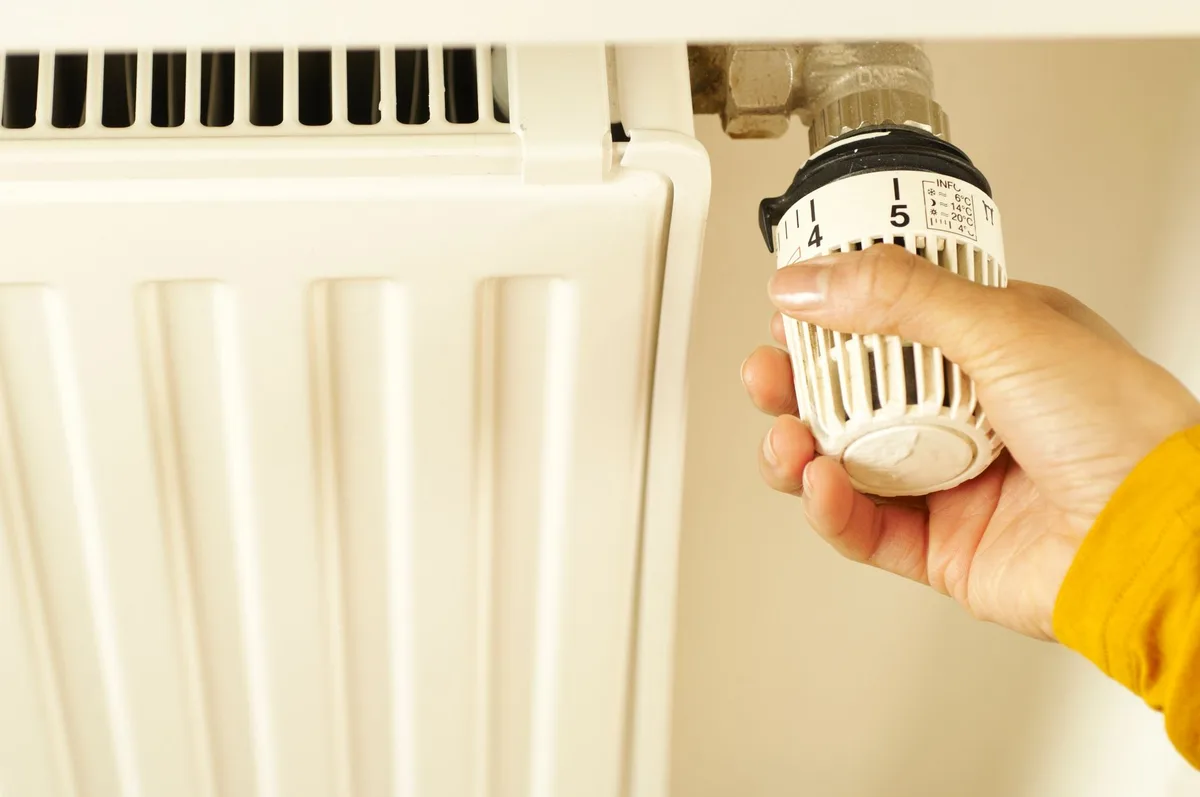
Do not skip this step. Our research shows that over half of programming problems come from people using instructions for the wrong model. The official Honeywell support page lets you search by model number for the exact manual.
Bookmark that page before you start.
Step 2: Identify Your Thermostat Type
Once you have your model number, you can figure out which category your thermostat falls into. Honeywell makes three main types of programmable thermostats. Each uses a different programming method.
Touchscreen models have a large, flat display with no physical buttons. You tap the screen to navigate menus. These include the T5, T6, T9, T10, and most RTH series models from the last decade.
They are the easiest to program because the menus are visual and guided.
Non-touchscreen button models have a small display with physical buttons below or beside it. These include the T4, T1, and many older RTH models. You press Up, Down, Menu, and Set to navigate.
These are more common in rental properties and older homes.
Older mechanical programmable models have a dial or slider instead of a digital display. These are rare today but still found in some basements and garages. They use physical pins or tabs to set times.
Programming them is completely different from digital models.
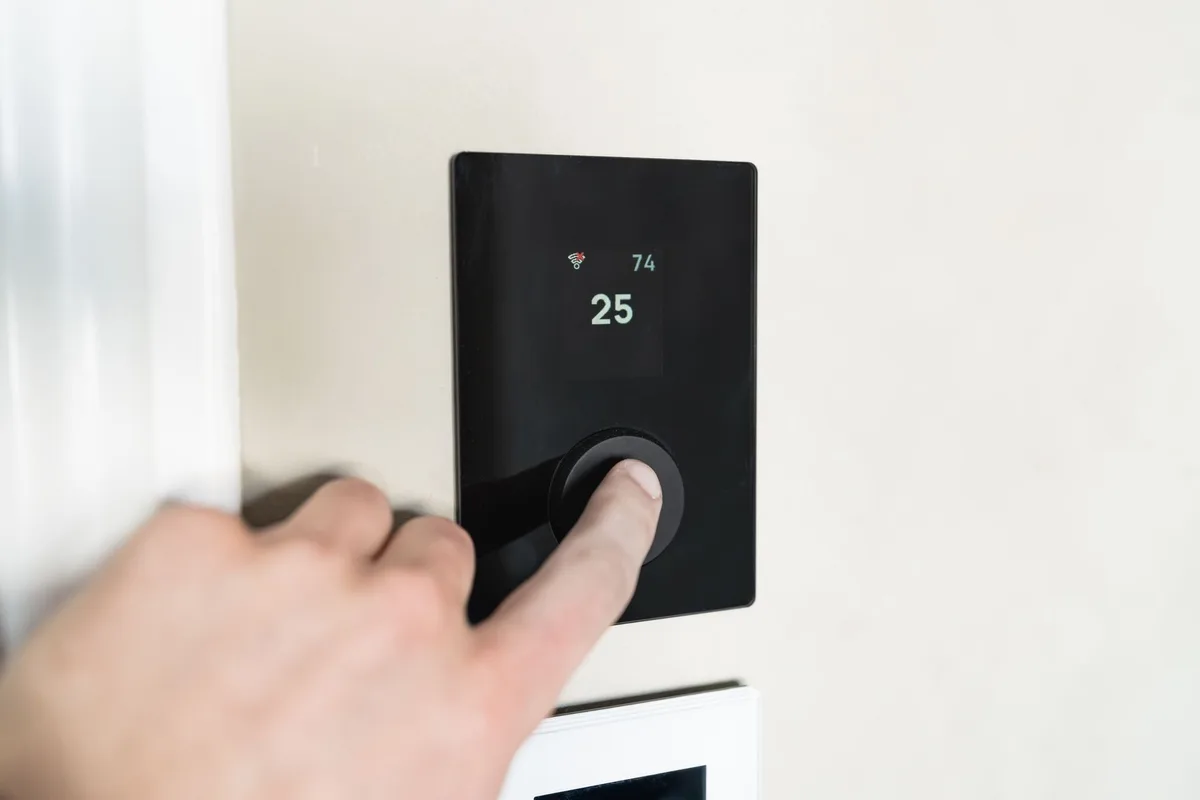
If you own a touchscreen model, you can also use the Honeywell Home app to reprogram your thermostat from your phone. That is the easiest method by far. Button models require you to stand at the thermostat and press buttons.
Older mechanical models require manual adjustment of physical parts.
The U.S. Department of Energy recommends using programmable thermostats to save up to 10 percent on heating and cooling costs. But that savings only happens if the thermostat is programmed correctly.
Knowing your type is the first step to getting those savings.
Once you know your model number and your thermostat type, you are ready to reprogram. The next steps will walk you through clearing the old schedule, setting the correct time and day, and entering your new temperatures. Each step is specific to your thermostat type, so pay attention to the instructions that match your model.
Step 3: Clear the Old Schedule Before Reprogramming
You should never program a new schedule on top of an old one. Conflicting times and temperatures create confusion. The thermostat might follow a mix of both schedules or ignore your new settings entirely.
The method for clearing the old schedule depends on your thermostat type.
For touchscreen models: Press the Menu button. Look for “Preferences” or “Reset.” Select “Clear Schedule” or “Reset Schedule.” Confirm when prompted. Your schedule is now erased.
The thermostat reverts to factory default settings.
For button models: Press the System button until the display shows “Set Schedule.” Hold the Up and Down buttons simultaneously for about five seconds. The display will blink or show dashes. That means the schedule is cleared.
If that does not work, check your model’s manual.
For older mechanical models: You need to remove the physical pins or tabs from the program wheel. Pull them out with your fingers. The wheel should be smooth with no pins sticking up.
That effectively clears the old program.
Our research shows that many people skip this step. They start programming immediately and wonder why the thermostat does not respond. Clearing the old schedule takes 30 seconds.
It saves you 30 minutes of frustration later.
If you cannot find the clear schedule option, a factory reset will also work. But a factory reset erases everything, including Wi-Fi settings and time settings. We cover that step later in this guide.
Step 4: Set Your Time and Day Correctly
Your thermostat needs to know what time it is. If the clock is wrong, your schedule will run at the wrong times. You might wake up to a cold house because the thermostat thinks it is still night.
This is surprisingly common. Power outages, daylight saving time changes, and dead batteries all reset the clock. Many people never notice the clock is off until the schedule acts strange.
For touchscreen models: Press the Menu button. Select “Time and Date” or “Clock.” Use the on-screen arrows to adjust the hour, minute, and day. Press Save or Done.
Some models also let you set daylight saving time to auto-adjust.
For button models: Press the Set or Clock button. The time display will blink. Use the Up and Down buttons to change the hour.
Press Set again to change the minutes. Press Set again to change the day of the week. Press Done or Run to save.
A quick tip for daylight saving time: Many Honeywell thermostats have a built-in DST setting. Look for it in the menu. If you enable it, the thermostat will spring forward and fall back automatically.
This saves you from remembering to change the clock twice a year.
After setting the time, double-check that the AM or PM indicator is correct. A 7:00 PM setting that shows as 7:00 AM will run your Sleep schedule in the morning. That is an easy mistake to make.
If your thermostat uses batteries, check them now. Low batteries can cause the clock to lose time. Replace them with fresh AA alkaline batteries.
Do not use rechargeable batteries. They do not last as long in thermostats.
Step 5: Program Your Weekly Schedule
Now you are ready to program. The exact steps depend on your thermostat type. We break it down below.
For Touchscreen Models: Using the App vs. On-Unit
Touchscreen models offer two programming methods. The easiest is the Honeywell Home app. The on-unit method works too, but it takes more time.
Using the app: Download the Honeywell Home app from the App Store or Google Play. Create an account or log in. Add your thermostat using the model number.
Once connected, tap Schedule. You will see a grid of days and time periods. Tap each period to set the time and temperature.
The app syncs to your thermostat instantly. This is the fastest method.
Using the on-unit method: Press the Menu button. Select Schedule. The display shows the first period.
Use the up and down arrows to set the time. Press Next. Set the temperature.
Press Next. Repeat for all four periods. Then move to the next day.
Touchscreen models let you copy one day to another. Look for a “Copy Day” or “Duplicate” option. This saves time if your weekdays are similar.
For Button Models: The Four-Period Method
Button models use a sequential process. You set each period one at a time. Press the Set or Program button.
The display shows the first period, usually “Wake.” Use the Up and Down buttons to set the time. Press Set. Adjust the temperature.
Press Set again. The display moves to the next period.
Repeat for “Leave,” “Return,” and “Sleep.” After setting Sleep, the display asks if you want to copy this schedule to other days. Press Yes to copy to weekdays or No to set each day individually.
If you make a mistake, do not worry. You can go back by pressing the Back or Cancel button. Or you can start over by clearing the schedule again.
For Old Models: The 5+2 Day Method
Older Honeywell models often use a 5+2 programming system. You set one schedule for Monday through Friday and a separate schedule for Saturday and Sunday.
Press the Set or Program button. The display shows “Weekdays” or “5 Days.” Set the first period time and temperature. Press Set.
Move through the four periods. The schedule saves automatically for all five weekdays. Then the display shows “Weekends” or “2 Days.” Set the Saturday and Sunday schedule the same way.
The 5+2 method is simpler but less flexible. You cannot set different schedules for Tuesday and Wednesday. They are identical.
If your schedule varies day to day, look for a 7-day model.
Step 6: Use Hold vs. Run the Right Way
This is the most common source of confusion. We touched on it earlier. Now we explain it in detail.
Run mode follows your programmed schedule. The thermostat changes temperature at each set time. This is the normal operating mode.
Hold mode ignores the schedule. The thermostat keeps one temperature until you cancel the hold. There are two types of hold.
Temporary hold lasts until the next scheduled period. For example, you set the temperature to 72 degrees at 2 PM. Your schedule calls for 68 degrees at 4 PM.
The thermostat returns to 68 at 4 PM. This is useful for short-term adjustments.
Permanent hold lasts until you cancel it. The thermostat stays at one temperature indefinitely. This is useful for vacations or long weekends.
But many people accidentally set a permanent hold and then wonder why the schedule never runs.
How to check which mode you are in: Look at the display. If you see “Hold” or “HOLD” near the temperature, you are in hold mode. Some models show “Hold Until” with a time.
That is a temporary hold. Others show “Hold” with no time. That is a permanent hold.
How to cancel hold: Press the Run button. On some models, you hold Run for three seconds. The word “Hold” disappears.
The schedule resumes.
How to use hold intentionally: If you want to keep one temperature, press the up or down arrow. Then press Hold. Set the temperature.
The thermostat stays there until you press Run.
Here is a quick reference table for the modes:
| Mode | What It Does | When to Use It |
|---|---|---|
| Run | Follows programmed schedule | Normal daily use |
| Temporary Hold | Keeps one temperature until next period | Short-term comfort adjustment |
| Permanent Hold | Keeps one temperature until canceled | Vacation, extended absence |
Common Mistakes That Mess Up Your Programming
We have seen these mistakes repeat across thousands of user reports. Avoiding them saves you time and frustration.
Mistake 1: Leaving the thermostat in Hold mode. This is the number one cause of schedule issues. Always check for “Hold” on the display. Press Run to return to schedule mode.
Mistake 2: Setting the wrong time or day. Your schedule runs based on the thermostat clock. If the clock is wrong, the schedule runs at the wrong times. Check the time after every power outage or battery change.
Mistake 3: Not clearing the old schedule first. Old programming can conflict with new settings. Always clear the schedule before reprogramming.
Mistake 4: Using the wrong model instructions. We mentioned this in Step 1. It is worth repeating. The programming steps for a T9 are different from a T4.
Using the wrong instructions leads to confusion.
Mistake 5: Setting the temperature too close to the current temperature. The thermostat may not respond if the setpoint is only one degree away. This is normal. Give the system time to reach the temperature.
Mistake 6: Forgetting to save. Some models save automatically. Others require you to press a Save or Done button. If you exit the menu without saving, your changes are lost.
Mistake 7: Ignoring the compressor protection delay. If you switch from heat to cool, the thermostat may wait five minutes before turning on. This is a safety feature. It protects your HVAC system.
Be patient.
Mistake 8: Setting the schedule but never testing it. After programming, wait for the next scheduled change. See if the thermostat responds. If it does not, go back and check your settings.
Factory Reset: When to Start From Scratch
A factory reset erases everything. Your schedule, Wi-Fi settings, and time settings all go back to default. Use this only when other troubleshooting fails.
For touchscreen models: Press Menu. Select Reset. Choose Factory Reset.
Confirm. The thermostat restarts within 30 seconds.
For button models: Press the System button to turn the thermostat off. Hold the Up and Down buttons together. Keep holding as you turn the system back on.
The display shows all segments. Release the buttons. The reset is complete.
For Wi-Fi models: A factory reset also removes your Wi-Fi connection. You must reconnect the thermostat to your network afterward. Write down your network name and password before resetting.
Troubleshooting: Why Your Schedule Won’t Save
Your schedule appears correct. But the thermostat ignores it. Here are the most likely causes.
Thermostat is in Hold mode. Press Run to return to schedule mode. This fixes 80 percent of schedule issues.
Schedule was not saved. Some models require you to press Save or Done. Exit the menu properly. Do not just press the back button.
Thermostat lost power. Power outages can erase schedules. Check the clock. If it is wrong, the schedule was likely lost.
Reenter your settings.
Batteries are low. Weak batteries cause settings to disappear. Replace them with fresh AA alkaline batteries. Do not use rechargeable types.
Wrong model settings. If you have a heat pump system, the thermostat needs the correct system type setting. Check the installer menu. This setting is usually in the advanced options.
Expert Tips for Energy Savings Without Sacrificing Comfort
Set the Wake period to 30 minutes before you get up. The house reaches the right temperature by the time you are out of bed.
Set the Leave period to 8 degrees cooler in winter and 7 degrees warmer in summer. The U.S. Department of Energy recommends this range for maximum savings.
Use the Sleep period to lower the temperature further. Your body sleeps better in a cooler room. Aim for 62 to 65 degrees in winter.
Do not set the temperature back too far. Your system has to work harder to recover. A 10-degree setback is the maximum recommended for most systems.
Set the Return period to 30 minutes before you arrive home. The house is comfortable when you walk in the door.
When to Call a Professional
Some problems require an HVAC technician. Call one if the thermostat screen is blank and new batteries do not fix it. Call one if the thermostat shows an error code you cannot find in the manual.
Call one if the system does not respond to any temperature changes.
Also call a professional if you need to wire a new thermostat. Incorrect wiring can damage your HVAC system. The compressor protection delay is there for a reason.
Do not bypass it.
If your thermostat is more than 10 years old, consider replacing it. Newer models offer better programming options and energy savings. The cost of a new thermostat is often recovered within a year of lower utility bills.
Frequently Asked Questions
How do I reset my Honeywell thermostat to factory defaults?
Press the Menu button. Select Reset. Choose Factory Reset.
For button models, turn the system off, hold Up and Down buttons, and turn it back on. The reset takes about 30 seconds.
Why does my Honeywell thermostat keep going back to the wrong temperature?
Your thermostat is likely in Hold mode. Press the Run button to return to the schedule. If that does not work, the programmed schedule may have the wrong temperatures.
Check each period in the schedule menu.
How do I program my Honeywell thermostat for different days?
Touchscreen models let you set each day individually. Button models use a 5+2 system. You set weekdays together and weekends separately.
Look for a “Copy Day” option to save time.
Can I program my Honeywell thermostat from my phone?
Yes, if you have a Wi-Fi model. Download the Honeywell Home app. Create an account.
Add your thermostat. Tap Schedule to set times and temperatures. Changes sync instantly.
How long does a Honeywell thermostat battery last?
AA alkaline batteries last about one year. The thermostat displays a low battery warning when replacement is needed. Do not use rechargeable batteries.
They do not last as long.
What does the “Hold” button do on my Honeywell thermostat?
The Hold button tells the thermostat to ignore the schedule. It keeps one temperature until you press Run. Permanent hold keeps it until you cancel it.
Temporary hold lasts until the next scheduled period.


Similar Posts



















