How to Fix a Cracked Toilet Bowl
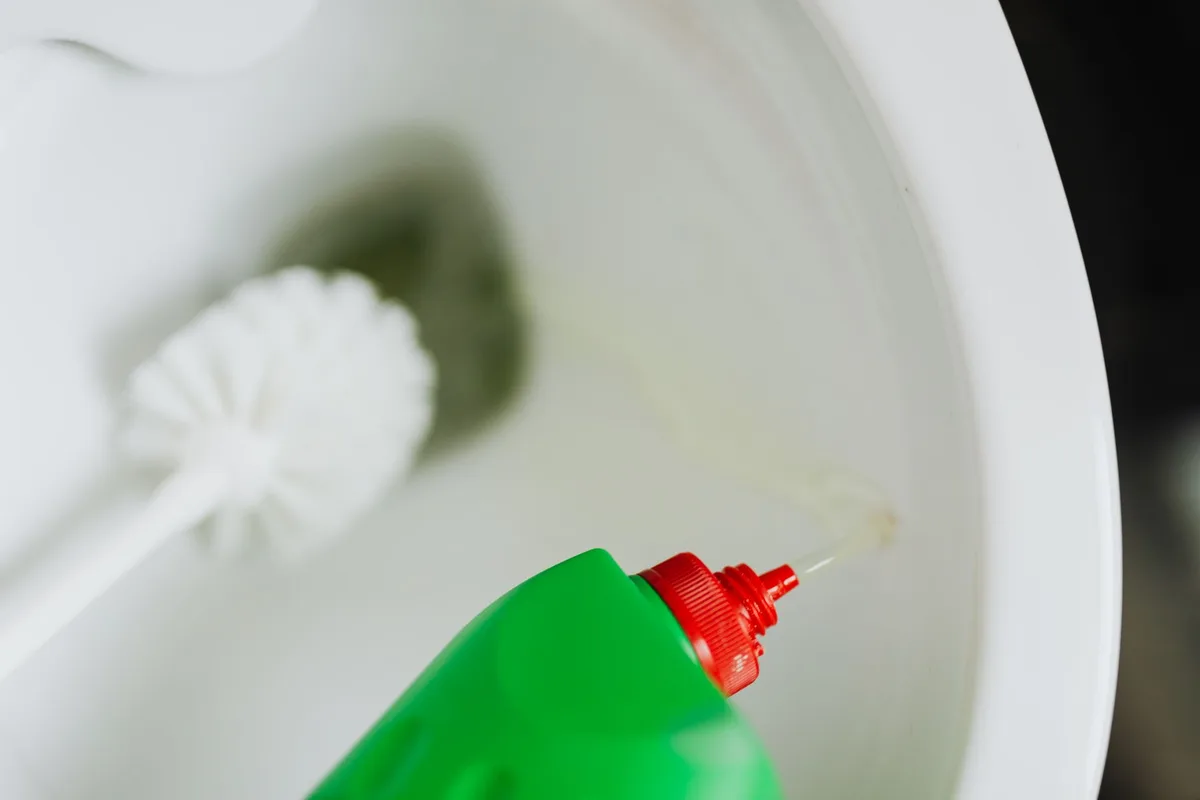
You walk into your bathroom and see a thin line running through the porcelain. A cracked toilet bowl. Your first thought is panic, a new toilet, a plumber, a big bill.
But hold up. Not every crack means you have to rip the whole thing out. In many cases, you can fix a cracked toilet bowl yourself with the right materials and a little patience.
I’ve repaired dozens of toilets over the years, and I’m here to walk you through exactly how to do it safely and effectively. We’re going to cover when a repair is possible, what tools you’ll need, the step-by-step process, and how to inspect the flange while you’re at it. Let’s get started.
Image source: Pexels / www.kaboompics.com (Pexels License)
Is a Cracked Toilet Bowl Dangerous?
Yes, and you need to take it seriously. A cracked toilet bowl isn’t just an eyesore, it can leak water onto your bathroom floor, damage the subfloor, and even cause the bowl to fail catastrophically. If the crack is in the bowl’s sidewall where water is constantly present, you’re looking at a slow leak that can lead to mold, rot, and structural damage.
Worse, if the crack extends into the trapway or the base, waste water can seep out. That’s a health hazard.
But the biggest danger? A crack that grows under pressure. When you sit on the toilet, your body weight stresses the porcelain.
If a crack is already there, that stress can cause the bowl to snap completely. That’s a fall risk and a mess you don’t want to clean up.
So how do you know if your toilet is safe to repair? You need to assess the crack’s location, size, and depth. Hairline cracks on the exterior glaze are often fixable.
Deep structural cracks that run through the entire thickness of the porcelain are not. If you can see light through the crack, or if water seeps through when you press on it, that’s a full-thickness break, replace the toilet.
For minor cracks, a high-quality epoxy repair can seal the damage and restore the toilet’s integrity. But you have to do it right, and that starts with the right materials.
Can You Fix a Cracked Toilet Bowl Yourself?
Absolutely, as long as you’re dealing with a non-structural crack. I’m talking about surface-level crazing (the fine network of lines that looks like a spiderweb) or a single hairline crack that doesn’t go all the way through. Those are cosmetic issues that a good epoxy can handle.
If the crack is on the inner surface of the bowl where water sits, you can still repair it, but you need to dry the area thoroughly and apply a waterproof epoxy. That kind of repair will last for years if done correctly.
What you can’t fix: a crack that runs from the rim down into the bowl, a crack that passes through the bolt holes, or a crack that goes through the trapway. Those are structural. The porcelain is compromised, and no amount of epoxy will hold up to the stress of daily use.
In that case, you’re better off replacing the toilet, it’s cheaper than a water-damaged floor.
The U.S. Environmental Protection Agency (EPA) recommends fixing toilet leaks quickly to prevent water waste, and that includes repairing cracks. Check out their Fix a Leak resources for more on why even small leaks matter.
Materials Needed for Toilet Bowl Repair
Before you start, gather everything you need. Nothing worse than being elbow-deep in a repair and realizing you’re missing a key item.
Image source: Pexels / Ksenia Chernaya (Pexels License)
Here’s my go-to list:
- Epoxy repair kit, specifically designed for porcelain or ceramic. Look for a two-part epoxy that’s waterproof and cures to a hard, sandable finish. Avoid general-purpose glues, they won’t bond to porcelain.
- Isopropyl alcohol (90% or higher), to clean the surface. Rubbing alcohol removes all oils and residue.
- Fine-grit sandpaper (400-600 grit), to roughen the crack area for better adhesion.
- Masking tape, to outline the repair area and keep the epoxy contained.
- Disposable gloves, epoxy is sticky and hard to remove from skin.
- Putty knife or craft stick, for applying the epoxy.
- Razor blade, to scrape off excess epoxy after it starts to cure.
- Toilet wax ring, you’ll need a new one if you remove the toilet.
- Adjustable wrench and screwdriver, for toilet removal and reinstallation.
- Bucket, sponge, and towels, to drain the toilet and clean up.
If you’re planning to inspect the flange (and you should), add a flange repair kit or a new flange to your list.
Step-by-Step Guide to Fixing a Cracked Toilet Bowl
Let’s get hands-on. I’ll break this into clear steps so you can follow along without getting lost.
Step 1: Drain and Remove the Toilet
Start by turning off the water supply at the shutoff valve behind the toilet. Flush the toilet and hold the handle down to drain the tank and bowl. Sponge out any remaining water from the bowl, you want it bone-dry for the epoxy.
Disconnect the supply line from the fill valve. Remove the two plastic caps covering the bolts at the base of the toilet. Unscrew the nuts with a wrench.
If they’re rusted, use penetrating oil.
Gently rock the toilet side to side to break the wax seal. Lift the toilet straight up and set it on its side on a drop cloth or cardboard. Be careful, porcelain is heavy and brittle.
Set the toilet aside in a dry, ventilated area where you can work on it.
Step 2: Clean and Dry the Crack
Now that the toilet is out, clean the crack area thoroughly. Use isopropyl alcohol and a clean rag to remove any dirt, mineral deposits, or old wax residue. Let it dry completely.
If the crack has any loose chips or rough edges, sand them lightly with fine-grit sandpaper. This creates a rough surface for the epoxy to grip. Wipe away the dust with a tack cloth or damp rag, then clean again with alcohol.
Dry the area with a hair dryer on low heat. Make sure there’s no moisture left. Epoxy won’t bond to water.
Step 3: Apply Epoxy or Repair Kit
Read the instructions on your epoxy kit carefully. Most are two-part systems that you mix in equal parts. Mix thoroughly for the recommended time, usually 1-2 minutes.
Apply the epoxy to the crack using a craft stick or putty knife. Press it into the crack firmly, ensuring it fills the entire fissure. Don’t just spread it on top, work it in.
Use masking tape to outline the crack and keep the epoxy from spreading where you don’t want it. You can also use the tape to create a neat edge.
Smooth the epoxy so it’s slightly proud of the surface. You’ll sand it flush later. Let it set according to the product instructions, typically 20 to 60 minutes.
Step 4: Let It Cure
After the epoxy sets, remove the masking tape. Now comes the “don’t rush it” part. Let the epoxy cure fully.
That usually takes 24 hours, but check the label.
Curing time depends on temperature and humidity. If your bathroom is cold, give it extra time. Don’t even think about reinstalling the toilet until the epoxy is hard as stone.
Once cured, sand the repair smooth with fine-grit sandpaper. Start with 400 grit and move to 600 grit for a polished finish. Be gentle, you’re just leveling the epoxy, not resurfacing the whole bowl.
Clean off sanding dust with alcohol.
Step 5: Reinstall and Test
Now it’s time to put the toilet back. Replace the wax ring with a new one, never reuse an old wax ring. Install the new ring on the flange, then carefully lower the toilet onto the bolts.
Rock it gently to seat the wax ring. Tighten the nuts evenly, but don’t overtighten, you can crack the base.
Reconnect the supply line, turn on the water, and check for leaks. Flush several times and inspect the repaired crack. If it’s sealed and dry, you’re good.
If you see any moisture near the repair, you didn’t get a good bond. Drain, dry, and reapply. Better to fix it now than later.
Inspecting and Replacing the Toilet Flange
While you have the toilet removed, this is the perfect time to check the flange, the plastic or metal ring that connects the toilet to the drain pipe. A damaged flange is a common cause of leaks and wobble.
Image source: Pexels / Max Vakhtbovych (Pexels License)
Look for cracks, rust, or broken tabs. If the flange is broken, your toilet won’t sit level and the wax seal will fail. You can replace the flange yourself with a repair ring or a complete flange kit.
Most flanges screw into the subfloor.
How to replace a toilet flange:
- Remove the old flange by unscrewing the screws and prying it out.
- Clean the drain pipe opening.
- Align the new flange so it’s flush with the finished floor, not above or below.
- Screw it into place using corrosion-resistant screws.
- If the floor height is off, use a flange extender.
A solid flange means your repaired toilet will stay put and seal correctly. Don’t skip this step.
Preventing Future Cracks
Once you’ve fixed the crack, you want to keep it from coming back. Here are the most common causes of toilet cracks and how to avoid them:
- Overtightening bolts, that’s the number one cause. When you install a toilet, tighten the bolts until the toilet is snug, then stop. If you crank down hard, you’ll create stress fractures around the bolt holes over time.
- Dropping heavy objects, shampoo bottles, toilet brushes, or even the tank lid. Porcelain is tough but not indestructible. A hard impact can create a hairline crack that grows.
- Temperature shocks, pouring boiling water into a cold toilet bowl can cause the porcelain to crack. Stick to warm water for cleaning.
- Poor installation, if the floor isn’t level, the toilet rocks. That rocking puts stress on the bowl and can cause cracks. Use shims to level the toilet before tightening.
- Old age, toilets eventually wear out. If the porcelain starts to craze (fine surface cracks), it’s a sign the material is fatigued. A full replacement may be the safer move.
Regular inspection helps. Every time you clean the toilet, run your eyes over the bowl. Look for new cracks or changes in existing ones.
Catch them early, and a simple epoxy fix is all you need.
Frequently Asked Questions
Q: Can I repair a crack on the inside of the toilet bowl where water sits?
Yes, but you need a waterproof epoxy and you must dry the surface completely. After curing, the epoxy will be impervious to water. Just make sure no moisture is trapped underneath.
Q: How long does an epoxy repair last?
A properly applied epoxy repair can last 5-10 years or more. The bond is very strong, but it’s not as strong as the original porcelain. Avoid any hard impacts on the repaired area.
Q: Will the repair be visible?
Epoxy dries clear or white depending on the product. You can also find colored epoxy to match your toilet. With careful sanding and polishing, the repair becomes barely noticeable.
Q: What if the crack is near the toilet seat hinge?
That area takes extra stress. If the crack is small and not structural, epoxy can work. But if the crack runs through the hinge bolt hole, replace the toilet.
Q: Should I call a plumber?
If you’re not comfortable removing and reinstalling a toilet, or if the crack is structural, call a pro. The cost of a plumber is still less than water damage repair.
Q: Can I just use super glue?
No. Super glue is not waterproof and won’t flex with temperature changes. Use a two-part epoxy designed for porcelain.
Q: How do I know if the crack is structural?
If you can see light through it, if water seeps out, or if the crack is longer than 2 inches, it’s likely structural. Also, if the crack runs vertically from the rim down, the bowl is compromised.
Fixing a cracked toilet bowl isn’t always the hardest DIY job you’ll face. With patience, the right epoxy, and careful work, you can extend the life of your toilet and avoid a full replacement. Just remember: safety first.
If the crack is deep or the toilet wobbles, don’t gamble, replace the whole unit. Your bathroom stays dry, your floor stays intact, and you save yourself a messy headache down the road.


Similar Posts



















