How to Grow Trash Can Potatoes
I’ve been growing potatoes in trash cans for seven seasons now. Let me tell you straight up, it works better than almost any other container method I’ve tried. You get a massive yield from a footprint smaller than a patio chair.
No raised beds required. No tilling. No back-breaking digging at harvest time.
If you’ve got a trash can, some seed potatoes, and a sunny corner, you can grow enough spuds to feed a family of four for weeks. I’m going to walk you through every step, from choosing the right can to storing your harvest. No fluff.
Just what works.
Why Grow Potatoes in a Trash Can?
You might be wondering why anyone would choose a garbage can over a garden bed. The answer is simple: control and convenience.
Space efficiency is unmatched. A standard 32-gallon trash can takes up about two square feet of ground space. That same can can produce 10 to 15 pounds of potatoes. Try getting that yield from a two-foot patch of soil.
You control the soil completely. No rocks. No clay. No weird contaminants from previous seasons.
You fill that can with exactly what potatoes love, loose, rich, well-draining medium.
Harvesting becomes a dump-and-sort operation. No digging. No scratched knuckles. Just tip the can over, pull out the potatoes, and compost the spent soil.
It takes about four minutes.
Pests are dramatically reduced. Trash cans sit above ground level, which means voles, moles, and wireworms rarely find your crop. You’ll still deal with Colorado potato beetles if they’re in your area, but the physical barrier helps.
You can grow in impossible places. Driveway. Balcony. Rooftop.
Concrete patio. I’ve grown trash can potatoes on a second-floor apartment deck. The neighbors thought I was eccentric until I brought them fresh Yukon Golds in August.
What You’ll Need to Get Started
Before we get into the process, gather these supplies:
- One plastic or metal trash can, 20 to 50 gallons. Plastic is lighter. Metal lasts longer. I prefer 32-gallon plastic because it’s manageable when full of wet soil.
- Seed potatoes, Not grocery store potatoes. More on this in a moment.
- Potting soil or compost, About 3 cubic feet per can. Never use garden soil in containers. It compacts and suffocates roots.
- Drill with a 1/4-inch or 3/8-inch bit, For drainage holes.
- Straw or shredded newspaper, To cover the seed potatoes at each “hilling” stage.
- Balanced fertilizer, 10-10-10 or a potato-specific formula works fine.
- Sunlight, At least six hours of direct sun daily.
That’s it. You don’t need special containers. You don’t need expensive systems.
A standard trash can that cost you fifteen bucks at the hardware store will outperform most purpose-built potato planters I’ve tested.
Choosing Seed Potatoes
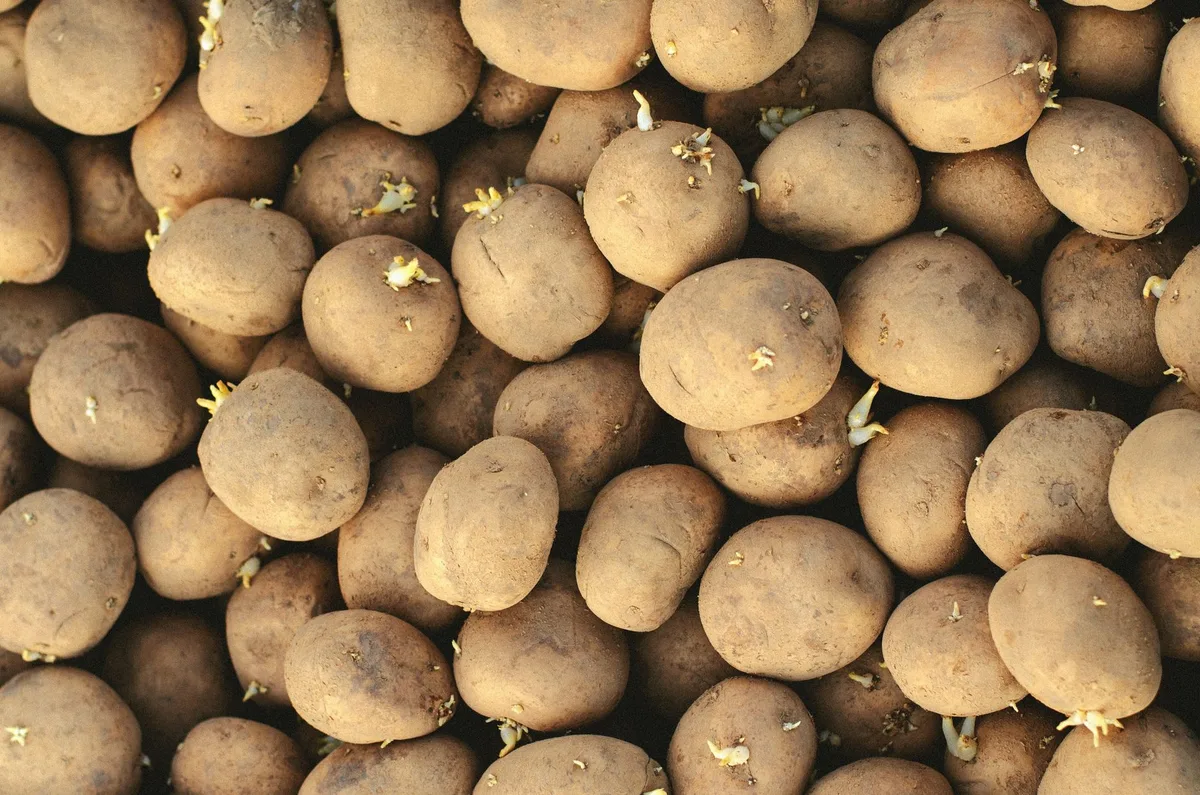
This is where beginners mess up. You cannot reliably grow potatoes from supermarket spuds. Here’s why:
Grocery potatoes are often treated with sprout inhibitors. They’re also frequently carrying diseases like blight or virus that will ruin your crop and contaminate your soil for seasons to come. Seed potatoes are certified disease-free and bred for vigorous growth.
Buy from a reputable supplier. Local garden centers carry them in spring. Online sources like the USDA’s Agricultural Research Service maintain lists of certified seed potato producers. You want certified stock.
Choose varieties that suit your goals. For trash can growing, stick with determinate or “early” varieties. These plants produce all their potatoes at once and don’t sprawl endlessly. My favorites:
- Yukon Gold, All-purpose, buttery, reliable. Never had a bad crop.
- Red Norland, Early, disease-resistant, delicious boiled or roasted.
- Russet Burbank, The classic baking potato. Needs a bit more space but works in a 32-gallon can.
- All Blue, Fun. Good yields. Kids love the color.
Buy small seed potatoes. You want them about the size of a hen’s egg. If they’re larger, cut them into pieces with at least two “eyes” per piece. Let the cut pieces sit at room temperature for 24 to 48 hours so the cut surfaces callus over.
This prevents rot.
Preparing Your Trash Can
Your trash can is not ready to plant in as-is. You need to create drainage and airflow.
Drill holes in the bottom. Flip the can over and drill 10 to 15 holes evenly spaced across the bottom. Use a 1/4-inch or 3/8-inch bit. These holes prevent water from pooling and drowning your roots.
Drill holes in the sides. This is the trick most guides skip. Drill a ring of holes about 6 inches up from the bottom. Then another ring 6 inches above that.
Continue up the sides. You want 8 to 10 holes per ring. This cross-ventilates the soil, prevents anaerobic conditions, and lets roots breathe.
Trust me on this.
Place the can in its final position before filling. A full can of damp soil weighs over 200 pounds. You do not want to move it. Put it where it will get full sun and stay put.
How to Plant Trash Can Potatoes
Timing matters. Plant after your last frost date. Soil temperature should be at least 45°F.
I usually plant mine two weeks after the local farmers start planting their field corn.
Step 1: Lay the base. Fill the bottom 6 inches of your can with potting soil mixed with a handful of fertilizer. Water it lightly until damp but not soaked.
Step 2: Place your seed potatoes. Space them evenly, about 6 inches apart. For a 32-gallon can, you can fit 3 to 4 seed pieces. Place them with the eyes facing up.
Push them gently into the soil so they’re barely covered.
Step 3: Cover with 3 inches of soil. Just enough to hide them. Water gently.
Step 4: Wait for sprouts. In 2 to 3 weeks, you’ll see green shoots pushing through. This is where the magic starts.
Step 5: Hill as they grow. Once the sprouts are about 6 inches tall, add another 4 inches of soil or straw. Cover all but the top 2 inches of leaves. This is called “hilling.” Potatoes grow from the stems, not the roots.
Every time you bury the lower stems, you create more places for potatoes to form. Keep hilling until your can is full or until the plants flower.
You’ll hill 3 to 4 times total. Each hilling increases your yield. Don’t skip this step. I’ve tested it side by side, hilled cans produce almost double the potatoes of unhilled cans.
Watering and Feeding Your Trash Can Potatoes
Container potatoes dry out faster than in-ground potatoes. You need to stay on top of watering.
Water deeply when the top 2 inches of soil feel dry. In hot weather, that might mean every day. Stick your finger in. If it feels dry at knuckle depth, water.
Don’t let the soil stay soggy. Those drainage holes you drilled? They’re critical. Potatoes rot in standing water.
Water until it runs out the bottom holes, then stop.
Feed every two weeks after the plants are 6 inches tall. Use a balanced liquid fertilizer at half strength. Or top-dress with a slow-release granular fertilizer and water it in. Potatoes are heavy feeders.
They’ll tell you if they’re hungry by yellowing leaves.
Watch for nutrient deficiencies. Yellow lower leaves usually mean nitrogen. Purple stems mean phosphorus shortage. Brown leaf edges mean potassium is low.
Correct with the appropriate fertilizer.
Common Problems and How to Fix Them
Nothing goes perfectly. Here’s what you’ll face and how to handle it.
Colorado potato beetles. These striped pests will strip your plants overnight. Check the undersides of leaves daily. Hand-pick adults and crush egg clusters.
In severe cases, use spinosad, an organic insecticide that’s effective and breaks down quickly.
Blight. You’ll know it by brown spots on leaves with a white fuzz underneath. Remove affected leaves immediately. Improve airflow.
If it spreads, you might lose the crop. Prevention matters, use certified seed potatoes and don’t overwater.
Small potatoes. This usually means you didn’t hill enough, your soil was too compact, or you harvested too soon. Adjust next season.
Green potatoes. These contain solanine, which is toxic. Green skin means they were exposed to light. Always hill deeply enough to keep developing potatoes buried.
Store harvested potatoes in complete darkness.
Blossom drop. If flowers fall off without setting fruit, it’s typically heat stress or inconsistent watering. Keep soil consistently moist.
Harvesting Your Potatoes
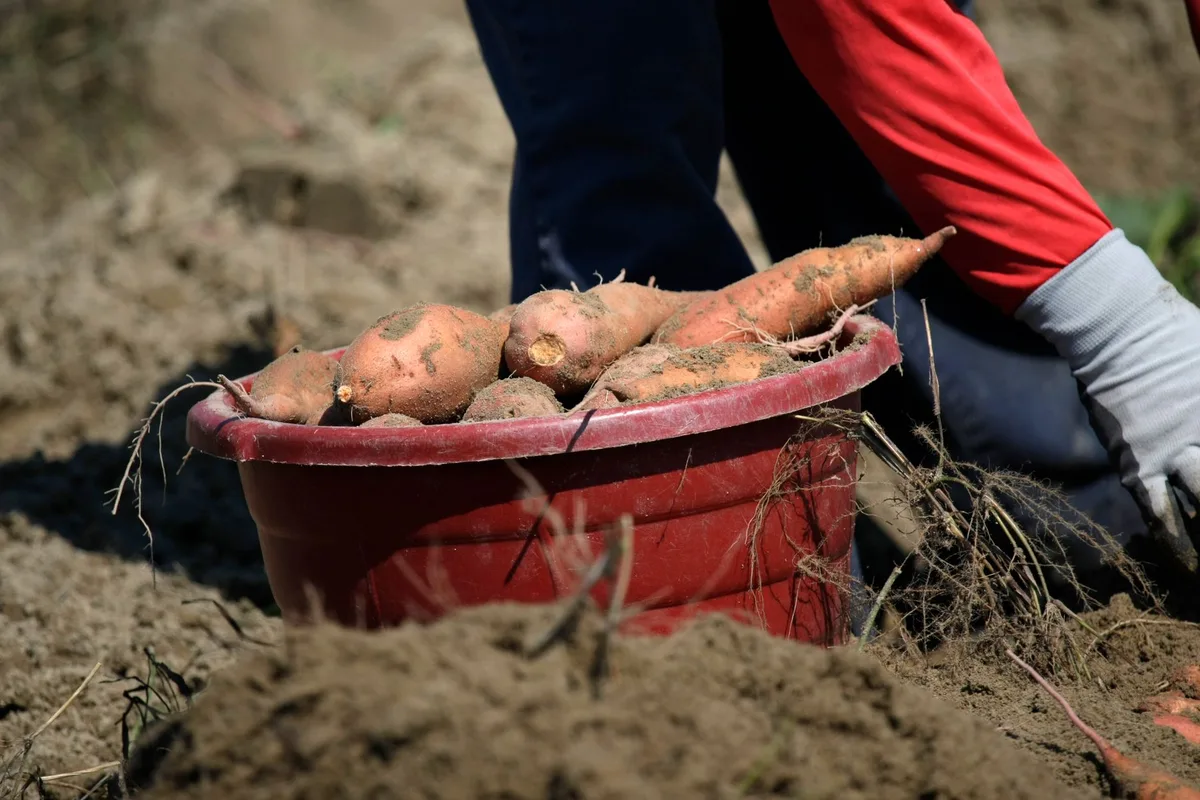
This is the payoff. There are two ways to harvest from a trash can.
Method 1: The dump. When the plants flower and then die back, the potatoes are mature. Cut off the dead stems. Tip the can over onto a tarp.
Sift through the soil and collect your potatoes. You’ll find them clustered at the lower depths where the original seed pieces were planted.
Method 2: The sneak harvest. You can reach down through the soil and pull a few new potatoes once the plants are flowering. Just be gentle. Don’t disturb the roots.
This gives you early potatoes for dinner while the rest keep growing.
Timing: Early varieties mature in 60 to 90 days. Main season varieties take 90 to 120 days. Let the plants die back completely for full-sized storage potatoes.
Harvest earlier for “new” potatoes.
Cure your potatoes before storage. Lay them in a single layer in a dark, well-ventilated space at 50 to 60°F for one to two weeks. This toughens the skin and heals small cuts. After curing, store them in a cool, dark place at 35 to 45°F.
A basement or root cellar works perfectly.
Can You Reuse the Soil?
Short answer: Not immediately. Potatoes deplete soil heavily and can leave behind diseases.
Long answer: You can compost the used soil and mix it with fresh material next season. Don’t grow potatoes in the same container two years in a row. Rotate crops.
Use the potato soil for non-nightshade plants like beans or greens.
If you want to grow potatoes again, dump the old soil into your compost pile or garden bed. Scrub the trash can with a 10% bleach solution. Start with fresh potting soil and new seed potatoes.
Don’t get cheap with soil. Cheap soil means compacted soil, which means tiny potatoes. Spend the money on a quality potting mix or make your own with equal parts compost, peat moss or coco coir, and perlite.
Yield Expectations: What Can You Really Get?
I’m going to give you honest numbers, not the exaggerated claims you see on social media.
A well-managed 32-gallon trash can will produce 8 to 15 pounds of potatoes per season. My personal record is 17 pounds from a single can. That’s enough for two months of weekly potato meals for two people.
You can scale up. I run four cans now. That gives me about 50 pounds of potatoes per season. We eat fresh potatoes from June through October, then stored potatoes through December.
Your results depend on variety, sunlight, and attention to hilling. If you’re lazy, you’ll get 5 pounds. If you follow this guide closely, you’ll get 12 to 15 pounds consistently.
Don’t compare to in-ground yields. A garden row produces more per plant because roots can spread freely. But in-ground growing requires space, good soil, and heavy labor. Trash can potatoes trade top-end yield for convenience and portability.
Frequently Asked Questions
Can I use a metal trash can?
Yes. Metal lasts longer. But it gets hot in direct sun, which can stress roots.
Wrap the outside with insulation or shade cloth if you live in a hot climate. Drill drainage holes the same way.
How many seed potatoes per can?
Three to four for a 32-gallon can. More than that and you’ll get competition and small spuds.
Do I need to add drainage holes or can I just leave the bottom open?
Drill holes. The bottom of a trash can is solid plastic. Without holes, water pools and potatoes rot.
Can I grow potatoes year-round?
Only in warm climates. Potatoes need a cool dormancy period. If you’re in USDA zones 8 or higher, you can plant in fall for a winter harvest.
Otherwise, stick to spring planting.
My plants are huge but no potatoes. What happened?
Too much nitrogen. You over-fertilized with a high-nitrogen feed. The plant put all its energy into leaves and stems.
Next season, use a balanced fertilizer or one slightly higher in phosphorus and potassium.
Can I start earlier indoors?
Yes. Plant seed potatoes in small pots 4 to 6 weeks before your last frost. Keep them in a sunny window.
Transplant to the trash can after frost passes. This buys you a few weeks and extends your growing season.
Do I need to cover the can at night?
If frost threatens, yes. Potatoes can’t handle frost. Throw a blanket or tarp over the can when temperatures drop below 32°F.
Final Thoughts
Trash can potatoes are the most satisfying container crop I grow. They’re forgiving, productive, and almost magical in how many potatoes come out of that unassuming plastic cylinder.
Start with one can this season. Follow the steps exactly, drill those side holes, hill religiously, water consistently, and use certified seed potatoes. You’ll have fresh potatoes for dinner within three months.
Then you’ll be the person telling your friends about the 15 pounds of Yukon Golds you pulled out of a garbage can. And they’ll look at you like you’re crazy. Until you hand them a bag of homegrown spuds.
Then they’ll be drilling holes in their own trash cans by next spring.
Happy growing.


Similar Posts



















