How to Install a Pull Down Kitchen Faucet With a Soap Dispenser
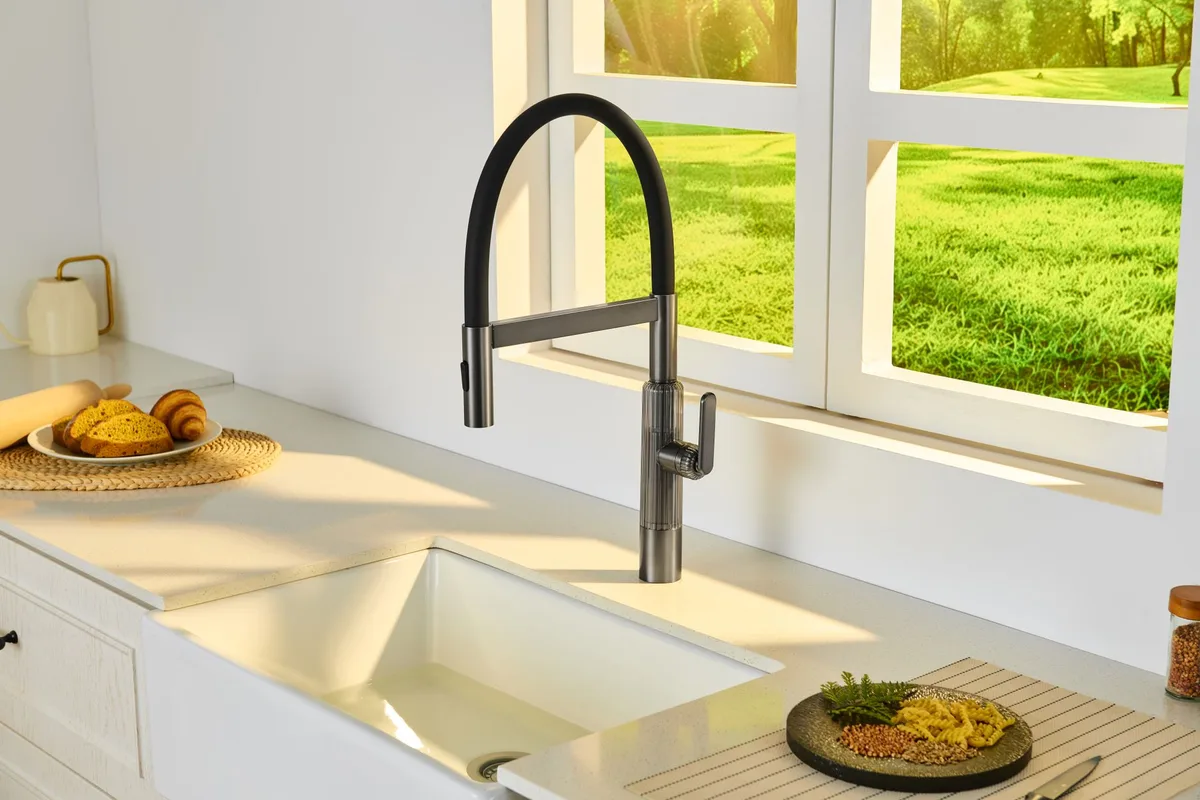
Upgrading your kitchen faucet can make a huge difference. A pull-down faucet offers convenience and style. And adding a matching soap dispenser?
That’s the cherry on top for a streamlined sink.
Installing one yourself is totally achievable. You don’t need to be a master plumber. With a few basic tools and this guide, you can swap out your old faucet for a shiny new pull-down model with a built-in soap dispenser.
We’ll walk you through every step. Let’s get your kitchen sink looking and working better.
Before You Start: What You’ll Need
Gathering your tools and supplies upfront saves time and frustration. It’s like prepping your ingredients before cooking.
Essential Tools
- Adjustable Wrench: You’ll need this for loosening and tightening nuts. A standard adjustable wrench works great.
- Basin Wrench: This specialized tool is a lifesaver for reaching nuts in tight spaces under the sink. It’s designed specifically for faucet installations.
- Pliers: Channel-lock pliers are useful for gripping and turning.
- Screwdriver Set: You might need a Phillips or flathead screwdriver for various components.
- Plumber’s Putty or Silicone Sealant: This creates a watertight seal between the faucet base and your sink. Most faucet kits include a rubber gasket, but extra sealant is good to have.
- Bucket or Towels: To catch any residual water from the old pipes.
- Safety Glasses: Protect your eyes from falling debris or water splashes.
- Flashlight or Work Light: It gets dark under the sink, and you need to see what you’re doing.
- Thread Seal Tape (Teflon Tape): For sealing pipe threads on water supply lines.
Checking Your New Faucet and Dispenser
Before you ditch your old faucet, unpack the new one. Check for any damage. Make sure all the parts are there.
This usually includes:
- The faucet body
- The pull-down sprayer hose
- The soap dispenser (bottle, pump, and mounting hardware)
- Mounting hardware and washers
- Water supply lines (sometimes included, sometimes you’ll reuse your old ones or buy new ones)
- Escutcheon plate (if your sink has more than one mounting hole)
It’s also a good idea to check the manufacturer’s instructions. They might have specific details for your model.
Step 1: Turn Off the Water Supply
This is the most critical first step. You don’t want a surprise water show!
- Locate Shut-Off Valves: Look under your sink. You should see two valves attached to pipes coming from the wall. One is for hot water, the other for cold.
- Turn Them Off: Turn the handles clockwise until they are snug. Don’t overtighten, but make sure they stop the water flow.
- Test: Turn on your old faucet. Water should trickle out for a moment then stop completely. If water still flows, the valves under the sink aren’t working correctly. You may need to shut off the main water supply to your house.
Step 2: Remove the Old Faucet
Now, let’s get the old fixture out of the way.
- Disconnect Supply Lines: Use your adjustable wrench to disconnect the water supply lines from the shut-off valves. Have your bucket ready for any drips.
- Loosen Mounting Nuts: This is where your basin wrench comes in handy. Look up under the sink where the faucet mounts to the sink or countertop. You’ll see nuts holding it in place. Use the basin wrench to loosen and remove these nuts. This can be the trickiest part due to the tight space.
- Remove the Old Faucet: Once the nuts are off and supply lines are disconnected, gently pull the old faucet assembly up and out from the top of the sink. You might need to wiggle it a bit.
- Clean the Sink Surface: Use a putty knife or scraper to remove any old plumber’s putty or sealant from the sink surface where the old faucet sat. A clean surface is key for a good seal with the new faucet.
Step 3: Install the New Faucet and Soap Dispenser
Time to put in the new hardware.
Mounting the Faucet
- Position the Gasket or Putty: Your new faucet likely comes with a rubber gasket or instructions to use plumber’s putty. If using putty, roll a snake of it and place it around the base of the faucet where it will meet the sink. If using a gasket, place it on the sink deck.
- Insert the Faucet: Carefully feed the faucet’s hose and tailpieces through the hole(s) in your sink or countertop. If your faucet comes with an escutcheon plate to cover extra holes, install that first.
- Secure from Below: From underneath the sink, install the washers and mounting nuts that came with your new faucet. Hand-tighten them first.
- Align and Tighten: From above the sink, make sure the faucet is straight and centered. Then, use your basin wrench to tighten the mounting nuts securely. Don’t overtighten, but make sure it’s firm and doesn’t wiggle. Wipe away any excess plumber’s putty that squeezed out.
Installing the Soap Dispenser
- Position and Insert: If your faucet has a separate hole for the soap dispenser, place the dispenser’s mounting flange over the hole from the top.
- Attach from Below: From under the sink, slide the rubber washer and then the mounting nut onto the threaded body of the soap dispenser. Hand-tighten these.
- Align and Tighten: Ensure the dispenser is straight. Use pliers or your wrench to tighten the nut. Again, snug is good; you don’t want to crack plastic.
- Assemble the Pump: Insert the pump mechanism into the dispenser bottle. Make sure it’s seated correctly. Screw the pump assembly onto the bottle.
Step 4: Connect the Water Supply Lines
Now we re-connect the water.
- Attach to Faucet: Connect the new water supply lines to the tailpieces of your faucet. Hand-tighten them.
- Connect to Shut-Off Valves: Attach the other ends of the supply lines to their respective hot and cold shut-off valves. Hand-tighten these too.
- Use Thread Seal Tape: If your supply lines or valves have threaded connections that aren’t compressed fittings, wrap the threads with thread seal tape (Teflon tape) clockwise a few times. This ensures a good seal.
- Tighten Connections:Use your adjustable wrench to tighten all connections. Tighten about a quarter to a half turn past hand-tight. Don’t overtighten, as this can damage the fittings.
Step 5: Connect the Pull-Down Hose
This part is fairly straightforward.
- Locate Connection Point: Under the sink, you’ll find the end of the pull-down hose. It usually has a specific connection point for the hose that pulls down from the faucet spout.
- Connect the Hose: Twist the hose onto its designated connector. Many systems use a quick-connect fitting. Simply push the hose firmly into place until it clicks. If it’s a threaded connection, hand-tighten and then snug it with pliers.
- Attach the Hose Weight: Your pull-down hose needs a weight to help it retract smoothly. Find the designated spot on the loop of the hose (usually near the bottom). Clamp or screw the weight onto the hose according to the manufacturer’s instructions. This is crucial! Too high and it won’t retract fully; too low and it will get stuck on things under the sink.
Step 6: Test for Leaks and Flush the Lines
This is where you see if all your hard work paid off.
- Turn On Water Slowly: Gradually turn the hot and cold water shut-off valves counter-clockwise to turn the water back on.
- Inspect Connections: As the water fills the lines, carefully check all the connections under the sink for any drips. Pay close attention to where the supply lines connect to the valves and the faucet.
- Run the Faucet: Turn on the faucet. Let the water run for a minute or two. This flushes out any debris that might have entered the lines during installation.
- Test Sprayer Functionality: Pull out the spray head. Test the different spray functions. Ensure the hose pulls smoothly and retracts completely.
- Test Soap Dispenser: Pump the soap dispenser a few times to prime the pump. It might take a few pumps to get the soap flowing initially.
- Final Leak Check: With the water running and then after you turn it off, do one last thorough check of all connections under the sink. If you see any drips, re-tighten the problematic connection slightly. If a drip persists, you might need to disconnect, re-apply thread seal tape or check the washer, and reconnect.
Troubleshooting Common Issues
Even with careful installation, you might run into a snag. Here are a few common problems and how to fix them.
Leaks Under the Sink
- Cause: Loose connections, damaged washers, or worn-out O-rings.
- Fix: Ensure all nuts and connections are snug. If a connection continues to leak, disconnect it, inspect the washer or O-ring for damage or debris, and reconnect. Re-apply thread seal tape to threaded connections if necessary.
Pull-Down Hose Not Retracting
- Cause: The hose weight is positioned incorrectly, or there’s an obstruction under the sink.
- Fix: Check the hose weight’s position. It should be on the part of the hose that loops down, allowing it to retract fully. Make sure nothing is blocking the hose’s path under the sink.
Low Water Pressure
- Cause: Aerator is clogged, or there’s debris in the supply lines.
- Fix: Unscrew the aerator from the tip of the faucet spout. Clean it thoroughly, rinsing out any debris. Reinstall and test. If the problem persists, you may need to flush the supply lines again.
Soap Dispenser Not Pumping
- Cause: Air in the pump line, or the pump or bottle is not properly assembled.
- Fix: Some dispensers require priming. Pump it repeatedly until soap flows. Ensure the pump assembly is screwed tightly onto the bottle and that the dip tube is submerged in the soap.
Maintaining Your New Faucet and Dispenser
Keeping your new kitchen fixture in top shape is easy.
Cleaning Your Faucet
- Daily Wipe-Down: Use a soft, damp cloth to wipe down the faucet and spout daily. This prevents water spots and grime buildup.
- Avoid Abrasives: Never use abrasive cleaners, steel wool, or scouring pads on your faucet’s finish. These can scratch and damage the surface.
- Cleaning Specific Finishes: For stainless steel, a mild soap and water solution is usually best. For brushed nickel or chrome, a soft cloth and water suffice. Always check the manufacturer’s recommendations for your specific finish.
Replenishing the Soap Dispenser
- Choose the Right Soap: Use liquid hand soap or dish soap. Avoid thick or gritty soaps, as they can clog the dispenser’s pump.
- Refill Carefully: Lift the pump mechanism off the bottle. Pour in your liquid soap. It’s best not to fill it to the very top to prevent overflow when you replace the pump.
- Prime When Needed: If the dispenser hasn’t been used for a while, it might need a few pumps to get the soap flowing again.
General Maintenance
Regularly inspect your faucet and connections. A quick glance under the sink every few months can catch minor issues before they become major leaks. If you find your faucet is loose, simply tighten the mounting nuts again.
This simple check can save you a lot of trouble down the line, much like checking how often you should replace the vacuum filter can keep your air cleaner.
Conclusion
Installing a pull-down kitchen faucet with a soap dispenser is a rewarding DIY project. It enhances both the functionality and the look of your kitchen. By following these steps carefully, you can achieve a professional-looking installation.
Remember to turn off the water, take your time, and double-check all connections. Enjoy your upgraded kitchen sink!


Similar Posts



















