How to Replace a Bathroom Sink Faucet
That old, leaky faucet in your bathroom is more than just an annoyance. It’s a waste of water and money. Plus, it can make your sink look dated.
But don’t worry, replacing a bathroom sink faucet is a straightforward DIY project. You don’t need to be a master plumber to get the job done. With a few basic tools and our step-by-step guide, you’ll have a brand-new faucet that works perfectly.
Replacing your faucet can dramatically update your bathroom’s look. It’s also a great way to fix those irritating drips that drive you crazy and hike up your water bill. We’ll walk you through the entire process, from shutting off the water to tightening the last nut.
When Should You Consider Replacing Your Faucet?
Before diving into the replacement itself, it’s good to know when it’s time for a new one. Here are some common signs:
- Constant Leaks: If your faucet drips continuously, even after attempting minor repairs, it’s likely time for a replacement.
- Corrosion and Mineral Buildup: Visible rust, green corrosion, or stubborn mineral deposits that you can’t clean off can weaken the faucet and affect water flow.
- Difficulty Operating: If the handles are stiff, wobbly, or hard to turn, the internal mechanisms are probably worn out.
- Outdated Style: Sometimes, you just want a fresh look! A new faucet can be a significant style upgrade.
- Frequent Repairs: If you’re constantly fixing the same faucet, the cost and hassle of repairs might outweigh the cost of a new one. Sometimes once is enough.
Gathering Your Tools and Supplies
Having everything ready before you start makes the job much smoother. Here’s what you’ll need:
Tools:
- Adjustable wrenches (two are helpful)
- Basin wrench (this specialized tool is a lifesaver for tight spaces)
- Plumber’s putty or pipe thread sealant (Teflon tape)
- Bucket or basin
- Old towels or rags
- Safety glasses
- Pliers
- Screwdriver (Phillips and flathead, depending on your old faucet’s mounting)
- Flashlight or headlamp
New Faucet:
- Your new bathroom sink faucet, make sure it’s compatible with your sink’s hole configuration (e.g., single-hole, centerset, widespread).
Optional but Recommended:
- Utility knife
- Penetrating oil (like WD-40) for stubborn nuts
Step-by-Step Guide to Replacing Your Bathroom Sink Faucet
Let’s get started! This guide assumes a standard three-hole (two handles and a spout) or single-hole faucet.
Step 1: Turn Off the Water Supply
This is the most crucial first step. You don’t want a geyser erupting in your bathroom!
- Locate the Shut-Off Valves: Look under your sink. You should see two knobs (one for hot, one for cold) connected to the water lines running to your faucet.
- Turn Them Off: Turn both valves clockwise until they are hand-tight. Off is usually clockwise, but if you’re not sure, just turn them fully.
- Test: Turn on the old faucet to drain any remaining water in the lines and confirm that the water is indeed off. If water still comes out, you may need to shut off the main water supply to your house.
Step 2: Disconnect the Water Supply Lines
Now, you’ll detach the flexible hoses or rigid pipes that connect the shut-off valves to your faucet.
- Place Your Bucket: Position a bucket or basin directly under the connections to catch any residual water.
- Use Your Wrench: Use an adjustable wrench to loosen the nuts connecting the supply lines to the faucet shanks. You might need a second wrench to hold the valve in place to prevent it from twisting.
- Disconnect: Once loosened, unscrew the nuts by hand. Let any remaining water drain into the bucket.
- Disconnect from Valves: Repeat this process to disconnect the supply lines from the shut-off valves themselves.
Step 3: Remove the Old Faucet
This is where things can get a bit tight and tricky, especially if you’re working in a confined space.
- Locate Mounting Nuts: Look up under the sink where the faucet base meets the sink. You’ll see large nuts (often made of plastic or metal) holding the faucet in place.
- Use the Basin Wrench: This is where the basin wrench really shines. Its long shaft and U-shaped head allow you to reach and grip these nuts even in the tightest spots. If you don’t have one, you might be able to use an adjustable wrench or deep socket wrench, but it will be much harder.
- Loosen and Remove: Turn the nuts counter-clockwise to loosen them. You might need to apply some force. If they’re stuck, a little penetrating oil could help. Once loosened, unscrew them the rest of the way by hand.
- Lift Out the Faucet: With the mounting nuts removed, you should be able to lift the old faucet straight up and out from the top of the sink.
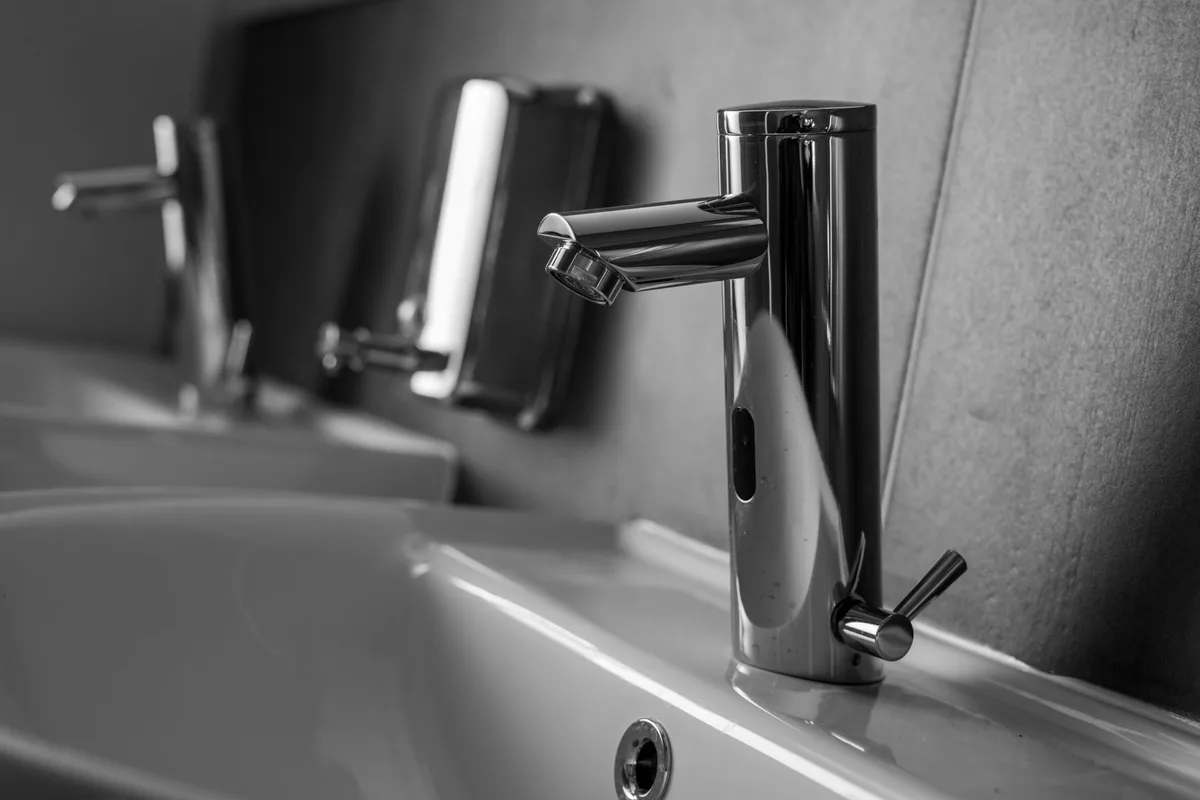
Image source: Pexels / Vladimir Srajber (Pexels License)
- Clean the Sink Surface: Once the old faucet is out, use a damp cloth and perhaps a mild cleaner to wipe away any old plumber’s putty, sealant, or grime from the sink surface where the faucet was mounted. This ensures a good seal for the new faucet.
Step 4: Install the New Faucet
Now, it’s time to put in your shiny new faucet. Most new faucets come with detailed instructions, but the general process is as follows:
- Prepare the Faucet Base: Some faucets come with a rubber gasket or paper template. If yours doesn’t, you might need to apply a bead of plumber’s putty around the base of the faucet or under the gasket/plate to create a watertight seal. Check your faucet manufacturer’s instructions for the best method.
- Position the Faucet: Carefully insert the new faucet through the holes in the sink from the top. Ensure it’s aligned correctly, the spout facing forward and handles in the desired position.
- Install Mounting Hardware: From underneath the sink, slide the provided washers and nuts onto the faucet shanks. Hand-tighten them first.
- Tighten the Mounting Nuts: Use your basin wrench or adjustable wrench to tighten the nuts securely. Don’t overtighten, as this could damage the sink, but make sure it’s snug enough that the faucet doesn’t wiggle. This creates a stable base.
- Connect the Drain (If Applicable): Most faucet replacements involve disconnecting and reconnecting the drain assembly. If your new faucet came with a new drain, follow the manufacturer’s instructions for installing it. This usually involves plumber’s putty or a gasket under the drain flange and tightening the slip nuts from underneath.
Step 5: Connect the Water Supply Lines
This is similar to disconnecting, but in reverse.
- Attach Supply Lines to Faucet: Connect the new flexible supply lines to the threaded shanks of your new faucet. Hand-tighten them.
- Connect to Shut-Off Valves: Now, connect the other end of the supply lines to the corresponding hot and cold shut-off valves. Again, hand-tighten first.
- Tighten with Wrench: Use your adjustable wrench to tighten all connections. A quarter to a half turn past hand-tight is usually sufficient. Avoid overtightening, which can strip threads or crack nuts.
Step 6: Test for Leaks
This is the moment of truth!
- Turn Water Back On: Slowly turn the hot and cold shut-off valves counter-clockwise to restore water flow.
- Check All Connections: Immediately inspect all the connections you just made under the sink, where the supply lines meet the faucet and where they meet the valves. Look and feel for any drips or moisture.
- Run the Faucet: Turn on the new faucet and let both hot and cold water run for a minute. While the water is running, check the connections again. Also, check that the water flows freely and that the handles operate smoothly.
- Check for Drips: After turning the faucets off, continue to monitor the connections under the sink for any signs of dripping. Even a slow drip can cause long-term damage.
If you find any leaks, turn off the water supply again and gently tighten the problematic connection. If the leak persists, you might need to reapply plumber’s putty or Teflon tape, or there could be an issue with a faulty part.
Step 7: Final Touches
- Clean Up: Wipe down your new faucet and the sink area. Reinstall any accessories you may have removed, like the soap dispenser or drain stopper.
- Test Again: Run the water one last time to ensure everything is still leak-free and functions perfectly.
Dealing with Stubborn Old Faucets
Sometimes, removing an old faucet can be a real battle. Here are a few tips if you encounter resistance:
- Penetrating Oil: As mentioned, a good penetrating oil can work wonders on rusted or corroded mounting nuts. Let it soak in for 15-30 minutes before trying to loosen them.
- Heat: In extreme cases, a hairdryer or heat gun on a low setting might help expand the metal slightly, making it easier to break the corrosion bond. Be very careful when using heat near plastic components or the sink itself.
- Cutting the Nuts: If all else fails, you might have to resort to cutting the mounting nuts off. Use a mini hacksaw or a rotary tool with a cutting wheel. Again, be extremely careful not to damage the sink or the water lines.
Choosing the Right New Faucet
When you’re ready to buy, consider these factors:
- Configuration: Most bathroom sinks have either a single-hole, centerset (onepiece, 4-inch spread), or widespread (separate handles and spout, 8-inch spread) configuration. Make sure your new faucet matches the number and spacing of holes on your sink. You can often find adapters or use a deck plate to change configurations, but matching is simplest.
- Style and Finish: Faucets come in a huge array of styles (modern, traditional, industrial) and finishes (chrome, brushed nickel, matte black, brass). Choose something that complements your bathroom’s aesthetic.
- Type of Valve: Most modern faucets use ceramic disc valves, which are highly durable and offer precise control. Avoid older compression or ball valves if possible.
- Features: Some faucets offer touchless operation, pull-down sprayers (less common in bathrooms than kitchens), or water-saving features.
Common Faucet Problems and Solutions
- Low Water Pressure: This could be due to mineral buildup in the aerator (the screen at the tip of the spout). Unscrew it, clean it, and reattach. If that doesn’t work, the issue might be further up the supply line or in the shut-off valves.
- Leaking from Handle Base: This often indicates a worn O-ring or cartridge inside the handle assembly. You’ll need to remove the handle and replace the faulty part.
- Dripping from Spout: Usually a problem with the cartridge or valve seat inside the faucet body. This often means replacing the entire cartridge.
When tackling DIY projects around the house, having reliable information is key. For a wide range of home improvement topics, exploring a general blog can offer valuable insights and tips.
Replacing your bathroom sink faucet is a rewarding project that can save you money and improve your home’s functionality and appearance. Take your time, follow these steps carefully, and you’ll have a beautiful, leak-free faucet in no time. Happy DIYing!


Similar Posts




















[…] these connections, you’ll find the hardware that secures the faucet to the sink or […]