How to Install a Toilet Wax Seal
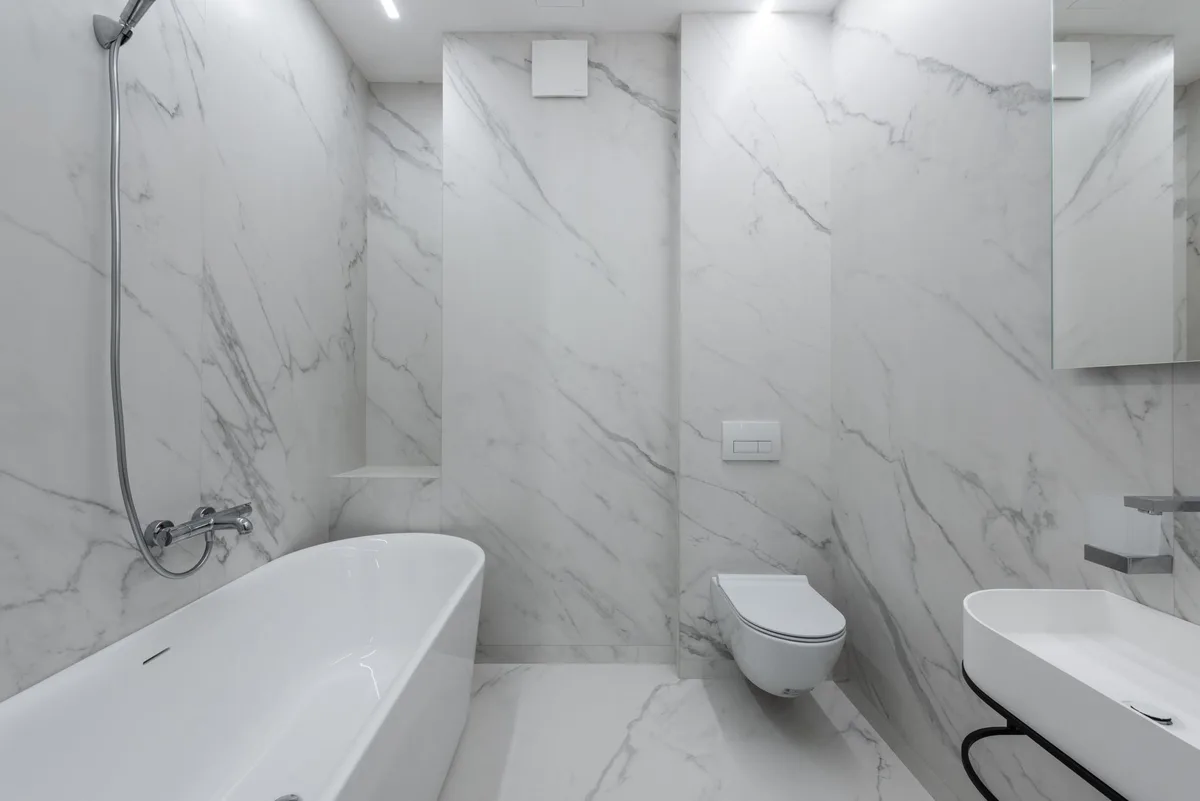
A properly installed toilet wax seal is crucial for a functioning and odor-free bathroom. This seemingly simple component, often overlooked, forms a watertight and airtight barrier between your toilet and the drainpipe connected to your home’s plumbing. When it fails, you can expect unpleasant leaks, corrosive sewer gases, and potentially costly water damage.
Fortunately, installing a new wax seal is a straightforward DIY task that most homeowners can tackle with a few basic tools and this comprehensive guide.
We’ll walk you through every step, from preparing your workspace to securing the toilet in its final position. This detailed process ensures you get it right the first time, preventing future headaches and keeping your bathroom dry and fresh.
Why a Toilet Wax Seal Matters
The wax ring, also known as a wax seal or flange seal, is a ring of compressed wax with a flexible plastic or rubber gasket. It sits between the base of your toilet (the horn) and the toilet flange, which is the fitting that connects the toilet to the sewer line.
Its primary functions are:
- Waterproofing: It creates a tight seal to prevent water from leaking out of the bowl when you flush. Leaks can damage your subfloor and surrounding areas, leading to mold and structural issues.
- Gas Sealing: It prevents sewer gases from backing up into your bathroom. These gases are not only unpleasant smelling but can also be harmful.
Problems with the wax seal can manifest as:
- Water pooling around the base of the toilet.
- A persistent sewer smell in the bathroom, even with a clean toilet.
- A wobbling toilet.
If you’re experiencing any of these issues, replacing the wax seal is likely the solution.
Tools and Materials You’ll Need
Before you start, gather everything you’ll need. Having the right supplies on hand makes the process much smoother.
Essential Tools:
- Adjustable Wrench or Pliers: For disconnecting the water supply line and potentially loosening mounting bolts.
- Putty Knife or Scraper: To remove old wax and debris.
- Screwdriver (Phillips or Flathead, depending on your bolts): For removing the bolts securing the toilet to the floor.
- Old Towels or Rags: For absorbing water and cleaning up spills.
- Bucket: To catch any residual water when disconnecting the toilet.
- Gloves: For hygiene and to protect your hands.
- Safety Glasses: To protect your eyes from debris.
- Shop Vacuum (Optional but Recommended): For thorough cleanup of old wax and debris.
- Putty or Razor Scraper: For stubborn wax residue.
Materials:
- New Wax Ring: Choose a standard wax ring for most toilets. If you have an “extra-thick” or wax-free alternative, ensure you have the correct replacement. Some wax rings come with a plastic flange to help with alignment.
- New Toilet Bolts and Caps (Optional but Recommended): Old bolts can corrode and break. New ones ensure a secure fit and a clean look.
- Plumber’s Putty or Silicone Sealant (for the exterior base, if desired): While not strictly necessary for the seal itself, some people use sealant around the base for aesthetics or minor stability. We won’t focus on this for the seal installation itself.
Step-by-Step Guide: Replacing Your Toilet Wax Seal
The process involves removing the old toilet, cleaning the flange and floor, installing the new wax seal, and then re-installing the toilet. Take your time, and don’t rush.
1. Shut Off the Water Supply
This is the absolute first step. Locate the shut-off valve behind the toilet, typically on the wall or floor. Turn the handle clockwise until it stops.
- Test: Flush the toilet to ensure the water supply is indeed off. The tank should not refill.
2. Empty the Toilet Tank and Bowl
Once the water is shut off, flush the toilet again. Hold the flush handle down until as much water as possible drains from the tank and bowl. Some water will remain in the trap, but that’s okay.
You can use old towels or a sponge to soak up any remaining water in the bowl and tank.
3. Disconnect the Water Supply Line
Using your adjustable wrench or pliers, carefully unscrew the water supply line from the fill valve on the bottom of the toilet tank. Be prepared for a small amount of residual water to drip out. Place a bucket or towels underneath to catch it.
4. Remove the Toilet Mounting Bolts
You’ll see bolts at the base of the toilet, usually covered by plastic caps. Pry off these caps with a screwdriver. Using your wrench or screwdriver, remove the nuts from the bolts.
- Watch out for corrosion: If the bolts are rusted and difficult to remove, you might need to use penetrating oil. In severe cases, you may need to cut them off.
- The toilet is still heavy: Don’t try to lift the toilet just yet.
5. Lift and Remove the Toilet
This is where you’ll need assistance if you aren’t particularly strong. Toilets are surprisingly heavy and awkward to maneuver.
- Gentle Rocking: Gently rock the toilet side to side to break the seal of the old wax.
- Lift Straight Up: Once the seal is broken, lift the toilet straight up and away from the flange.
- Place Safely: Set the toilet aside on old towels or cardboard. Be careful not to damage the porcelain.
6. Inspect and Clean the Toilet Flange
The toilet flange is the circular fitting attached to the floor that connects to the drainpipe. It’s crucial to ensure it’s clean and undamaged.
- Remove Old Wax: Use a putty knife or scraper to carefully remove all traces of the old wax seal from the flange and the underside of the toilet horn. This is a critical step. Any old wax left behind can prevent the new seal from working effectively.
- Check for Damage: Inspect the flange for any cracks, breaks, or excessive wear. A damaged flange will need to be repaired or replaced before proceeding. The flange should also be level with or slightly above the finished floor. If it’s too low, you might need a flange extender to ensure a proper seal. You can find more information on flange repair in our guide to common plumbing fixes.
7. Clean the Toilet Horn and Base Area
While the toilet is off the flange, take the opportunity to clean the underside of the toilet horn and the area around the bolt holes. Remove any residual wax, dirt, or old sealant.
8. Install the New Wax Seal
This is the heart of the operation. You have a couple of options for how to place the wax ring.
Option 1: On the Toilet Horn: Flip the toilet upside down carefully onto the old towels. You’ll see the opening of the horn. Place the new wax ring around this opening, ensuring it sits evenly. Many rings have a plastic flange that should point downwards, into the drainpipe. Press the ring firmly into place.
Option 2: On the Toilet Flange: Alternatively, you can place the wax ring directly onto the toilet flange. Center it over the drainpipe opening. Again, if your ring has a plastic flange, it should point down into the pipe. Press it down firmly so it adheres to the flange.
Standard vs. Extra Thick: For most installations, a standard wax ring is sufficient. If your toilet sits higher off the floor, or if the flange is slightly below the finished floor, an extra-thick wax ring provides a larger contact surface and better compression.
Wax-Free Alternatives: Consider wax-free seals for a more durable and less messy option. They often use a rubber gasket and are easier to re-seat if needed.
9. Position and Lower the Toilet
This step requires careful alignment.
- Align Bolt Holes: Carefully lift the toilet, aligning the horn opening over the wax ring on the flange and ensuring the bolt slots on the toilet base align with the bolts on the flange.
- Lower Straight Down: Lower the toilet straight down onto the flange. Do not twist or turn the toilet once it makes contact with the wax ring. This can break the seal and compromise its integrity.
- Gentle Pressure: Once the toilet is seated, apply gentle downward pressure. You might feel or hear a slight “squish” as the wax compresses.
10. Secure the Toilet to the Flange
Place the nuts onto the mounting bolts and tighten them down.
- Tighten Evenly: Tighten the nuts alternately and evenly. This ensures the toilet sits squarely on the floor and compresses the wax ring uniformly.
- Don’t Overtighten: Tighten until the toilet is snug and doesn’t wobble. Overtightening can crack the porcelain base of the toilet. You’re aiming for a secure fit, not to sandwich the wax ring completely flat.
- Install Bolt Caps: Snap the new bolt caps over the nuts for a finished look.
11. Reconnect the Water Supply
Connect the water supply line back to the fill valve on the toilet tank. Tighten it securely with your wrench, but again, avoid overtightening.
12. Turn Water Back On and Test
Slowly turn the water shut-off valve counter-clockwise to restore the water supply. Let the tank fill.
- Check for Leaks: Carefully inspect the base of the toilet for any signs of water.
- Flush and Observe: Flush the toilet several times. Observe the water level in the bowl and check around the base after each flush. You should not see any leaks, and the sewer smell should be gone.
Common Issues and Troubleshooting
Even with careful installation, you might encounter a few snags.
- Toilet Wobbles: If the toilet wobbles after installation, it means it’s not sitting evenly on the flange. You may need to loosen the bolts slightly, shim under the base if necessary (using toilet shims, not just anything), and re-tighten.
- Persistent Sewer Smell: This usually indicates the wax seal didn’t seat properly, or the flange itself is damaged or too low. You may need to remove the toilet again and re-install the wax seal, ensuring it’s properly compressed. If the smell persists, investigate the flange.
- Water Around the Base: This is a clear sign of a faulty seal. Re-do the installation, paying close attention to how the toilet is seated on the wax ring.
When to Call a Professional
While replacing a wax seal is a common DIY task, there are situations where calling a plumber is the wisest choice:
- Damaged Flange: If the toilet flange is cracked, broken, or rusted, it requires specialized repair or replacement. This can involve cutting into the floor and potentially dealing with plumbing beyond your comfort zone.
- Leaking Pipes: If you notice leaks from the supply line or at the point where the drainpipe enters the wall or floor, it’s beyond a simple wax seal issue.
- Inexperience or Discomfort: If you’re not comfortable with the process, or if you encounter unexpected problems, a professional plumber has the experience and tools to quickly diagnose and fix the issue.
Conclusion
Installing a new toilet wax seal might not be the most glamorous DIY project, but it’s incredibly important for the health and comfort of your bathroom. By following these steps meticulously, you can ensure a tight, leak-free seal that keeps water in the bowl and odors out of your home. Remember, patience and attention to detail are your best tools here.
A little effort now can save you from much bigger problems down the line. If you’re ever unsure, seeking expert advice from a plumber is always a wise step to ensure a lasting repair.


Similar Posts



















