How to Install a Whole Home Dehumidifier
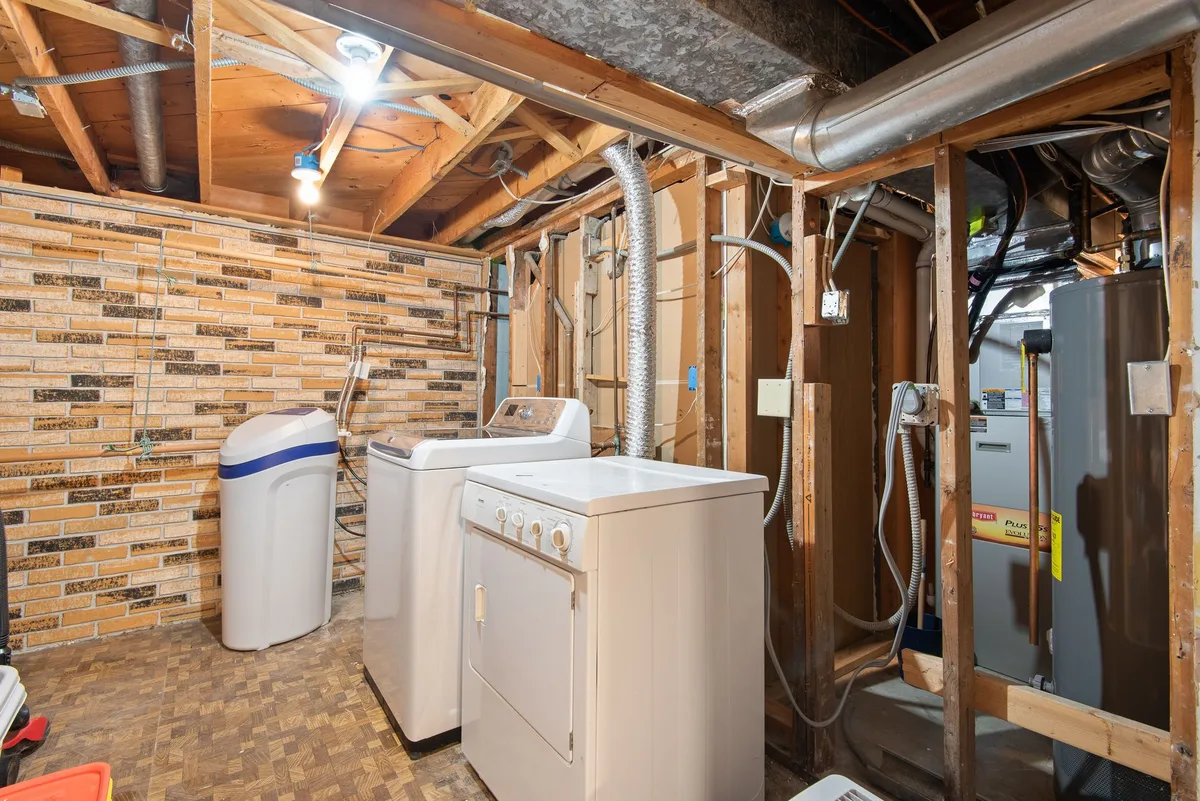
Your basement smells musty, the AC runs plenty, and the humidity still won’t drop. Figuring out how to install a whole home dehumidifier is less about the wrenching and more about picking the right configuration before you cut a single duct. Get that choice wrong and the unit will quietly dry the same air over and over.
Get it right and one appliance handles the whole house.
There are five common install paths, and the one you pick depends on your ductwork, your drain options, and which space you’re actually trying to dry. The EPA recommends keeping indoor relative humidity below 60 percent, and most manufacturers target 50 percent as the setpoint. As of 2026, a professionally installed unit typically runs $1,800 to $4,500 all in.
Before you spend that, confirm you have a humidity problem and not a water problem.
Quick Answer: The Best Install Depends on HVAC Layout, Drainage, and Target Space
Mount the unit level in the space you’re drying. Duct it so dry air reaches living space, not back into itself. Add a backdraft damper on any return-side tie-in.
Run a sloped condensate drain or a pump with a float switch. Power it from a dedicated 15A or 20A circuit.
How to Install a Whole Home Dehumidifier Without Choosing the Wrong Path
Most bad installs aren’t sloppy. They’re just the wrong branch of the decision tree.
The classic failure looks like this. Someone ties the dehumidifier’s return and supply into the same return plenum, skips the damper, and skips the blower interlock. The unit now pulls its own dry discharge air straight back in.
Humidity in the living space barely moves.
The second most common failure is drainage. A gravity line with no slope, or a pump with no safety switch, turns a moisture fix into a water leak. In our research on warranty claims and contractor complaints, condensate problems show up more often than compressor failures.
So the order of operations matters. Diagnose, then pick your configuration, then install.
Confirm the Moisture Problem Before You Install Anything
A dehumidifier removes water vapor from air. It won’t stop water coming through a wall.
Measure Baseline Humidity and Identify Bulk Water Sources
Put a cheap hygrometer or a data logger in the problem space. Leave it for three to seven days, including a humid afternoon. You want a real range, not one reading.
Then rule out bulk water first:
- Downspouts dumping at the foundation
- Negative grading pushing water toward the house
- A plumbing or HVAC leak
- Missing or torn crawlspace vapor barrier
- Cracked foundation wall or failed sump
If any of those are active, fix them first. A 90 pint unit fighting a leaking foundation will run nonstop and still lose.
Decide Between Whole-House, Basement, and Crawlspace Coverage
The space you’re drying changes the equipment, not just the location.
| Target space | What you need | Why |
|---|---|---|
| Whole house | Ducted unit, 90 to 130 PPD | Needs distribution through existing HVAC |
| Basement only | 65 to 70 PPD, free return | Open space, minimal ducting |
| Encapsulated crawlspace | 70 to 90 PPD rated at low temp | Runs at 55 to 65°F, not 80°F |
That last row trips people up constantly. Capacity ratings use the AHAM DH-1 standard at 80°F and 60 percent RH. A crawlspace sits nowhere near 80°F, so real output can be 30 to 40 percent lower than the box says.
Check the manufacturer’s low-temperature performance chart before sizing.
Condition Variables That Change the Installation Method
Four things decide your install path. Check all four before you buy.
HVAC System, Duct Access, and Available Static Pressure
Look at your air handler and answer these:
- Is there a return plenum with room for a takeoff?
- Is the blower a variable-speed ECM or an older PSC motor?
- Does the thermostat or control board have a DEHUM terminal?
- What’s the current total external static pressure?
If the system already runs high static pressure, adding a dehumidifier tie-in makes it worse. Most residential dehumidifiers move 120 to 500 CFM and offer limited available static pressure of their own. Long flex runs eat that fast.
Short, straight, rigid duct wins every time.
Electrical Circuit, Condensate Route, and Service Clearance
Whole-home units draw 3.5 to 9 amps at 120V. That means a dedicated 15A or 20A branch circuit in most cases. Never run one on an extension cord.
For drainage, walk the route before you pick a mounting spot:
- Gravity drain works if a floor drain, sump, or standpipe sits below the unit
- Below that, you need a condensate pump with a float safety switch
- Check the pump’s rated lift against your actual vertical run
Then leave room to work. You need clear access to the filter and coil, usually 18 to 24 inches on the service side. Installs jammed against a joist bay never get maintained.
Installation Decision Branches
Here’s where the paths split. Pick one.
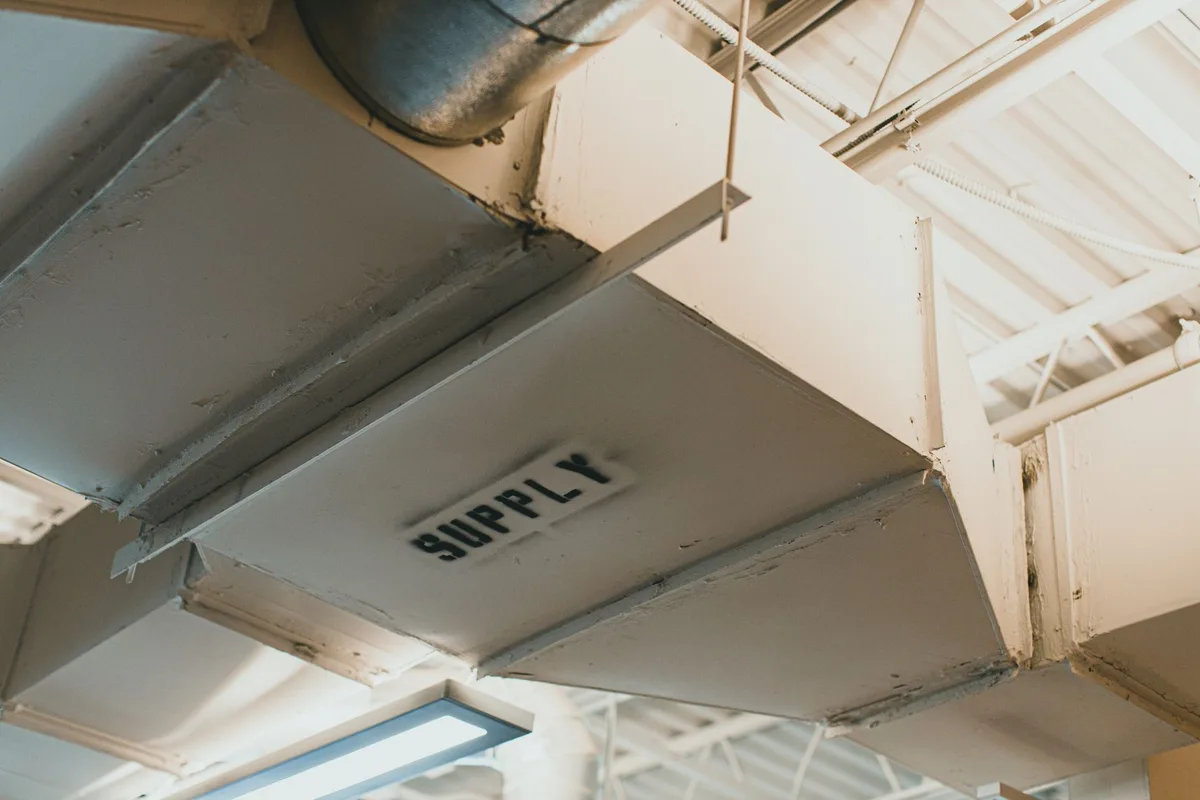
Free-Standing Free-Return Setup for Open Basements
If you’re only drying an open basement, skip the ducting. Set or hang the unit centrally, let it pull and discharge freely, and pipe the condensate away. Simplest install, usually 3 to 4 hours.
It won’t help upstairs.
Return-Side Tie-In to an Existing Air Handler
If you want whole-house coverage and have return plenum access, tie the discharge into the return. Two parts are non-negotiable here. Install a backdraft damper so the blower can’t pull your dry air backward.
Wire a blower interlock so the air handler fan runs when the dehumidifier runs.
Without both, you get the recirculation loop we described earlier.
Dedicated Supply Duct With Free Return
If you’d rather not depend on the furnace blower, run a dedicated supply duct into the living space and leave the return open in the utility area. This avoids short-circuiting entirely and keeps the two systems independent. It’s our preferred branch for finished basements with a nearby stairwell or hallway.
Fully Ducted Supply-and-Return Setup
If the unit sits far from the space it serves, duct both sides. You get the most control over where dry air lands and where it’s drawn from. Just keep the two openings apart so the unit doesn’t sample its own discharge.
Insulate the supply duct if it passes through unconditioned space.
Crawlspace Setup With Encapsulation and Low-Temperature Capacity
If you’re drying a crawlspace, encapsulation comes first. A 10 to 20 mil vapor barrier over the soil and up the walls cuts the moisture load dramatically. Then hang a low-temperature-capable unit from the joists using isolators, not solid hardware.
Two details people miss down there. Insulate the discharge duct, because uninsulated metal sweats in a humid crawlspace. And confirm whether the crawlspace is inside your thermal envelope, since that changes both sizing and code treatment under IRC R408.3.
Sizing, Placement, and Duct Planning Before Cutting Anything
Size by moisture load, not square footage alone. A 130-pint unit can still struggle if the house has high infiltration, a wet crawlspace, or an oversized air conditioner that short cycles.
Manufacturer specs usually list capacity at 80°F and 60 percent relative humidity. That number helps for comparison. It does not tell the whole story for a cool crawlspace.
Capacity, CFM, Static Pressure, and Duct Diameter
Most whole-home units use 6, 8, 10, or 12 inch duct collars. The right size depends on the unit’s rated CFM and available external static pressure.
Keep duct runs short and straight. Long flex duct eats static pressure fast. If the unit only has a small pressure budget, airflow can drop enough to hurt performance.
| Situation | Typical capacity | Notes |
|---|---|---|
| Damp basement up to 1,500 sq ft | 65 to 70 PPD | Free return often works |
| Whole house, 1,500 to 2,500 sq ft | 90 to 100 PPD | Ducted distribution helps |
| Hot-humid whole house over 2,500 sq ft | 130 PPD or more | Check circuit capacity |
| Encapsulated crawlspace | 70 to 90 PPD low-temp rating | Insulate the discharge duct |
If the install uses flex duct, support it about every 4 feet. Sagging flex creates extra resistance. Rigid metal duct is usually the better choice for permanent installs.
Unit Location, Humidistat Placement, and Airflow Short-Circuit Prevention
Put the unit close to power, drainage, and the space you want to dry. Leave clear access to the filter and coil. Most cabinets need at least 18 to 24 inches of service clearance.
Mount the remote humidistat in a representative living area. Do not put it in the return airstream. Do not put it right next to the supply register either.
If the control sits in a dry basement hallway, the upstairs may stay humid. If it sits near a supply outlet, the unit may shut off too early. The goal is a reading that reflects real living conditions.
Step-by-Step Whole Home Dehumidifier Installation Workflow
This workflow assumes you already picked the right branch and fixed any bulk water problem. The physical install is straightforward if the plan is sound.
Mount, Level, and Isolate the Unit
Set the unit on a stable platform or hang it from joists with threaded rod and unistrut. Use neoprene vibration isolators. Do not bolt it rigidly to framing.
Level the cabinet. The condensate pan needs to drain correctly. An unlevel unit can overflow or trap water.
Connect Ducts, Dampers, and Sealed Air Paths
Cut the takeoffs cleanly and install the right collars. If you are tying into the return plenum, install a backdraft damper. That damper stops the air handler from pulling dry air backward through the unit.
Seal every joint with mastic or UL 181 foil tape. Cloth duct tape fails over time. If the discharge duct passes through a humid crawlspace or unconditioned area, insulate it.
Keep supply and return openings separated. If the unit pulls air from the same spot where it discharges, it will sample its own dry air. That causes short-circuiting and poor whole-house results.
Wire Power, Humidistat, and Blower Interlock
Turn off power at the panel before wiring anything. Most units need a dedicated 15 amp or 20 amp branch circuit. Some plug in.
Some hardwire. Follow the manufacturer’s wiring diagram.
Mount the dehumidistat where it can read room conditions. Run low-voltage control wire to the air handler if you are using a blower interlock.
If the control board has a DEHUM terminal, use it. If not, an isolation relay can usually handle the connection. If you are not comfortable with line voltage or control wiring, bring in a licensed electrician or HVAC technician.
Install Gravity Drain, Trap, or Condensate Pump
Route the condensate line with continuous downward slope. Aim for at least 1/8 inch per foot. A flat line will collect algae and biofilm.
Install a trap or air gap where required. If there is no gravity drain, use a condensate pump with a float safety switch. The switch should shut the unit down if the pump fails.
Test the drain with a pitcher of water before closing everything up. Watch the pump cycle. Check for leaks at every connection.
Commissioning Checklist: Test Airflow, Drainage, and Humidity Response
Do not call the job finished until the system proves itself. Commissioning takes 30 to 60 minutes and catches most problems early.
Use this checklist:
- Set the target humidity to about 50 percent.
- Confirm the unit starts and the damper opens.
- Feel the supply air. It should be dry and moving strongly.
- Measure airflow if you have an anemometer or manometer.
- Check static pressure if the unit or air handler has test ports.
- Pour water into the drain pan and confirm it exits properly.
- Lift the pump float and verify the safety switch stops the unit.
- Log relative humidity for 48 to 72 hours.
If humidity stays above 60 percent, do not just lower the setpoint and walk away. Find the moisture source. The EPA ties mold control directly to moisture control, and that is the right order here too.
If the unit runs constantly but the space improves slowly, the load may be high. If the unit cycles every few minutes, check for short-circuiting, a humidistat in the wrong place, or an oversized unit.
Installation Mistakes That Cause Recirculation, Short Cycling, or Water Damage
Most callbacks come from a few avoidable choices. These are the ones we see most often.
- No backdraft damper on a return tie-in. Dry air gets pulled backward and wasted.
- No blower interlock. Dry air sits in the duct instead of reaching the house.
- Humidistat in the return stream. The unit reads duct air, not room air.
- Undersized or overly long flex duct. Airflow drops and capacity suffers.
- Drain line without slope. The pan overflows or grows biofilm.
- Condensate pump without a safety switch. A pump failure can become a hidden leak.
- Unit hard-mounted to joists. Vibration turns the floor above into a drum.
- Uninsulated discharge duct in a humid crawlspace. The duct sweats and drips.
- Supply and return too close together. The unit short-circuits its own dry air.
If the air conditioner is oversized, the dehumidifier may run more than expected. That is not always an installation error. It may be the house’s latent load showing up because the AC never runs long enough to dehumidify properly.
Cost, Timeline, and When to Hire an HVAC Professional
Cost depends heavily on the install branch. A free-standing basement setup is the cheapest. A fully ducted whole-house setup with electrical work costs more.
| Item | Typical cost |
|---|---|
| Unit only | $1,100 to $2,900 |
| Professional labor | $600 to $1,800 |
| Duct, collars, dampers, tape, mastic | $120 to $450 |
| Condensate pump | $60 to $180 |
| Dedicated circuit by electrician | $200 to $700 |
| Mechanical permit | $50 to $300 |
A simple DIY basement install can take 4 to 10 hours. A professional HVAC crew can often complete a ducted install in 3 to 6 hours. Crawlspace work takes longer, especially if encapsulation or vapor barrier repair is involved.
Hire a professional if you need to cut into a return plenum, wire a blower interlock, pull a permit, or work around combustion appliances. Also call a pro if the crawlspace has asbestos, heavy mold, rodent droppings, or very low clearance.
For efficiency, look for units that meet the ENERGY STAR program requirements. Efficient units cost more upfront but can reduce operating cost during long humid seasons.
Maintenance and Seasonal Optimization After Installation
Check the filter every three months. Replace it every 6 to 12 months, sooner in a dusty basement. A loaded filter chokes airflow and drops capacity.
Once a year, clean the coil and flush the condensate line. Test the pump float switch at the same time. Verify the backdraft damper still opens and closes freely.
Adjust the setpoint by season. Hold 45 to 55 percent in summer. Drop to 30 to 40 percent in winter to avoid window condensation.
Safety, Code, Permit, and Warranty Checks
Most jurisdictions require a mechanical permit for a ducted install. Condensate disposal falls under IRC M1411, and duct work has to meet local code. Check with your building department before starting.
Unfinished basements and crawlspaces usually need GFCI protection. Never share the circuit with a furnace or freezer. The refrigerant circuit is sealed and factory charged, so no EPA 608 work is needed for a standard install.
Crawlspaces carry real hazards: rodent droppings, fiberglass, radon, and sometimes asbestos. Wear an N95 or half-face respirator. Many manufacturers void warranty coverage on non-compliant or unlicensed installs, so keep your paperwork.
Whole Home Dehumidifier Installation FAQs
Can I install a whole home dehumidifier myself?
Yes, if the install is a free-standing basement unit with a nearby drain and an existing dedicated outlet. Cutting into a return plenum, wiring a blower interlock, or adding a circuit is contractor territory. Aggregate contractor feedback shows control wiring and drainage cause the most DIY callbacks.
Should the dehumidifier connect to the supply or return duct?
Return-side tie-in is the most common because it’s easier to access. It requires a backdraft damper and a blower interlock to work properly. A dedicated supply duct with a free return avoids recirculation entirely and doesn’t depend on the furnace blower running.
Does a whole home dehumidifier need its own circuit?
Usually yes. Units draw 3.5 to 9 amps at 120V, and a dedicated 15A or 20A branch circuit prevents nuisance tripping. Sharing with a furnace, freezer, or sump pump risks overload.
Extension cords are a code violation and a fire hazard.
Should the unit run all the time?
No. It should cycle based on the humidistat setpoint, typically 50 percent. Constant running points to a moisture source, an undersized unit, or a humidistat in the wrong location.
Expect roughly $15 to $60 per month during peak humid season, depending on runtime and local rates.
Decision Guide: Which Whole Home Dehumidifier Install Fits Your Home?
If you only need a dry basement and have a floor drain, go free-standing with a free return. Cheapest install, fastest job.
If you want whole-house coverage and have return plenum access, do a return-side tie-in with a backdraft damper and blower interlock. Skip either part and it won’t work.
If you’d rather not depend on the furnace blower, run a dedicated supply duct into living space and leave the return open. This is our pick for finished basements.
If the unit sits far from the target space, duct both sides and keep the openings apart. If you’re drying a crawlspace, encapsulate first, then hang a low-temperature-rated unit with insulated discharge duct.


Similar Posts




















[…] gravity hose feeds the pump reservoir, and the pump takes it from there. Choose this if your current unit has no pump but you still need vertical […]